作者选择了 Internet Archive作为 Write for Donations计划的一部分接受捐赠。
介绍
WordPress是一个流行的CMS(Content Management Ssystem)。它允许您在视觉编辑器中编辑帖子,而不是使用原始HTML来手编码您的网站的页面,并提供额外的功能,如协作编辑和修订历史。
传统上,WordPress一直作为网站的后端和前端,文章在管理员编辑器中进行编辑,后端在访问者通过PHP(https://www.digitalocean.com/community/tutorial_series/how-to-code-in-php)主题来访问时动态地生成您的网站的每个公共页面。
在WordPress中,一个新的范式是仅用于您的网站的内容部分(也被称为运行 headless),并使用 Gatsby来静态生成前端。
在本教程中,您将提供WordPress与Gatsby交谈,建立一个基于起始模板的新Gatsby项目,在您的Gatsby配置中定义与WordPress的连接,并将其全部整合在一起,以基于WordPress安装中的帖子静态生成一些页面。
前提条件
在你开始这个指南之前,这里有一些你需要的东西:
- 联合国 拥有足够资源支持您的网站建设和服务的环境。 如果您正在使用同一服务器同时使用主机WordPress并构建您的Gatsby站点,推荐的RAM最小量为2GB. 如果您想使用 DigitalOcean Droplet,请查看我们的[如何从 DigitalOcean 控制板文章中创建 Droplet (https://docs.digitalocean.com/products/droplets/how-to/create/ ).
- A 工作 [WordPress] (https://wordpress.org/) 从Gatsby运行的地方可以到达的安装. 如果您是 WordPress 的全新, 您可能想要首先从 [WordPress] (https://andsky.com/tech/tutorials/what-is-wordpress] (WordPress) 上开始, 但是对于一般设置, 也会有多种环境的指南, 如 [Docker] (https://andsky.com/tech/tutorials/how-to-install-wordpress-with-docker-compose). 这个教程在所设置的 LAMP 堆栈上进行了测试,该堆栈是通过跟随 [How To Install WordPress on Ubuntu 20.04 并带有 LAMP Stack (https://andsky.com/tech/tutorials/how-to-install-wordpress-on-ubuntu-20-04-with-a-lamp-stack).
- [Node.js] (https://nodejs.org/en/),当地安装,用于运行盖茨比并建设你的站点. 安装程序因操作系统而异,但有[Ubuntu上的总节点.js (https://andsky.com/tech/tutorials/how-to-install-node-js-on-ubuntu-20-04)和[Mac上的总节点.js (https://andsky.com/tech/tutorials/how-to-install-node-js-and-create-a-local-development-environment-on-macos)的向导,您总是可以在[官方节点JS下载页 (https://nodejs.org/en/download/)上找到最新的发布.
- [Gatsby CLI工具] (https://www.gatsbyjs.com/docs/reference/gatsby-cli/), 本地安装. 如何安装此功能并学习一些Gatsby基本原理,您可以遵循Sep 1 [如何设置您的第一个Gatsby网站] (https://andsky.com/tech/tutorials/how-to-set-up-your-first-gatsby-website#step-1-%E2%80%94-installing-gatsby-and-creating-a-new-project)的教程. *对JavaScript有些熟悉,因为在Gatsby工作. JavaScript的深度很多,但是一个很好的起步点是我们[如何用JavaScript来编码 (https://www.digitalocean.com/community/tutorial_series/how-to-code-in-javascript)系列. 此外,它将有助于掌握一些关于HTML的知识,例如理解HTML元素,如果你想在本教程所覆盖的内容之外定制您职位的UI,它也会帮助了解一些反应和JSX. (英语)
本教程在WordPress v5.7.1,Gatsby v3.3.0和Node.js v14.17.0上进行了测试,此外,WordPress设置在Windows 10和Ubuntu 20.04上测试了Apache v2.4.41和PHP v7.4.3。
步骤 1 — 安装和配置所需的WordPress插件
在这个第一步中,您将允许WordPress通过安装一些插件和调整设置与Gatsby交谈,您还将验证您的本地或托管的WordPress实例是否支持这些更改,并记录您稍后需要的特定设置的一些细节。
首先,您可以登录您的 WordPress 实例的管理仪表板,在浏览器中导航到 https://your_domain_name/wp-admin,然后输入您的身份证件。 然后,点击左侧栏中的 Plugins来进入插件页面。 接下来,点击页面顶部的 Add New来导航插件安装页面。 如果您的 WordPress 安装使用标准路径,您还可以在 https://your_domain/wp-admin/plugin-install.php 找到此页面。 这将带您到插件页面,如下图像所示:
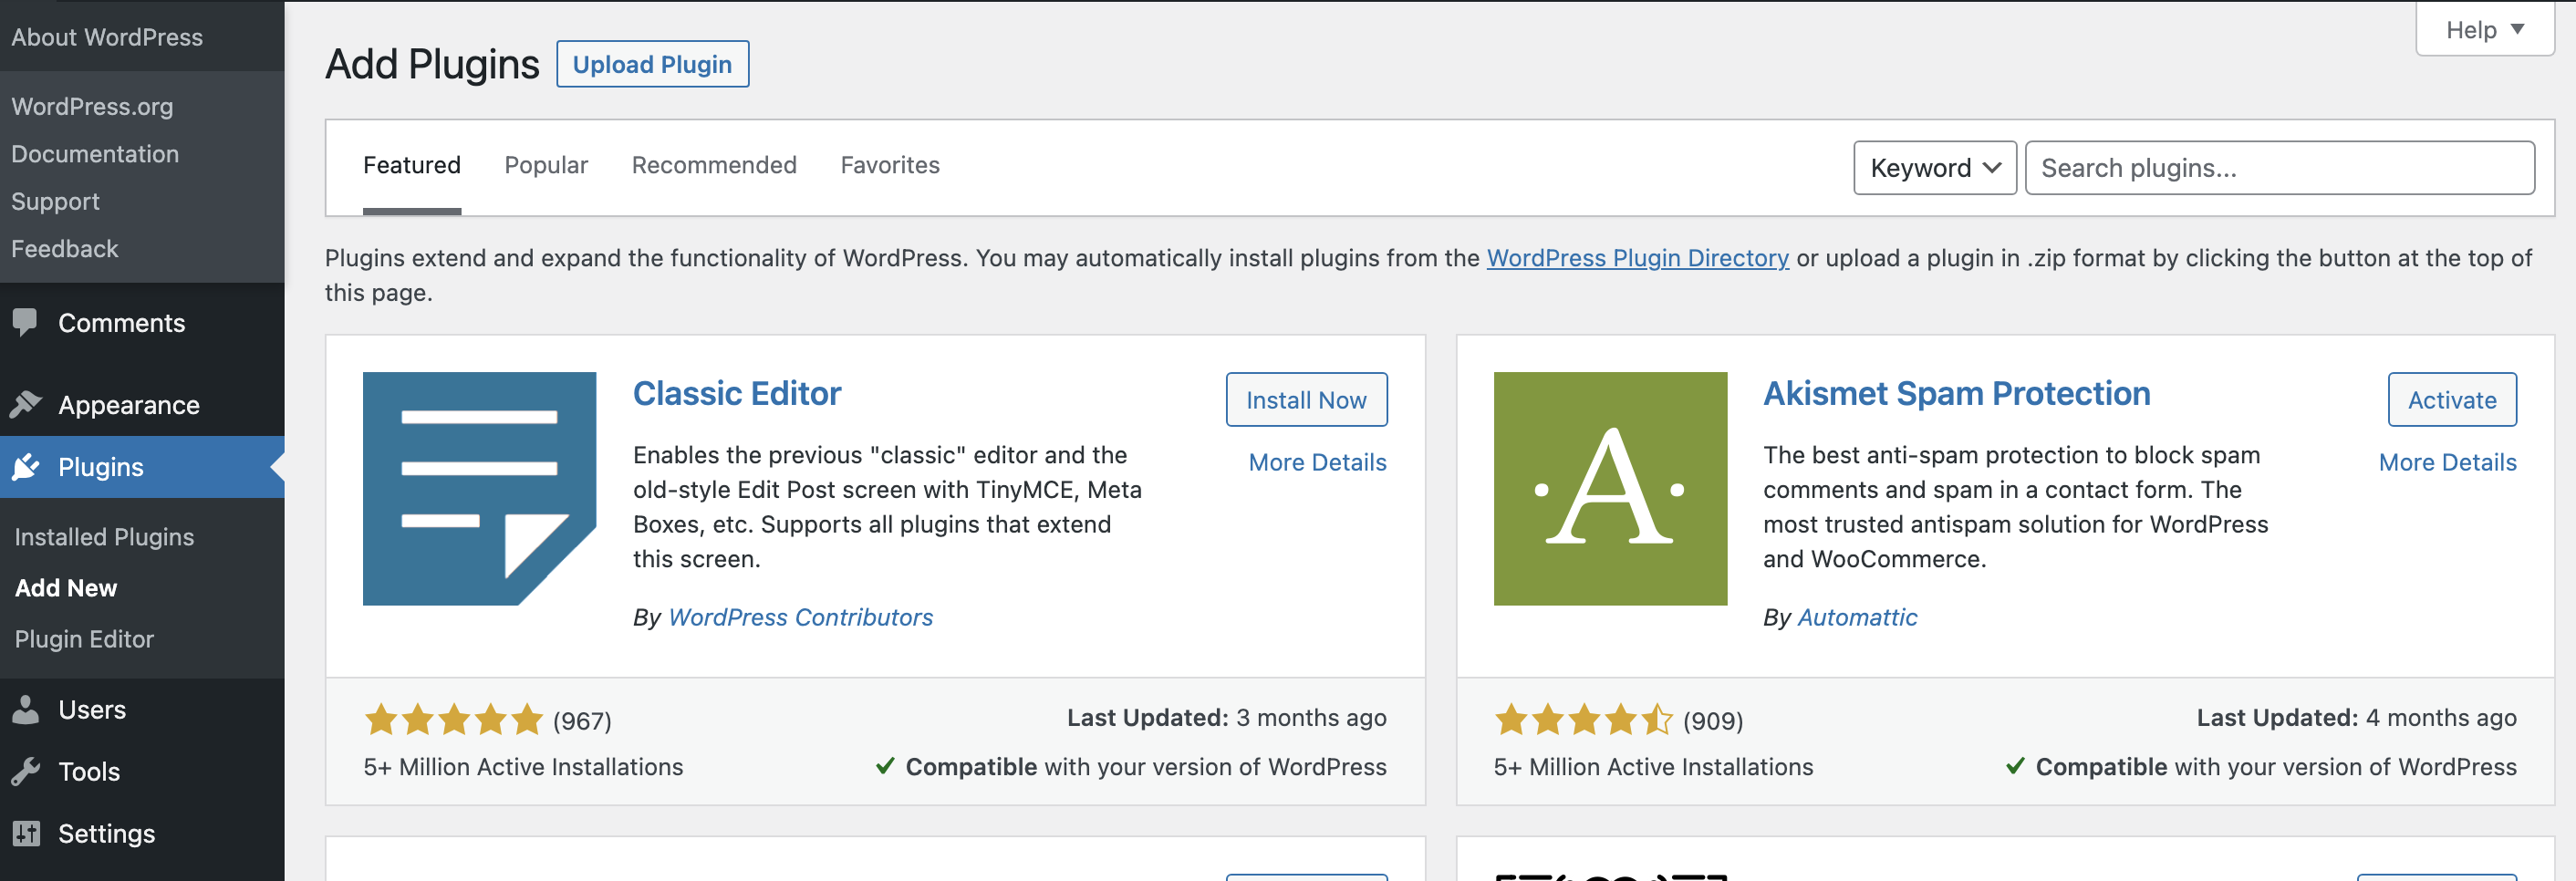
所需的两个插件如下,并将以此顺序安装:
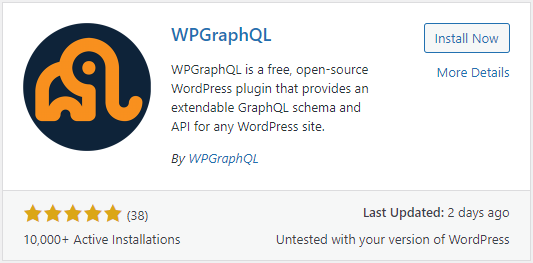
- WPGraphQL:这允许WordPress数据通过GraphQL标准(https://www.digitalocean.com/community/conceptual_articles/an-introduction-to-graphql)进行查询,作为WordPress标准(https://en.wikipedia.org/wiki/Representational_state_transfer)终端的替代品。这很重要,因为Gatsby默认使用GraphQL。本教程将使用此插件的v1.3.5。有关此插件的更多信息,请参阅WPGraphQL GitHub存储库(https://github.com/wp-graphql/wp-graphql)或WordPress WPGraphQL插件目录(https://wordpress.org/plugins/wp-graphql/)。
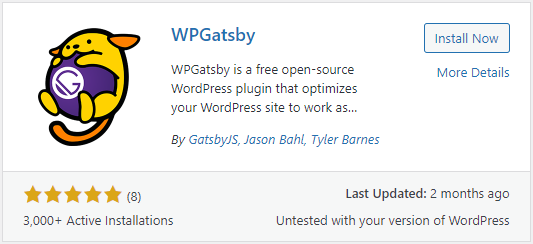
- WPGatsby:此插件将 WordPress 与 Gatsby 同步,允许丰富的预览,并暴露在同步系统中。本教程将使用此插件的 v1.0.8。 有关此插件的更多信息,请参阅 WPGatsby GitHub 存储或 WordPress WPGatsby 插件目录。
安装和激活这两个插件,通过搜索它们,然后点击相关的 Install Now按钮。一旦安装,请选择 Activate按钮. 安装和激活两个插件后,您将在您的WordPress管理仪表板中看到一些新的设置面板。 下面的图像显示了这些新的设置面板。

要验证 GraphQL 连接可用于连接到 Gatsby,请在 Admin 侧面栏中的 Settings 面板下打开 GraphQL 子部分。
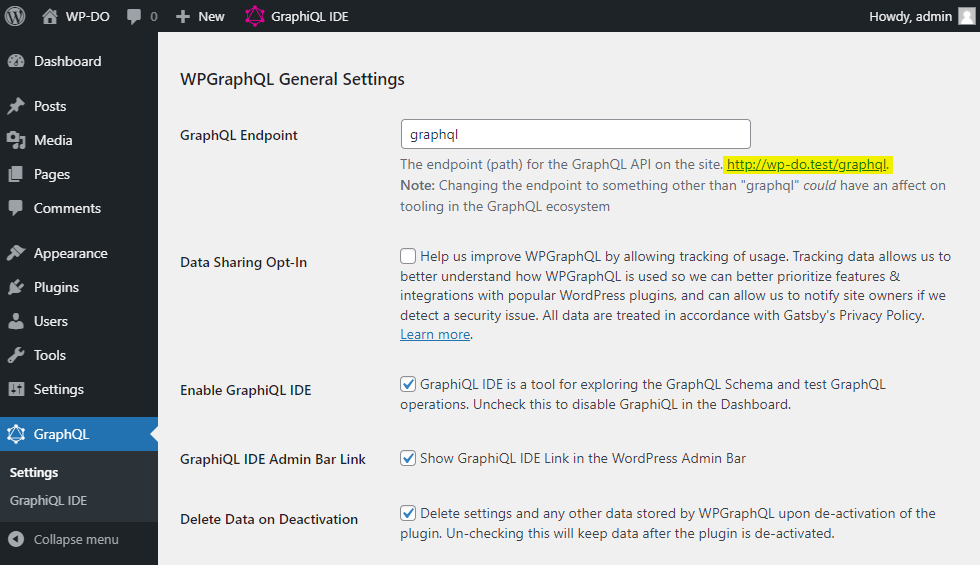
请特别注意 GraphQL 端点. 您可以在标记为 GraphQL 端点的部分找到,在文本输入框下面。 它在屏幕截图中也以黄色标注。 您将需要此后,所以为了节省一些时间,您可以将其复制到您的剪辑板或粘贴到临时文本文档中。
对于 WPGraphQL 的最佳结果,建议使用 WordPress permalink设置,而不是 plain,特别是如果这是一个新的 WordPress 安装,在那里改变 URL 结构不会影响实时网站。 要导航到您的 permalink 设置,请点击 WordPress 管理仪表板的左侧栏中的 Settings,然后点击 Permalinks在扩展的部分。 从 permalink 设置页面,将您的设置更改为任何选项,而不是普通,然后按 Save Changes来更新您的网站。
将您的 permalinks 设置为别的东西而不是平凡,需要一些特定的技术要求;在Apache Web 服务器中,您需要启用mod_rewrite模块,并将AllowOverride指令设置为all。这些将使WordPress能够动态地路由新的路径。 WordPress 在Ubuntu 20.04 上的教程第 3 步涵盖了这一点,有一步一步的指示。 如果您运行了 Let's Encrypt以为您的网站提供SSL证书,正如 [How To Secure Apache with Let's Encrypt on Ubuntu 20.04]教程中所指示的那样(https://andsky.com/tech/tutorials/how-to-secure-apache-with-let-s-encrypt-on-ubuntu-20-04),您将不得不完成新的虚拟主机的这些步骤。
现在您已经配置了 GraphQL 终端,您将测试此连接. 您可以立即这样做; 没有需要安装 Gatsby. 您可以使用 GraphiQL IDE作为视觉查询构建工具(可通过侧面栏访问),甚至可以直接查询终端点,使用您喜爱的网络请求工具。
如果您更喜欢命令行,并且安装了 cURL,您可以使用以下命令获取所有帖子标题:
1curl --location --request POST 'https://your_domain/graphql' \
2--header 'Content-Type: application/json' \
3--data-raw '{
4    "query": "query { posts { nodes { title } } }"
5}'
此命令向您的 GraphQL 终端发出请求,以获得包含您的 WordPress 帖子的 JSON响应,但仅包含他们的标题。
JSON 对您的查询的答案将是这样的:
1[secondary_label Output]
2{"data":{"posts":{"nodes":[{"title":"Hello world!"}]}},"extensions":{"debug":[{"type":"DEBUG_LOGS_INACTIVE","message":"GraphQL Debug logging is not active. To see debug logs, GRAPHQL_DEBUG must be enabled."}]}}
现在你已经成功安装并配置了必要的WordPress插件来与Gatsby沟通,你可以继续设置你的新的Gatsby项目。
第2步:创建一个新的盖茨比项目
在此步骤中,您将根据专门用于从WordPress中获取数据的启动模板设置一个新的Gatsby项目,需要使用Gatsby CLI来下载和安装启动器及其依赖。
要加快开发过程并减少所需的设置量,您将开始使用 Gatsby CLI和 Gatsby WordPress Blog Starter模板。
导航到您的Gatsby项目的本地主目录,然后运行以下命令来下载Gatsby CLI,并预先安装大部分您需要开始构建您的网站的内容:
1gatsby new my-wordpress-gatsby-site https://github.com/gatsbyjs/gatsby-starter-wordpress-blog
您可以用任何您希望的目录名称替换为本地Gatsby文件的名称来代替my-wordpress-gatsby-site。
Gatsby 需要一段时间才能下载并安装所有必要的依赖和资产. 一旦完成,您将收到一个类似于此的消息:
1[secondary_label Output]
2...
3Your new Gatsby site has been successfully bootstrapped. Start developing it by running:
4
5  cd my-wordpress-gatsby-site
6  gatsby develop
通常在Gatsby网站上,这就是您手动编辑的gatsby-config.js文件,其中包含有关您的网站的详细信息,称为 metadata。
经过一个新的Gatsby项目,您现在已经准备好修改其配置,让它从WordPress中提取数据。
步骤 3 — 配置Gatsby使用WordPress数据
现在你有一个正在工作的Gatsby项目,下一步是为你配置它从WordPress中提取数据。你将通过编辑Gatsby的主要配置文件并使用 gatsby-source-wordpress插件来完成此操作。
由于您使用的启动模板,‘gatsby-source-wordpress’插件已经被安装为依赖,并在Gatsby config文件中有设置条目;您只需要稍微调整它。
移动到您在上一步创建的本地Gatsby目录:
1cd my-wordpress-gatsby-site
然后,在您所选择的文本编辑器中打开名为 `./gatsby-config.js 的文件,这是所有 Gatsby 项目的 主要配置文件。
在 config 文件中,你会发现一个现有的设置条目为 gatsby-source-wordpress 在 plugins 系列中. 你现在可以采取你从上一步复制的特定 GraphQL 终端,并用你的值取代默认演示终端, https://wpgatsbydemo.wpengine.com/graphql,如下代码所示:
 1[label gatsby-config.js]
 2module.exports = {
 3    plugins: [
 4    	{
 5    		resolve: `gatsby-source-wordpress`,
 6    		options: {
 7    			url:
 8    				process.env.WPGRAPHQL_URL ||
 9    				`https://your_domain/graphql`,
10    		},
11    	},
12    	...
13    ],
14    ...
15}
保存并关闭此文件,以便网站的未来构建使用更新的值。
<$>[注意]
注意:‘url’是唯一需要的设置选项,但有很多可用;请查看 Gatsby GitHub 存储库以获取更多信息。例如,有 允许调试输出的选项, 连接到 HTACCESS,密码保护的网站,以及性能相关的选项,如 schema.requestConcurrency,如果您的 WordPress 网站运行在有限资源的服务器上,则尤其重要。
在继续定制Gatsby如何使用您的WordPress数据来构建页面之前,构建和预览您的网站以确保一切正常工作。
1npm run develop
或者,如果您正在使用 yarn 包管理器:
1yarn develop
<$>[警告]
警告: 如果您在此步骤中收到错误,特别是如果它是关于缺失依赖的错误或无法解决...在...\.cache中,这可能是依赖安装过程的一部分失败了。这是Gatsby项目中已知的问题。 尝试再次运行npm i (或yarn install如果使用线)以查找和安装任何缺失依赖。 如果这无法解决问题,则通过删除node_modules文件夹,删除package-lock.json或yarnn.lock,然后运行npm i或yarn安装。
$>
这个命令将运行gatsby develop过程,它将从WordPress中提取数据,将其与启动模板的预先构建的UI文件相结合,并启动本地开发服务器,以便您可以在浏览器中查看实际生成的网站的预览。
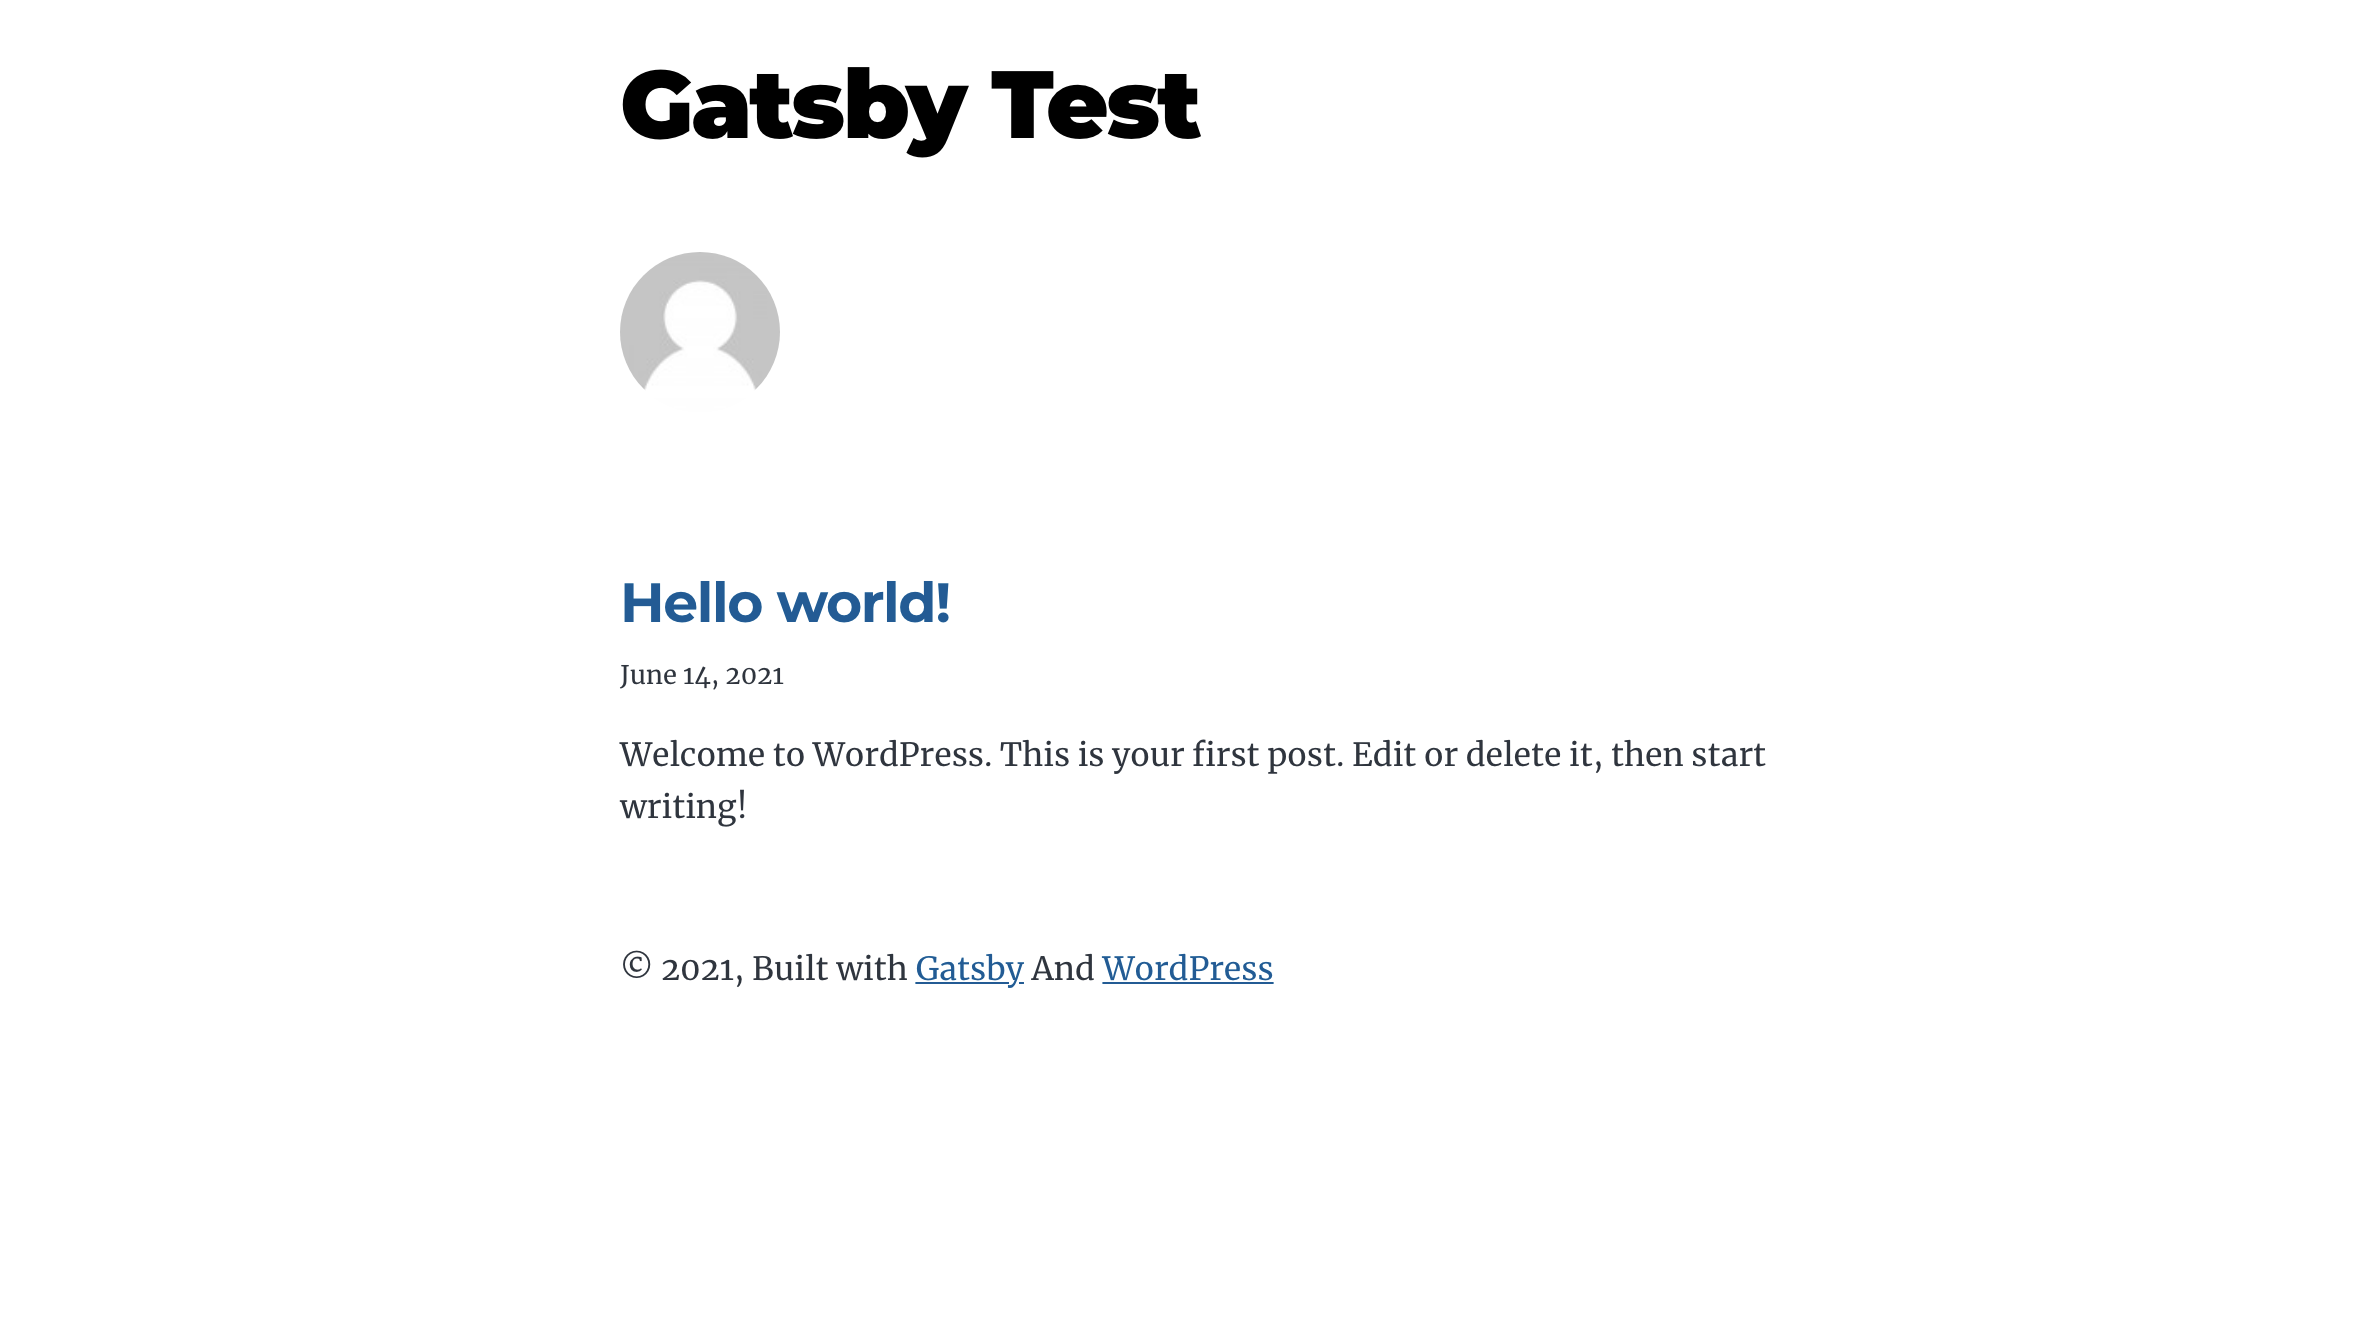
在你的浏览器中导航到localhost:8000,你会找到你的Gatsby网站与WordPress内容:
随着你的Gatsby项目现在从WordPress中提取数据,下一步将是定制实际的模板文件,这样你就可以让你的Gatsby网站看起来和行动就像你想要的那样。
步骤 4 – 定制初始模板文件
盖茨比WordPress初始模板提供了许多默认功能,但在这个步骤中,你将探索如何定制模板文件,使项目成为自己的,在形式和功能。
对于大多数Gatsby网站,包括您的启动模板,在定制时需要注意几个关键文件和文件夹:
- `./gatsby-node.js': 这可以被认为是静态站点生成过程的中心. 它拥有查询WordPress的所有内容的代码,然后通过模板文件传递以生成静态输出. 如果您想要修改您网站上的内容, 这是主要条目 。 在WordPress开发方面,这类似于与The Loop和类似概念的合作.
./src/templates': 这包含单个模板文件,每个模板文件应当包含并导出一个[反应组件](https://andsky.com/tech/tutorials/how-to-create-custom-components-in-react),负责渲染传递的内容. 如果您想改变内容的外观,整合第三方UI库,或围绕内容构建骨架,这是通常的完成地. 在WordPress开发方面,这些与[Template Files](https://developer.wordpress.org/themes/basics/template-files/)相似. *./src/组件': 通常,这个文件夹中的每个文件都是一个单数 React 组件,专门用于特定的 UI 任务,并意在被拖入模板文件. 把这些当作UI的构件,而不是模板. 如果您有您想要在多个模板文件之间共享的UI元素, 这是一个很好的放置地点, 并避免重复和粘贴同一代码 。 例如菜单、作者生物显示、页眉和页脚等。 在WordPress开发方面,这些开发类似于Template Persions. *./src/cs': 这里包含[CSS] (https://www.digitalocean.com/community/tutorial_series/how-to-style-html-with-css)文件,这些文件是全站共享的,而不是内置样式,或者一个受欢迎的QQcs-in-js_解决方案,例如['stend-cupports' (https://andsky.com/tech/tutorials/gatsbyjs-using-styled-components-in-gatsbyjs). 在此教程中, 以及您的启动模板, 此文件夹为您的新网站提供了大部分的样式 。 在WordPress开发方面,这相当于'style.css',或者一个主题可以通过WordPress的等序系统注入一页的任何数量样式表. (英语)
若要了解如何编辑现有模板文件,请在文本编辑器中打开 `./src/templates/blog-post.js。
在WordPress中,每个帖子都有一个特殊的文本值,称为 the excerpt,这是文章的简短描述总结。 默认情况下,这个Gatsby模板文件在WordPress摘要中引用,但仅用于SEO目的,将其放入<meta name="description" />标签中。
 1[label /src/templates/blog-post.js]
 2const BlogPostTemplate = ({ data: { previous, next, post } }) => {
 3    ...
 4    return (
 5    	<Layout>
 6    		...
 7    		<h1 itemProp="headline">{parse(post.title)}</h1>
 8
 9    		<p>{post.date}</p>
10
11    		{/* Checking for and adding the post excerpt if the current post has one*/}
12    		{post.excerpt && (
13    			<div className="post-excerpt">{parse(post.excerpt)}</div>
14    		)}
15
16      {/* if we have a featured image for this post let's display it */}
17        {featuredImage?.fluid && (
18          <Image
19            fluid={featuredImage.fluid}
20              alt={featuredImage.alt}
21              style={{ marginBottom: 50 }}
22          />
23        )}
24      ...
25    	</Layout>
26    )
27}
在这个代码中,你正在检查帖子是否有摘要(因为它在WordPress中不是强制性的),如果是这样,则在一个
parse() 函数来自于 html-react-parser,并且在这里被用来确保将你的摘要保存在的 <p> 标签被解析成HTML而不是简单的文本,所以你可以直接回应内容。保存并关闭blog-post.js文件。
由于摘要是文章的摘要,它可以帮助您网站的访问者,如果您视觉地将其从帖子的身体中分开,突出显示在页面顶部,并使其容易找到。
 1[label /src/css/style.css]
 2.post-list-item header {
 3  margin-bottom: var(--spacing-4);
 4}
 5
 6/* CSS targeting your new post excerpt element */
 7.post-excerpt {
 8  box-shadow: 0px 1px 9px 1px rgb(0 0 0 / 50%);
 9  padding: 6px;
10  border-radius: 8px;
11  margin-bottom: 14px;
12}
13
14.post-excerpt p {
15  margin-bottom: 0px;
16}
在你的CSS中,你现在已经使用了盒子阴影来在摘要容器周围添加阴影效应,对比它与邮件的实际体,以及添加插件,圆边,并在它自己和邻近元素之间的间隔。
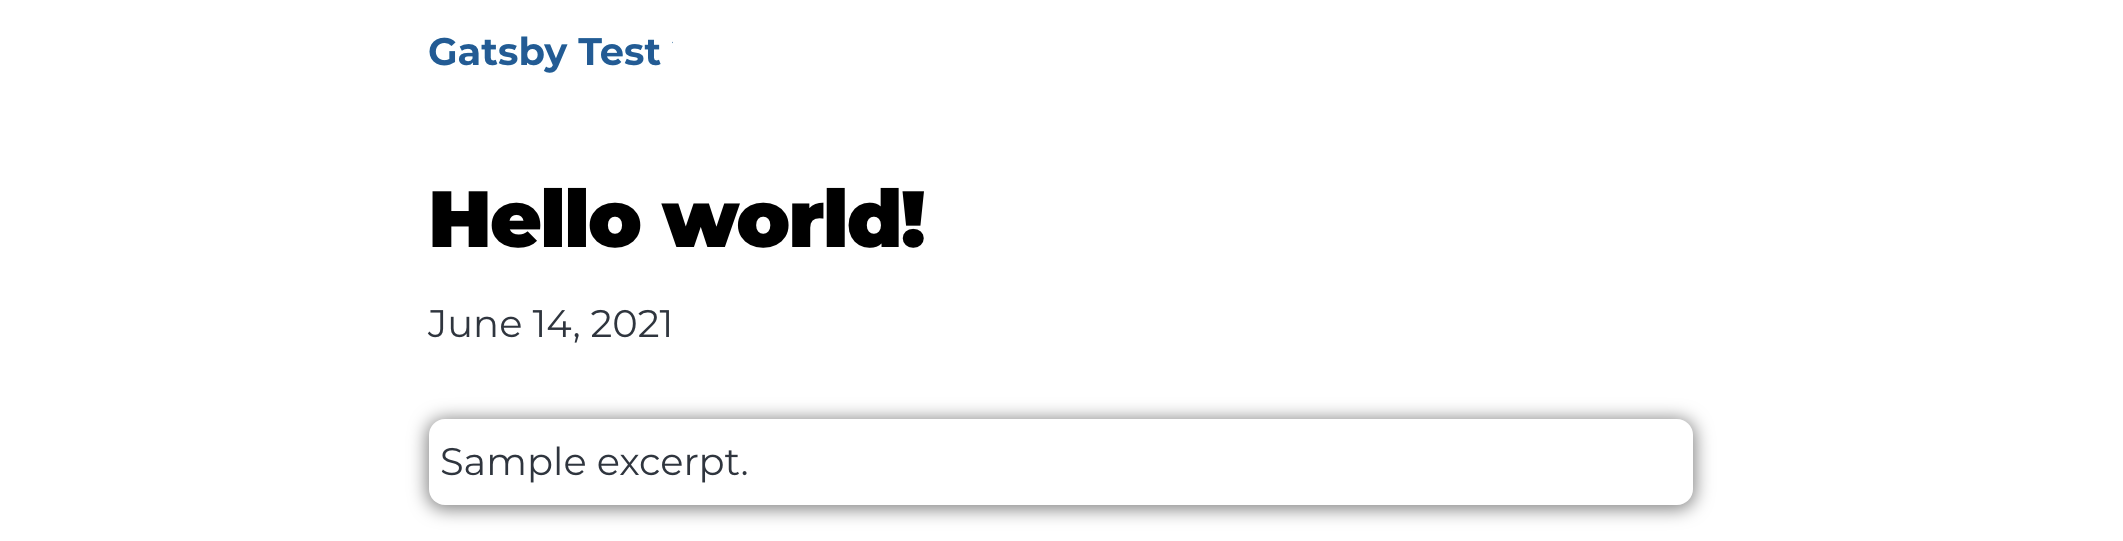
保存style.css文件. 要测试这个,在WordPress中添加一个摘要来利用这个新视觉功能。在WordPress管理视图的侧面栏中,导航到 Posts 卡,然后选择样本 Hello world! 帖子。 这将带您到WordPress邮件编辑视图。在更新的基于区块的编辑器中,摘要字段出现在右侧栏的 Post 卡下方,靠近底部。在遗传编辑器中,摘要字段的位置是可自定义的,因此根据您的主题和自定义设置可能出现在不同的位置。
添加摘要,然后选择屏幕顶部的更新按钮,然后去你的Gatsby网站,在Localhost:8000,然后选择Hello world!博客帖子。
注意:如果您正在寻找不需要任何额外编码或配置的预建主题,类似于WordPress主题的工作方式,则有越来越多的官方和社区主题用于使用WordPress与Gatsby。
您刚刚嵌入并将来自WordPress的帖子摘要格式化成一个自定义的Gatsby静态网站,这使用了已经由您的启动模板配置用于使用的数据。
步骤 5 — 使用Gatsby中的WordPress数据与自定义模板
在之前的步骤中,您编辑了现有的模板,并使用了一些标准的WordPress数据(帖子标题和帖子内容)来渲染您的博客帖子以Gatsby的静态输出。对于许多网站来说,这可能是所需的一切。
在这种情况下,您正在为每个帖子添加支持,每个帖子都显示单个视频,源自 YouTube。
对于发布模板,在/src/templates下创建一个新文件,并命名它为video-post.js。在构建将生成的页面的用户界面之前,您可以写一个 GraphQL 查询以获取数据。
将以下代码添加到 video-post.js 文件中:
 1[label /src/templates/video-post.js]
 2import React from "react"
 3import { graphql } from "gatsby"
 4
 5export const pageQuery = graphql`
 6  query VideoPostById(
 7    # these variables are passed in via createPage.pageContext in gatsby-node.js
 8    $id: String!
 9  ) {
10    # selecting the current post by id
11    post: wpPost(id: { eq: $id }) {
12      id
13      content
14      title
15      date(formatString: "MMMM DD, YYYY")
16    }
17  }
18`
在本片段中,您正在使用邮件 ID 查询属于该邮件的特定值,例如实际邮件内容、标题和日期。
接下来,您可以添加返回 JSX的实际 React 组件,该组件将被渲染为网页。 一个好的开始是从现有的 blog-post.js 模板文件复制大部分结构,并添加以下突出的行:
 1[label /src/templates/video-post.js]
 2import React from "react"
 3import { graphql } from "gatsby"
 4import parse from "html-react-parser"
 5
 6import Bio from "../components/bio"
 7import Layout from "../components/layout"
 8import Seo from "../components/seo"
 9
10const VideoPostTemplate = ({ data: { post } }) => {
11  return (
12    <Layout>
13      <Seo title={post.title} description={post.excerpt} />
14
15      <article
16        className="blog-post"
17        itemScope
18        itemType="http://schema.org/Article"
19      >
20        <header>
21          <h1 itemProp="headline">{parse(post.title)}</h1>
22          <p>{post.date}</p>
23        </header>
24
25        <footer>
26          <Bio />
27        </footer>
28      </article>
29    </Layout>
30  )
31}
32
33export default VideoPostTemplate;
34
35export const pageQuery = graphql`
36  query VideoPostById(
37    # these variables are passed in via createPage.pageContext in gatsby-node.js
38    $id: String!
39  ) {
40    # selecting the current post by id
41    post: wpPost(id: { eq: $id }) {
42      id
43      content
44      title
45      date(formatString: "MMMM DD, YYYY")
46    }
47  }
48`
除了创建 React 组件外,您还使用了导出默认来确保该组件是从文件中导出的默认项目,这很重要,因为Gatsby 后来在编译模板时如何将该文件导入到 WordPress 的数据中。
现在,您可以将一些逻辑添加到您的 React 组件中,以检查是否有原始 YouTube URL 嵌入到帖子的体内:
 1[label /src/templates/video-post.js]
 2...
 3
 4const VideoPostTemplate = ({ data: { post } }) => {
 5  // RegEx to find YouTube IDs
 6  const youtubeIdPattern = /watch\?v=([a-z_0-9-]+)|youtu\.be\/([a-z_0-9-]+)|youtube\.com\/embed\/([a-z_0-9-]+)/i;
 7
 8  const matches = youtubeIdPattern.exec(post.content);
 9  let videoId;
10
11  if (matches) {
12    // Use first available match
13    videoId = matches[1] || matches[2] || matches[3];
14  }
15
16  return (
17    <Layout>
18      <Seo title={post.title} description={post.excerpt} />
19
20      <article
21        className="blog-post"
22        itemScope
23        itemType="http://schema.org/Article"
24      >
25        <header>
26          <h1 itemProp="headline">{parse(post.title)}</h1>
27          <p>{post.date}</p>
28        </header>
29
30        <footer>
31          <Bio />
32        </footer>
33      </article>
34    </Layout>
35  )
36}
37...
在这个代码中,‘youtubeIdPattern’是一个 Regular Expression(或 RegEx),这是一个搜索模式,你正在对文章的身体执行,用‘youtubeIdPattern.exec(post.content)’来尝试找到任何包含的YouTube ID。
最后,您可以添加基于您提取的videoId的视频渲染的 JSX:
 1[label /src/templates/video-post.js]
 2...
 3
 4  return (
 5    <Layout>
 6      <Seo title={post.title} description={post.excerpt} />
 7
 8      <article
 9        className="blog-post"
10        itemScope
11        itemType="http://schema.org/Article"
12      >
13        <header>
14          <h1 itemProp="headline">{parse(post.title)}</h1>
15          <p>{post.date}</p>
16        </header>
17
18        {videoId ? (
19          <div className="video-embed">
20            <iframe width="512" height="288" src={`https://www.youtube-nocookie.com/embed/${videoId}?controls=0&autoplay=1`} title={post.title} frameborder="0" allow="accelerometer; autoplay; clipboard-write; encrypted-media; gyroscope; picture-in-picture" allowfullscreen></iframe>
21          </div>
22        ) : (
23          <div className="no-video-found">
24            <p>Sorry, could not find a video in this post!</p>
25          </div>
26        )}
27
28        <hr />
29
30        <footer>
31          <Bio />
32        </footer>
33      </article>
34    </Layout>
35  )
36}
37...
如果找到一个videoId,你的代码会返回一个自定义的、隐私增强的YouTube嵌入,通过一个 iframe),设置为自动播放。
现在,您的组件模板文件已经构建,您会告诉Gatsby将新模板用于在WordPress中设置为视频类型的帖子,而不是使用常规博客帖子模板。
请确保在video-post.js中保存您的更改,然后在文本编辑器中打开gatsby-node.js。
首先,修改getPosts()函数,启动器将其作为主要的 GraphQL 查询用于 WordPress 邮件的后端。
 1[label gatsby-node.js]
 2...
 3async function getPosts({ graphql, reporter }) {
 4  const graphqlResult = await graphql(/* GraphQL */ `
 5    query WpPosts {
 6      # Query all WordPress blog posts sorted by date
 7      allWpPost(sort: { fields: [date], order: DESC }) {
 8        edges {
 9          previous {
10            id
11          }
12
13          ...
14
15          post: node {
16            id
17            uri
18            postFormats {
19              formats: nodes {
20                name
21              }
22            }
23          }
24
25          next {
26            id
27          }
28        }
29      }
30    }
31  `)
32
33  ...
34
35  return graphqlResult.data.allWpPost.edges
36}
接下来,您需要实现分离视频帖子的逻辑,并将其发送到其独特的模板文件中进行渲染。 为此,您可以在启动器中连接到现有的CreateIndividualBlogPostPages()函数(https://github.com/gatsbyjs/gatsby-starter-wordpress-blog/blob/d13218942dbeef1febfa67fcfe9d83c3a99b8055/gatsby-node.js#L33-L60)。
您可以从您修改的 GraphQL 查询中提取数据,并使用它来确定当前帖子是否是一个视频帖子:
 1[label gatsby-node.js]
 2const createIndividualBlogPostPages = async ({ posts, gatsbyUtilities }) =>
 3  Promise.all(
 4    posts.map(({ previous, post, next }) => {
 5      const postFormats = post.postFormats.formats;
 6      const isVideo = postFormats.length && postFormats[0].name === 'Video';
 7...
 8          // We also use the next and previous id's to query them and add links!
 9          previousPostId: previous ? previous.id : null,
10          nextPostId: next ? next.id : null,
11        },
12      })}
13    )
14  )
然后,在createPage中更改组件属性以使用相应的模板文件:
 1[label gatsby-node.js]
 2const createIndividualBlogPostPages = async ({ posts, gatsbyUtilities }) =>
 3  Promise.all(
 4    posts.map(({ previous, post, next }) => {
 5      const postFormats = post.postFormats.formats;
 6      const isVideo = postFormats.length && postFormats[0].name === 'Video';
 7
 8      return gatsbyUtilities.actions.createPage({
 9        // Use the WordPress uri as the Gatsby page path
10        // This is a good idea so that internal links and menus work 👍
11        path: post.uri,
12
13        // Use special video template if post format === Video, else use blog post template
14        component: isVideo ? path.resolve(`./src/templates/video-post.js`) : path.resolve(`./src/templates/blog-post.js`),
15
16        ...
17      });
18    })
19  )
为了保持事物简洁,本代码声明使用一个 ternary operator,这是一种返回一个值的方法,如果另一个值是 truthy(真相类似)和一个不同的值,如果它是 falsy,所有这些都没有一个 if/else声明。 代码使用你以前的帖子格式检查的 isVideo,如果是真的,则返回新视频模板的路径。 如果是假的,它告诉盖茨比使用常规博客帖子模板。 Node.js path.resolve() 函数被用来将相对路径 (./src/...`) 转化为绝对路径(完整文件路径),而盖茨比需要加载组件文件。
保存和退出文件。
接下来,通过重新编辑 ./src/css/style.css 来格式化您的视频嵌入:
 1[label /src/css/style.css]
 2.video-embed {
 3  /* Shadow effect around box to give it contrast */
 4  box-shadow: 0px 2px 12px 4px rgb(0 0 0 / 50%);
 5  /* All four declarations below help center our video and give it space */
 6  display: block;
 7  line-height: 0px;
 8  margin: 20px auto;
 9  max-width: 512px;
10}
通过添加这个CSS,你给了视频嵌入的阴影效果,这也给了它与页面的对比,以及中心它,并给了它远离其他元素的空间。
要测试这个新代码的功能,你可以在WordPress上创建一个符合模板要求的标准的新帖子。从你的WordPress管理仪表板中,点击左侧栏中的 帖子,然后点击 **新帖子添加以开始创建新帖子。
- Post Format将设置为 Video. 您可以在右侧栏中找到格式下载
- 邮件体将包含YouTube URL(而不是嵌入式)。
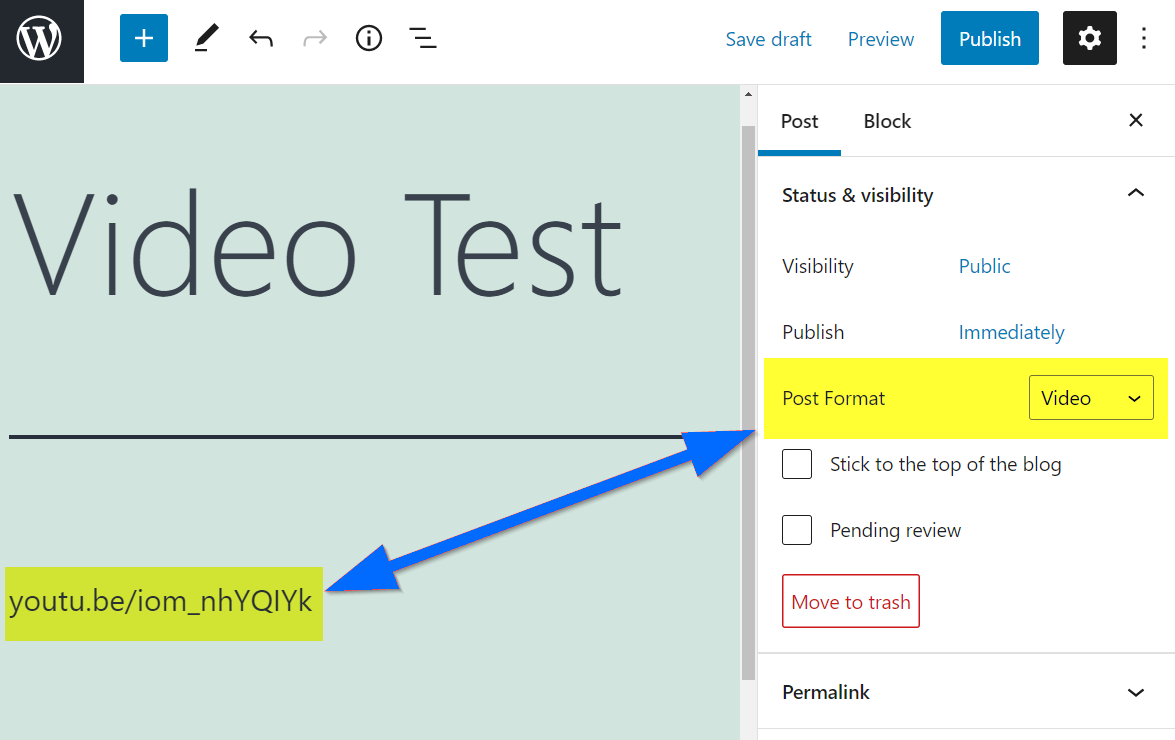
填写帖子后,选择 发布(或 更新如果这是一个现有帖子),然后点击确认出现的提示,以便你的帖子直播,盖茨比可以通过GraphQL连接来接收它。
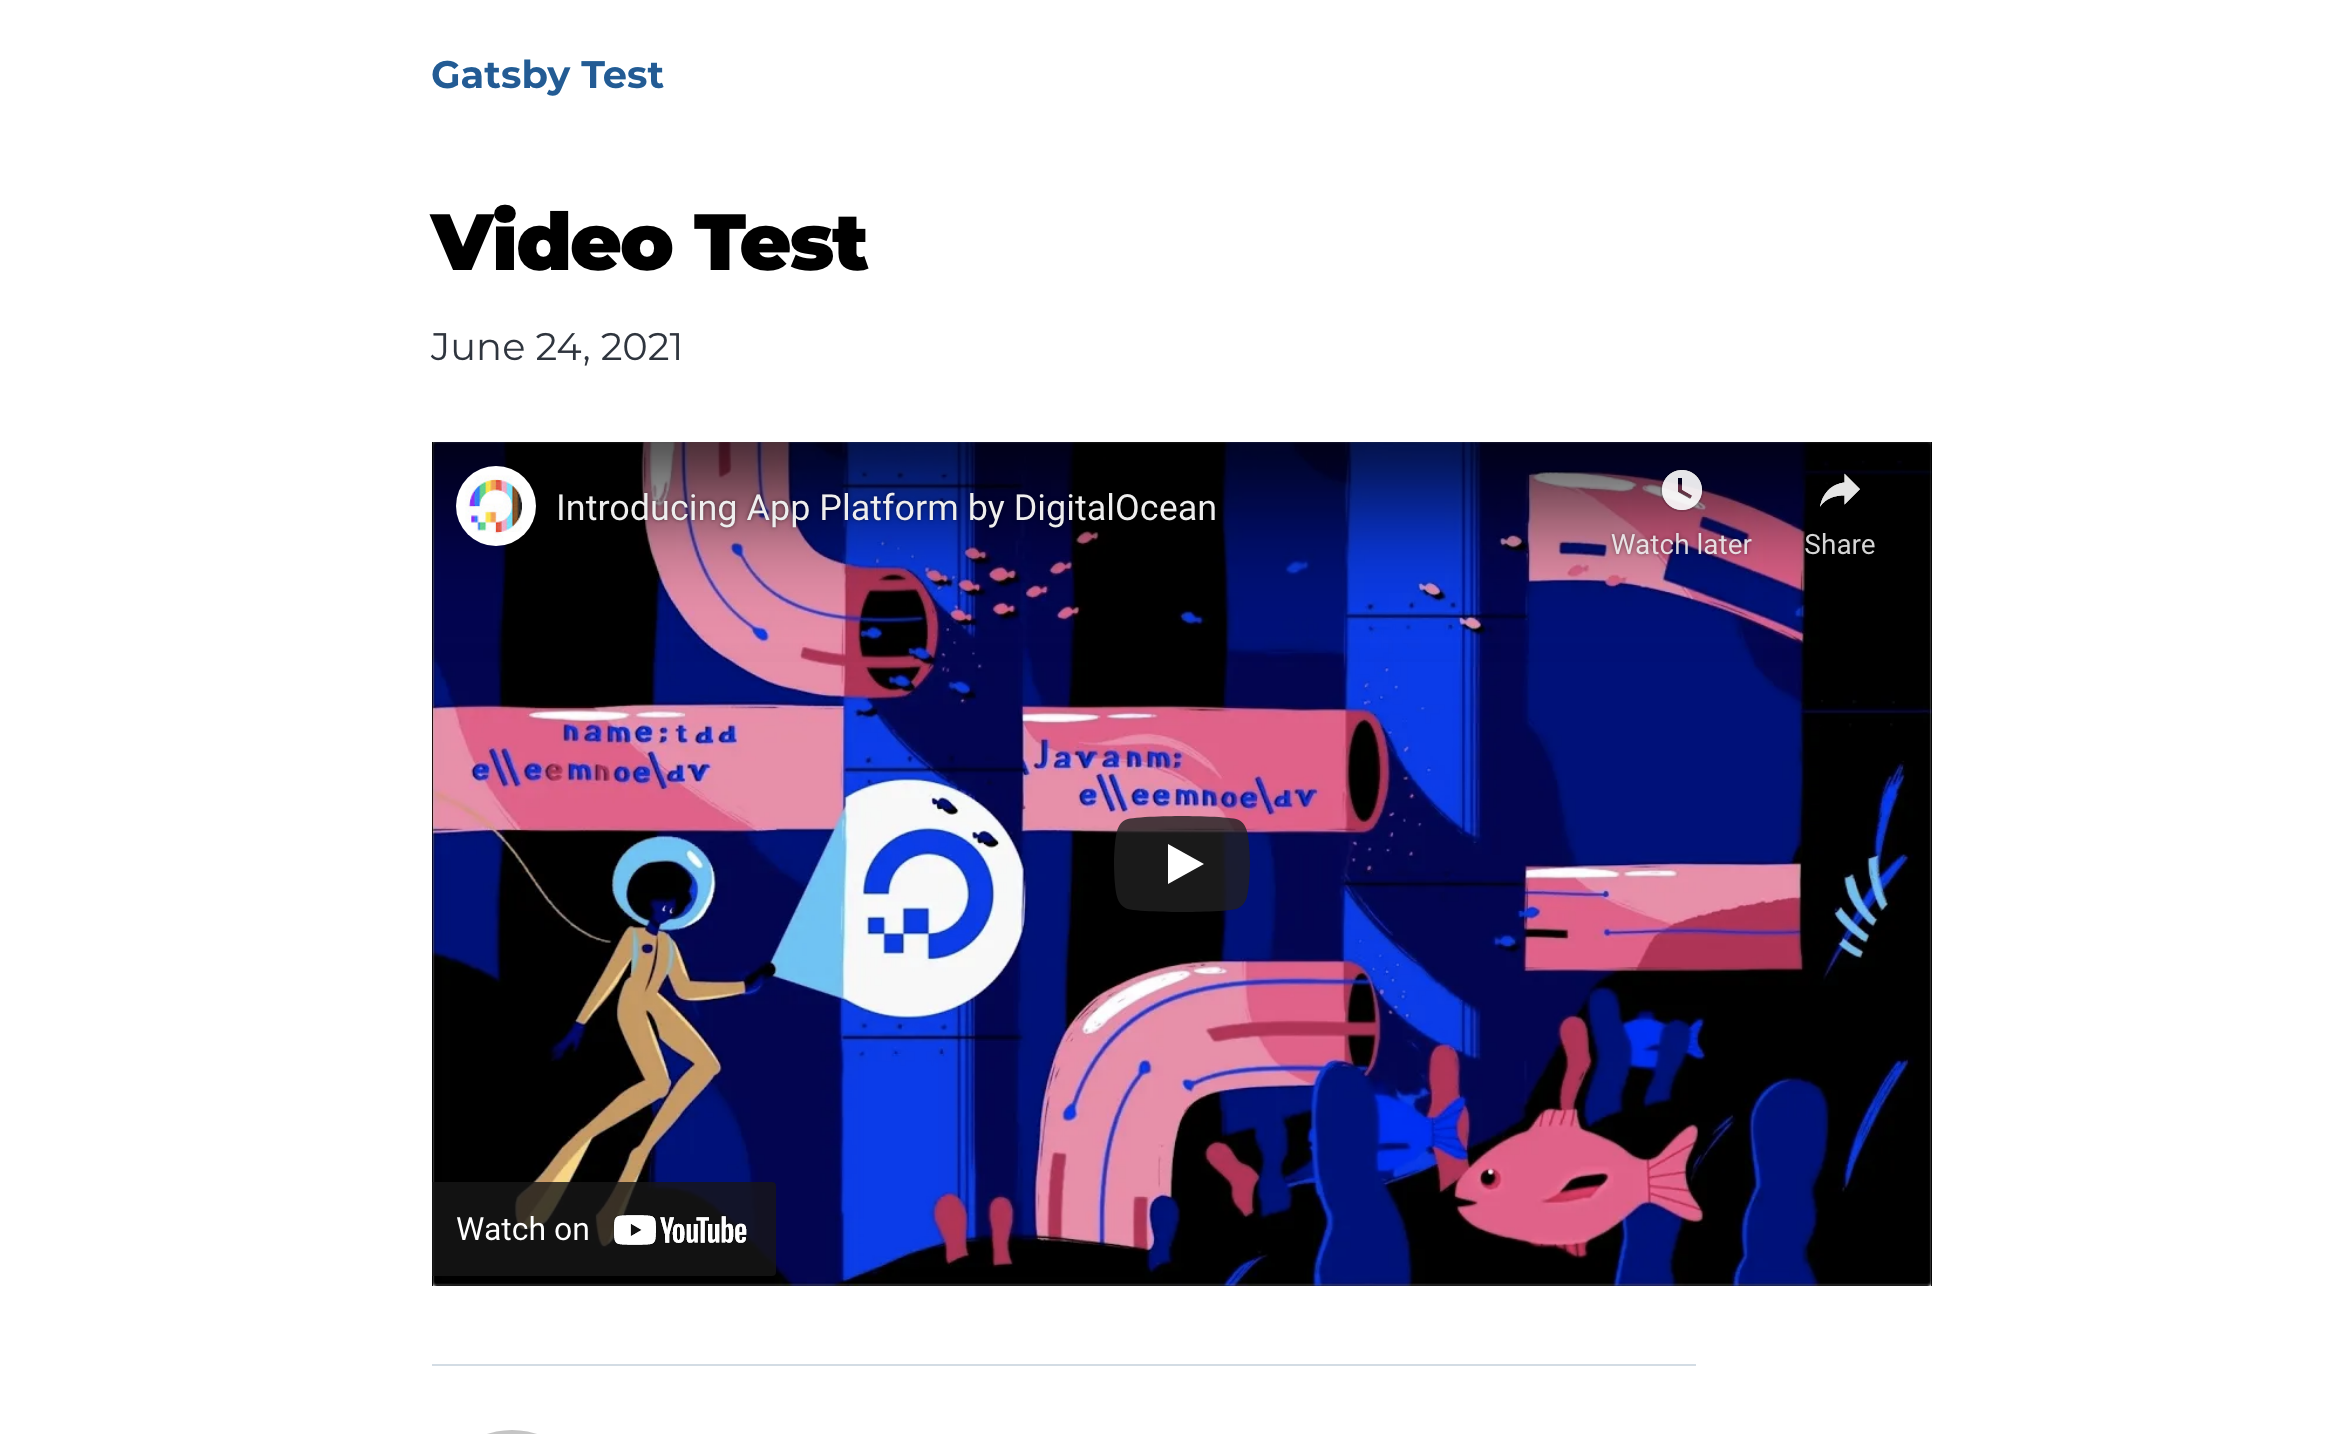
在您的浏览器中导航到localhost:8000,并选择您的测试视频帖子 YouTube 视频将在浏览器中渲染,如下图像所示:
结论
通过通过本教程中的步骤工作,您现在有一个静态生成的Gatsby网站,其内容来自WordPress后端。在脱离用户界面中的内容时,您已经开辟了加速网站的新可能性,减少了跨学科内容协作的障碍,并利用了Gatsby和React为用户界面开发提供的丰富生态系统。
如果您想阅读更多Gatsby教程,请尝试 如何使用Gatsby.js系列创建静态网站中的其他教程。