什么是TELNET
Telnet 是一个旧的网络协议,用于通过 TCP/IP 网络连接到远程系统,它通过端口连接到服务器和网络设备23。
声明
- Telnet 不是一个安全的协议,因此 NOT RECOMMENDED!. 这是因为通过该协议发送的数据是未加密的,可以被黑客拦截 2。
让我们看看如何安装和使用telnet协议。
安装TELNET
在本节中,我们将向您介绍在 RPM 和 DEB 系统中安装 telnet 的过程。
在 CentOS 7 / RHEL 7 中安装 Telnet
要在服务器上启动安装过程,运行命令
1# yum install telnet telnet-server -y
Sample Output 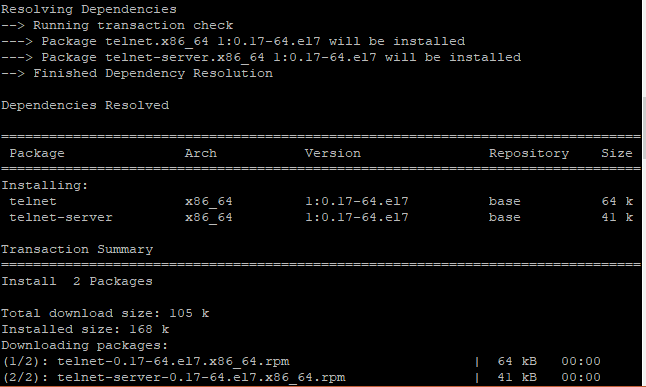 Next, Start and enable the telnet service by issuing the command below
1# systemctl start telnet.socket
2# systemctl enable telnet.socket
Sample Output  Next, allow port 23 which is the native port that telnet uses on the firewall.
1# firewall-cmd --permanent --add-port=23/tcp
最后,重新加载防火墙,以便规则生效。
1# firewall-cmd --reload
Sample Output  To verify the status of telnet run
1# systemctl status telnet.socket
Sample Output 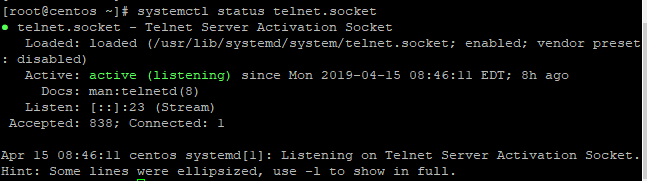 Telnet protocol is now ready for use. Next, we are going to create a login user.
创建一个Login用户
在本示例中,我们将创建一个登录用户以使用telnet协议登录。
1# adduser telnetuser
为用户创建密码。
1# passwd telnetuser
指定密码并确认 若要使用 telnet 命令登录服务器,请使用下面的语法。
1$ telnet server-IP address
例如
1$ telnet 38.76.11.19
In the black console, specify the username and password. 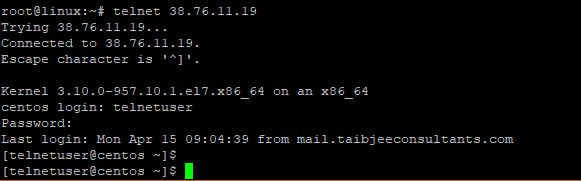 To login using putty, enter the server's IP address and click on the 'Telnet' radio button as shown.
 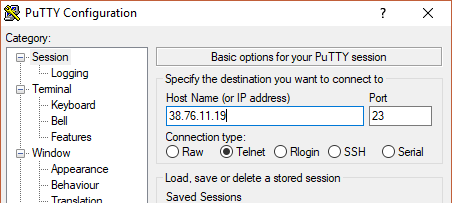 Finally, click on the 'Open' button. On the console screen, provide the username and password of the user
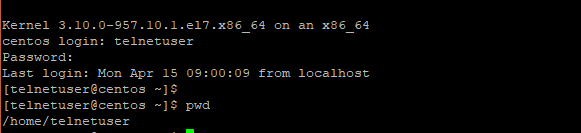
在 Ubuntu 18.04 中安装 Telnet
要在 Ubuntu 18.04 中安装 telnet 协议,请执行:
1$ sudo apt install telnetd -y
Sample Output 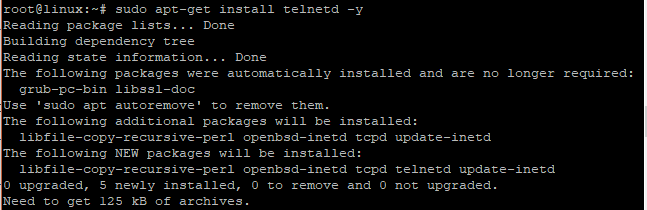 To check whether telnet service is running, execute the command.
1$ systemctl status inetd
Sample Output 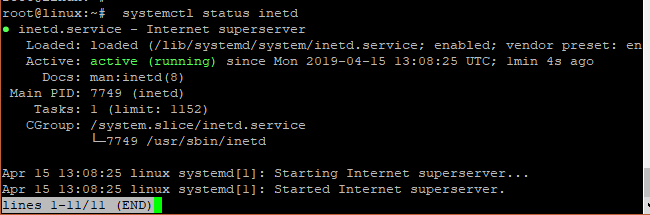 Next, we need to open port 23 in ufw firewall.
1$ ufw allow 23/tcp
Sample Output  Finally, reload the firewall to effect the changes.
1$ ufw reload
 Telnet has been successfully installed and ready for use. Like in the previous example in CentOS 7, you need to create a login user and log in using the same syntax.
使用telnet查看开放端口
Telnet 也可以用来检查某个特定端口是否在服务器上打开。
1$ telnet server-IP port
例如,若要检查端口 22 是否在服务器上打开,请运行
1$ telnet 38.76.11.19 22
Sample Output 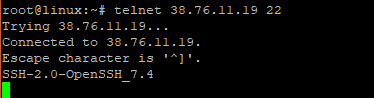
摘要
本教程是一个教育指南,向您展示如何使用telnet协议. 我们 HIGHLY DISCOURAGE使用telnet由于缺乏加密而产生的高安全风险。SSH是连接到远程系统时推荐的协议。