通过 React 构建跨平台应用并不是什么新鲜事,许多公司已经使用(并且仍在使用) React Native用于今天的移动首要项目。
创建 ReactXP 项目
我们可以克隆包含各种样本的GitHub Repo,或者替代地在全球范围内安装Create RX CLI:
1$ npm install create-rx-app -g
要创建您的第一个 ReactXP 应用程序,在安装 CLI 后运行以下操作:
1$ create-rx-app HelloRX
2
3# OR
4
5$ npx create-rx-app HelloRX
如果我们研究package.json文件,我们可以获得一些关于如何开始 / 构建我们的项目的见解,如在脚本对象中所见:
1"scripts": {
2  "start:android": "yarn rn-cli run-android",
3  "start:windows": "yarn rn-cli run-windows",
4  "start:ios": "yarn rn-cli run-ios",
5  "start:web": "cross-env platform=web webpack-dev-server --config=web/webpack/dev.js --progress --colors --mode=development",
6  "start:rn-dev-server": "yarn rn-cli start --reset-cache",
7  "build:web": "cross-env platform=web webpack --config=web/webpack/prod.js --progress --colors --mode=production",
8}
為我們的演示目的,我會在iOS和網絡上執行這項操作,您可以做同樣的事情,或者選擇您選擇的其他平台。
1$ npm run start:web
2$ npm run start:ios
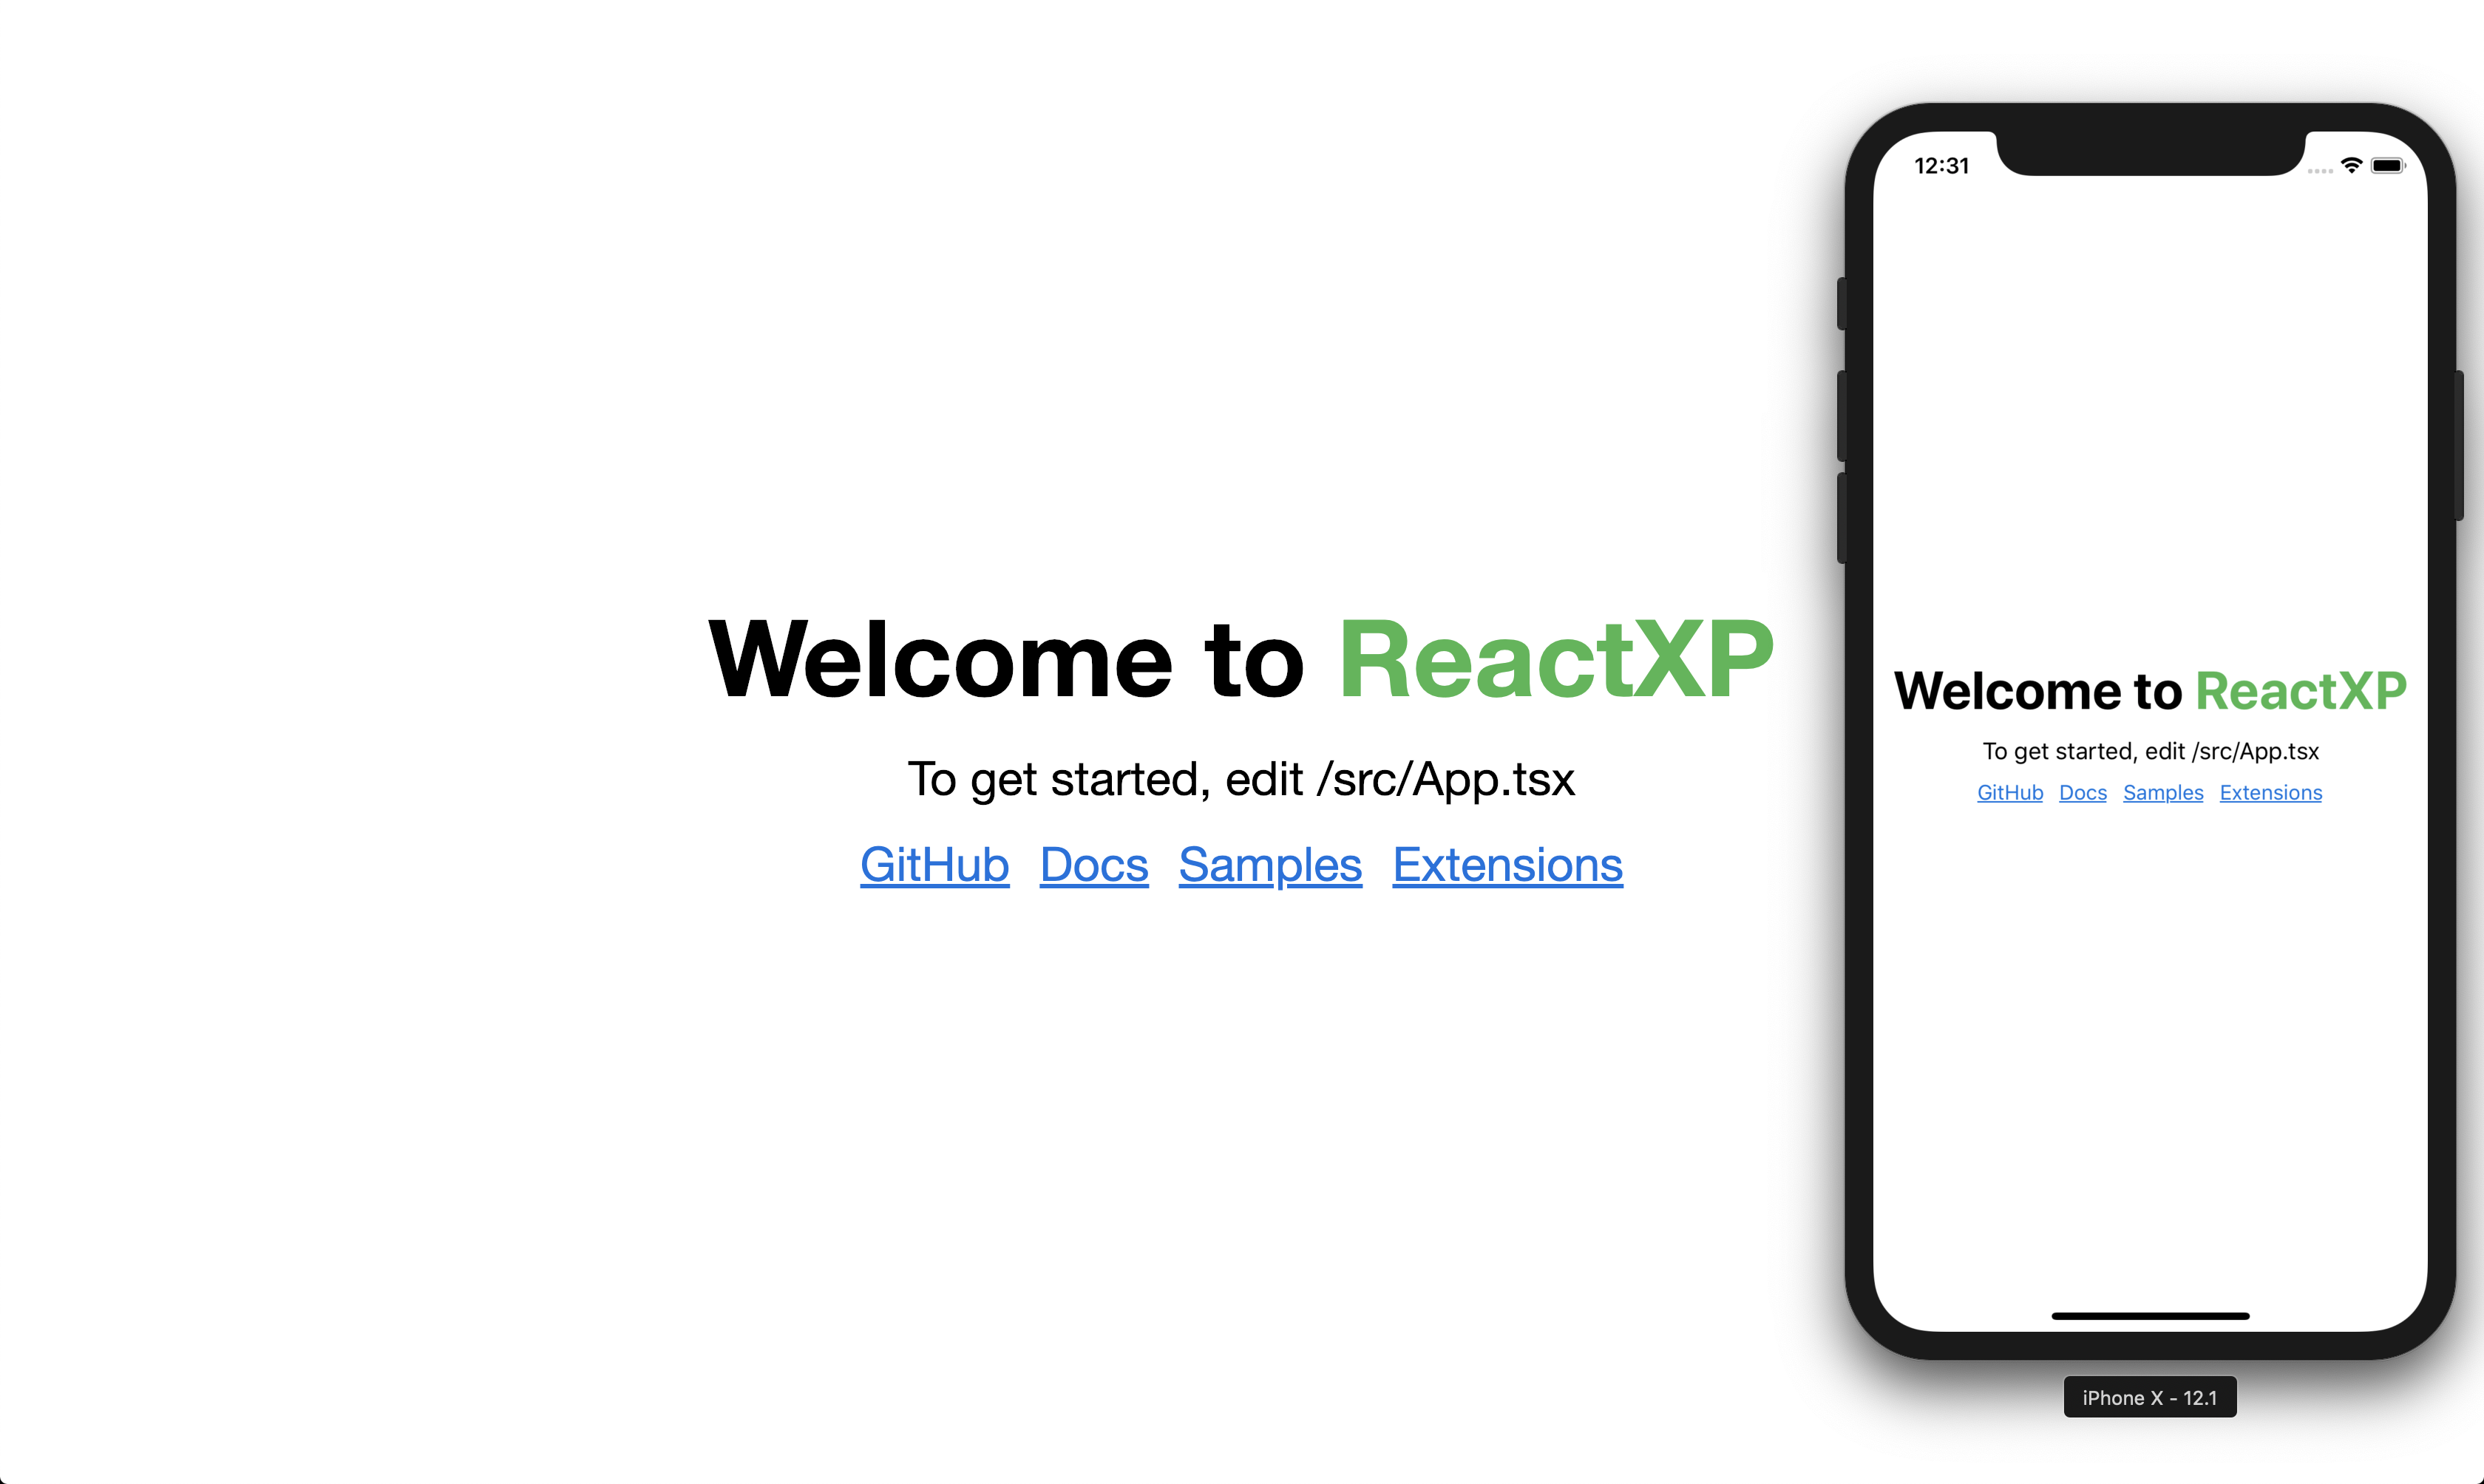
您好,阿利加特。
我们将创建一个示例应用程序,该应用程序使用ReactXP从HTTP服务器检索数据,并将其显示在屏幕上。
 1import React from 'react';
 2import { Component, Styles, View, Text, ScrollView } from 'reactxp';
 3
 4const _styles = {
 5  main:
 6    Styles.createViewStyle({
 7      flex: 1,
 8    }),
 9
10  navBarText:
11    Styles.createTextStyle({
12      color: 'white',
13    }),
14
15  navBar:
16    Styles.createViewStyle({
17      justifyContent: 'center',
18      alignItems: 'center',
19      backgroundColor: '#0984e3',
20      height: 65,
21    }),
22
23  scroll:
24    Styles.createScrollViewStyle({
25      alignSelf: 'stretch',
26      backgroundColor: '#f5fcff',
27      padding: 16,
28    }),
29
30  user:
31    Styles.createTextStyle({
32      marginBottom: 10,
33    }),
34};
35
36export class App extends Component {
37  public state = {
38    users: [],
39  };
40
41  public async componentWillMount() {
42    const req = await fetch(`https://jsonplaceholder.typicode.com/users`);
43
44    const data = await req.json();
45
46    this.setState({
47      users: data,
48    });
49  }
50
51  public displayUsers = (users) => {
52    return users.map((user) => (
53      <View key={user.id} style={_styles.user}>
54        <Text>{user.name}</Text>
55        <Text>{user.email}</Text>
56      </View>
57    ));
58  }
59
60  public render() {
61    return (
62      <View useSafeInsets={true} style={_styles.main}>
63        <View style={_styles.navBar}>
64          <Text style={_styles.navBarText}>Users</Text>
65        </View>
66        <ScrollView style={_styles.scroll}>{this.displayUsers(this.state.users)}</ScrollView>
67      </View>
68    );
69  }
70}
从我们的_styles对象开始,为了定制每个平台的风格,我们使用createXStyle,将风格转换为每个独特的原生元素,正如预期的那样,每个风格元素必须匹配相应的标签 - 因此,例如,createViewStyle必须放在一个View元素上。
从现在开始,一切都类似于标准的 React/React Native 应用程序,请注意在使用之前,我们必须从reactxp导入每个组件。
以下是我们的最终应用程序的样子:
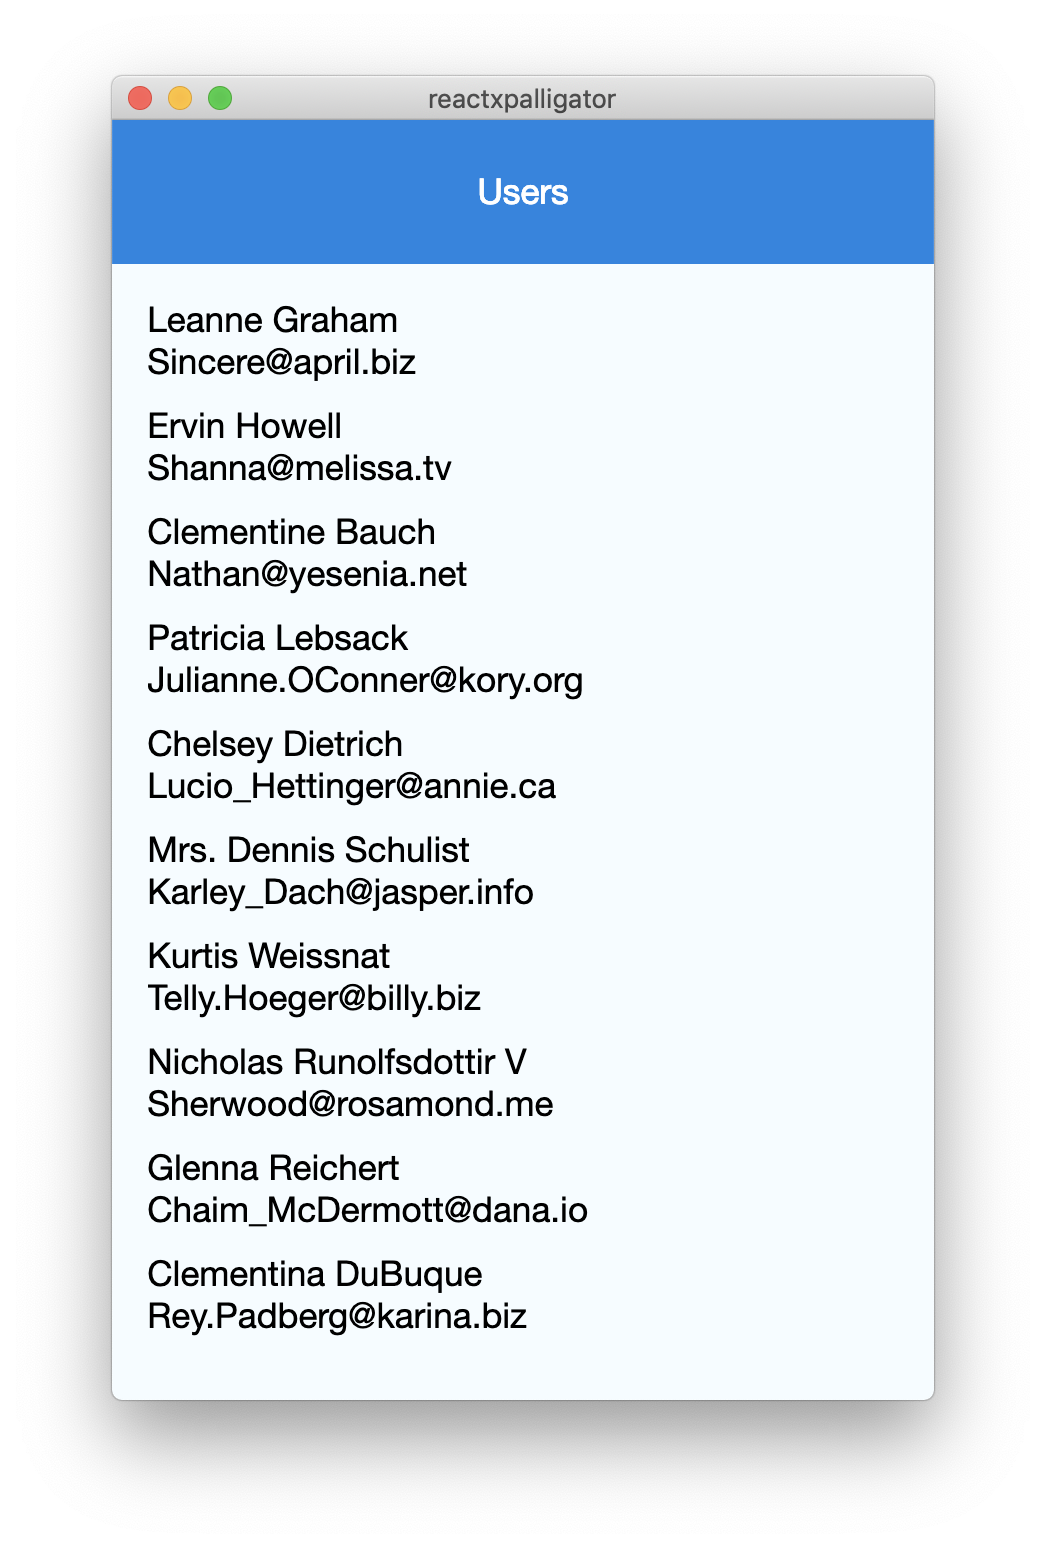
您可以看到 ReactXP 内部的完整组件列表(https://microsoft.github.io/reactxp/docs/getting-started.html)。