让我们重新实现页面滚动效果的进度栏,您可能已经在许多流行的博客中看到,包括这个。
我们将如何做到
要实现这一点,我们将使用 React, styled-components和 Document onScroll 事件。
安装
如上所述,我们将使用React和styled-components来实现进度滚动效果,为了节省时间,我们将使用Create React App(https://andsky.com/tech/tutorials/react-create-react-app)为我们启动快速的React应用程序。
打开您的终端并执行以下命令:
1$ create-react-app app-name
2$ cd app-name
<$>[注意] 没有安装「create-react-app」吗? 然后您可以使用此命令「$ npx create-react-app app-name」 <$>
好吧,接下来我们还需要为我们新创建的项目安装风格组件。
1$ npm install styled-components -S
现在,如果你在我们的终端中运行npm start,你应该看到这样的东西:
设计布局
所以,现在我们的应用程序已经设置了,让我们开始写一些实际的代码,我们将通过构建我们的页面布局和写一些CSS来造型布局开始。
导航到您的 src/App.js 文件,然后删除文件中的所有内容,并添加以下代码行:
 1[label src/App.js]
 2import React, { Component } from 'react';
 3import './App.css';
 4
 5export default class App extends Component {
 6  render() {
 7    return (
 8      <div className="App">
 9        <header></header>
10        <main>
11          <h1>Lorem Ipsum</h1>
12          <p>
13            Lorem ipsum dolor sit amet, consectetur adipiscing elit, sed do eiusmod tempor incididunt ut labore et dolore magna aliqua.Ut enim ad minim veniam, quis nostrud exercitation ullamco laboris nisi ut aliquip ex ea commodo consequat. Duis aute irure dolor in reprehenderit in voluptate velit esse cillum dolore eu fugiat nulla pariatur. Excepteur sint occaecat cupidatat non proident, sunt in culpa qui officia deserunt mollit anim id est laborum.
14          </p>
15          <p>...more paragraphs of text, enough so that the page gets a scrollbar</p>
16        </main>
17      </div>
18    );
19  }
20}
基本上,我们刚刚做的就是将create-react-app为我们生成的无状态功能组件转换为基于类的组件,我们还添加了一些愚蠢的文本内容来填补页面。
打开src/App.css,然后删除其中的所有内容,然后添加以下 CSS 行。
 1header {
 2  background: linear-gradient(to right, #302E24, #28313E);
 3  height: 60px;
 4  width: 100%;
 5  box-shadow: 0 2px 20px 0 rgba(0, 0, 0, .1);
 6  margin-bottom: 70px;
 7}
 8
 9.App p, .App h1 {
10  margin: 30px auto;
11  width: 800px;
12}
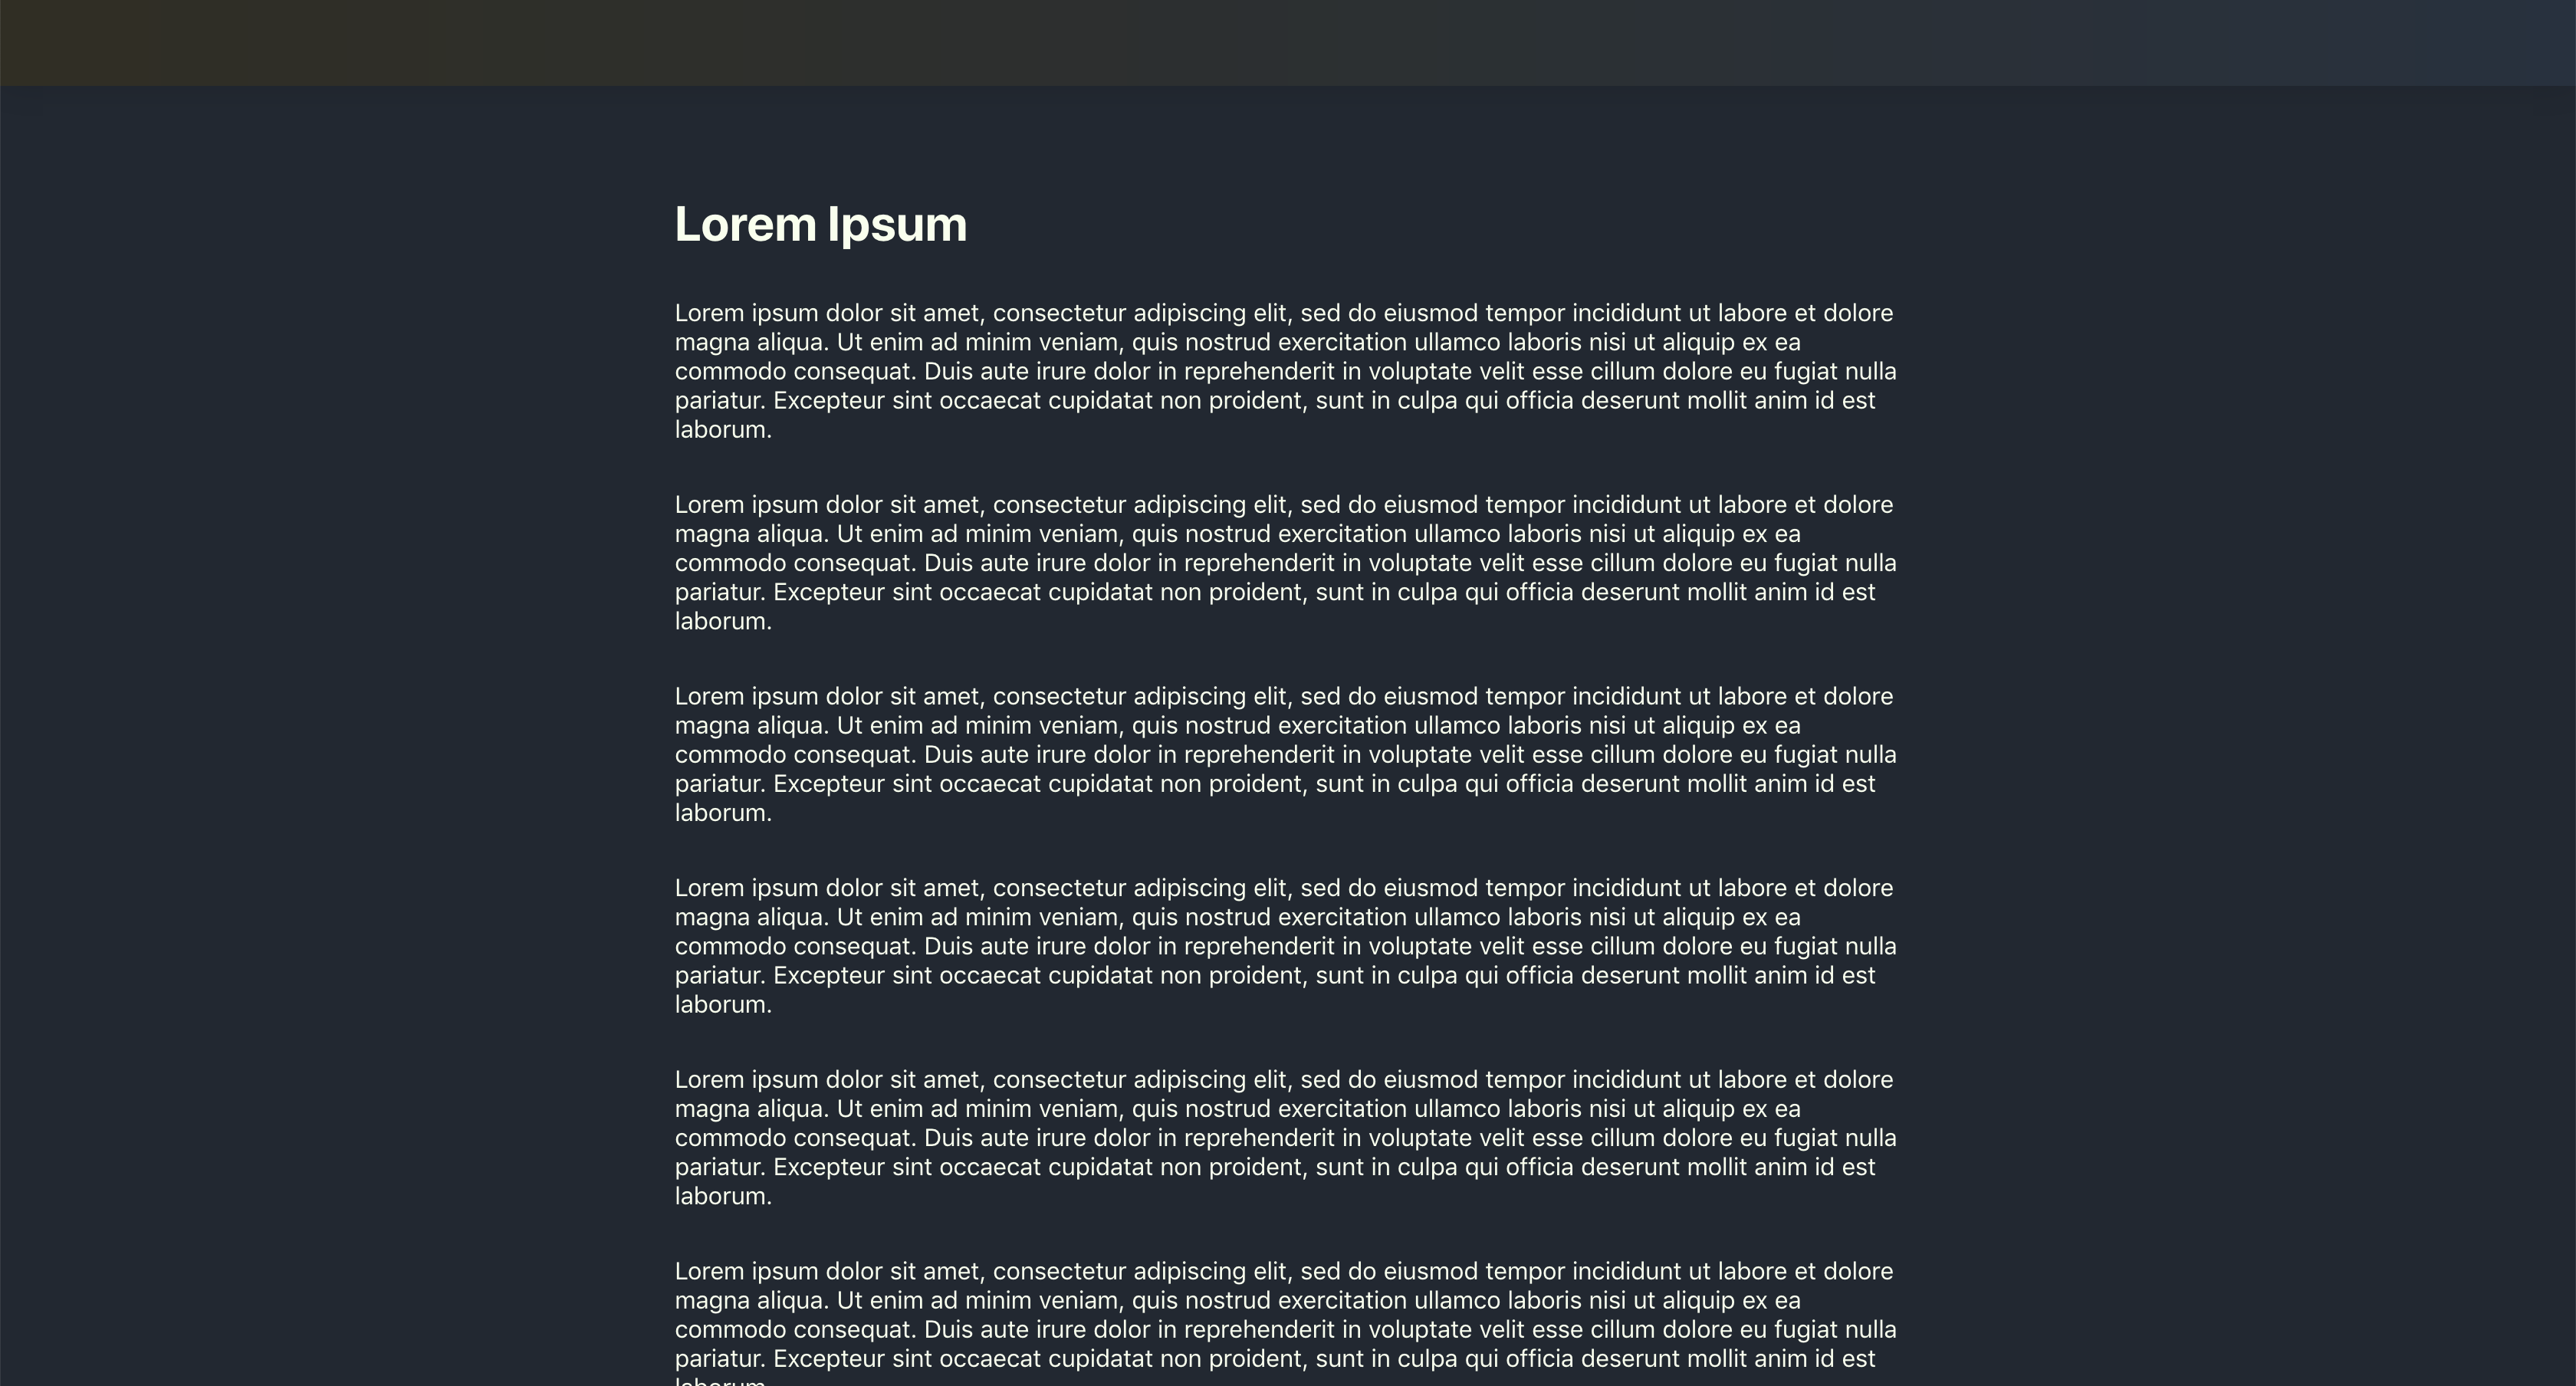
现在运行npm start,你应该看到类似于此的东西:
设计进度栏
好吧,所以我们的议程上的下一步将是设计进度栏. 为了实现这一点,我们将利用我们安装的风格组件库。
让我们在我们的 src 文件夹中创建一个名为 Progress.js 的文件. 一旦完成,请将以下行代码添加到文件中:
 1[label src/Progress.js]
 2import styled from 'styled-components';
 3
 4const Progress  =  styled.div`
 5  position:  fixed;
 6  background:  linear-gradient(
 7    to right,
 8    rgba(250, 224, 66, .8) ${props => props.scroll},
 9    transparent 0);
10  width:  100%;
11  height:  4px;
12  z-index:  3;
13`;
14
15export default Progress;
现在,让我们回到我们的App.js文件,并使用新创建的进度组件:
 1[label src/App.js]
 2import React, { Component } from 'react';
 3import './App.css';
 4import Progress from './Progress';
 5
 6export default class App extends Component {
 7  render() {
 8    return (
 9      <div className="App">
10        <Progress scroll="70%" />
11        {/* ... */}
12      </div>
13    );
14  }
15}
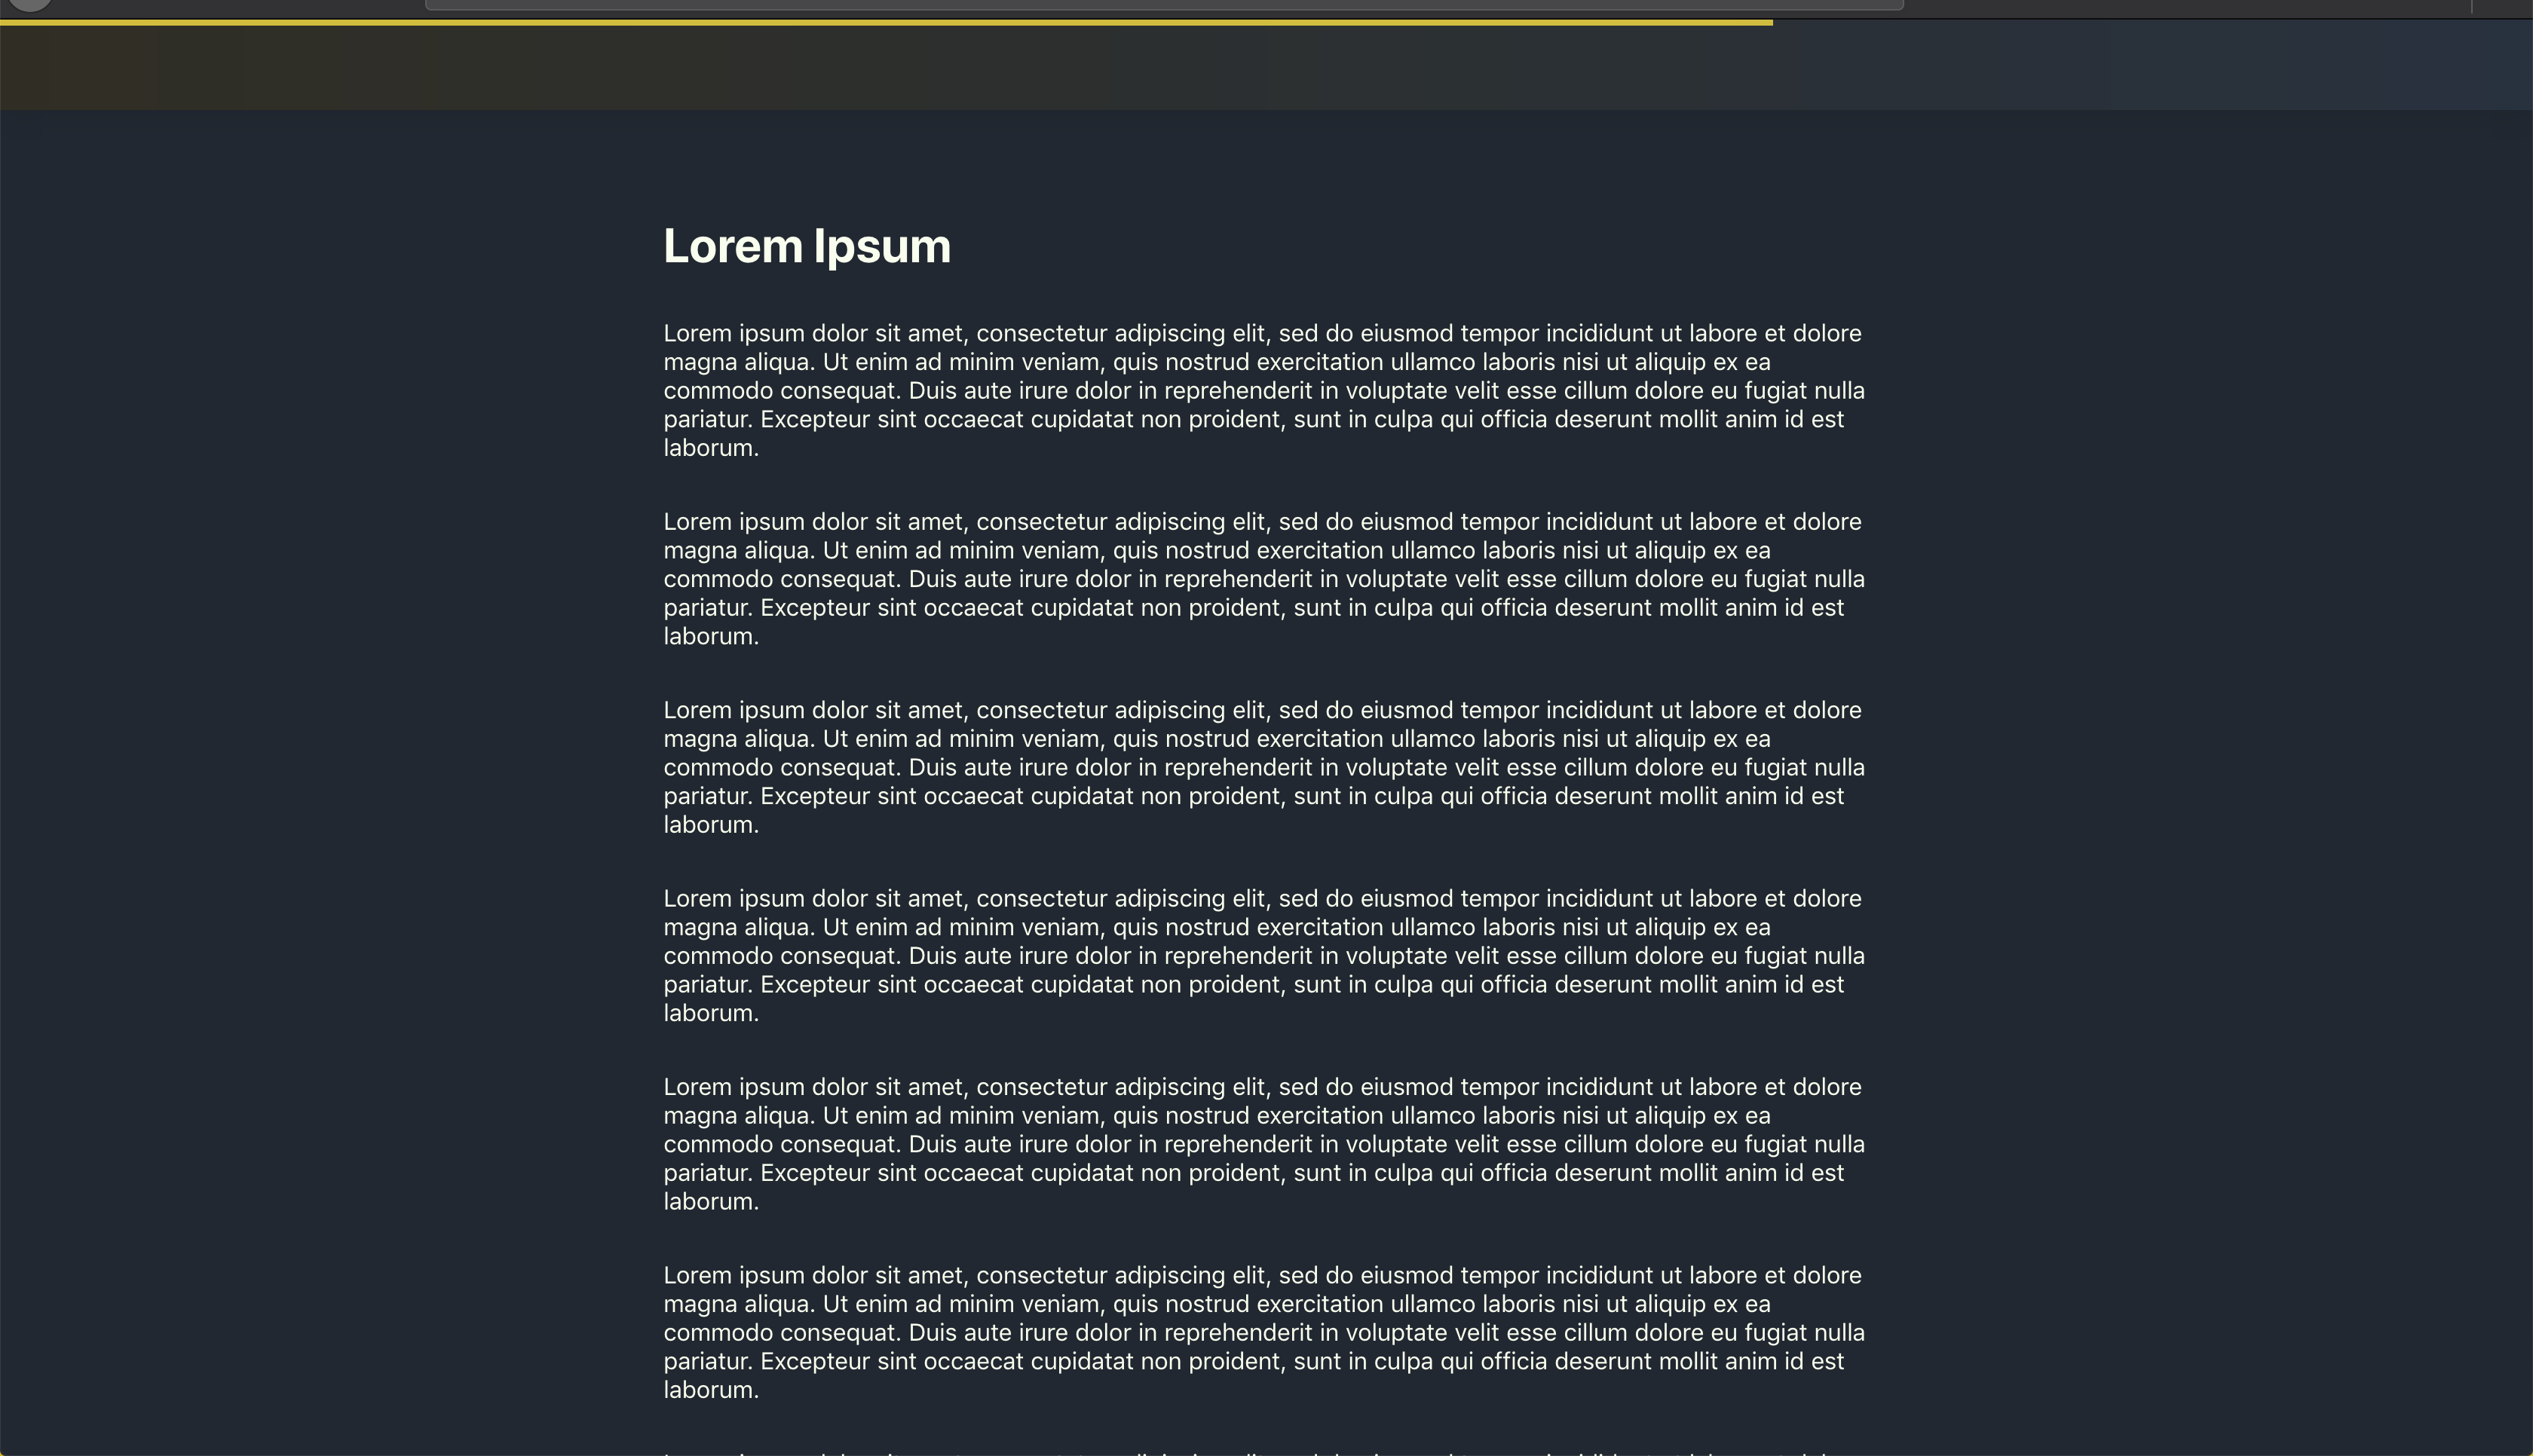
好了,我猜这是一个很好的时间来检查我们到目前为止是如何做的,所以让我们再次运行npm start并检查我们的应用程序,如果一切顺利,你应该有这样的东西:
添加 Scroll 逻辑
在我们开始编写实际代码之前,让我们概述实现这一目标所需的步骤:
- 聆听
文档对象上的滚动事件 - 确定用户当前滚动距离
- 拥有持有当前滚动百分比的状态变量
- 最后,用新的状态百分比 更新进度滚动
好吧,让我们将假代码转换为实际代码
聆听文档对象上的滚动事件
好吧,在我们的App.js文件中,允许创建一个名为listenToScrollEvent的方法,该方法会听到DOM上的滚动事件。
1[label src/App.js]
2listenToScrollEvent = () => {
3  document.addEventListener("scroll", () => {
4    requestAnimationFrame(() => {
5      // Calculates the scroll distance
6      this.calculateScrollDistance();
7    });
8  });
9};
该方法简单地听取在Document对象上发生的任何滚动事件,然后召唤 requestAnimationFrame,通知浏览器即将发生动画。
我们需要做的最后一个步骤是每次安装应用组件时拨打此方法,所以我们利用React的生命周期方法之一componentDidMount来拨打ListenToScrollEvent方法。
1[label src/App.js]
2componentDidMount()  {
3  this.listenToScrollEvent();
4}
现在让我们来考虑定义calculateScrollDistance方法。
确定用户当前滚动距离
要计算用户当前滚动距离,我们需要做几件事:
- 我们需要得到用户滚动多少
- 我们需要得到浏览器的高度
- 我们需要得到文档的高度
获取用户滚动了多少
为了计算当前用户的滚动距离,我们可以使用在Windows对象上可用的pageYOffset值。
因此,让我们创建一个calculateScrollDistance方法,并将下列行添加到方法中:
1[label src/App.js]
2calculateScrollDistance = () => {
3  const scrollTop = window.pageYOffset;
4}
<$>[警告] 对于较旧的 IE 浏览器,下列操作也应该工作 document.body.scrollTop <$>
获取浏览器的高度
接下来,我们需要获得浏览器的高度,并这样做,我们可以使用可以通过窗口对象访问的innerHeight值。
浏览器的高度仅仅是指可查看的浏览器(即Chrome或Firefox)区域的高度。
所以回到我们的calculateScrollDistance,让我们添加获得浏览器窗口高度的行。
1[label src/App.js]
2calculateScrollDistance = () => {
3  const scrollTop = window.pageYOffset;
4  const windowHeight = window.innerHeight;
5}
<$>[警告]在较旧的IE浏览器的情况下,下列操作也应该工作 document.body.clientHeight <$>
获取文件高度
现在获得文档的高度是困难的,原因在于各种浏览器有不同的方式来解释或计算文档的高度。
为了绕过这一点,我们需要检查各种浏览器使用的不同属性来获取文档高度,并使用‘Math.max()’来获取最高值。
因此,让我们通过创建一个名为getDocHeight的方法来快速实现这一点,并添加以下代码行:
1[label src/App.js]
2getDocHeight  =  ()  =>  {
3  return Math.max(
4    document.body.scrollHeight, document.documentElement.scrollHeight,
5    document.body.offsetHeight, document.documentElement.offsetHeight,
6    document.body.clientHeight, document.documentElement.clientHeight
7  );
8}
然后我们在我们的calculateScrollDistance方法中将该方法称为:
1[label src/App.js]
2calculateScrollDistance = () => {
3  const scrollTop = window.pageYOffset;
4  const windowHeight = window.innerHeight;
5  const docHeight = this.getDocHeight();
6}
现在我们有所需的所有值,我们可以通过将scrollTop从文档(docHeight - winHeight)的总可用滚动长度中分割来计算用户滚动的百分比,并以百分比来倍增结果。
然后将以下行添加到我们的代码中:
1[label src/App.js]
2calculateScrollDistance = () => {
3  const scrollTop = window.pageYOffset;
4  const windowHeight = window.innerHeight;
5  const docHeight = this.getDocHeight();
6
7  const totalDocScrollLength  =  docHeight  -  winHeight;
8  const scrollPostion  =  Math.floor(scrollTop  /  totalDocScrollLength  *  100)
9}
现在我们有滚动位置,我们需要添加一个状态变量,然后我们可以更新用户的当前滚动位置。
1[label src/App.js]
2// ...
3state = {
4  scrollPosition: 0
5}
回到我们的calculateScrollDistance方法,我们需要使用 React 提供的setState方法,这将有助于更新我们scrollPosition的状态:
1[label src/App.js]
2calculateScrollDistance = () => {
3  // ...
4  this.setState({
5    scrollPosition,
6  });
7}
所以最终的代码将看起来像这样的东西:-
 1[label src/App.js]
 2// ...
 3
 4state = {
 5  scrollPosition: 0
 6}
 7
 8calculateScrollDistance  =  ()  =>  {
 9  const scrollTop  =  window.pageYOffset;
10  const winHeight  =  window.innerHeight;
11  const docHeight  =  this.getDocHeight();
12
13  const totalDocScrollLength = docHeight  -  winHeight;
14  const scrollPostion  =  Math.floor(scrollTop  /  totalDocScrollLength  *  100);
15
16  this.setState({
17    scrollPostion,
18  });
19}
20
21// ...
更新进度栏使用我们的滚动位置状态
最后要做的就是简单地将我们的滚动位置状态转移到我们的进度栏组件中。
1{/* ... */}
2<Progress scroll={ this.state.scrollPostion  +  '%' }  />
因此,最终的完整代码将看起来像这样:
 1import React, { Component } from 'react';
 2import Progress from './Progress';
 3import './App.css';
 4
 5export default class App extends Component {
 6  state = {
 7    scrollPostion: 0
 8  }
 9
10  listenToScrollEvent = () => {
11    document.addEventListener("scroll", () => {
12      requestAnimationFrame(() => {
13        this.calculateScrollDistance();
14      });
15    });
16  }
17
18  calculateScrollDistance = () => {
19    const scrollTop = window.pageYOffset; // how much the user has scrolled by
20    const winHeight = window.innerHeight;
21    const docHeight = this.getDocHeight();
22
23    const totalDocScrollLength = docHeight - winHeight;
24    const scrollPostion = Math.floor(scrollTop / totalDocScrollLength * 100)
25
26    this.setState({
27      scrollPostion,
28    });
29  }
30
31  getDocHeight = () => {
32    return Math.max(
33      document.body.scrollHeight, document.documentElement.scrollHeight,
34      document.body.offsetHeight, document.documentElement.offsetHeight,
35      document.body.clientHeight, document.documentElement.clientHeight
36    );
37  }
38
39  componentDidMount() {
40    this.listenToScrollEvent();
41  }
42
43  render() {
44    return (
45      <div className="App">
46        <Progress scroll={this.state.scrollPostion + '%'} />
47        <header></header>
48        <main>
49          <h1>Lorem Ipsum</h1>
50          <p>
51          Lorem ipsum dolor sit amet, consectetur adipiscing elit, sed do eiusmod tempor incididunt ut labore et dolore magna aliqua. Ut enim ad minim veniam, quis nostrud exercitation ullamco laboris nisi ut aliquip ex ea commodo consequat. Duis aute irure dolor in reprehenderit in voluptate velit esse cillum dolore eu fugiat nulla pariatur. Excepteur sint occaecat cupidatat non proident, sunt in culpa qui officia deserunt mollit anim id est laborum.
52          </p>
53          <p>
54          ...
55          </p>
56        </main>
57      </div>
58    );
59  }
60}
有了这一切,你现在应该在页面滚动上有一个工作进度栏!
这是所有的人
Whew! 🤗 在那里你有它的人,我们成功创建了进度滚动效果. 希望你觉得有用!