React Native 利用在 Web 上原有的 Geolocation API 返回不同的方法,例如 getCurrentPosition 和 watchPosition,这些方法在 React Native 中可用,以便展示如何在 React Native 应用中使用它,我们将使用 react-native-cli 整合它。
开始的
使用react-native-cli意味着没有模板和只有很少的锅炉板代码才能启动。我们将使用以下命令生成一个项目。如果您尚未在本地机器上安装,请使用下面提到的第一个命令:
1# to install the cli
2$ npm install -g react-native-cli
3
4# to scafold an RN project
5$ react-native init geo-example
因此,一旦项目目录被生成,穿过它并运行npm start,看看一切是否正确安装. 如果你在Mac上,你可以使用ios模拟器来验证。
访问地理位置 API
地理位置化 API 存在于 React Native 中作为一个全球性的导航对象,就像在 Web 上一样. 它可以通过我们的源代码中的navigator.geolocation访问,无需导入。
用于演示目的,我们将使用地理位置API的getCurrentPosition方法,该方法允许移动应用程序请求用户的位置,并接受三种参数:成功回调,错误回调和配置对象。
1navigator.geolocation.getCurrentPosition(
2  position => {
3    const location = JSON.stringify(position);
4
5    this.setState({ location });
6  },
7  error => Alert.alert(error.message),
8  { enableHighAccuracy: true, timeout: 20000, maximumAge: 1000 }
9);
上面的成功调用有一个位置参数,如果没有任何错误,则具有以下属性的对象:
 1{
 2  "timestamp": 1533729980953.91
 3  "coords": {
 4    "accuracy": 5,
 5    "altitude": 0,
 6    "altitudeAccuracy": -1,
 7    "heading": -1,
 8    "latitude": 37.785834,
 9    "longitude": -122.406417,
10    "speed": -1
11  }
12}
我们将在我们的 React Native 项目中修改App.js,以便开始。
 1[label App.js]
 2import React, { Component } from "react";
 3import { View, Text } from "react-native";
 4
 5export default class App extends Component {
 6  render() {
 7    return (
 8      <View>
 9        <Text>Find My Coords?</Text>
10      </View>
11    );
12  }
13}
地理定位 API
现在,让我们在我们的应用程序中实施地理位置API函数getCurrentPosition。
 1[label App.js]
 2import React, { Component } from "react";
 3import {
 4  Platform,
 5  StyleSheet,
 6  Text,
 7  View,
 8  Alert,
 9  TouchableOpacity
10} from "react-native";
11
12export default class App extends Component {
13  state = {
14    location: null
15  };
16
17  findCoordinates = () => {
18    navigator.geolocation.getCurrentPosition(
19      position => {
20        const location = JSON.stringify(position);
21
22        this.setState({ location });
23      },
24      error => Alert.alert(error.message),
25      { enableHighAccuracy: true, timeout: 20000, maximumAge: 1000 }
26    );
27  };
28
29  render() {
30    return (
31      <View style={styles.container}>
32        <TouchableOpacity onPress={this.findCoordinates}>
33          <Text style={styles.welcome}>Find My Coords?</Text>
34          <Text>Location: {this.state.location}</Text>
35        </TouchableOpacity>
36      </View>
37    );
38  }
39}
我们开始进口TouchableOpacity. 这是一个对用户触摸的准确反应的包装器. 在React Native移动应用程序中,您将经常使用该包装器组件。 想想它作为一个Web应用程序中的按钮。
「findCoordinates」持有获取用户位置的逻辑。我们还使用本地状态显示位置对象提供给我们的数据中的坐标。
让我们用 React Native 的StyleSheet来对待一些问题:
 1const styles = StyleSheet.create({
 2  container: {
 3    flex: 1,
 4    justifyContent: "center",
 5    alignItems: "center",
 6    backgroundColor: "#F5FCFF"
 7  },
 8  welcome: {
 9    fontSize: 20,
10    textAlign: "center",
11    margin: 10
12  },
13  instructions: {
14    textAlign: "center",
15    color: "#333333",
16    marginBottom: 5
17  }
18});
此时此示例不会按预期工作. 我们需要请求允许访问用户的位置。
请求许可
在iOS中,使用react-native-cli创建项目时,地理定位默认启用,您只需要在info.plist文件中包含名为<key>NSLocationWhenInUseUsageDescription</key>的密钥,该密钥位于ios/findCoordsApp目录中。
 1<?xml version="1.0" encoding="UTF-8"?>
 2<!DOCTYPE plist PUBLIC "-//Apple//DTD PLIST 1.0//EN" "http://www.apple.com/DTDs/PropertyList-1.0.dtd">
 3<plist version="1.0">
 4<dict>
 5    <key>CFBundleDevelopmentRegion</key>
 6    <string>en</string>
 7    <key>CFBundleDisplayName</key>
 8    <string>findCoordsApp</string>
 9    [..]
10    <key>NSLocationWhenInUseUsageDescription</key>
11    <string></string>
12    <key>NSAppTransportSecurity</key>
13    <!--See http://ste.vn/2015/06/10/configuring-app-transport-security-ios-9-osx-10-11/ -->
14  [...]
15</dict>
16</plist>
对于Android,我们需要在Android/app/src/AndroidManifest.xml中添加以下行:
1<uses-permission android:name="android.permission.ACCESS_FINE_LOCATION" />
包装上
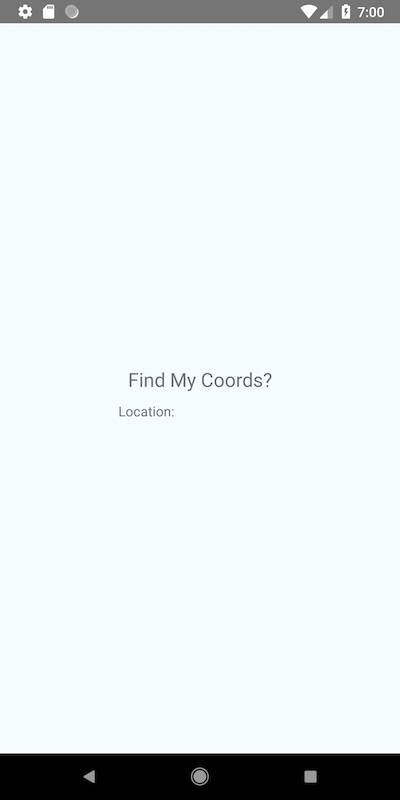
现在,如果您运行您的应用程序,您将看到以下屏幕:
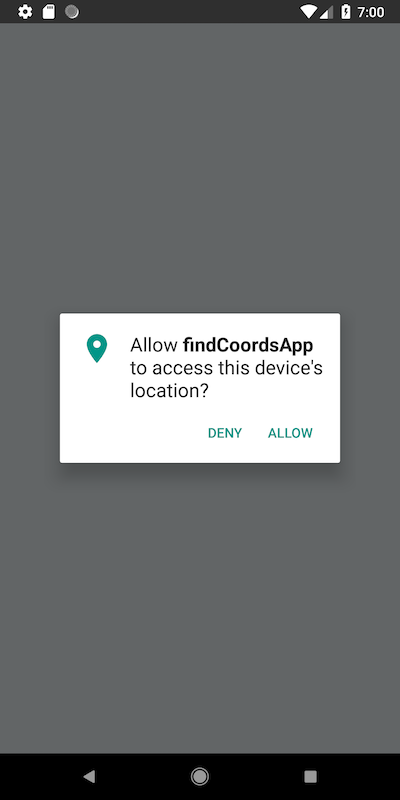
点击文本,您将被问及是否允许应用程序请求用户的位置:
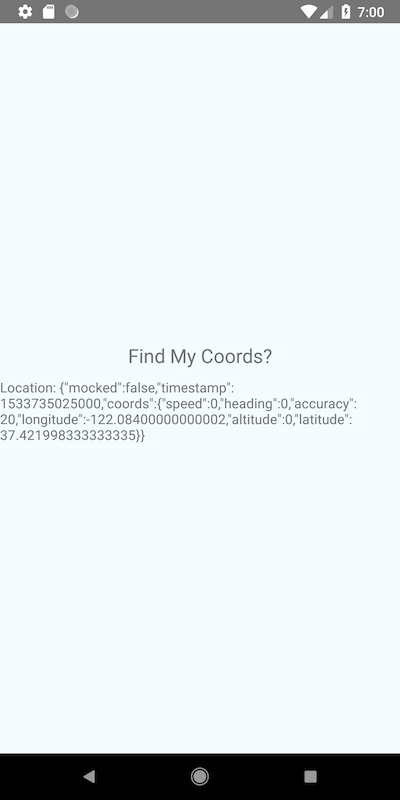
如果你按下允许,你会看到以下结果的屏幕:
这是一个非常简单的例子,但您可以从那里创建一些更有趣/有用的东西. 如果您想了解更多关于在 React Native 应用程序中使用地理位置化 API 的信息,请参阅 官方的文档。