关于 Node.js 生态系统的好处在于,如果你想创建一个应用程序,那么很可能有一个模块/框架可以帮助你! 在本文中,我们将创建一个基本的 REST API 与 hapi.js。
<$>[注]您也可能对 API 开发和使用 Node.js 和 Express 的路由感兴趣! <$>
让我们从创建一个新的项目开始,然后安装hapi。在终端中运行以下操作来开始:
 1# Create a new directory for the project
 2$ mkdir hapi-api && cd hapi-api
 3
 4# Initialise a new Node project
 5$ npm init -y
 6
 7# Install hapi.js
 8$ npm install hapi
 9
10# Create a new server file
11$ touch index.js
12
13# Install nodemon
14$ npm i nodemon -g
15
16# Run server with nodemon
17$ nodemon index.js
我们正在使用 nodemon来启动我们的服务器在观看模式中。
我们需要做的第一件事是创建一个服务器. 幸运的是,Node.js 很容易做到这一点!
创建服务器
 1const Hapi = require('hapi');
 2
 3const server = Hapi.server({
 4  port: 3000,
 5  host: 'localhost'
 6});
 7
 8const start = async () => {
 9  await server.start();
10};
11
12start();
我们的服务器现在正在等待localhost:3000。接下来,我们将设置路由来响应/路线。
1server.route({
2  path: '/',
3  method: 'GET',
4  handler: (request, h) => {
5    return 'Hello, hapi!';
6  }
7});
我们可以通过使用‘curl’或基于GUI的项目,如 Postman来检查它是否返回了我们的预期。
1$ curl http://localhost:3000/
2
3> Hello, hapi!

参数
我们还可以通过请求和h参数进一步考虑这一点,让我们添加将参数传输到我们的URL的能力:
 1server.route({
 2  path: '/',
 3  method: 'GET',
 4  handler: (request, h) => {
 5    return 'Hello, hapi!';
 6  }
 7});
 8
 9server.route({
10  path: '/{id}',
11  method: 'GET',
12  handler: (request, h) => {
13    return `Product ID: ${encodeURIComponent(request.params.id)}`;
14  }
15});
在我们的小例子中,我们想象我们有一个API,返回一个特定的产品. 每当用户请求http://localhost:3000/123,他们就会得到:
产品标识: 123
这是因为request.params对象包含我们在路径中设置的任何参数。
请注意,我们将id围绕在两个框中:{id},这告诉hapi,我们打算让用户替换URL的那个部分作为参数。
与此同时,我们还保留了原始路线而没有id。这表明我们可以有多个路线,以类似的基准模式为目标,它们不会相互排列,每个路线变得更加具体,如果它不匹配特定路线,它将回顾堆栈,直到一个匹配。
<$>[注]虽然我们在本示例中看到了 GET,但处理其他 HTTP 词汇也是一样的。
插件
我们也可以在hapi中使用插件。让我们使用好插件来增加我们的日志功能的功率。在您的终端中运行以下操作来安装所需的软件包:
1$ npm install good good-console good-squeeze
然后我们需要创建一个consoleLogging对象,可以用来初始化我们的插件。
 1const consoleLogging = {
 2  plugin: require('good'),
 3  options: {
 4    ops: {
 5      interval: 1000
 6    },
 7    reporters: {
 8      consoleReporter: [
 9        {
10          module: 'good-squeeze',
11          name: 'Squeeze',
12          args: [{ response: '*', log: '*' }]
13        },
14        { module: 'good-console' },
15        'stdout'
16      ]
17    }
18  }
19};
然后我们可以在我们的开始函数中注册:
1const start = async () => {
2  await server.register([consoleLogging]);
3
4  await server.start();
5};
现在,这意味着我们每次访问我们的API,它会将事件记录到控制台,我们可以尝试通过导航到http://localhost:3000/在我们的浏览器中,或者我们可以使用curl:
1$ curl http://localhost:3000/
这给了我们以下结果:
1(Pauls-MacBook-Pro) [response] http://localhost:3000 : get / {} 200 (16ms)
现在,我们对我们hapi服务器上发生的每一个动作都有自动日志。
服务档案
如何服务文件? 好问题! 让我们自己做一个新的‘index.html’页面:
1<!DOCTYPE html>
2<html lang="en">
3<head>
4 <meta charset="UTF-8">
5 <meta name="viewport" content="width=device-width, initial-scale=1.0">
6 <meta http-equiv="X-UA-Compatible" content="ie=edge">
7 <title>hapi Todo List</title>
8 <style>
9 body {
10 background-color: #6624fb;
11 color: white;
12 }
13
14 .container {
15 display: flex;
16 height: 93vh;
17 justify-content: center;
18 flex-wrap: wrap;
19 flex-direction: column;
20 align-items: center;
21 }
22
23 .completed {
24 text-decoration: line-through;
25 }
26
27 ul {
28 padding: 0px;
29 margin: 0px;
30 }
31
32 li {
33 font-size: 24px;
34 list-style:none;
35 }
36 </style>
37</head>
38<body>
39 <div class="container">
40 <h1>Todo List</h1>
41 <ul>
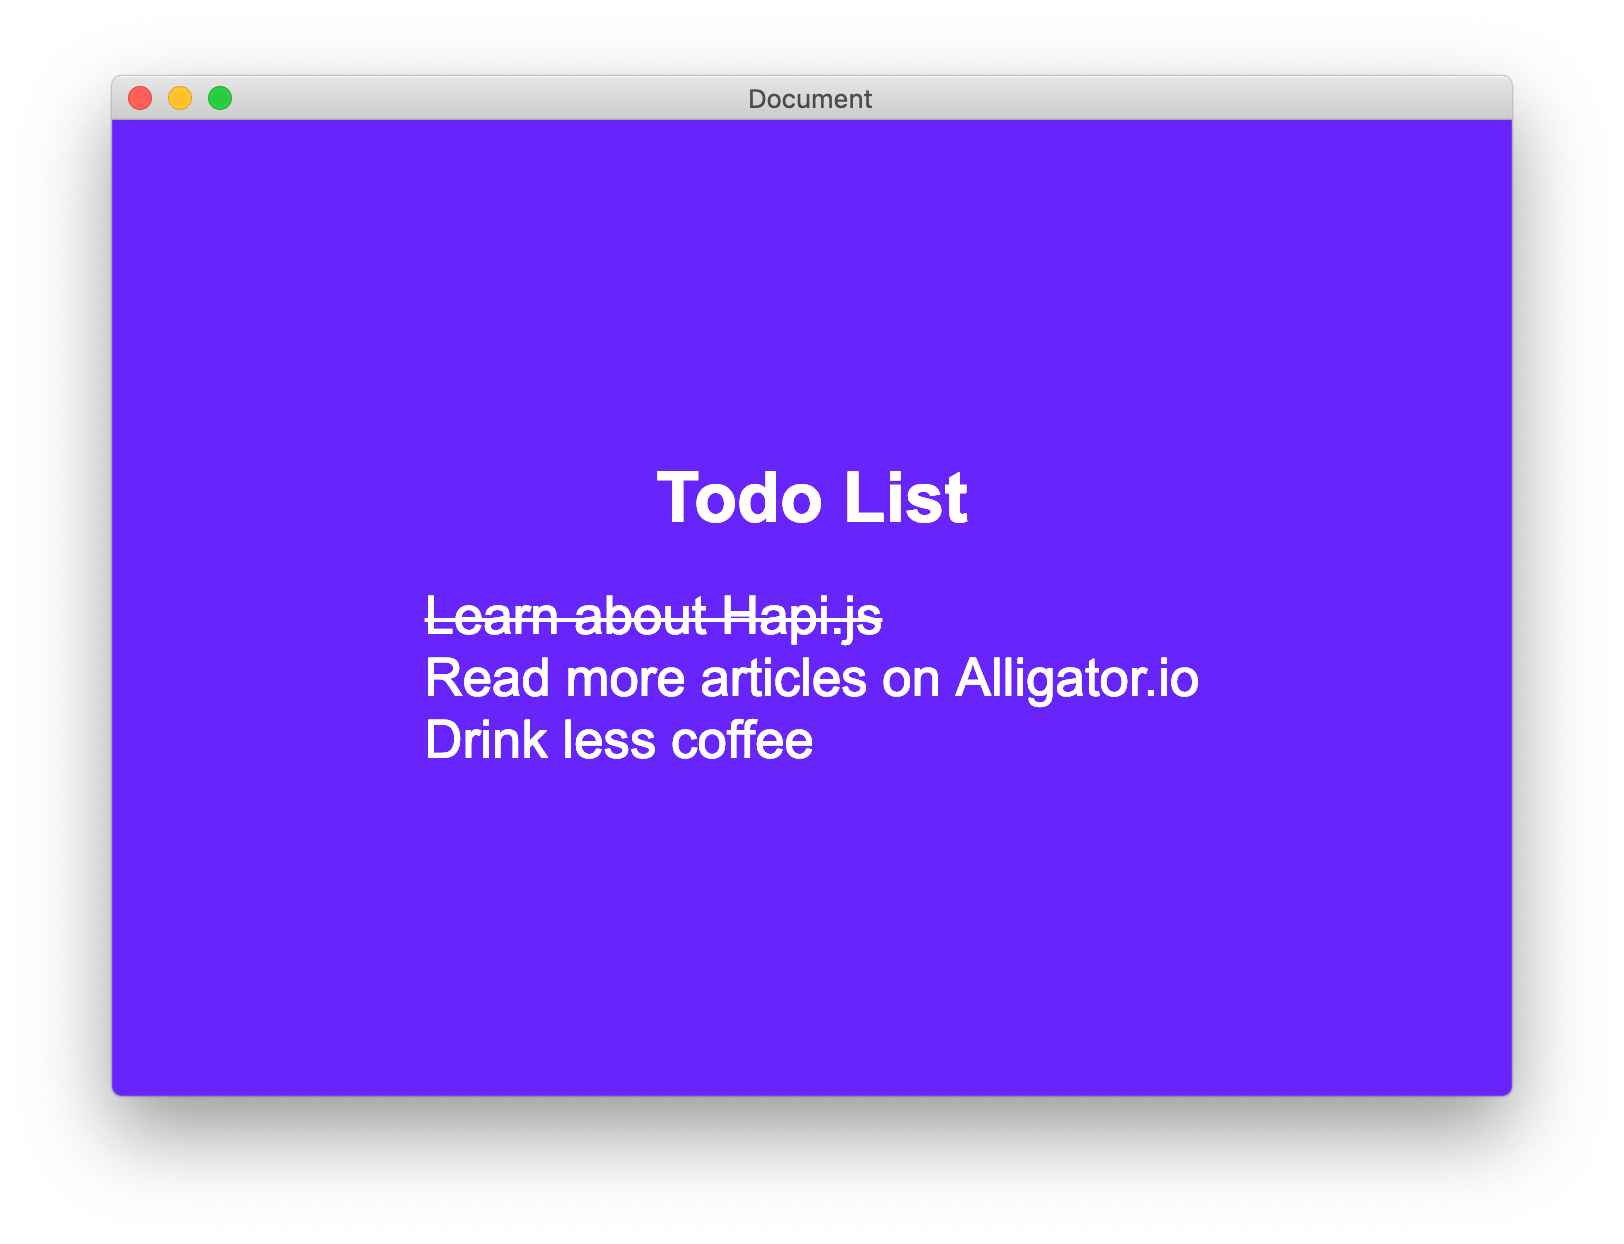
42 <li class="completed">Learn about Hapi.js</li>
43 <li>Read more articles on Alligator.io</li>
44 <li>Drink less coffee</li>
45 </ul>
46 </div>
47</body>
48</html>
然后,我们可以从我们的索引路线(或其他路线或您选择的)服务。 要做到这一点,我们首先需要安装用于服务静态文件的惰性模块。
幸运的是,我们已经学会了如何在我们的hapi应用程序中注册插件!通过在您的终端运行以下操作来安装惰性:
1$ npm install inert
然后注册惰性如下:
 1const start = async () => {
 2  /**
 3    Note: You can also require inert as a variable like so:
 4    const Inert = require('inert');
 5
 6    await server.register([Inert]);
 7  **/
 8  await server.register([consoleLogging, require('inert')]);
 9
10  await server.start();
11};
当我们导航到 / 时,我们不仅会收到我们的控制台内部的日志,而且还会收到我们的 Todo 列表:
摘要
我们现在只知道足够的起来和运行与hapi. 保持调节的进一步的文章,这将看看在本文中讨论的概念的更多细节!
您可以找到此文章的代码(https://github.com/alligatorio/alligator-intro-to-hapi)