介绍
本文将探讨如何在Express项目中处理路线和HTTP请求方法.路线处理用户导航到应用程序中的各种URL。
您将学习如何定义路线,并使用HTTP请求方法GET,POST,PUT和DELETE来操纵数据。
前提条件
要完成本教程,对 Node.js 的理解是有帮助的,但不需要。 如果您想了解更多关于 Node.js 的信息,请参阅 如何在 Node.js 中编码系列。
设置你的项目
由于 Express 是一个 Node.js 框架,请确保您从 Node.js安装了 Node.js,然后执行以下步骤。
为您的项目创建一个名为node-express-routing的新目录:
1mkdir node-express-routing
更改到新目录:
1cd node-express-routing
初始化一个新的 Node 项目与默认值. 这将包括你的 package.json 文件访问你的依赖:
1npm init -y
创建您的输入文件,index.js. 在这里您将处理您的路径和HTTP请求方法:
1touch index.js
安装 Express 和 'nodemon' 作为依赖。 你将使用 'nodemon' 不断重新启动你的 Express 项目,每当 index.js 文件发生变化。
1npm install express --save
2npm install nodemon --save-dev
使用您喜爱的文本编辑器打开您的package.json文件,并更新您的start脚本以包括nodemon和您的index.js文件:
 1[label package.json]
 2{
 3  "name": "node-express-routing",
 4  "version": "1.0.0",
 5  "description": "",
 6  "main": "index.js",
 7  "scripts": {
 8    "start": "nodemon index.js"
 9  },
10  "keywords": [],
11  "author": "Paul Halliday",
12  "license": "MIT"
13}
这将允许您在终端中使用npm start命令启动 Express 服务器并更新更改。
现在你已经设置了你的项目,并配置了nodemon来更新当它检测到你的index.js文件的更改时,你已经准备好启动你的Express服务器。
启动您的快递服务器
您的Express服务器是您将处理逻辑以集成您的路线和HTTP请求方法的地方,您将设置和运行您的服务器以在浏览器中可视化您的项目。
要启动 Express 服务器,请在 index.js 文件中要求 Express 并将实例存储到 app 变量中,然后声明一个PORT 变量并指定地址:3000。
1[label index.js]
2const express = require('express');
3
4const app = express();
5const PORT = 3000;
6
7app.use(express.json());
8
9app.listen(PORT, () => console.log(`Express server currently running on port ${PORT}`));
接下来,添加 .listen() 到 app 并将 PORT 插入为第一个参数,然后是回调函数. Express middleware .listen() 会从您的 PORT 变量中的地址创建本地浏览器,以可视化您的更改。
还包括express.json()作为对app.use()的论点。这就是通过您的HTTP请求扫描输入数据。 早期版本依赖于body-parser依赖性,但自那时起,Express已经包含了一个内置的数据扫描中间软件。
在终端中运行以下命令来启动项目:
1npm start
您的项目已上传到 http://localhost:3000. 导航到您的浏览器,并注意以下内容:
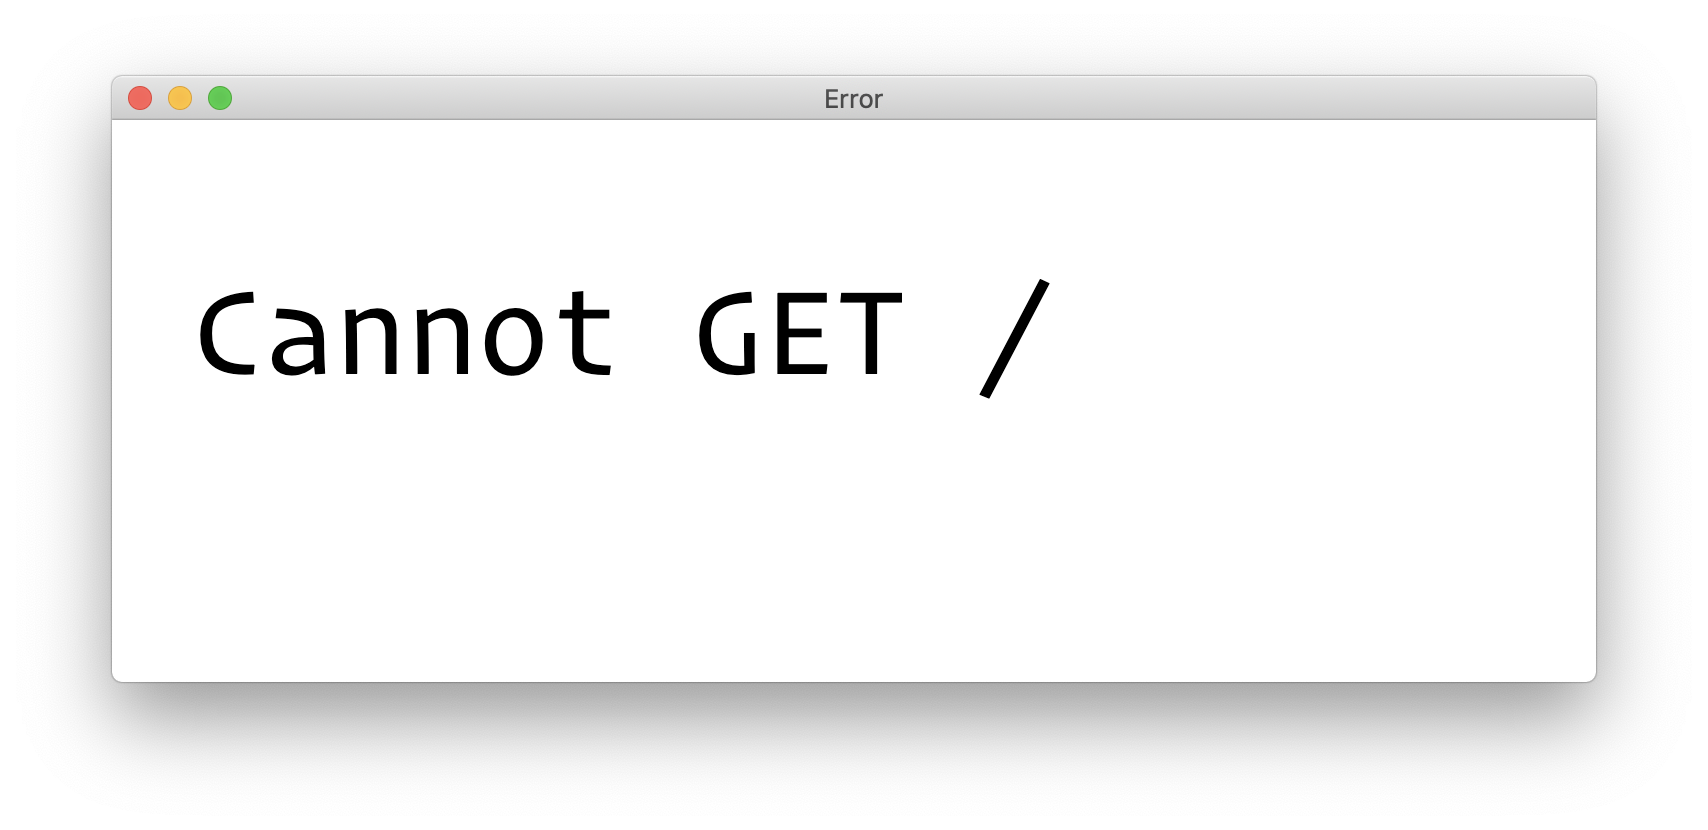
这是运行Express实例的开始,让我们来定义HTTP方法来填充您的浏览器。
定义您的 HTTP GET 请求方法
为了查看您的项目,您可以通过GET请求,即HTTP方法从您的Express服务器发送信息。
在index.js中,将.get()附加到你的app变量中,指定一个匿名路线,并包括一个访问请求和响应参数的回调:
1[label index.js]
2app.get('/', (request, response) => {
3  response.send('Hello');
4});
请求参数包含有关GET请求的信息,而response.send()将数据发送到浏览器中。
现在你已经实现了GET请求,让我们看看路由和其他HTTP方法。
了解路线
在您的 index.js 文件中创建新的GET请求,并定义路径 '/accounts' 和 '/accounts/:id'。
 1[label index.js]
 2let accounts = [
 3  {
 4    "id": 1,
 5    "username": "paulhal",
 6    "role": "admin"
 7  },
 8  {
 9    "id": 2,
10    "username": "johndoe",
11    "role": "guest"
12  },
13  {
14    "id": 3,
15    "username": "sarahjane",
16    "role": "guest"
17  }
18];
19
20app.get('/accounts', (request, response) => {
21  response.json(accounts);
22});
23
24app.get('/accounts/:id', (request, response) => {
25  const accountId = Number(request.params.id);
26  const getAccount = accounts.find((account) => account.id === accountId);
27
28  if (!getAccount) {
29    response.status(500).send('Account not found.')
30  } else {
31    response.json(getAccount);
32  }
33});
如果你导航到http://localhost:3000/accounts,你会收到你的数组中的所有帐户:
 1[secondary_label Output]
 2[
 3  {
 4    "id": 1,
 5    "username": "paulhal",
 6    "role": "admin"
 7  },
 8  {
 9    "id": 2,
10    "username": "johndoe",
11    "role": "guest"
12  },
13  {
14    "id": 3,
15    "username": "sarahjane",
16    "role": "guest"
17  }
18]
您还可以使用 /:id 端点过滤帐户 ID. Express 将端点 /:id 中的 ID 视为用户参数的位置,并匹配该值。
一旦你导航到 http://localhost:3000/accounts/3,你会得到一个与 /:id 参数匹配的帐户:
1[secondary_label Output]
2{
3  "id": 3,
4  "username": "sarahjane",
5  "role": "guest"
6}
设计POST、PUT和DELETE HTTP 请求方法
HTTP 方法使用POST、PUT和DELETE请求为您的数据提供了额外的功能。POST请求方法在您的服务器上创建新数据,而PUT更新现有信息。
《邮报》
要在帐户数组中创建新数据,可以集成一个POST请求方法。
在index.js中,将.post()附加到您的app变量中,并将路线/accounts作为第一个参数:
1[label index.js]
2app.post('/accounts', (request, response) => {
3  const incomingAccount = request.body;
4
5  accounts.push(incomingAccount);
6
7  response.json(accounts);
8})
您将将从POST请求中输入的任何数据推到帐户阵列中,并将响应发送为 JSON 对象。
您的帐户阵列现在拥有一个新的用户:
 1[secondary_label Output]
 2[
 3  {
 4    "id": 1,
 5    "username": "paulhal",
 6    "role": "admin"
 7  },
 8  {
 9    "id": 2,
10    "username": "johndoe",
11    "role": "guest"
12  },
13  {
14    "id": 3,
15    "username": "sarahjane",
16    "role": "guest"
17  },
18  {
19    "id": 4,
20    "username": "davesmith",
21    "role": "admin"
22  }
23]
《PUT》
您可以通过PUT请求编辑和更新特定帐户。
在 index.js 中,将 .put() 附加到您的 app 变量中,并将路线 `'/accounts/:id' 作为第一个参数。
 1[label index.js]
 2app.put('/accounts/:id', (request, response) => {
 3  const accountId = Number(request.params.id);
 4  const body = request.body;
 5  const account = accounts.find((account) => account.id === accountId);
 6  const index = accounts.indexOf(account);
 7
 8  if (!account) {
 9    response.status(500).send('Account not found.');
10  } else {
11    const updatedAccount = { ...account, ...body };
12
13    accounts[index] = updatedAccount;
14
15    response.send(updatedAccount);
16  }
17});
您现在可以更新帐户阵列中的数据,如果用户更改其角色:
1{
2    "role": "guest"
3}
请注意,角色在http://localhost:3000/accounts/1中的管理员更新到客人:
1[secondary_label Output]
2{
3  "id": 1,
4  "username": "paulhal",
5  "role": "guest"
6}
《DELETE》
您可以使用DELETE请求方法删除用户和数据。
在index.js中,将.delete()附加到你的app变量中,并将/accounts/:id作为第一个参数。
 1[label index.js]
 2app.delete('/accounts/:id', (request, response) => {
 3  const accountId = Number(request.params.id);
 4  const newAccounts = accounts.filter((account) => account.id != accountId);
 5
 6  if (!newAccounts) {
 7    response.status(500).send('Account not found.');
 8  } else {
 9    accounts = newAccounts;
10    response.send(accounts);
11  }
12});
如果您将删除请求发送到http://localhost:3000/accounts/1,则将从帐户数组中删除具有/:id的帐户。
结论
指定路由和使用 HTTP 请求方法有助于在 Express 服务器中创建、更新和删除用户和数据时产生额外的性能。