Eclipse IDE 对 Maven 提供了极好的支持,我们可以轻松地创建 maven 项目,使用基于 Eclipse GUI 的接口构建、部署和运行它。 在本教程中,我们将学习如何在 Eclipse 中使用 maven。
- 创建一个简单的 Maven 项目,构建并运行它 2 使用 Maven 3 在 Eclipse 中创建一个 Java Web 项目。
1、在Eclipse中创建一个简单的Maven项目
转到 ** 文件 -> 新 -> 项目**,它将打开新的项目向导。选择Maven 项目,如下图像所示,然后点击下一步按钮。

In the next screen, we have the option to specify the project location and add it to any working set. We will not make any changes to it. There is also an option to skip archetype selection and create a simple project. But, we will use the archetype to create the template project. 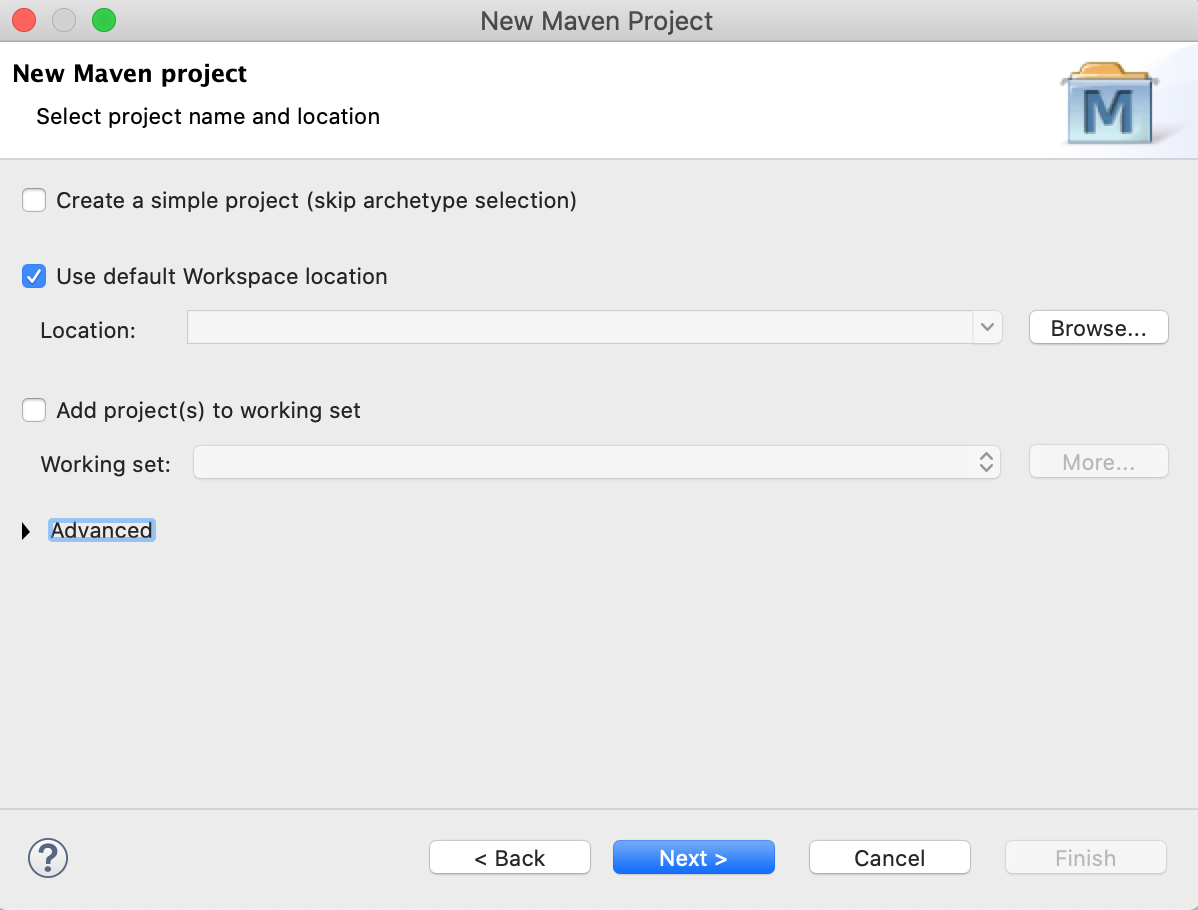 In the next screen, we have to select the archetype of the project. This is the most important step in creating the project. We want a simple maven JAR based application. So, we will choose the "maven-archetype-quickstart" artifact to create the project.
 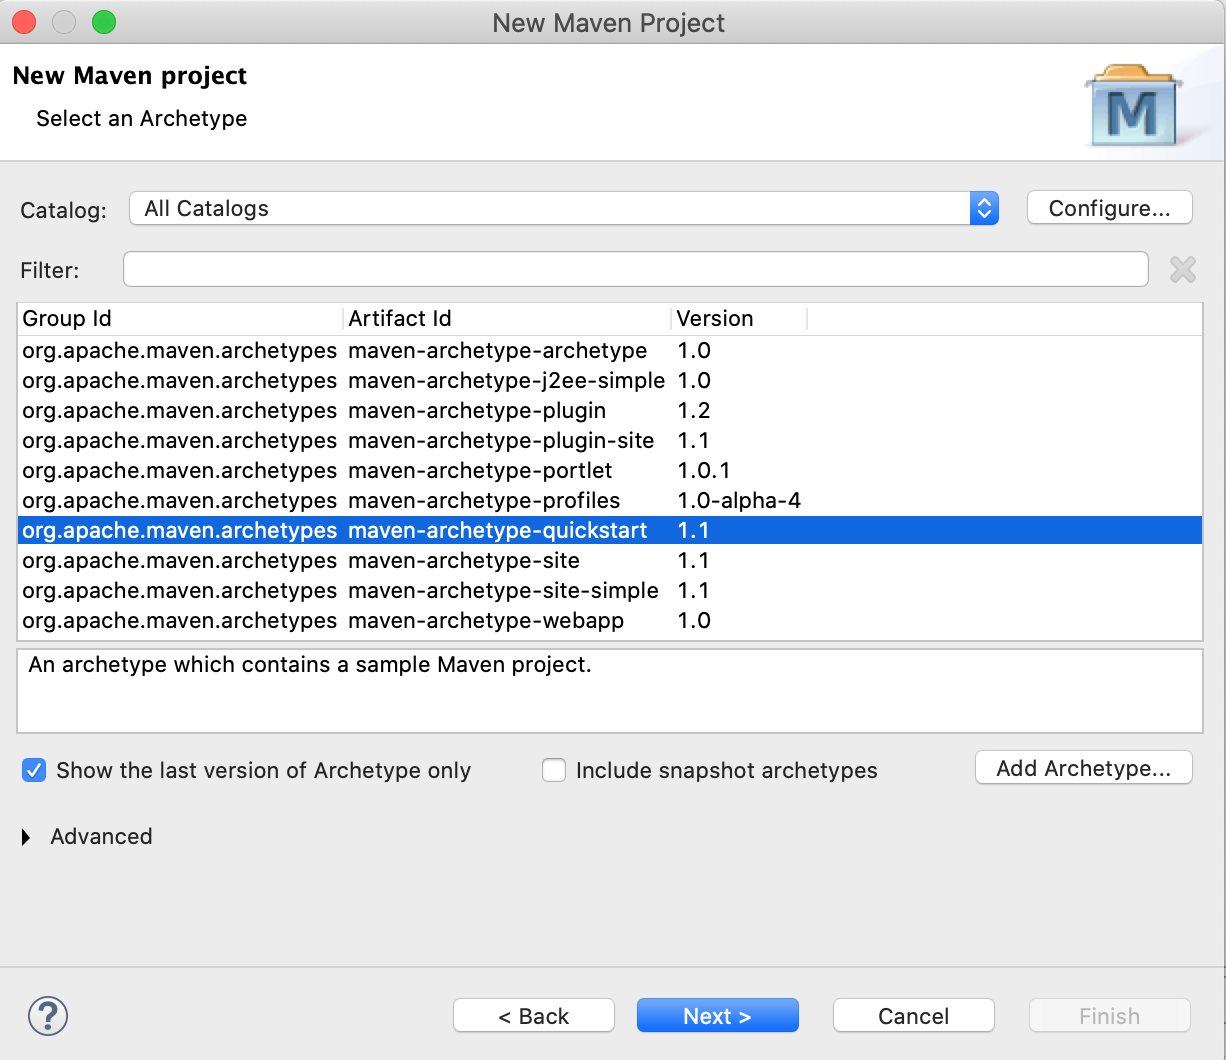 In the next screen, we have to specify the groupId, artifactId, and base package of the project. You can use the values from the image below or enter any values you want in your project.
 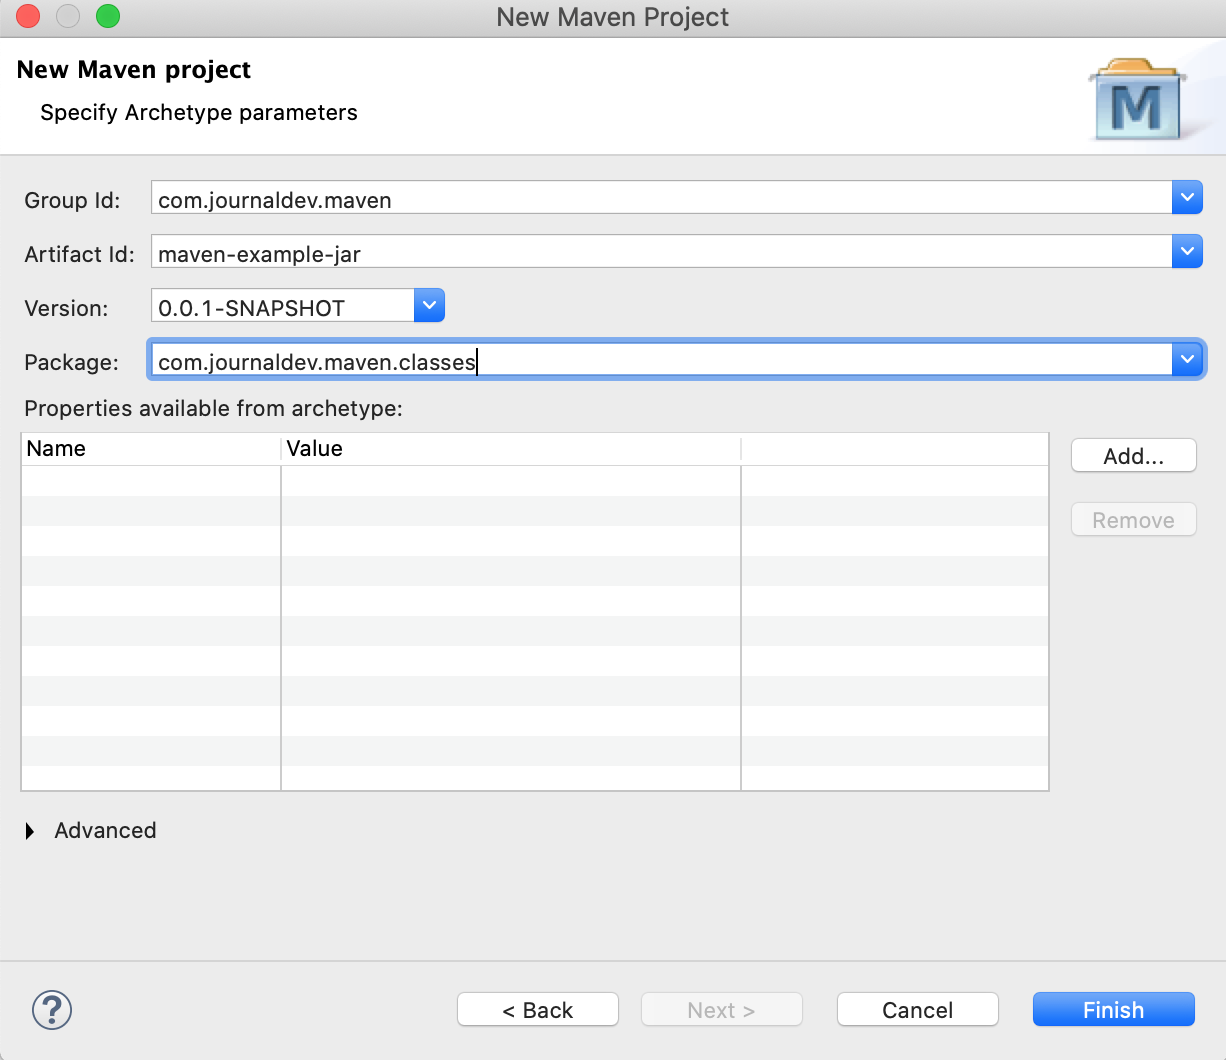 After clicking the Finish button, the popup wizard will close and the project will get created. It will be visible in the project explorer. The below image shows all the directories and the pom.xml of the newly created project.

2、在Eclipse中构建Maven项目
首先,选择项目,然后进入运行为 -> Maven 构建。

The "Edit Configuration" popup window will open. Enter the "Goals" as "package" to build the project and click on the Run button. 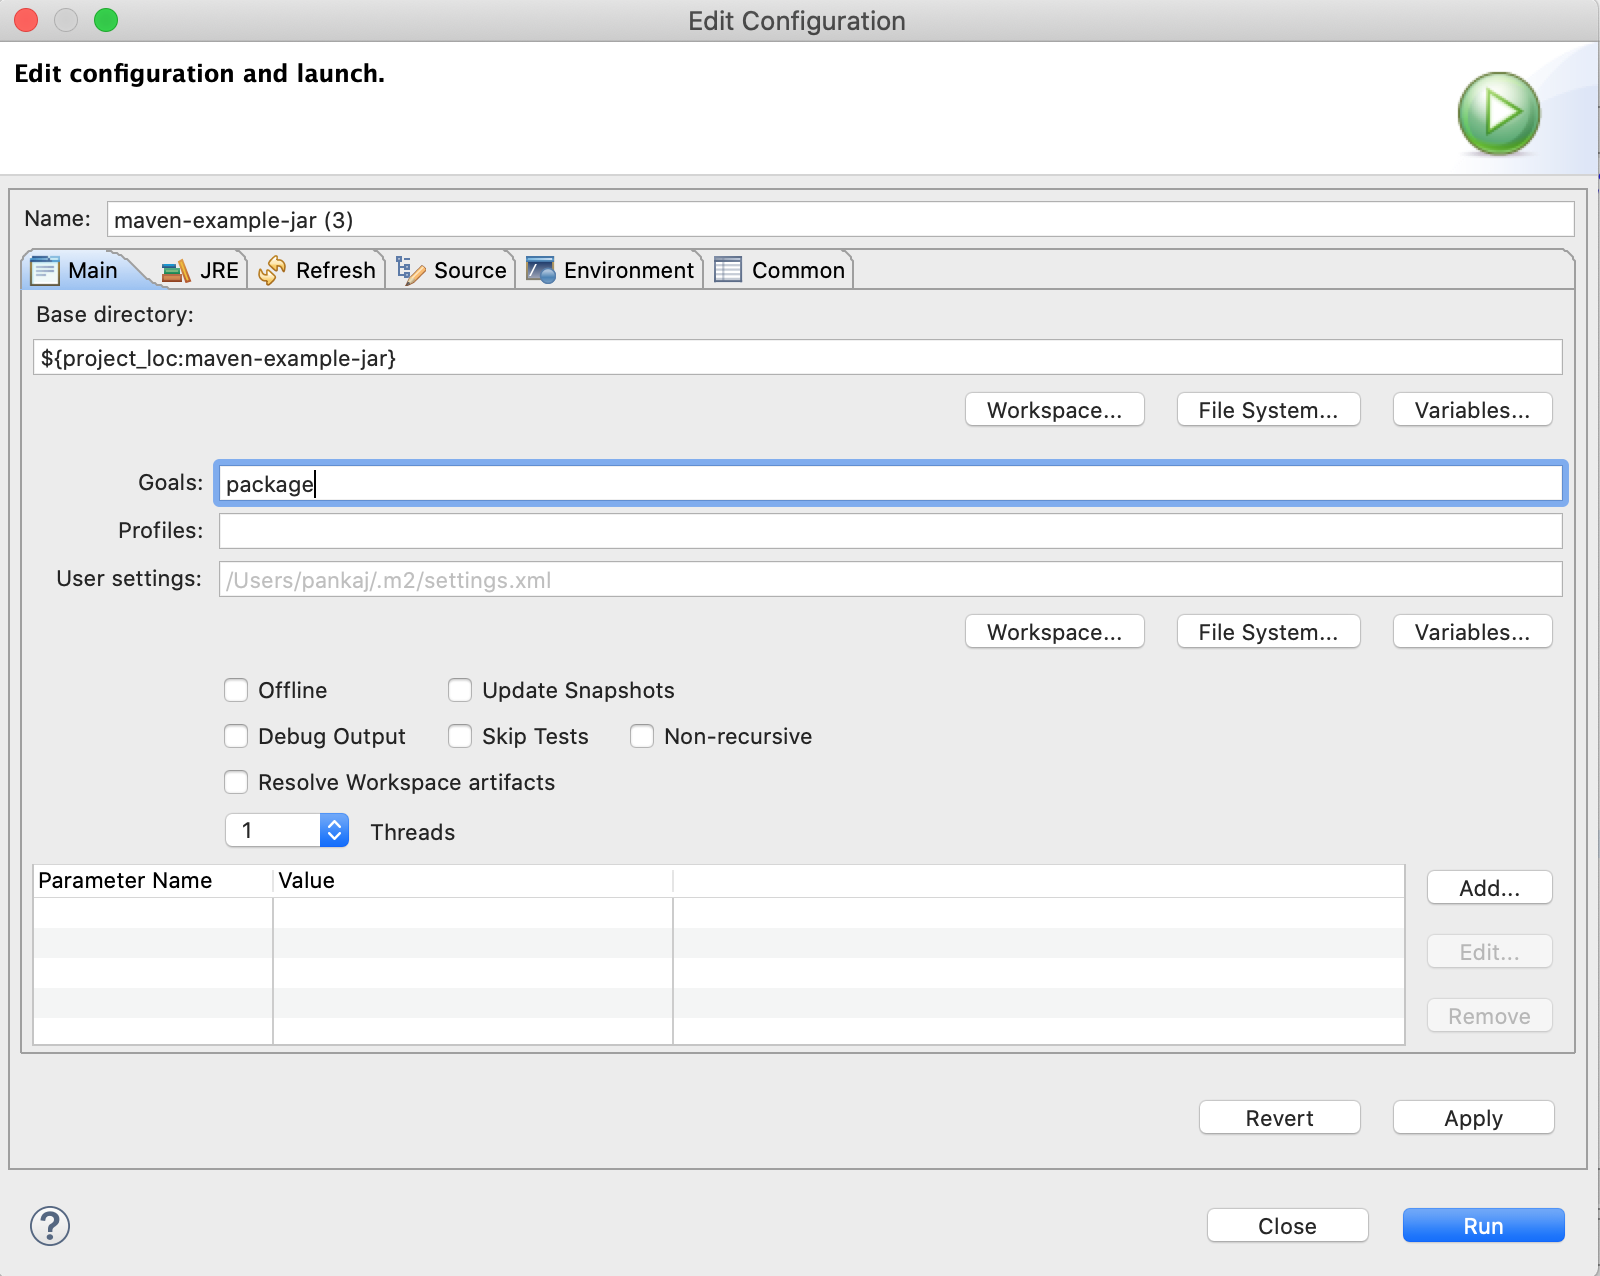 If you look at the Console messages, you will notice that the build failed with the compilation error messages as "Source option 5 is no longer supported. Use 7 or later".

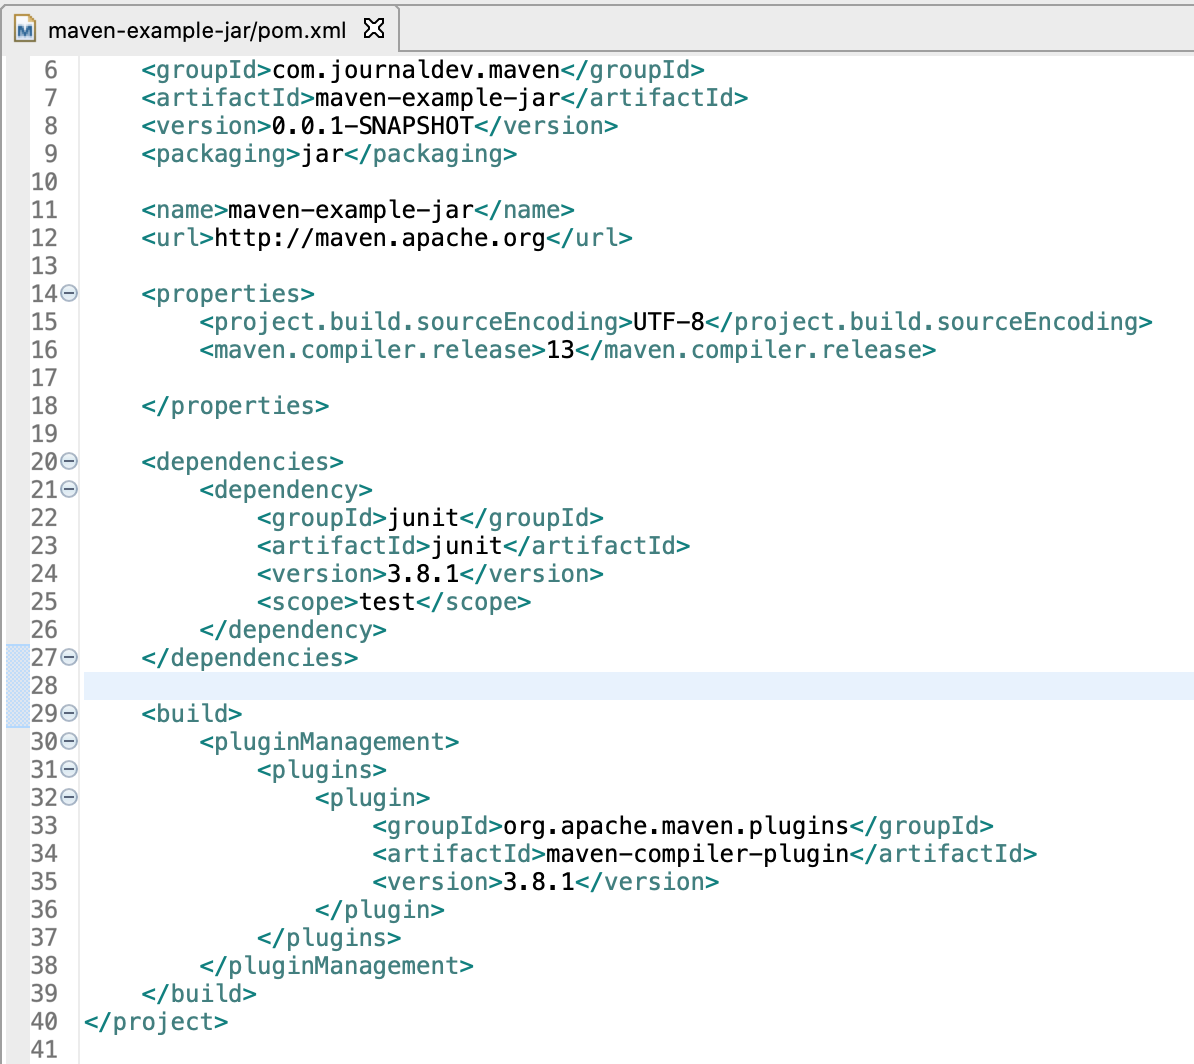
这是因为自动生成的 pom.xml 文件,它不兼容最新的 Java 版本,我们可以通过使用最新版本的 maven-compiler-plugin和设置 maven.compiler.release到我们正在使用的 Java 版本来修复它。
 1<properties>
 2    <project.build.sourceEncoding>UTF-8</project.build.sourceEncoding>
 3    <maven.compiler.release>13</maven.compiler.release>
 4</properties>
 5
 6<build>
 7    <pluginManagement>
 8    	<plugins>
 9    		<plugin>
10    			<groupId>org.apache.maven.plugins</groupId>
11    			<artifactId>maven-compiler-plugin</artifactId>
12    			<version>3.8.1</version>
13    		</plugin>
14    	</plugins>
15    </pluginManagement>
16</build>
3. 在 Eclipse 中更新 Maven 项目
由于我们已经更改了 pom.xml 文件,我们必须更新 maven 项目以使用新的配置. 您将注意到项目根中的十字符号在包 Explorer 中。 问题视图也将显示项目 pom.xml 被更改的错误,我们必须更新项目。

In the popup window, make sure the project is selected. Also, "Update project configuration from pom.xml" should be checked. If you want maven to download all the required dependencies again, check the "Force update of Snapshots/Releases" option. Click on the Ok button and the project will get updated with the latest pom.xml configurations. 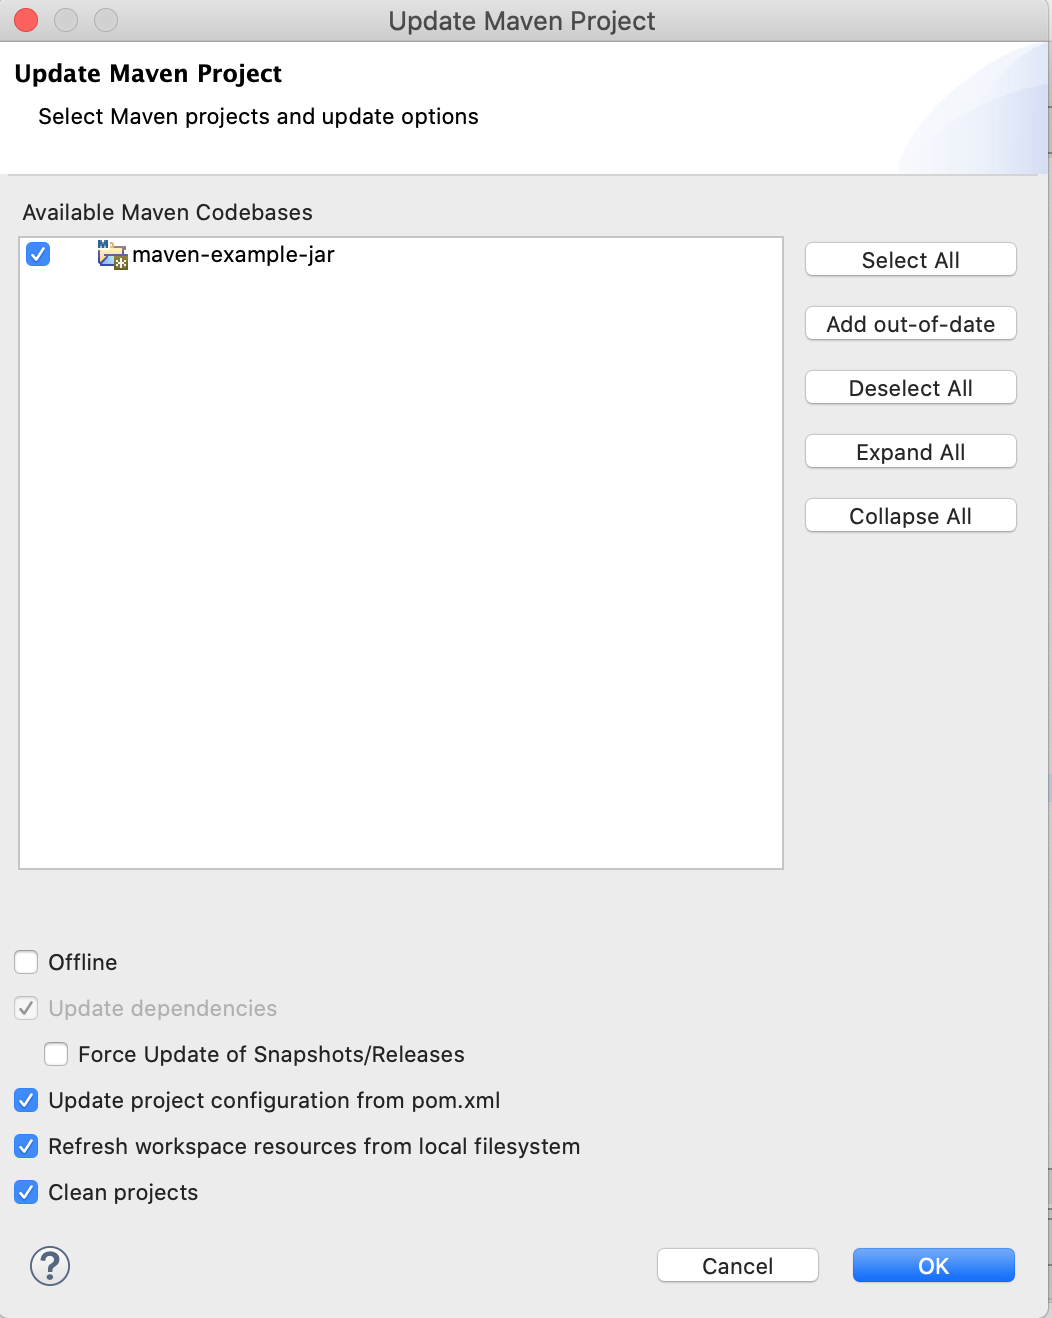
在Eclipse中构建和运行Maven项目
现在我们已经修复了 pom.xml 配置,像上面所示一样再次构建该项目. 此时,控制台应该显示 BUILD SUCCESS消息。

要运行 maven 项目,请选择它,然后进入运行为 > Java 应用程序。

在下一个窗口中,选择要执行的主要类,在这种情况下,选择应用类,然后单击OK按钮。

App 类代码是:
 1package com.journaldev.classes;
 2
 3public class App {
 4
 5    public static void main(String[] args) {
 6
 7    	System.out.println("Hello World");
 8    }
 9
10}
您将在控制台窗口中看到Hello World输出。

使用Maven在Eclipse中创建Java Web项目
使用Maven创建Java Web项目的过程几乎是一样的,唯一的变化是,我们将使用maven-archetype-webapp来创建一个Web应用程序项目。

下一步是使用最新版本的maven-compiler-plugin来修复 pom.xml 文件,然后使用最新版本的 java。

请注意,项目构建会在目标目录中生成 maven-example-webapp.war 文件,我们可以将 Apache Tomcat 集成到 Eclipse 本身,但这不在本教程的范围内。

将一个简单的Java项目转换为maven
有时我们有一个简单的Java项目. 建议使用Maven用于依赖和构建管理. 我们可以轻松地将一个简单的Java项目转换为一个基于Maven的项目. 假设我们有一个简单的Java项目,如下图像。

选择项目,然后进入配置 > 转换到 Maven 项目。

It will open up a new window to create a pom.xml file. We have to provide project configurations such as groupId, artifactId, packaging, etc. 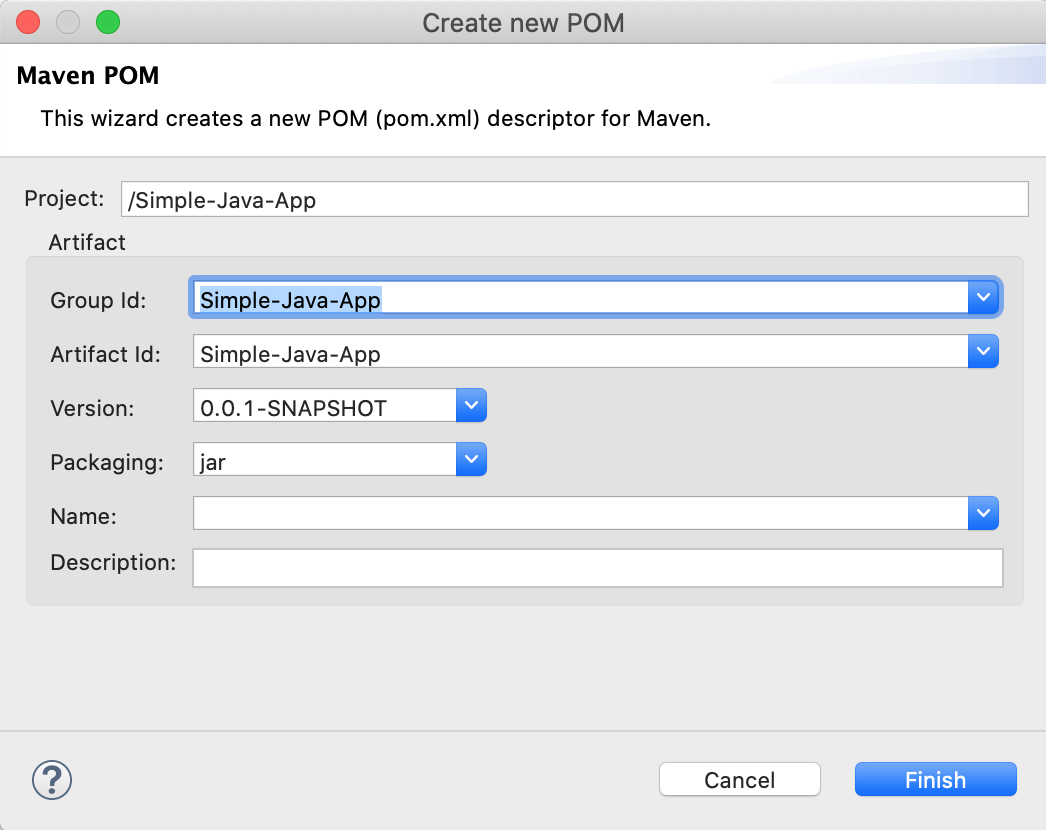 The below image shows the maven project structure and the newly generated pom.xml file.

结论
Eclipse 为 Maven 提供了内置支持,它有助于我们在 Eclipse IDE 中轻松地与 maven 项目合作。