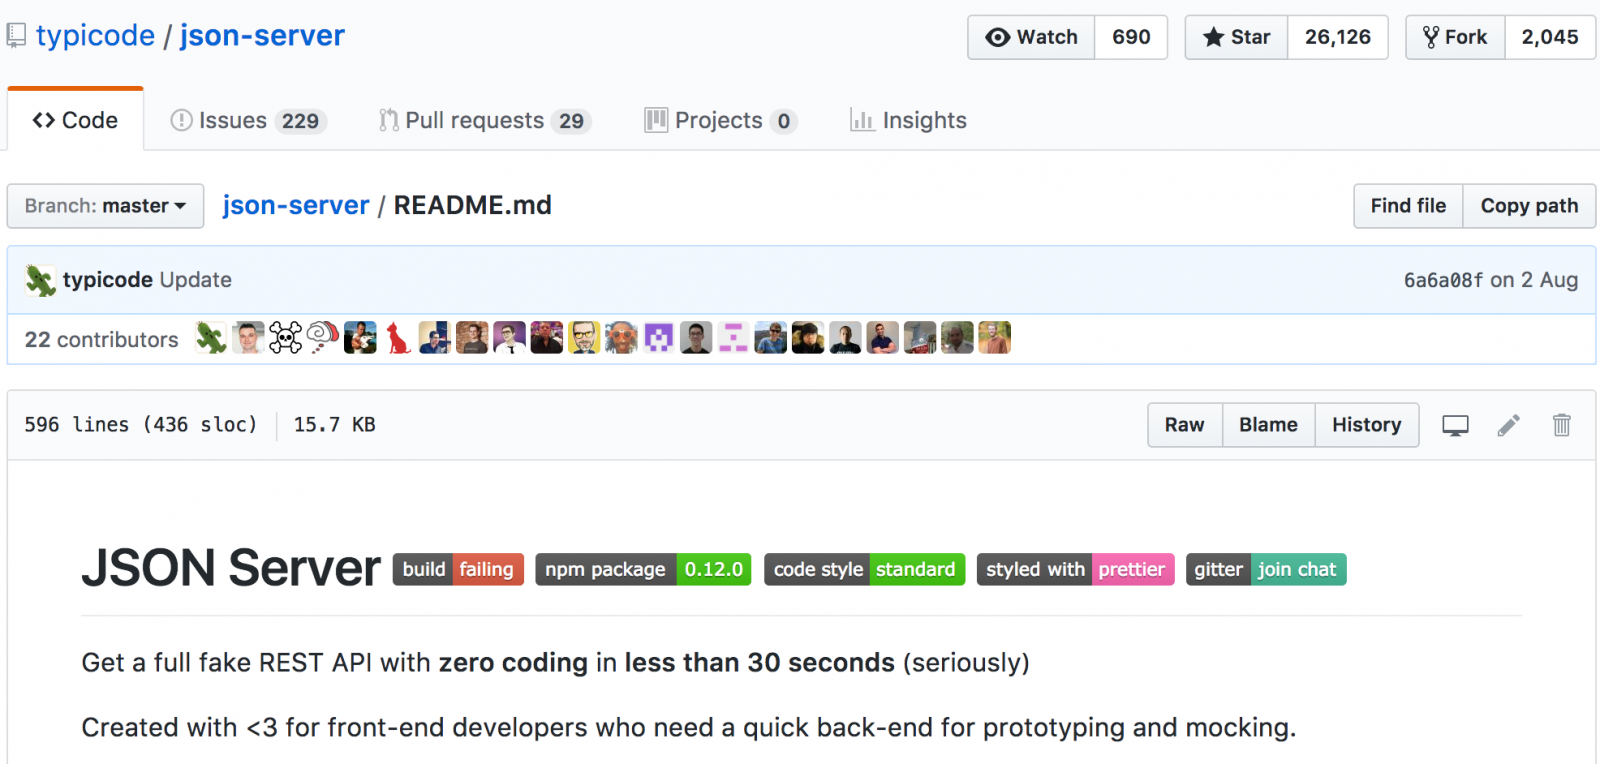
今天我们将探讨一个非常有用的工具 json-server,它可以在一分钟内为您提供一个模糊的JSON服务器休息。在一个常规的企业应用程序中,您与许多团队和第三方API一起工作。想象一下,您必须打电话给第三方(/社区/教程/restful-web-services-tutorial-java),这将让你JSON数据工作。您处于紧张的日程,所以您不能等待他们完成工作,然后开始自己的。
JSON 服务器
 JSON Server is a Node Module that you can use to create demo rest json webservice in less than a minute. All you need is a JSON file for sample data.
安装 JSON 服务器
您应该在您的机器上安装NPM。如果没有,那么请将此帖子引用到Install NPM(/community/tutorials/node-js-components-modules-npm-install-update-uninstall-example)。
 1$ npm install -g json-server
 2npm WARN deprecated graceful-fs@3.0.8: graceful-fs v3.0.0 and before will fail on node releases >= v7.0. Please update to graceful-fs@^4.0.0 as soon as possible. Use 'npm ls graceful-fs' to find it in the tree.
 3/usr/local/bin/json-server -> /usr/local/lib/node_modules/json-server/bin/index.js
 4- bytes@2.3.0 node_modules/json-server/node_modules/raw-body/node_modules/bytes
 5/usr/local/lib
 6└─┬ json-server@0.8.10
 7  ├─┬ body-parser@1.15.1
 8  │ └── bytes@2.3.0
 9  ├─┬ compression@1.6.1
10  │ └── bytes@2.2.0
11  ├─┬ lowdb@0.10.3
12  │ └─┬ steno@0.4.4
13  │   └── graceful-fs@4.1.4
14  ├─┬ update-notifier@0.5.0
15  │ └─┬ configstore@1.4.0
16  │   ├── graceful-fs@4.1.4
17  │   └─┬ write-file-atomic@1.1.4
18  │     └── graceful-fs@4.1.4
19  └─┬ yargs@4.7.0
20    ├─┬ pkg-conf@1.1.2
21    │ └─┬ load-json-file@1.1.0
22    │   └── graceful-fs@4.1.4
23    └─┬ read-pkg-up@1.0.1
24      └─┬ read-pkg@1.1.0
25        └─┬ path-type@1.1.0
26          └── graceful-fs@4.1.4
27
28$
检查 json-server 版本和选项
 1$ json-server -v
 20.8.10
 3
 4$ json-server -help
 5/usr/local/bin/json-server [options] <source>
 6
 7Options:
 8  --config, -c Path to config file           [default: "json-server.json"]
 9  --port, -p Set port                                    [default: 3000]
10  --host, -H Set host                               [default: "0.0.0.0"]
11  --watch, -w Watch file(s)                                     [boolean]
12  --routes, -r Path to routes file
13  --static, -s Set static files directory
14  --read-only, --ro Allow only GET requests                           [boolean]
15  --no-cors, --nc Disable Cross-Origin Resource Sharing             [boolean]
16  --no-gzip, --ng Disable GZIP Content-Encoding                     [boolean]
17  --snapshots, -S Set snapshots directory                      [default: "."]
18  --delay, -d Add delay to responses (ms)
19  --id, -i Set database id property (e.g. _id)         [default: "id"]
20  --quiet, -q Suppress log messages from output                 [boolean]
21
22$
运行 JSON 服务器
现在是时候启动我们的 json 服务器了 下面是我的员工 json 数据的样本文件。
 1{
 2  "employees": [
 3    {
 4      "id": 1,
 5      "name": "Pankaj",
 6      "salary": "10000"
 7    },
 8    {
 9      "name": "David",
10      "salary": "5000",
11      "id": 2
12    }
13  ]
14}
这里的一个重要点是数组的名称,即员工。JSON服务器将基于此创建REST API。
 1$ json-server --watch db.json
 2
 3  \{^_^}/ hi!
 4
 5  Loading db.json
 6  Done
 7
 8  Resources
 9  https://localhost:3000/employees
10
11  Home
12  https://localhost:3000
13
14  Type s + enter at any time to create a snapshot of the database
15  Watching...
不要关闭这个终端,否则它会杀死 json 服务器. 下面是 CRUD 请求和响应的样本。
JSON 服务器 GET - 阅读所有员工
 1$ curl -X GET -H "Content-Type: application/json"  "https://localhost:3000/employees"
 2[
 3  {
 4    "id": 1,
 5    "name": "Pankaj",
 6    "salary": "10000"
 7  },
 8  {
 9    "name": "David",
10    "salary": "5000",
11    "id": 2
12  }
13]
14$
从 json-server 获取基于 ID 的员工
1$ curl -X GET -H "Content-Type: application/json"  "https://localhost:3000/employees/1"
2{
3  "id": 1,
4  "name": "Pankaj",
5  "salary": "10000"
6}
7$
JSON Server POST - 创建员工
1$ curl -X POST -H "Content-Type: application/json" -d '{"name": "Lisa","salary": "2000"}' "https://localhost:3000/employees"
2{
3  "name": "Lisa",
4  "salary": 2000,
5  "id": 3
6}
7$
JSON Server PUT - 更新员工数据
1$ curl -XPUT -H "Content-Type: application/json" -d '{"name": "Lisa", "salary": "8000"}' "https://localhost:3000/employees/3"
2{
3  "name": "Lisa",
4  "salary": 8000,
5  "id": 3
6}
7$
JSON 服务器删除 - 删除员工
 1$ curl -X DELETE -H "Content-Type: application/json"  "https://localhost:3000/employees/2"
 2{}
 3$ curl -GET -H "Content-Type: application/json"  "https://localhost:3000/employees"
 4[
 5  {
 6    "id": 1,
 7    "name": "Pankaj",
 8    "salary": "10000"
 9  },
10  {
11    "name": "Lisa",
12    "salary": 8000,
13    "id": 3
14  }
15]
16$
正如你所看到的,使用简单的 JSON, json 服务器会为我们创建演示 API。 请注意,所有 PUT、POST、DELETE 请求都被保存到 db.json 文件中。
JSON 服务器定制路线
创建一个用于我们的 json 服务器的自定义路径的文件。
1{
2  "/employees/list": "/employees",
3  "/employees/get/:id": "/employees/:id",
4  "/employees/create": "/employees",
5  "/employees/update/:id": "/employees/:id",
6  "/employees/delete/:id": "/employees/:id"
7}
我们还可以更改 json 服务器端口并模拟像第三方 API 一样,只要在真正的服务准备好时更改基础 URL 就可以了,现在就如下所示重新启动 JSON 服务器。
 1$ json-server --port 7000 --routes routes.json --watch db.json
 2(node:60899) fs: re-evaluating native module sources is not supported. If you are using the graceful-fs module, please update it to a more recent version.
 3
 4  \{^_^}/ hi!
 5
 6  Loading db.json
 7  Loading routes.json
 8  Done
 9
10  Resources
11  https://localhost:7000/employees
12
13  Other routes
14  /employees/list -> /employees
15  /employees/get/:id -> /employees/:id
16  /employees/create -> /employees
17  /employees/update/:id -> /employees/:id
18  /employees/delete/:id -> /employees/:id
19
20  Home
21  https://localhost:7000
22
23  Type s + enter at any time to create a snapshot of the database
24  Watching...
它显示了我们定义的定制路线。
json服务器示例与自定义路线
下面是其中一些命令和其输出与自定义路径的示例。
 1$ curl -X GET -H "Content-Type: application/json"  "https://localhost:7000/employees/list"
 2[
 3  {
 4    "id": 1,
 5    "name": "Pankaj",
 6    "salary": "10000"
 7  },
 8  {
 9    "name": "Lisa",
10    "salary": 8000,
11    "id": 3
12  }
13]
14
15$ curl -X GET -H "Content-Type: application/json"  "https://localhost:7000/employees/get/1"
16{
17  "id": 1,
18  "name": "Pankaj",
19  "salary": "10000"
20}
21
22$ curl -X POST -H "Content-Type: application/json" -d '{"name": "Lisa","salary": "2000"}' "https://localhost:7000/employees/create"
23{
24  "name": "Lisa",
25  "salary": 2000,
26  "id": 4
27}
28
29$ curl -XPUT -H "Content-Type: application/json" -d '{"name": "Lisa", "salary": "8000"}' "https://localhost:7000/emloyees/update/4"
30{
31  "name": "Lisa",
32  "salary": 8000,
33  "id": 4
34}
35
36$ curl -XDELETE -H "Content-Type: application/json"  "https://localhost:7000/employees/delete/4"
37{}
38
39$ curl -GET -H "Content-Type: application/json"  "https://localhost:7000/employees/list"
40[
41  {
42    "id": 1,
43    "name": "Pankaj",
44    "salary": "10000"
45  },
46  {
47    "name": "Lisa",
48    "salary": 8000,
49    "id": 3
50  }
51]
52$
JSON 服务器提供一些其他有用的选项,如排序,搜索和页面化. 对于 json 服务器来说,这是我的工具,当我需要创建演示 rest JSON API 时。