在我看来,通知是将网站从应用程序分开的主要功能之一,特别是现在,进步式Web应用程序(PWA)都是愤怒的,所以出现通知将使您的网站感觉更像是一个本地应用程序。
通知API的界面是通过JavaScript的通知对象,它具有许多属性. 有些是视觉的,有些是编程的,有些只是元数据,有些甚至是音频感官的!
视觉特性如下:
 1const notificationsProperties = {
 2  "title": "Picture Time",
 3  "body": "Time to look at some random pictures",
 4  "icon": "https://picsum.photos/200",
 5  "image": "https://picsum.photos/400",
 6  // A badge is an image we display
 7  // when there is not enough space to display the notification
 8  "badge": "https://picsum.photos/300/200",
 9  // Direction decides if the notification goes
10  // from left to right, right to left or let the browser decide
11  "dir": "ltr",
12  // As part of the direct user experience we also have
13  // Audio- ....
14  "silent": ""
15  // ... sensorial
16  "vibrate": [200, 100, 200],
17}
标题,身体,图标,图像和标签都将看起来不同,取决于您正在使用的操作系统。
现在让我们来看看我们的更多程序性属性(不要批评我的分类,我也不太高兴)。
 1{
 2  //...
 3  onshow: () => console.log("We are showing a Notification"),
 4  onerror: () => console.log("There was an error showing a Notification"),
 5  onclose: () => console.log("Closing the Notification"),
 6  // Informs the user if a notification replaced a previous one
 7  renotify: null,
 8  // If set to true the notification will stick to the screen until the user interacts with it
 9  requireInteraction: true,
10  // We'll get into actions later
11  actions: []
12}
我们不会在这里探讨你可以用元数据做些什么,但在这里它们是适当的:
1{
2  "lang": "",
3  "tag": "",
4  "timestamp": 1581390179474,
5  "data": null
6}
创建通知
现在我们已经知道通知中的内容了,让我们看看如何创建它:
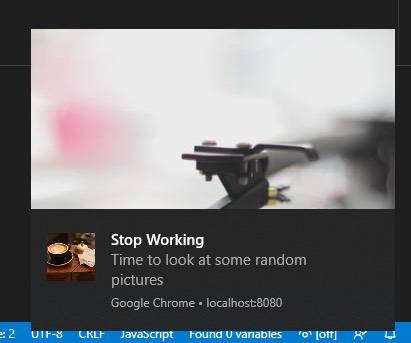
1const notification = new Notification('Stop Working', notificationsProperties);
这是很简单的,但有两点很重要:
*第一个不是很重要. 您可能在我们的屏幕截图中注意到通知的标题是停止工作. 但在我们的选项中,我们设置了:标题:图像时间。 这是因为标题只能设置在通知构建器中,我们将其设置为停止工作。
- 第二个重要的事情。 我们不能只是强制通知我们的用户。 我们需要先获得他们的许可。 如果您想了解更多关于许可的信息,您可能想查看我们的文章(允许API)[/js/permissions-api/].
以下是处理请求许可的简短摘要:
 1// Checking if we already have permission to send notifications
 2const notificationsAllowed = await navigator.permissions.query({name: 'notifications'});
 3
 4if (notificationsAllowed.state !== 'granted'){
 5  // Requesting permission
 6  const permission = await Notification.requestPermission();
 7
 8  // If the permission is not granted the application won't work
 9  if (permission !== 'granted') {
10    // I am a very sour developer so I replace all of my page with an error message
11    // DON'T DO LIKE ME AND BE A FRIENDLY DEV INSTEAD!
12    document.body.innerHTML = '<h1> This app can\'t work without notification bye </h1>';
13    return;
14  }
15}
16// Then you can continue with your notification driven code
您也可以通过运行来获取通知状态:
1const notificationsAllowed = Notification.permission;
行动
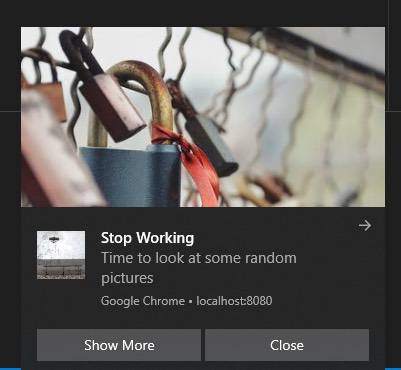
操作是通知的底部的小按钮,我们可以如下定义:
1actions: [{
2  title: 'Show More',
3  action: () => {console.log('code to show more images');}
4},{
5  title: 'Close',
6  action: () => { console.log('Bye bye');}
7}]
但是,您不能像我们以前那样简单地将操作添加到通知选项中,我们只能在 服务工作者中注册它们:
 1[label Module: main.js]
 2if('serviceWorker' in navigator) {
 3  // First we need to register our service worker
 4  navigator.serviceWorker.register('serviceWorker.js', { scope: './' })
 5    .then(async () => {
 6      //... check if notifications are allowed
 7      // ... define notificationsProperties with actions
 8      const serviceWorkerRegistration = navigator.serviceWorker.ready
 9      // This will show the notification with the actions
10      serviceWorkerRegistration.showNotification('Stop Working', notificationsProperties);
11    });
12}
在那里你有通知,也可以在离线工作!
在我们的服务工作者内部,我们可以注册事件听众,以查看我们的用户如何与我们的通知互动:
1[label Module: serviceWorker.js]
2self.addEventListener('notificationclick', (event) => {
3    console.log('our user clicked on the notification!')
4    // Send user data analytics 🔥 🔥 🔥
5}, false);
我希望你学会了几个技巧,并将开发一些迷人的网站 / 网页应用程序,具有原生感觉。