NodeJS是一个JavaScript框架,允许您轻松地构建快速网络应用程序. 在本指南中,我们深入了解如何在Ubuntu 18.04上安装NodeJS。
步骤 1: 将 NodeJS PPA 添加到 Ubuntu 18.04
要开始,请使用以下命令将 NodeJS PPA 添加到您的系统。
1sudo apt-get install software-properties-common
Sample Output 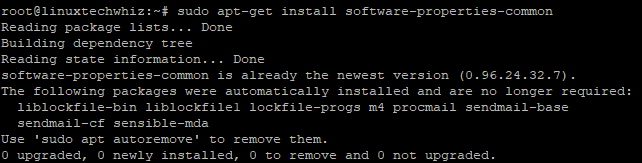 Next, add the NodeJS PPA.
1curl -sL https://deb.nodesource.com/setup_11.x | sudo -E bash -
Sample Output 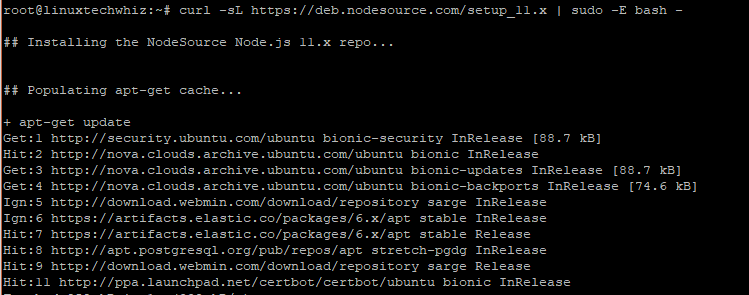 Great! In our next step, we are going to run the command for installing NodeJS.
步骤2:在Ubuntu上安装NodeJS
成功添加了 NodeJS PPA,现在是时候使用下面的命令来安装 NodeJS。
1sudo apt-get install nodejs
Sample Output 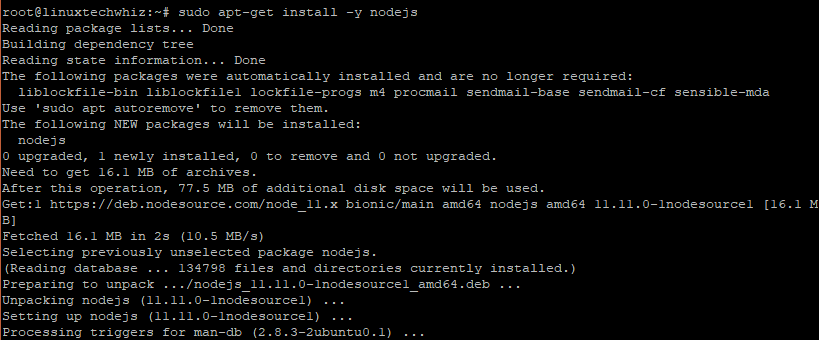 This command not only installs NodeJS but also NPM (NodeJS Package Manager) and other dependencies as well.
步骤 3: 修改 NodeJS 和 NPM 版本
成功安装 NodeJS 后,您可以使用下面的简单命令测试 NodeJS 版本。
1node -v
Sample Output  For NPM, run
1npm -v
Sample Output 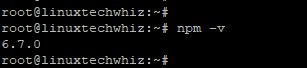
步骤 4:创建 Web 服务器示范
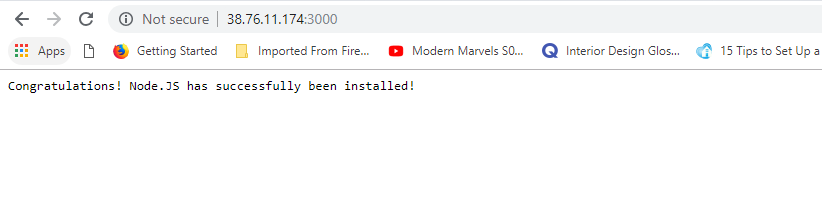
这是一个可选的步骤,您可以使用它来测试NodeJS是否按预期运行。我们将创建一个Web服务器,显示文本恭喜!node.JS已成功安装!让我们创建一个NodeJS文件并称之为nodeapp.js
1vim nodeapp.js
添加以下内容
1var http = require('http');
2http.createServer(function (req, res) {
3  res.writeHead(200, {'Content-Type': 'text/plain'});
4  res.end('Congratulations! node.JS has successfully been installed !\n');
5}).listen(3000, " server-ip);
6console.log('Server running at https://server-ip:3000/');
保存和退出文本编辑器 使用下面的命令启动应用程序
1node nodeapp.js
Sample Output  This will display the content of the application on port 3000. Ensure the port is allowed on the firewall of your system.
1ufw allow 3000/tcp
2ufw reload
现在打开您的浏览器并按所示浏览服务器的地址
1https://server-ip:3000
从 Ubuntu 删除 NodeJS
如果您想从 Ubuntu 系统中卸载 NodeJS,请运行下面的命令。
1sudo apt-get remove nodejs
该命令将删除包,但保留配置文件. 要删除包和配置文件,运行:
1sudo apt-get purge nodejs
作为最后一步,您可以运行下面的命令来删除任何未使用的文件并释放磁盘空间。
1sudo apt-get autoremove
我们已经成功安装并测试了NodeJS的安装,我们还学会了如何从Ubuntu中卸载NodeJS并清理空间。