作者选择了 开源精神疾病以作为 写给捐赠计划的一部分获得捐赠。
介绍
单页应用程序(SPA)是应用程序,在客户端的单个index.html页面。传统上,SPA包含很少的HTML加载;相反,一个框架,如Vue.js(https://vuejs.org/)允许您通过JavaScript将内容注入HTML包装器,当满足某些条件。
Nuxt.js是 Vue.js 应用程序的框架,可以通过 server-side rendering 解决这个问题,这是一种策略,可以将应用程序渲染到服务器上,然后将其发送到客户端。 使用 Nuxt,您所有的路径都是从页面目录中的.vue 文件中生成的。 在这些页面中,您可以从 REST API 获取数据并将其注入到您的组件的模板中。 模板内部的所有数据和 HTML 都是由 Nuxt 服务器渲染的,该服务器将生成的.html 文件发送到客户端。 由于 .html 是由服务器提供的,Web Crawler 可以在任何路径中分析所有重要的 HTML。
在本教程中,您将设置一个示例网页应用程序,包含有关机场的信息。该应用程序将为数据集中的每个机场提供一个 关于页面和一个动态生成的页面。
前提条件
- Node.js 版本 16.14.0 或更高版本安装在您的计算机上. 要在 macOS 或 Ubuntu 20.04 上安装此功能,请遵循 如何安装 Node.js 和创建本地开发环境在 macOS 上的步骤或 如何在 Ubuntu 20.04 上安装 Node.js 的 PPA 部分安装。 *您还需要对 JavaScript、HTML 和 CSS 的基本知识,您可以在我们的 如何使用 HTML 构建网站系列、 如何使用 CSS 构建网站系列以及 如何在 JavaScript 中编码中找到。
步骤 1 — 在示例应用程序中安装 Nuxt
在此步骤中,您将通过计算机终端中的命令创建一个 Nuxt 项目. 此 npx 命令将运行一个外部脚本,根据您在提示中提供的信息生成您的新 Vue.js 项目。
在您的终端中,运行以下npx命令. 此命令将生成您目前正在工作的目录中的项目:
1npx create-nuxt-app favorite-airports
如果这是你第一次运行create-nuxt-app,则会出现提示,列出需要安装的包列表,先键入y,然后按ENTER继续:
1[secondary_label Output]
2Need to install the following packages:
3  create-nuxt-app
4Ok to proceed? (y) y
一旦安装了所需的包,您将遇到第一个提示:
1[secondary_label Output]
2create-nuxt-app v4.0.0
3✨  Generating Nuxt.js project in favorite-airports
4? Project name: (favorite-airports)
输入您的应用程序的首选名称,或按ENTER,以选择默认值。继续通过提示单独工作,在下面的块中选择突出选项:
 1[secondary_label Output]
 2✨  Generating Nuxt.js project in favorite-airports
 3? Project name: favorite-airports
 4? Programming language: JavaScript
 5? Package manager: Npm
 6? UI framework: None
 7? Nuxt.js modules: Axios - Promise based HTTP client
 8? Linting tools: None
 9? Testing framework: None
10? Rendering mode: Universal (SSR / SSG)
11? Deployment target: Server (Node.js hosting)
12? Development tools: None
13? What is your Github username?
14? Version control system: Git
完成后,将目录更改为最喜欢的机场,并启动本地开发服务器:
1cd favorite-airports
2npm run dev
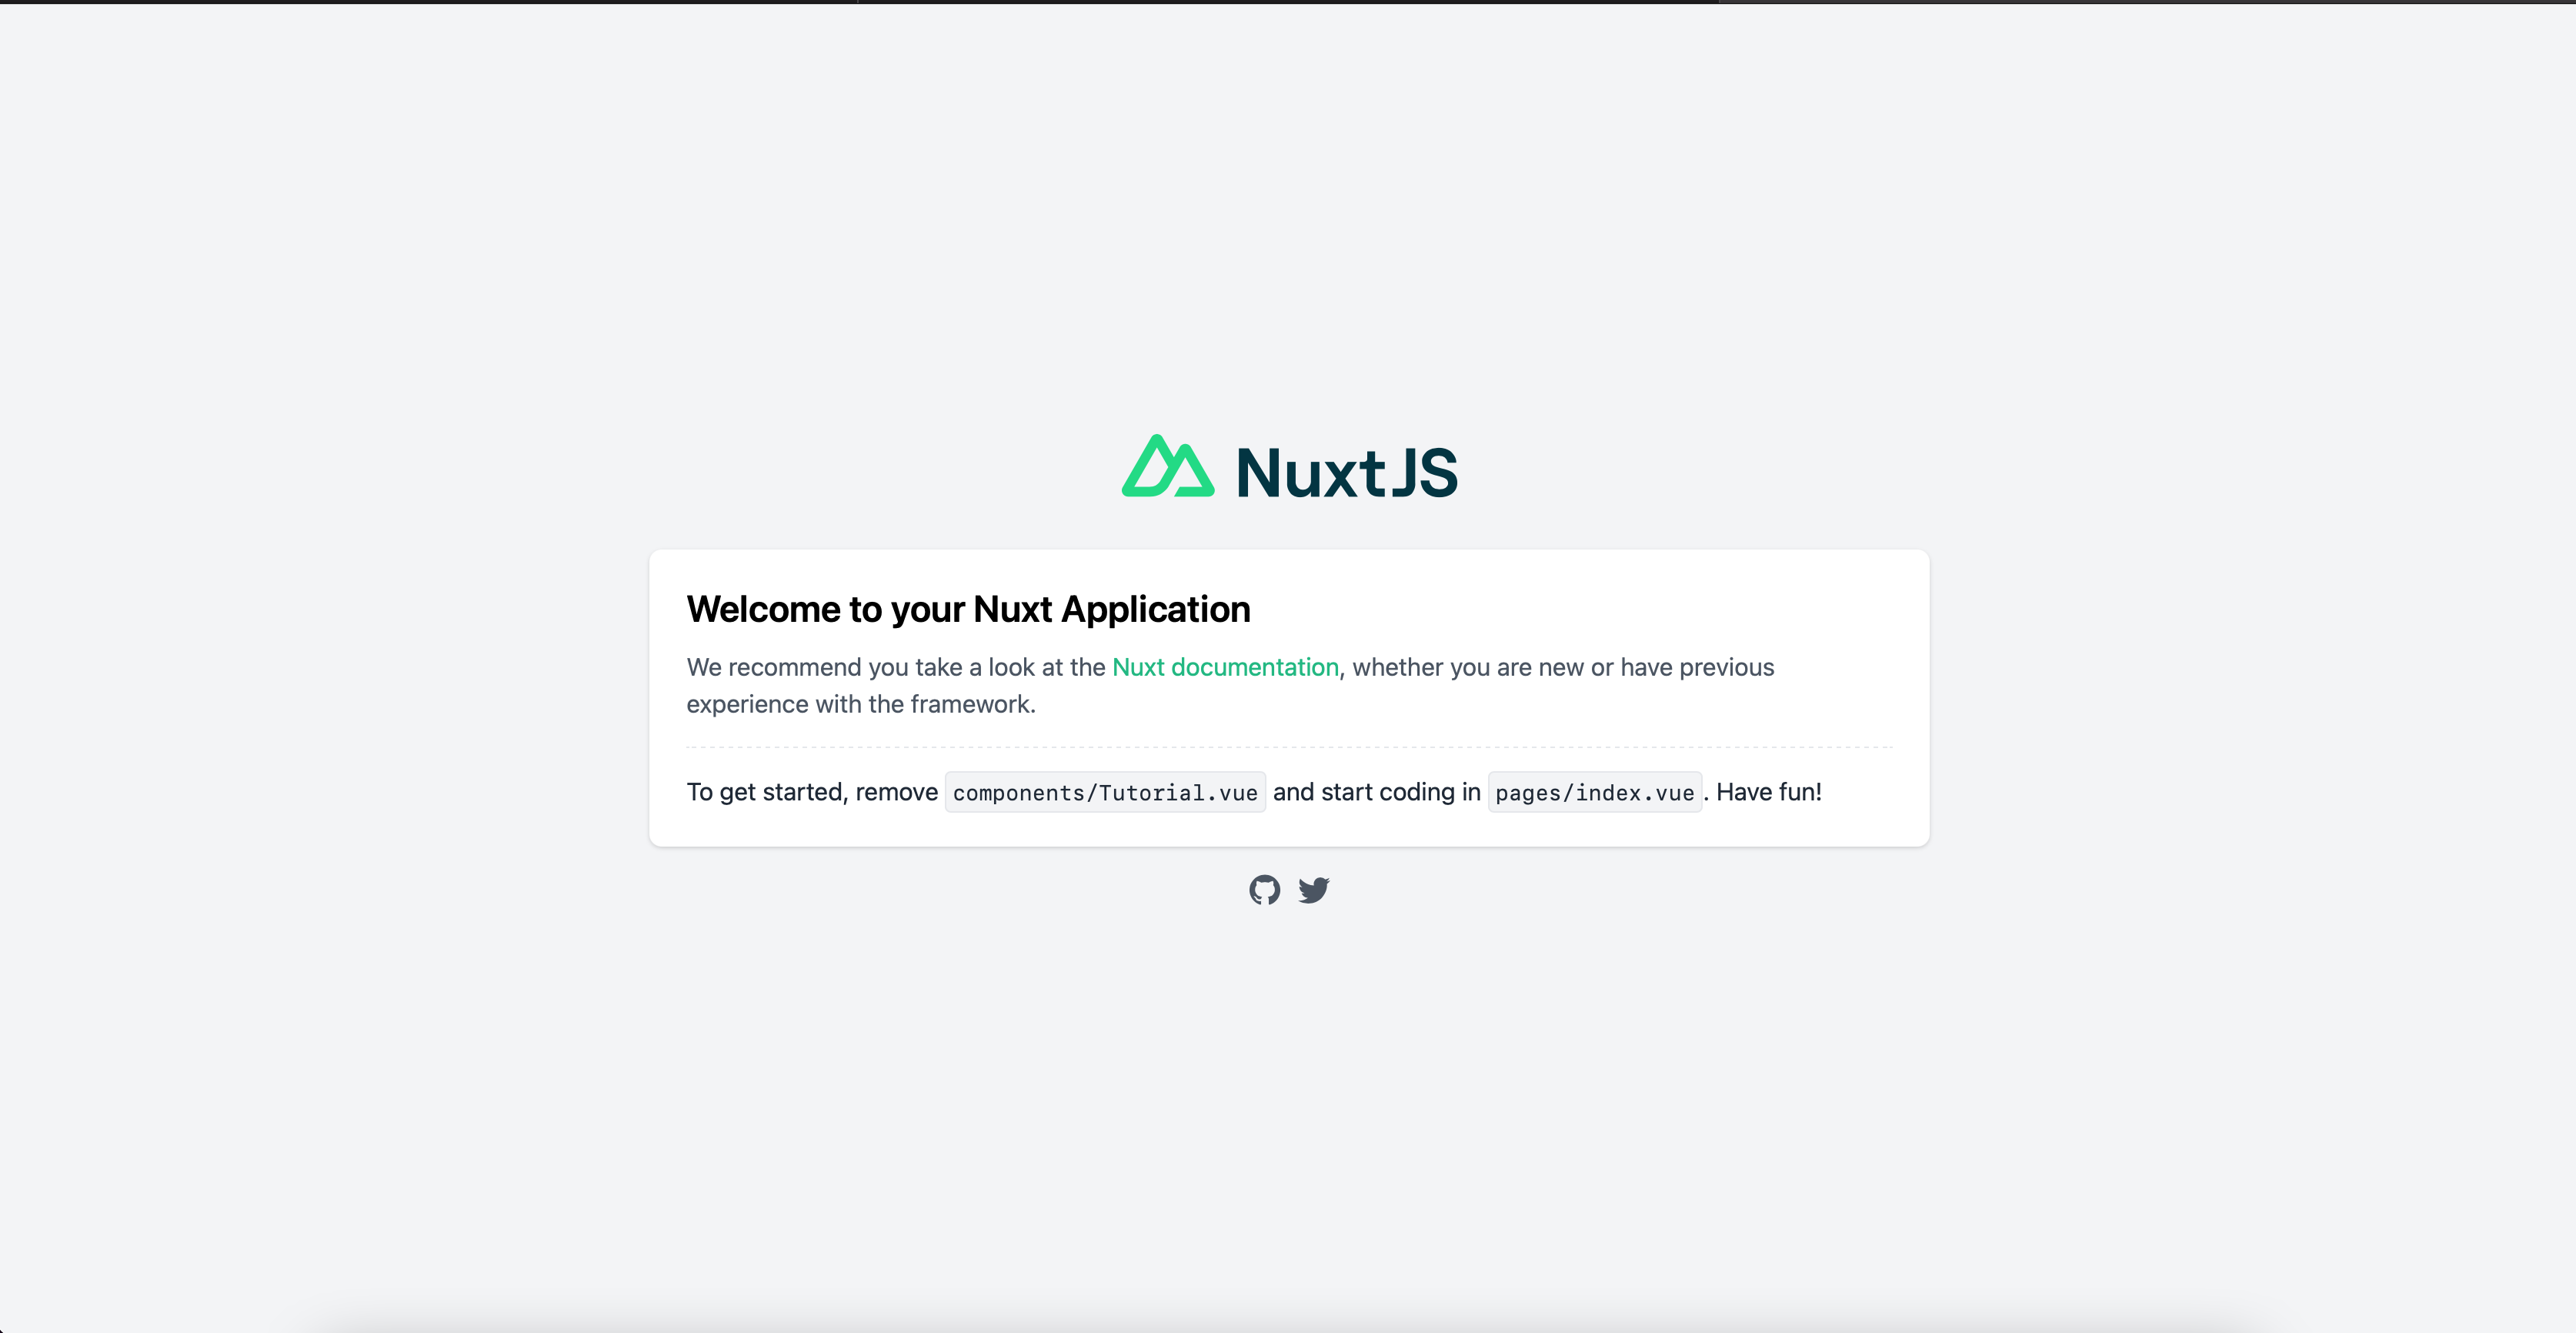
这将启动一个本地服务器,您可以访问所提供的地址. 在您的浏览器中,点击 http://localhost:3000/。您将看到以下内容:
现在你的项目正在运行,你可以通过添加一个 array的 objects,你将使用作为数据在本教程中设置示例应用程序。
打开终端并在项目根目录中运行以下命令(‘favorite-airports’):
1mkdir data
在您选择的文本编辑器中,在数据目录中创建并打开名为airports.js的文件,并添加以下内容:
 1[label favorite-airports/data/airports.js]
 2export default [
 3  {
 4    name: 'Cincinnati/Northern Kentucky International Airport',
 5    abbreviation: 'CVG',
 6    city: 'Hebron',
 7    state: 'KY'
 8  },
 9  {
10    name: 'Seattle-Tacoma International Airport',
11    abbreviation: 'SEA',
12    city: 'Seattle',
13    state: 'WA'
14  },
15  {
16    name: 'Minneapolis-Saint Paul International Airport',
17    abbreviation: 'MSP',
18    city: 'Bloomington',
19    state: 'MN'
20  },
21  {
22    name: 'Louis Armstrong New Orleans International Airport',
23    abbreviation: 'MSY',
24    city: 'New Orleans',
25    state: 'LA'
26  },
27  {
28    name: 'Chicago O\'hare International Airport',
29    abbreviation: 'ORD',
30    city: 'Chicago',
31    state: 'IL'
32  },
33  {
34    name: 'Miami International Airport',
35    abbreviation: 'MIA',
36    city: 'Miami',
37    state: 'FL'
38  }
39]
这是一组由美国几个机场组成的对象,您将使用这些数据为您的应用程序动态生成页面。
保存并关闭此文件。
接下来,您将导入 CSS 框架 Tailwind来为您的应用程序添加风格。 要做到这一点,请在编辑器中打开 Nuxt 配置文件 nuxt.config.js,并添加以下突出代码:
 1[label favorite-airports/nuxt.config.js]
 2export default {
 3  // Global page headers: https://go.nuxtjs.dev/config-head
 4  head: {
 5    title: 'favorite-airports',
 6    htmlAttrs: {
 7      lang: 'en'
 8    },
 9    meta: [
10      { charset: 'utf-8' },
11      { name: 'viewport', content: 'width=device-width, initial-scale=1' },
12      { hid: 'description', name: 'description', content: '' },
13      { name: 'format-detection', content: 'telephone=no' }
14    ],
15    link: [
16      { rel: 'icon', type: 'image/x-icon', href: '/favicon.ico' },
17      { rel: 'stylesheet', type: 'text/css', href: 'https://cdn.jsdelivr.net/npm/[email protected]/dist/tailwind.min.css' }
18    ]
19  },
20...
21}
保存并关闭配置文件。
您现在已经安装了 Nuxt,生成了您的项目,并将其设置为尝试 Nuxt 功能. 在下一步,您将通过在页面目录中放置 `.vue’ 文件来自动创建不同类型的路线。
步骤 2 — 通过页面目录生成路线
与传统的 Vue.js 应用程序不同,Nuxt 中的路线不是通过路由器文件生成的,而是从页面目录中生成的,该目录中的每个.vue 文件都会生成路线。
看看你的页面目录. 已经有一个页面:index.vue. 这相当于有一个静态的index.html页面. 这个index.vue页面包含一个单一的<Tutorial />组件,其中包含在您运行本地开发服务器时在浏览器中渲染的HTML。
 1[label favorite-airports/pages/index.vue]
 2<template>
 3  <Tutorial />
 4</template>
 5
 6<script>
 7export default {
 8  name: 'IndexPage'
 9}
10</script>
接下来,您将通过创建自己的静态 Nuxt 路径来扩展。在您的终端中,在页面目录中创建并打开名为about.vue的文件。扩展前的文件名称将是 URL 路径,因此在这种情况下,URL 将是your_site/about。在这个about.vue文件中,添加以下内容:
 1[label favorite-airports/pages/about.vue]
 2<template>
 3  <div class="container mx-auto my-5">
 4    <h1 class="text-2xl leading-7 font-semibold">This is the About Page</h1>
 5    <p>This page contains the about information of this application. This is a static route created by Nuxt via the `about.vue` file in the pages directory</p>
 6  </div>
 7</template>
 8
 9<script>
10export default {
11  name: 'AboutPage'
12}
13</script>
在此页面上,您创建了一个<h1>标题和一个<p>元素在一个<div>中,然后用Tailwind类添加了每个元素的样式,设置了字体和边缘。
保存此文件并导航到 http://localhost:3000/about. 你会看到你写的HTML在浏览器中渲染:

现在你已经创建了一个静态路线,你可以继续创建一个动态路线. 该路线将有参数,你可以在.vue文件中稍后利用. URL 结构将是/airport/:code,而:code将被数据集中的机场代码取代。
在 Vue Router中,您可能在路线阵列中有这样的对象:
1const routes = [
2  { path: '/airport/:code', component: AirportDetail }
3]
但是,如前面所示,Nuxt 中的路线是通过页面目录生成的。 要创建动态路线,.vue 文件必须以 underscore (_) 开头。 在 underscore 之后的文件名称将是参数名称。
在您的终端中,在页面下创建一个名为机场的新目录:
1mkdir pages/airport
在机场目录中,在文本编辑器中创建一个名为_code.vue的文件,并添加以下内容:
 1[label favorite-airports/pages/airport/_code.vue]
 2<template>
 3  <div class="container mx-auto my-5">
 4    <h1 class="text-2xl leading-7 font-semibold">This is the Airport Detail Page</h1>
 5    <p>This page contains the specific information about an airport.</p>
 6  </div>
 7</template>
 8
 9<script>
10export default {
11  name: 'AirportDetailPage'
12}
13</script>
在此文件中,您正在重新添加<h1>和<p>来页面,但这次它包含特定机场的位置信息。
打开浏览器到http://localhost:3000/airport/cvg,你会发现以下内容:

通过创建此页面,您现在可以获取数据,其中airport.abbreviation属性匹配您的页面目录中的代码参数。 在 Nuxt 中,有两个额外的链接或生命周期方法在这里相关:fetch和asyncData。
任何在asyncData内部的反应数据都会合并到该页面的数据。
 1export default {
 2  data() {
 3    return {
 4      lastName: 'Grohl'
 5    }
 6  },
 7  asyncData() {
 8    const firstName = 'Dave'
 9  }
10}
这将是相同的写下如下:
1export default {
2  data() {
3    return {
4      firstName: 'Dave',
5      lastName: 'Grohl'
6    }
7  },
8}
唯一的区别是asyncData在服务器上渲染,而data在客户端上渲染。
若要尝试 asyncData,请创建一个 filter循环,该循环从 airports.js 数据集中返回一个对象:
 1[label favorite-airports/pages/airport/_code.vue]
 2...
 3<script>
 4import airports from '~/data/airports.js'
 5
 6export default {
 7  name: 'AirportDetailPage',
 8  asyncData ({ route }) {
 9    const airport = airports.filter(airport => airport.abbreviation === route.params.code.toUpperCase())[0]
10
11    return {
12      airport
13    }
14  }
15}
16</script>
在此代码中,您将airports.js数据导入页面,然后过滤每个对象,除非缩写和route.params.code匹配。
若要使用数据,请在同一文件的模板部分中添加以下突出的行:
1[label favorite-airports/pages/airport/_code.vue]
2<template>
3  <div class="container mx-auto my-5">
4    <h1 class="text-2xl leading-7 font-semibold">This is the Airport Detail Page</h1>
5    <p>This page contains the specific information about the <strong>{{ airport.abbreviation }}</strong> airport.</p>
6  </div>
7</template>
8...
如果您打开浏览器窗口到 http://localhost:3000/airport/cvg,您现在将在模板中找到机场代码. 尝试访问一个不同的机场路线代码,如 /airport/sea 查看该数据更新。
现在您已经在 Nuxt 中创建了静态和动态路径,您可以继续为这些airports.js对象显示更多数据属性。在下一节中,您将在 Nuxt 中创建布局,并将其分配给页面。
步骤 3 – 创建 Nuxt 布局
在 Nuxt 中,您可以为您的页面创建布局,以使您的应用程序更加模块化。这是类似于 在传统 Vue.js 应用程序中创建布局组件的过程,但在 Nuxt 中,您通过页面级的布局属性分配布局。
要创建布局,首先在项目中创建一个布局目录:
1mkdir layouts
在此目录中创建并打开名为AirportDetail.vue的文件. 在此布局中,您将自动添加有关机场的信息的侧面栏。
 1[label favorite-airports/layouts/AirportDetail.vue]
 2<template>
 3  <div>
 4    <Nuxt />
 5  </div>
 6</template>
 7
 8<script>
 9import airports from '~/data/airports.js'
10
11export default {
12  computed: {
13    airport() {
14      return airports.filter(airport => airport.abbreviation === this.$route.params.code.toUpperCase())[0]
15    }
16  }
17}
18</script>
在这个代码中,你正在导入airports.js文件到布局中,并添加一个计算属性来通过路由器中的代码参数获取机场对象。
接下来,你会利用一些 Tailwind 类。
 1[label favorite-airports/layouts/AirportDetail.vue]
 2<template>
 3  <div class="container mx-auto grid grid-cols-9 mt-5 gap-5">
 4    <aside class="col-span-2">
 5      <!-- sidebar -->
 6    </aside>
 7    <main class="col-span-7">
 8      <!-- main content -->
 9      <Nuxt />
10    </main>
11  </div>
12</template>
13...
在此片段中,你把一切都包裹在一个容器中,这也是一个3列宽的网格。
通过创建这个网格,添加一些Tailwind类的侧面栏:
 1[label favorite-airports/layouts/AirportDetail.vue]
 2<template>
 3  <div class="container mx-auto grid grid-cols-9 mt-5 gap-5">
 4    <aside class="col-span-2">
 5      <!-- sidebar -->
 6      <div class="shadow-md shadow-black mt-5 border p-5 rounded">
 7
 8      </div>
 9    </aside>
10    <main class="col-span-7">
11      <!-- main content -->
12      <Nuxt />
13    </main>
14  </div>
15</template>
16...
这将添加一些风格,包括 box-shadow, border, border-radius, padding,和 margin-top。
 1[label favorite-airports/layouts/AirportDetail.vue]
 2<template>
 3  <div class="container mx-auto grid grid-cols-9 mt-5 gap-5">
 4    <aside class="col-span-2">
 5      <!-- sidebar -->
 6      <div class="shadow-md shadow-black mt-5 border p-5 rounded text-center">
 7        <p class="text-3xl font-bold">{{ airport.abbreviation }}</p>
 8        <p>An airport located in {{ airport.city }}, {{ airport.state }}</p>
 9      </div>
10    </aside>
11    <main class="col-span-7">
12      <!-- main content -->
13      <Nuxt />
14    </main>
15  </div>
16</template>
17...
此代码将一些特定机场的细节添加到页面上,并将文本中心化。
在您继续前,请添加一个<h1>值,其值为airport.name。这将位于<Nuxt />元素之上,因为它将在每个页面上显示这种布局:
 1[label favorite-airports/layouts/AirportDetail.vue]
 2<template>
 3  <div class="container mx-auto grid grid-cols-9 mt-5 gap-5">
 4    <aside>...</aside>
 5    <main class="col-span-7">
 6      <!-- main content -->
 7      <h1 class="text-3xl font-bold mt-5">{{ airport.name }}</h1>
 8      <Nuxt />
 9    </main>
10  <div>
11</template>
12...
现在你有完整的布局,你的空港细节页面. 保存和关闭布局文件。
为了使用此布局,您将接下来将布局: AirportDetail属性分配给您想要使用的页面。
 1[label favorite-airports/pages/airport/_code.vue]
 2...
 3<script>
 4import airports from '~/data/airports.js'
 5
 6export default {
 7  name: 'AirportDetailPage',
 8  asyncData ({ route }) {
 9    const airport = airports.filter(airport => airport.abbreviation === route.params.code.toUpperCase())[0]
10
11    return {
12      airport
13    }
14  },
15  layout: 'AirportDetail'
16}
17</script>
以此完成,保存此文件,并打开您的浏览器到 http://localhost:3000/airport/cvg. 您现在将找到以下内容:

<$>[注]
注: 热重新加载并不总是自动实现此更改.如果布局未在您的浏览器中渲染,请用CTRL+C停止开发服务器,然后再次运行npm run dev来重新启动服务器。
通过完成此操作,当您使用适当的机场代码访问路线时,侧栏将自动显示信息。
在此步骤中,您创建了一个布局,并将其分配给页面,允许您将应用程序保留在 DRY。
步骤 4 — 使用具有页面特定的属性的服务器背景
由于 Nuxt 应用程序在服务器上进行渲染,有时可能不清楚如何访问页面的路线,参数,甚至是 Vuex商店。由于它没有通过服务器侧的这访问整个 Vue 实例,Nuxt 提供了一个背景对象,您可以在fetch和asyncData锁中使用这些不同属性。
在本教程的早期部分中,您已经在_code.vue文件中使用了背景对象:
 1[label favorite-airports/pages/airport/_code.vue]
 2<script>
 3  export default {
 4    asyncData ({ route }) {
 5      const airport = airports.filter(airport => airport.abbreviation === route.params.code.toUpperCase())[0]
 6
 7      return {
 8        airport
 9      }
10    },
11    layout: 'AirportDetail'
12  }
13</script>
在这里,您从背景对象中解构了路线属性,因为它是您所需要的唯一属性,但您还可以给它一个标准名称,例如背景或ctx:
 1[label favorite-airports/pages/airport/_code.vue]
 2<script>
 3  export default {
 4    asyncData (context) {
 5      const airport = airports.filter(airport => airport.abbreviation === context.route.params.code.toUpperCase())[0]
 6
 7      return {
 8        airport
 9      }
10    },
11    layout: 'AirportDetail'
12  }
13</script>
除了背景对象、fetch方法和asyncData方法外,页面还具有仅在页面级别上可访问的附加属性,特别是头部属性。 使用此属性,您可以在页面渲染时将meta信息注入到 [DOM(文档对象模型)]的<头>。
要设置页面的描述,请在文本编辑器中打开_code.vue文件:
 1[label favorite-airports/pages/airport/_code.vue]
 2<script>
 3  export default {
 4    ...,
 5    head() {
 6      return {
 7        title: 'Airport Information | Aiport App',
 8        meta: [
 9          {
10            hid: 'description',
11            name: 'description',
12            content: 'Detailed information about the specific airport.'
13          }
14        ]
15      }
16    }
17  }
18</script>
在此代码中,头部是一个返回对象的函数,您将一个标题属性添加到该对象中,以及一个元属性,其中包含一组定义描述属性的对象。
1<head>
2  <title>Airport Information | Aiport App</title>
3  <meta hid="description" name="description" content="Detailed information about the specific airport.">
4</head>
保存您的 _code.vue 文件,并在您的浏览器中打开它. 渲染的 DOM 现在将包含您添加的信息:

您还可以使用字符串插入来动态化标题和描述,将当前的机场信息注入<head>元素:
 1<script>
 2  export default {
 3    head () {
 4    return {
 5      title: `${this.airport.name} Information | Aiport App`,
 6        meta: [
 7          {
 8            hid: 'description',
 9            name: 'description',
10            content: `Detailed information about the ${this.airport.name} (${this.airport.abbreviation}) airport.`
11          }
12        ]
13      }
14    }
15  }
16</script>
现在,当你保存和刷新浏览器窗口时,你会发现机场特定的信息被注入到头部,这将对你的应用程序的搜索引擎优化(SEO)有用。
结论
正如本教程中所示,Nuxt为您提供了在服务器侧动态渲染页面的工具,用<head>属性配置您的SEO,并用layout属性模块化您的代码,还允许您定义在服务器上使用asyncData和fetch或在客户端上使用data渲染的数据。
有关 Nuxt 功能的更多信息,请访问 官方 Nuxt 文档。 有关 Vue 的更多教程,请参阅 如何使用 Vue.js 开发网站系列页面。