作者选择了 /dev/color以作为 Write for Donations计划的一部分获得捐款。
介绍
Gatsby是一个 React框架,允许您创建静态和无服务器的应用程序。Gatsby网站与传统网站不同,因为它们通常是在内容交付网络(CDN)上部署(https://www.gatsbyjs.com/docs/glossary/content-delivery-network/#what-is-a-content-delivery-network-cdn)并且是内容无知的。
Gatsby 通常被描述为 content mesh. 内容网意味着作为用户,您可以从各种来源提取数据,如 WordPress网站,CSV文件和各种外部 API;因此,Gatsby 是数据无知者。 这与传统的内容管理系统(CMS)不同,如WordPress和 Drupal,数据通常来自单个来源 - 一个数据库。 当您在 Gatsby 上构建应用程序时,您不必担心维护和提供数据库。
这些无服务器网站也被称为 JAMStack。在一个JAMStack架构中,仍然有服务器参与,但开发人员不需要提供或维护服务器。一些开发人员认为无服务器是一个理想的功能,因为他们可以更多地关注他们的应用程序的商业逻辑。
在本教程中,你将:
- 安装 Gatsby Starter 默认模板
- 在 gatsby-config.js 中修改元数据
- 运行开发服务器并本地查看 Gatsby 网站
- 简要介绍 JSX 和 Gatsby 的图像优化功能
到本教程结束时,您将能够创建和修改一个Gatsby网站. 请记住,您将在本地机器上创建这个网站,您将不会部署它。
前提条件
- Node.js版本 14 (或更高)安装在您的计算机上。 要在 macOS 或 Ubuntu 20.04 上安装此功能,请遵循 How to Install Node.js and Create a Local Development Environment on macOS或 [Installing Node.js with Apt Using a NodeSource PPA** section of How To Install Node.js on Ubuntu 20.04]中的步骤。
- 它将有助于您在 How To Code in JavaScript series中熟悉 JavaScript。
步骤 1 – 安装 Gatsby 并创建一个新项目
在此步骤中,您将从模板上安装一个新的Gatsby网站,Gatsby为用户提供启动模板,因此您不必担心从根本上构建一个网站。
下载 Gatsby CLI 包. 这个 Gatsby 命令行界面将允许您创建和定制一个新的网站:
1npm install -g gatsby-cli
-g 标志意味着您正在全球安装 Gatsby 命令行界面,而不是本地。
<$>[note]
**注:**在Ubuntu 20.04 等某些系统上,在全球范围内安装 npm 包可能会导致权限错误,这会中断安装。 由于避免使用sudo在npm install中是安全的最佳做法,您可以通过更改 npm 的默认目录来解决这个问题。
如果你输入Gatsby帮助,你会发现几个命令,你可以用来创建你的Gatsby网站:
1gatsby help
这将产生以下产出:
 1[secondary_label Output]
 2Usage: gatsby <command> [options]
 3
 4Commands:
 5  gatsby develop Start development server. Watches files, rebuilds, and hot reloads if something changes
 6  gatsby build Build a Gatsby project.
 7  gatsby serve Serve previously built Gatsby site.
 8  gatsby info Get environment information for debugging and issue reporting
 9  gatsby clean Wipe the local gatsby environment including built assets and cache
10  gatsby repl Get a node repl with context of Gatsby environment, see (https://www.gatsbyjs.com/docs/gatsby-repl/)
11  gatsby recipes [recipe]             [EXPERIMENTAL] Run a recipe
12  gatsby plugin <cmd> [plugins...]    Useful commands relating to Gatsby plugins
13  gatsby new [rootPath] [starter]     Create new Gatsby project.
14  gatsby telemetry Enable or disable Gatsby anonymous analytics collection.
15...
以下是本教程中最重要的命令:
gatsby new创建了一个全新的网站. 如果你使用gatsby new自己,你会得到一个 barebones 网站. 使用gatsby new的更常见方式是将其与一个启动模板相结合,这就是你将在本教程中所做的gatsby develop启动开发服务器。 在本教程中,你将使用gatsby develop来本地查看您的网站在端口:8000.gatsby build包装静态文件和资产,并创建您的应用程序的构建生产
你现在已经安装了Gatsby命令行工具,但你仍然没有一个网站。Gatsby的优点之一是你不必从头开始编码一个网站。Gatsby有几个启动模板(https://www.gatsbyjs.com/starters),你可以使用它来启动和运行你的网站。 那里有数百个模板,而且这些贡献很多来自社区。 对于本教程,你将使用Gatsby的官方启动模板之一(https://github.com/gatsbyjs/gatsby-starter-default)。
你要做的第一件事是通过终端安装一个Gatsby启动器:
1gatsby new gatsby-starter-default https://github.com/gatsbyjs/gatsby-starter-default
「gatsby new」创建了一个新网站.本教程将使用「gatsby-starter-default」模板,并在模板后命名项目。
命令行中的以下输出意味着您已成功安装了 Gatsby 启动模板:
1[secondary_label Output]
2...
3Your new Gatsby site has been successfully bootstrapped. Start developing it by running:
4
5  cd gatsby-starter-default
6  gatsby develop
「gatsby-starter-default」是您新目录的名称,您现在将更改为「gatsby-starter-default」并列出目录的内容:
1cd gatsby-starter-default && ls
这将产生以下产出:
1[secondary_label Output]
2LICENSE gatsby-browser.js gatsby-node.js node_modules package.json
3README.md gatsby-config.js gatsby-ssr.js package-lock.json src
您将在本教程中修改的重要文件包括:
gatsby-config.js: 此包含您整个网站的定制。 此处您将更改元数据并添加 Gatsby 插件。src: 此目录包含构成网站的所有页面、图像和组件。 在 React 中,组件是网站的孤立部分。 例如,在您的网站中,‘索引’页面由‘布局’、‘图像’和‘seo’组件组成
现在你已经创建了一个新的Gatsby项目,并探索了文件结构,你已经准备好进入你的项目并定制你的网站的元数据。
步骤 2 — 在您的 Gatsby 配置中修改标题、描述和作者元数据
如果你想让你的网站被搜索引擎发现,重要的是正确格式化你的元数据. 在本节中,你将配置你的应用程序的标题,描述和作者元数据。
gatsby-config.js 是 Gatsby 的配置文件. 这是你会找到网站 siteMetadata 对象的地方. 该网站的元数据有助于提高您的网站的SEO,并使其更容易被搜索引擎发现。
在文本编辑器中打开gatsby-config.js以查看Gatsby的配置。nano是本教程将用于查看Gatsby config文件的文本编辑器的名称,但您可以使用您选择的编辑器:
1nano gatsby-config.js
以下是 gatsby-config.js 与 Gatsby Default Starter 模板附带的配置:
 1[label gatsby-config.js]
 2module.exports = {
 3  siteMetadata: {
 4    title: `Gatsby Default Starter`,
 5    description: `Kick off your next, great Gatsby project with this default starter. This barebones starter ships with the main Gatsby configuration files you might need.`,
 6    author: `@gatsbyjs`,
 7    siteUrl: `https://gatsbystarterdefaultsource.gatsbyjs.io/`,
 8  },
 9  plugins: [
10    `gatsby-plugin-react-helmet`,
11    `gatsby-plugin-image`,
12    {
13      resolve: `gatsby-source-filesystem`,
14      options: {
15        name: `images`,
16        path: `${__dirname}/src/images`,
17      },
18    },
19    `gatsby-transformer-sharp`,
20    `gatsby-plugin-sharp`,
21    {
22      resolve: `gatsby-plugin-manifest`,
23      options: {
24        name: `gatsby-starter-default`,
25        short_name: `starter`,
26        start_url: `/`,
27        background_color: `#663399`,
28        // This will impact how browsers show your PWA/website
29        // https://css-tricks.com/meta-theme-color-and-trickery/
30        // theme_color: `#663399`,
31        display: `minimal-ui`,
32        icon: `src/images/gatsby-icon.png`, // This path is relative to the root of the site.
33      },
34    },
35    // this (optional) plugin enables Progressive Web App + Offline functionality
36    // To learn more, visit: https://gatsby.dev/offline
37    // `gatsby-plugin-offline`,
38  ],
39}
Gatsby config 文件也是您的插件的所在地。 Plugins是您安装的套件,以便为您的 Gatsby 应用程序添加功能。 Gatsby 的此安装配有 gatsby-plugin-react-helmet, gatsby-plugin-image, gatsby-transformer-sharp, gatsby-plugin-sharp,和 gatsby-plugin-manifest插件。
每个GatsbyDefault Starter模板都包含相同的通用元数据,这些元数据通过gatsby-plugin-react-helmet插件嵌入到您的网站的每个页面中。
用以下突出代码取代标题、描述和作者的文本:
 1[label gatsby-config.js]
 2module.exports = {
 3  siteMetadata: {
 4    title: `Getting Started with Gatsby`,
 5    description: `A tutorial that goes over Gatsby development`,
 6    author: `@digitalocean`,
 7    siteUrl: `https://gatsbystarterdefaultsource.gatsbyjs.io/`,
 8  },
 9  plugins: [
10    `gatsby-plugin-react-helmet`,
11    `gatsby-plugin-image`,
12    {
13      resolve: `gatsby-source-filesystem`,
14      options: {
15        name: `images`,
16        path: `${__dirname}/src/images`,
17      },
18    },
19    `gatsby-transformer-sharp`,
20    `gatsby-plugin-sharp`,
21    {
22      resolve: `gatsby-plugin-manifest`,
23      options: {
24        name: `gatsby-starter-default`,
25        short_name: `starter`,
26        start_url: `/`,
27        background_color: `#663399`,
28        // This will impact how browsers show your PWA/website
29        // https://css-tricks.com/meta-theme-color-and-trickery/
30        // theme_color: `#663399`,
31        display: `minimal-ui`,
32        icon: `src/images/gatsby-icon.png`, // This path is relative to the root of the site.
33      },
34    },
35    // this (optional) plugin enables Progressive Web App + Offline functionality
36    // To learn more, visit: https://gatsby.dev/offline
37    // `gatsby-plugin-offline`,
38  ],
39}
保存和退出文件。
现在,当谷歌或其他搜索引擎扫描您的网站时,它将检索与您的应用程序相关的数据,您已经更改了元数据;接下来,您将更改网站的页面之一。
步骤 3 – 更改索引页面
在本节中,您将了解有关 JSX,更改索引页面的标记,添加图像,并在本地运行您的Gatsby网站。
现在是时候在你的浏览器中看到Gatsby网站的样子了,在终端打开一个新的窗口,然后在命令行中输入‘gatsby develop’来查看该网站的本地版本:
1gatsby develop
gatsby develop命令启动了开发服务器. 如果您转到浏览器,您可以访问您的网站在localhost:8000:
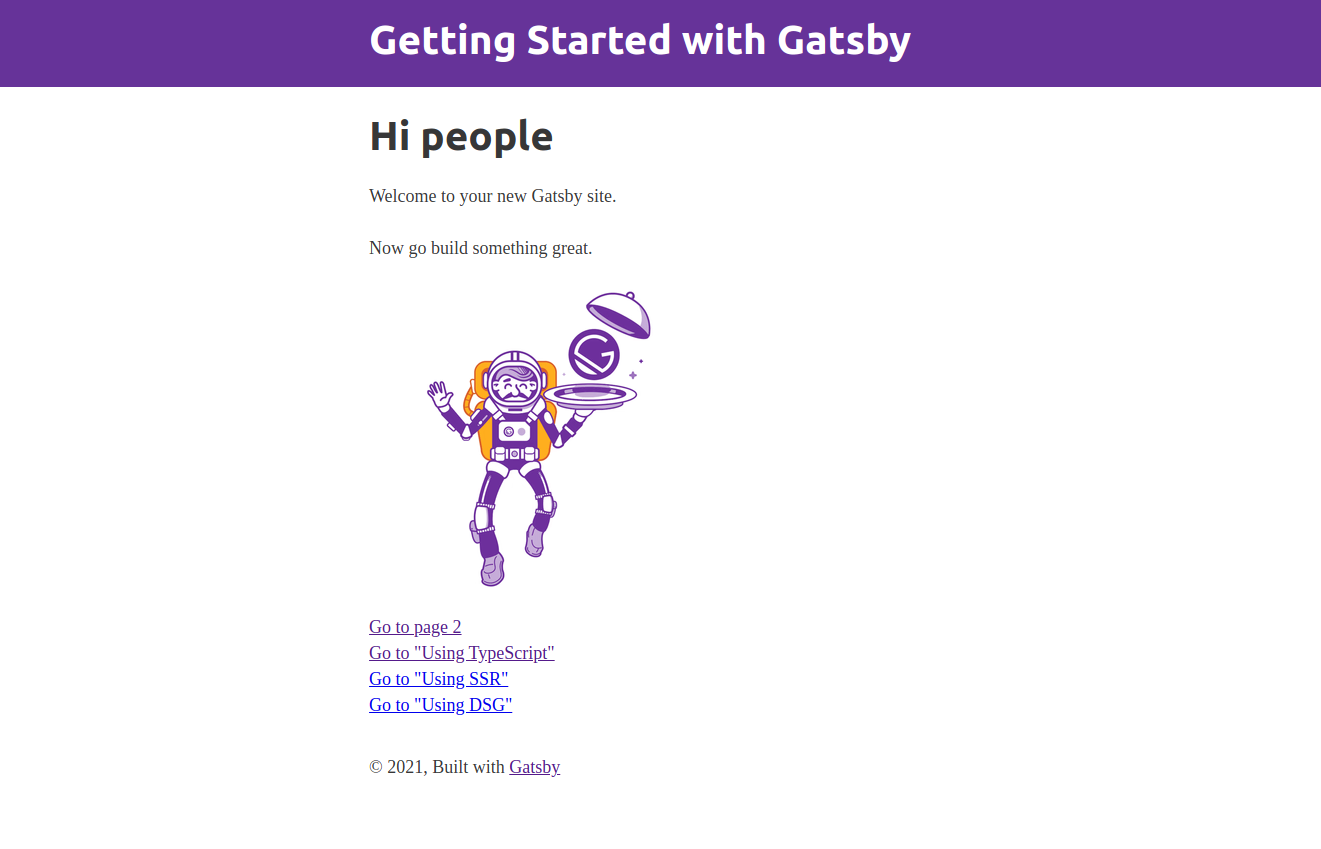
您将更改页面上的标记,使其看起来更像您会在电子商务网站上找到的内容。
1nano src/pages/index.js
这就是你将在文本编辑器中找到的:
 1[label src/pages/index.js]
 2import * as React from "react"
 3import { Link } from "gatsby"
 4import { StaticImage } from "gatsby-plugin-image"
 5
 6import Layout from "../components/layout"
 7import Seo from "../components/seo"
 8
 9const IndexPage = () => (
10  <Layout>
11    <Seo title="Home" />
12    <h1>Hi people</h1>
13    <p>Welcome to your new Gatsby site.</p>
14    <p>Now go build something great.</p>
15    <StaticImage
16      src="../images/gatsby-astronaut.png"
17      width={300}
18      quality={95}
19      formats={["auto", "webp", "avif"]}
20      alt="A Gatsby astronaut"
21      style={{ marginBottom: `1.45rem` }}
22    />
23    <p>
24      <Link to="/page-2/">Go to page 2</Link> <br />
25      <Link to="/using-typescript/">Go to "Using TypeScript"</Link>
26      <Link to="/using-ssr">Go to "Using SSR"</Link> <br />
27      <Link to="/using-dsg">Go to "Using DSG"</Link>
28    </p>
29  </Layout>
30)
31
32export default IndexPage
这里的代码是 JSX. JSX 允许您在 JavaScript 中编写 HTML 元素. 如果您想要对 JSX 的更全面概述,请访问我们的 JSX 教程(https://andsky.com/tech/tutorials/how-to-create-react-elements-with-jsx)。
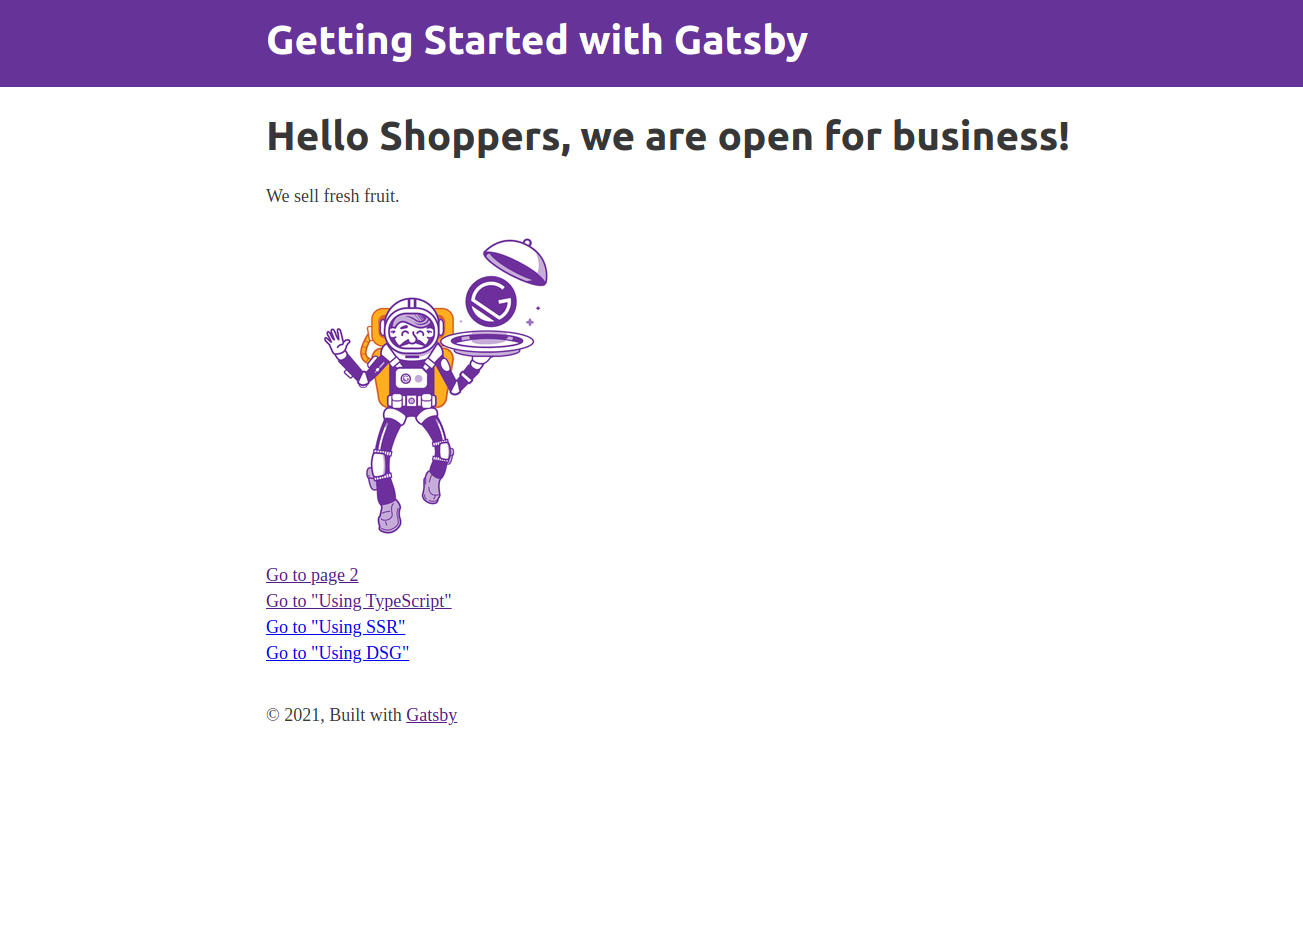
在文本编辑器中,用Hi People代替Hello Shoppers, we are open to business!和Welcome to your new Gatsby site.</p>代替Hi People代替Hello Shoppers, we are open to business!</h1>。
 1[label src/pages/index.js]
 2import * as React from "react"
 3import { Link } from "gatsby"
 4import { StaticImage } from "gatsby-plugin-image"
 5
 6import Layout from "../components/layout"
 7import Seo from "../components/seo"
 8
 9const IndexPage = () => (
10  <Layout>
11    <Seo title="Home" />
12    <h1>Hello Shoppers, we are open for business!</h1>
13    <p>We sell fresh fruit.</p>
14    <StaticImage
15      src="../images/gatsby-astronaut.png"
16      width={300}
17      quality={95}
18      formats={["auto", "webp", "avif"]}
19      alt="A Gatsby astronaut"
20      style={{ marginBottom: `1.45rem` }}
21    />
22    <p>
23      <Link to="/page-2/">Go to page 2</Link> <br />
24      <Link to="/using-typescript/">Go to "Using TypeScript"</Link>
25      <Link to="/using-ssr">Go to "Using SSR"</Link> <br />
26      <Link to="/using-dsg">Go to "Using DSG"</Link>
27    </p>
28  </Layout>
29)
30
31export default IndexPage
没有必要启动和停止开发服务器,因为Gatsby配备了 hot reloading。
现在你将将Gatsby宇航员的图像更改为Sammy the Shark(https://html.sammy-codes.com/images/small-profile.jpeg)。在浏览器中打开图像,并将图像下载到你的Gatsby项目中的src/images文件夹中。将图像保存为sammy-shark.jpeg。
1wget -O src/images/sammy-shark.jpeg https://html.sammy-codes.com/images/small-profile.jpeg
重复检查,看看Sammy the Shark图像是否位于右侧的文件夹中。
1cd src/images
在您进入图像目录后,请检查sammy-shark.jpeg是否位于图像文件夹中:
1ls
「ls」是列表的命令.您正在列出在「images」文件夹中找到的所有文件:
1[secondary_label Output]
2gatsby-astronaut.png gatsby-icon.png sammy-shark.jpeg
现在你已经确认了该文件在那里,你将重新打开index.js在你最喜欢的文本编辑器. 你将交换Gatsby的宇航员图像与Sammy的鲨鱼。
首先,回到您的src目录:
1cd ..
现在打开index.js React 组件页面:
1nano pages/index.js
将gatsby-astronaut.png更换为sammy-shark.jpeg:
 1[label src/pages/index.js]
 2import * as React from "react"
 3import { Link } from "gatsby"
 4import { StaticImage } from "gatsby-plugin-image"
 5
 6import Layout from "../components/layout"
 7import Seo from "../components/seo"
 8
 9const IndexPage = () => (
10  <Layout>
11    <Seo title="Home" />
12    <h1>Hello Shoppers, we are open for business!</h1>
13    <p>We sell fresh fruit.</p>
14    <StaticImage
15      src="../images/sammy-shark.jpeg"
16      width={300}
17      quality={95}
18      formats={["auto", "webp", "avif"]}
19      alt="Sammy the Shark, an adorable cartoon shark and DigitalOcean's mascot"
20      style={{ marginBottom: `1.45rem` }}
21    />
22    <p>
23      <Link to="/page-2/">Go to page 2</Link> <br />
24      <Link to="/using-typescript/">Go to "Using TypeScript"</Link>
25    </p>
26  </Layout>
27)
28
29export default IndexPage
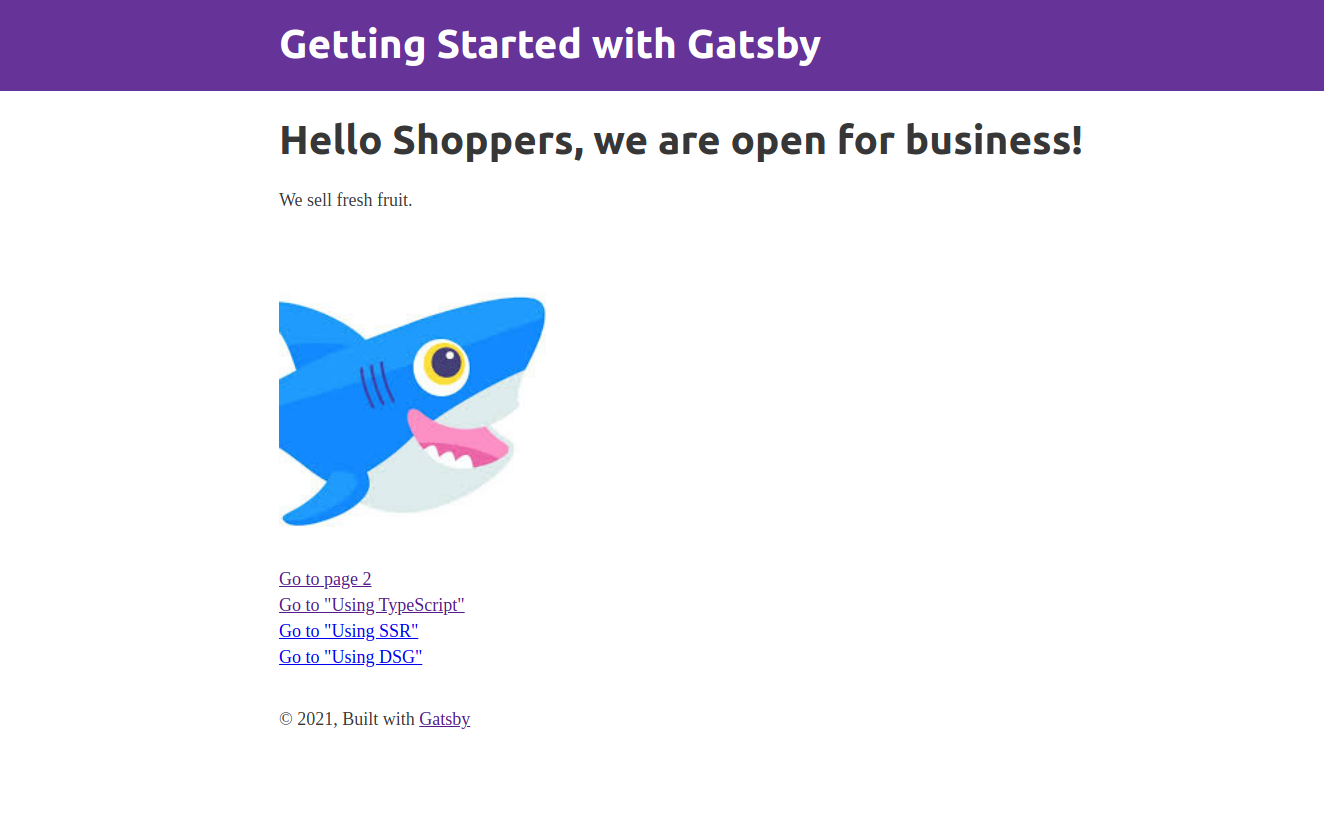
在上面的页面代码中,您已从gatsby-plugin-image更新了StaticImage组件,以便加载和渲染Sammy the Shark图像,而不是宇航员。您已更新了src属性,以指向新图像文件的本地路径,并更新了alt文本属性,以便屏幕阅读软件向需要新图像的用户阅读有用的描述。
使用其他现有的StaticImage设置,Gatsby将sammy-shark.jpeg的图像大小缩放到最大宽度为300,使用95的质量设置,生成多个格式以优化交付,并通过一些内线CSS添加底部边缘。
服务器将重新启动,你会在你的Gatsby页面上找到Sammy the Shark:
您现在有您的Gatsby电子商务网站并在本地运行。
结论
在本教程中,您创建了您的第一个Gatsby网站,您已经学会了如何在本地机器上设置一个基本的Gatsby网站,现在您可以创建和定制一个Gatsby应用程序,下一步是 部署您的Gatsby电子商务网站。