介绍
Eclipse Theia是一个可扩展的云 IDE,可在远程服务器上运行,并可通过网页浏览器访问。视觉上,它设计的外观和行为类似于 Microsoft Visual Studio Code。
在本教程中,您将使用 Docker Compose 将 Eclipse Theia 部署到您的 Ubuntu 18.04 服务器上. 您将使用 nginx-proxy将其暴露在您的域中,并使用 Let's Encrypt TLS 证书保护它,您将提供一个 add-on。 有关本教程的更详细版本,请参阅 如何在 Ubuntu 18.04 上设置 Eclipse Theia Cloud IDE 平台。
前提条件
- 具有 root 特权的 Ubuntu 18.04 服务器,以及次要的非 root 帐户,按照 Ubuntu 18.04 初始服务器设置指南。
- Docker 安装在您的服务器上,按照 [Ubuntu 18.04 上的如何安装 Docker]的 Step 1和 Step 2。
- Docker Compose 安装在您的服务器上,按照 Step 1的 Ubuntu 18.04 上的如何安装 Docker Compose。
- 一个完全注册的域名。本教程将使用theia.your-domain`在整个过程中。
- 一个 DNS 记录与 `theia.your-doma
步骤 1 — 使用 Let’s Encrypt 部署 nginx 代理
创建目录来存储 Eclipse Theia 的所有数据:
1mkdir ~/eclipse-theia
导航它:
1cd ~/eclipse-theia
创建nginx-proxy-compose.yaml以存储nginx-proxy的 Docker Compose 配置:
1nano nginx-proxy-compose.yaml
添加以下几行:
 1[label ~/eclipse-theia/nginx-proxy-compose.yaml]
 2version: '2'
 3
 4services:
 5  nginx-proxy:
 6    restart: always
 7    image: jwilder/nginx-proxy
 8    ports:
 9      - "80:80"
10      - "443:443"
11    volumes:
12      - "/etc/nginx/htpasswd:/etc/nginx/htpasswd"
13      - "/etc/nginx/vhost.d"
14      - "/usr/share/nginx/html"
15      - "/var/run/docker.sock:/tmp/docker.sock:ro"
16      - "/etc/nginx/certs"
17
18  letsencrypt-nginx-proxy-companion:
19    restart: always
20    image: jrcs/letsencrypt-nginx-proxy-companion
21    volumes:
22      - "/var/run/docker.sock:/var/run/docker.sock:ro"
23    volumes_from:
24      - "nginx-proxy"
在这里,您定义了 Docker Compose 将运行的两个服务,即「nginx-proxy」和其 Let's Encrypt 伴侣。对于代理,您将指定「jwilder/nginx-proxy」作为图像、地图 HTTP 和 HTTPS 端口,并定义在运行时可访问的卷。
保存并关闭文件。
安装配置:
1docker-compose -f nginx-proxy-compose.yaml up -d
最终的结果将是这样的:
 1[secondary_label Output]
 2Creating network "eclipse-theia_default" with the default driver
 3Pulling nginx-proxy (jwilder/nginx-proxy:)...
 4latest: Pulling from jwilder/nginx-proxy
 58d691f585fa8: Pull complete
 65b07f4e08ad0: Pull complete
 7...
 8Digest: sha256:dfc0666b9747a6fc851f5fb9b03e65e957b34c95d9635b4b5d1d6b01104bde28
 9Status: Downloaded newer image for jwilder/nginx-proxy:latest
10Pulling letsencrypt-nginx-proxy-companion (jrcs/letsencrypt-nginx-proxy-companion:)...
11latest: Pulling from jrcs/letsencrypt-nginx-proxy-companion
1289d9c30c1d48: Pull complete
13668840c175f8: Pull complete
14...
15Digest: sha256:a8d369d84079a923fdec8ce2f85827917a15022b0dae9be73e6a0db03be95b5a
16Status: Downloaded newer image for jrcs/letsencrypt-nginx-proxy-companion:latest
17Creating eclipse-theia_nginx-proxy_1 ... done
18Creating eclipse-theia_letsencrypt-nginx-proxy-companion_1 ... done
步骤 2 – 部署 Dockerized Eclipse Theia
nginx-proxy预计登录组合将在一个名为htpasswd格式的文件中,并存储在容器中的/etc/nginx/htpasswd目录中。
安裝「HTTPWD」功能:
1sudo apt install apache2-utils
apache2-utils包包含了htpasswd实用程序。
创建 /etc/nginx/htpasswd 目录:
1sudo mkdir -p /etc/nginx/htpasswd
创建一个文件来存储您的域名的登录:
1sudo touch /etc/nginx/htpasswd/theia.your-domain
运行以下命令,使用用户名和密码组合:
1sudo htpasswd /etc/nginx/htpasswd/theia.your-domain username
htpasswd将添加用户名和哈希密码对到文件的末尾。
创建 Eclipse Theia 的部署配置:
1nano eclipse-theia-compose.yaml
添加以下几行:
 1[label ~/eclipse-theia/eclipse-theia-compose.yaml]
 2version: '2.2'
 3
 4services:
 5  eclipse-theia:
 6    restart: always
 7    image: theiaide/theia:next
 8    init: true
 9    environment:
10      - VIRTUAL_HOST=theia.your-domain
11      - LETSENCRYPT_HOST=theia.your-domain
您将一个名为eclipse-theia的单一服务定义为始终和theiaide/theia:next为容器图像,您还将init设置为true。
保存并关闭文件。
现在通过运行部署 Eclipse Theia:
1docker-compose -f eclipse-theia-compose.yaml up -d
最终的结果将看起来像:
 1[secondary_label Output]
 2...
 3Pulling eclipse-theia (theiaide/theia:next)...
 4next: Pulling from theiaide/theia
 563bc94deeb28: Pull complete
 6100db3e2539d: Pull complete
 7...
 8Digest: sha256:c36dff04e250f1ac52d13f6d6e15ab3e9b8cad9ad68aba0208312e0788ecb109
 9Status: Downloaded newer image for theiaide/theia:next
10Creating eclipse-theia_eclipse-theia_1 ... done
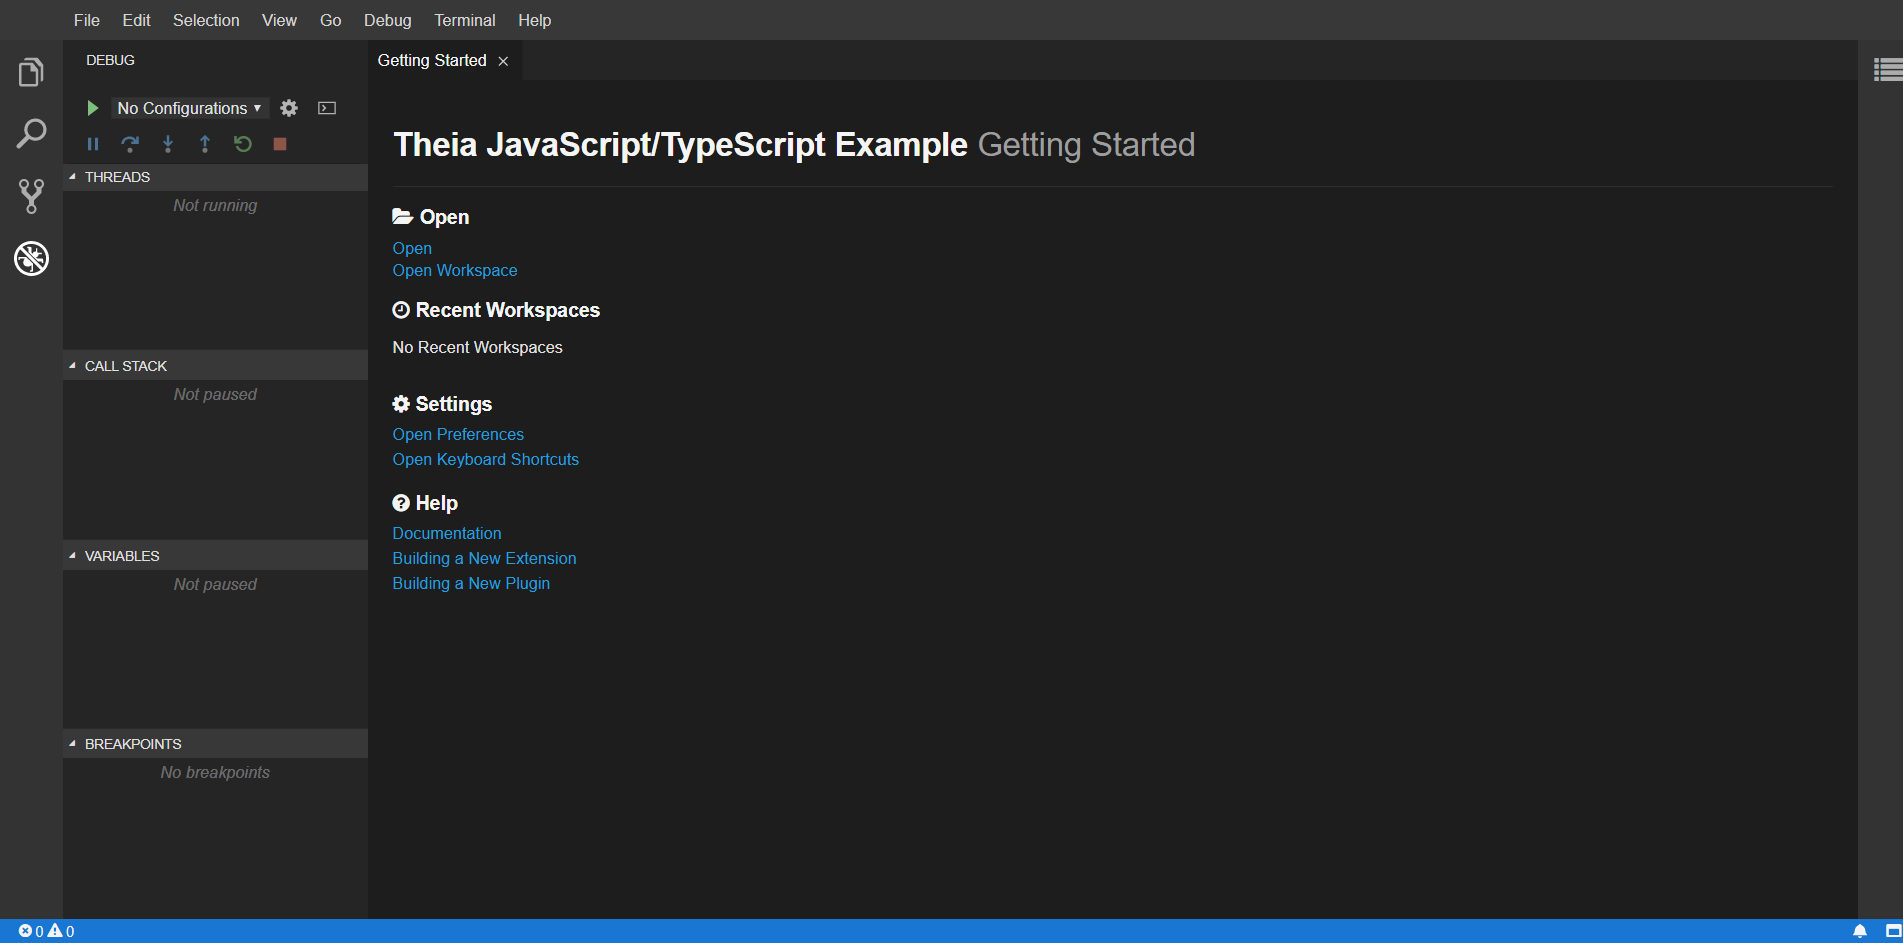
导航到您正在使用的域名 Eclipse Theia. 您的浏览器将向您显示提示,要求您登录. 您将进入 Eclipse Theia 并看到其编辑器的 GUI. 您还将看到一个锁定,表示连接是安全的。
结论
你现在有 Eclipse Theia,一个多功能的云 IDE,安装在你的Ubuntu 18.04服务器上,使用Docker Compose和nginx-proxy。你已经用免费的Let's Encrypt TLS证书保护了它,并设置了该实例以要求用户登录凭证。你可以单独处理源代码和文档,或者与你的团队合作。如果你需要额外的功能,你也可以尝试构建自己的Eclipse Theia版本。