介绍
代码服务器是 Microsoft Visual Studio Code在远程服务器上运行,可以直接从您的浏览器访问,这意味着您可以使用各种设备,运行不同的操作系统,并始终拥有一致的开发环境。
在本教程中,您将在您的 Ubuntu 18.04 机器上设置代码服务器云 IDE 平台,并将其暴露在您的域中,使用 Let's Encrypt 加密。
前提条件
- 运行 Ubuntu 18.04 的服务器至少有 2GB 的 RAM、 root 访问和 sudo 非 root 帐户. 您可以通过遵循 Ubuntu 18.04 的初始服务器设置指南来设置此设置。
- Nginx 安装在您的服务器上。 有关如何做到这一点的指南,可以完成 如何在 Ubuntu 18.04 上安装 Nginx 的步骤 1 到 4。
- 一个完全注册的域名来托管代码服务器,指向您的服务器。 本教程将使用
code-server.your-domain在整个服务器上。 您可以购买一个域名在 Namecheap上,获得一个免费的 [
步骤 1 – 安装代码服务器
创建目录来存储代码服务器的所有数据:
1mkdir ~/code-server
导航它:
1cd ~/code-server
访问代码服务器的 Github 发布页面,选择最新的 Linux 构建。
1wget https://github.com/cdr/code-server/releases/download/2.1692-vsc1.39.2/code-server2.1692-vsc1.39.2-linux-x86_64.tar.gz
解包档案:
1tar -xzvf code-server2.1692-vsc1.39.2-linux-x86_64.tar.gz
导航到包含代码服务器可执行的目录:
1cd code-server2.1692-vsc1.39.2-linux-x86_64
要访问可在您的系统中执行的代码服务器,请将其复制到:
1sudo cp code-server /usr/local/bin
创建代码服务器的文件夹来存储用户数据:
1sudo mkdir /var/lib/code-server
在/lib/systemd/system目录中创建一个 systemd服务,即code-server.service:
1sudo nano /lib/systemd/system/code-server.service
添加以下几行:
 1[label /lib/systemd/system/code-server.service]
 2[Unit]
 3Description=code-server
 4After=nginx.service
 5
 6[Service]
 7Type=simple
 8Environment=PASSWORD=your_password
 9ExecStart=/usr/local/bin/code-server --host 127.0.0.1 --user-data-dir /var/lib/code-server --auth password
10Restart=always
11
12[Install]
13WantedBy=multi-user.target
--host 127.0.0.1将其绑定到localhost.--user-data-dir /var/lib/code-server设置了其用户数据目录。
请记住用您想要的密码取代您的密码。
保存并关闭文件。
启动代码服务器服务:
1sudo systemctl start code-server
检查它是否开始正确:
1sudo systemctl status code-server
你会看到类似的输出:
 1[secondary_label Output]
 2● code-server.service - code-server
 3   Loaded: loaded (/lib/systemd/system/code-server.service; disabled; vendor preset: enabled)
 4   Active: active (running) since Mon 2019-12-09 20:07:28 UTC; 4s ago
 5 Main PID: 5216 (code-server)
 6    Tasks: 23 (limit: 2362)
 7   CGroup: /system.slice/code-server.service
 8           ├─5216 /usr/local/bin/code-server --host 127.0.0.1 --user-data-dir /var/lib/code-server --auth password
 9           └─5240 /usr/local/bin/code-server --host 127.0.0.1 --user-data-dir /var/lib/code-server --auth password
10...
允许代码服务器服务在重新启动服务器后自动启动:
1sudo systemctl enable code-server
步骤 2 – 曝光代码服务器
现在您将配置 Nginx 作为代码服务器的反向代理。
创建code-server.conf以存储在您的域中暴露代码服务器的配置:
1sudo nano /etc/nginx/sites-available/code-server.conf
添加以下行来设置您的服务器块,并提供必要的指令:
 1[label /etc/nginx/sites-available/code-server.conf]
 2server {
 3    listen 80;
 4    listen [::]:80;
 5
 6    server_name code-server.your_domain;
 7
 8    location / {
 9    	proxy_pass http://localhost:8080/;
10    	proxy_set_header Upgrade $http_upgrade;
11    	proxy_set_header Connection upgrade;
12    	proxy_set_header Accept-Encoding gzip;
13    }
14}
用您想要的域名替换 domain.your_domain,然后保存并关闭文件。
要激活此网站配置,创建一个其中的simlink:
1sudo ln -s /etc/nginx/sites-available/code-server.conf /etc/nginx/sites-enabled/code-server.conf
测试配置的有效性:
1sudo nginx -t
您将看到以下输出:
1[secondary_label Output]
2nginx: the configuration file /etc/nginx/nginx.conf syntax is ok
3nginx: configuration file /etc/nginx/nginx.conf test is successful
要使配置生效,请重新启动 Nginx:
1sudo systemctl restart nginx
步骤三:确保您的域名
现在,您将使用 Let’s Encrypt TLS 证书保护您的域名。
将 Certbot 包库添加到您的服务器:
1sudo add-apt-repository ppa:certbot/certbot
安装 Certbot 及其 Nginx 插件:
1sudo apt install python-certbot-nginx
配置ufw以接受加密流量:
1sudo ufw allow https
产量将是:
1[secondary_label Output]
2Rule added
3Rule added (v6)
重新加载以使配置生效:
1sudo ufw reload
结果将显示:
1[secondary_label Output]
2Firewall reloaded
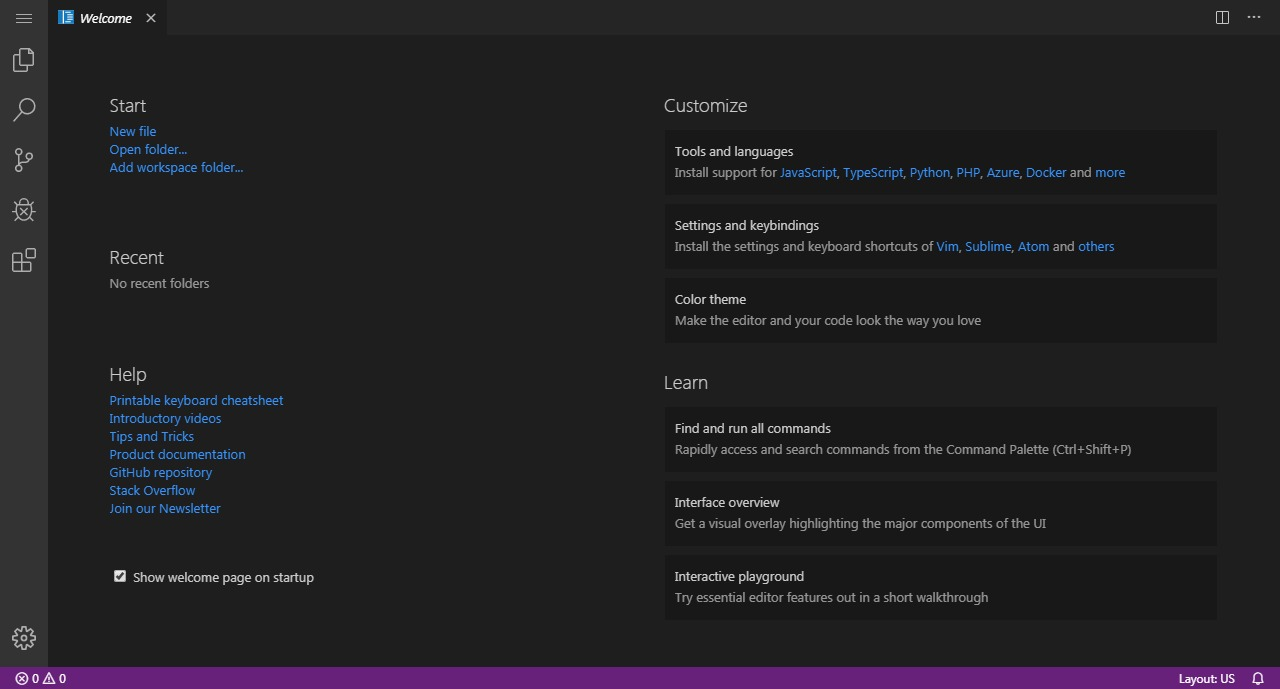
导航到您的代码服务器域。
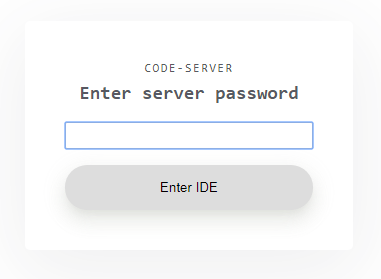
输入你的代码服务器密码. 你会看到界面暴露在你的域。
要保护它,请使用 Certbot 安装 Let's Encrypt TLS 证书。
请申请您的域名证书:
1sudo certbot --nginx -d code-server.your_domain
提供紧急通知的电子邮件地址,接受 EFF 的服务条款,并决定是否将所有 HTTP 流量重定向到 HTTPS。
结果将类似于此:
 1[secondary_label Output]
 2IMPORTANT NOTES:
 3 - Congratulations! Your certificate and chain have been saved at:
 4   /etc/letsencrypt/live/code-server.your_domain/fullchain.pem
 5   Your key file has been saved at:
 6   /etc/letsencrypt/live/code-server.your_domain/privkey.pem
 7   Your cert will expire on ... To obtain a new or tweaked
 8   version of this certificate in the future, simply run certbot again
 9   with the "certonly" option. To non-interactively renew *all* of
10   your certificates, run "certbot renew"
11...
Certbot 已成功生成 TLS 证书,并将其应用到您的域的 Nginx 配置中。
结论
您现在有代码服务器,一个多功能的云 IDE,安装在您的 Ubuntu 18.04 服务器上,暴露在您的域,并使用 Let's Encrypt 证书进行安全。