介绍
Strapi是一个开源,无头的内容管理系统(CMS),用JavaScript编程语言构建。像其他无头的CMS一样,Strapi没有带出一个前端。相反,它依赖于一个API,允许您构建您的内容结构。此外,Strapi还提供各种方式来构建您的网站,与像React和Next.js这样的流行的框架集成。此外,您可以选择如何使用REST API或GraphQL来消费API。
在本教程中,您将安装Strapi并设置一个生产环境以开始创建内容,而Strapi在其开发模式下运行SQLite,您将配置它以使用PostgreSQL。您还将为您的Strapi应用程序提供Nginx反向代理,并使用PM2流程管理器来确保稳定工作时间。
前提条件
要遵循本教程,您将需要:
- 一个Ubuntu 22.04服务器,通过遵循我们的初始服务器设置指南 -Strapi推荐一个服务器,其中至少2个CPU核心和4GB的RAM. 此教程会假设您的服务器符合推荐的硬件规格 。
- Node.js版本 16.xx 安装在您的服务器上. 在 [如何在 Ubuntu 22.04 上安装节点(https://andsky.com/tech/tutorials/how-to-install-node-js-on-ubuntu-22-04#option-2-installing-node-js-with-apt-using-a-nodesource-ppa) 教程中遵循 ** 备选案文2**。
- 确保通过PPA选项将18.xx替换为16.xx. Strapi在本文撰写时可能无法与16个以上的节点版本正常工作. 具体而言,节点v16.18.1在此教程中使用.
- PostgreSQL 通过遵循Step 1 我们如何在Ubuntu 22.04上安装和使用PostgreSQL教程而安装.
- Nginx 已安装并配置为倒置代理. 遵循** Steps 1 和 2 ** 我们的 [如何将 Nginx 配置为反向代理 (https://andsky.com/tech/tutorials/how-to-configure-nginx-as-a-reverse-proxy-on-ubuntu-22-04 ) 教程 。
- 当将应用程序服务器的地址配置到代理服务器时,使用
http://localhost:1337'作为app_server_address'.
- A [域名指向您服务器的公用IP] (https://docs.digitalocean.com/tutorials/dns-registrars/). 这将配置为 Nginx 来代理您的应用程序服务器 。 (英语)
有了 Node.js 版本 16, Nginx 和 Postgres 安装在您的服务器上,您已经准备好继续学习。
步骤 1 - 设置您的 Postgres 数据库
任何Strapi项目都需要一个数据库,目前它支持MySQL、MariaDB、SQlite 和 PostgreSQL. 您可以在其 官方文档中检查最低版本要求。 此外,Strapi预计新数据库,这意味着您无法使用现有数据库来链接到您的Strapi实例。
首先,创建一个数据库:
1sudo -i -u postgres createdb strapi-db
然后为您的数据库创建用户:
1sudo -i -u postgres createuser --interactive
1[secondary_label Output]
2Enter name of role to add: sammy
3Shall the new role be a superuser? (y/n) y
默认情况下,在 PostgreSQL 中,您使用 Identification Protocol 或 ident 身份验证方法作为数据库用户进行身份验证. 这涉及 PostgreSQL 使用客户端的 Ubuntu 用户名并将其用作数据库用户名。这在许多情况下允许更大的安全性,但它也可以导致您想要外部程序(如 Strapi)连接到您的数据库时的问题。 要解决此问题,请为此 PostgreSQL 角色设置密码,以允许 Strapi 连接到您的数据库。
从您的终端,打开 PostgreSQL 提示:
1sudo -u postgres psql
从PostgreSQL提示,更新用户配置文件,以获得您选择的强有力的密码:
1ALTER USER sammy PASSWORD 'postgres_password';
退出您的 PostgreSQL 用户,在您的终端中输入 \q:
1\q
有了您的数据库和用户凭证创建,您已经准备好安装Strapi。
步骤 2 – 在您的服务器上安装 Strapi
要在您的服务器上安装 Strapi,请输入以下命令:
1npx create-strapi-app@latest my-project
点击y来继续安装。
确认是后,您将访问交互式安装. 选择以下选项,同时确保您的数据库名称,用户名和密码相应更改:
 1[secondary_label Output]
 2? Choose your installation type Custom (manual settings)
 3? Choose your preferred language JavaScript
 4? Choose your default database client postgres
 5? Database name: strapi-db
 6? Host: 127.0.0.1
 7? Port: 5432
 8? Username: sammy
 9? Password: postgres_password
10? Enable SSL connection: No
SSL 连接没有启用,因为它将在教程中稍后配置并获得 Let's Encrypt 证书。
一旦安装完成,您将准备好构建您的Strapi项目。
首先,请确保您位于我的项目目录中:
1cd my-project
接下来,运行以下命令:
1NODE_ENV=production npm run build
 1[secondary_label Output]
 2> [email protected] build
 3> strapi build
 4
 5Building your admin UI with production configuration...
 6
 7✔ Webpack
 8  Compiled successfully in 35.44s
 9
10Admin UI built successfully
此命令将构建您的 Strapi 项目,包括 Strapi 管理用户界面。
您现在可以测试您的Strapi服务器,运行以下命令,直接启动您的Strapi服务器:
1node /home/sammy/my-project/node_modules/.bin/strapi start
 1[secondary_label Output]
 2[2022-11-21 13:54:24.671] info: The Users & Permissions plugin automatically generated a jwt secret and stored it in .env under the name JWT_SECRET.
 3
 4 Project information
 5
 6┌────────────────────┬──────────────────────────────────────────────────┐
 7│ Time           	│ Mon Nov 21 2022 13:54:24 GMT+0000 (Coordinated … │
 8│ Launched in    	│ 1603 ms                                      	│
 9│ Environment    	│ development                                  	│
10│ Process PID    	│ 4743                                         	│
11│ Version        	│ 4.5.4 (node v16.18.1)                        	│
12│ Edition        	│ Community                                    	│
13└────────────────────┴──────────────────────────────────────────────────┘
14
15 Actions available
16
17One more thing...
18Create your first administrator 💻 by going to the administration panel at:
19
20┌─────────────────────────────┐
21│ http://localhost:1337/admin │
22└─────────────────────────────┘
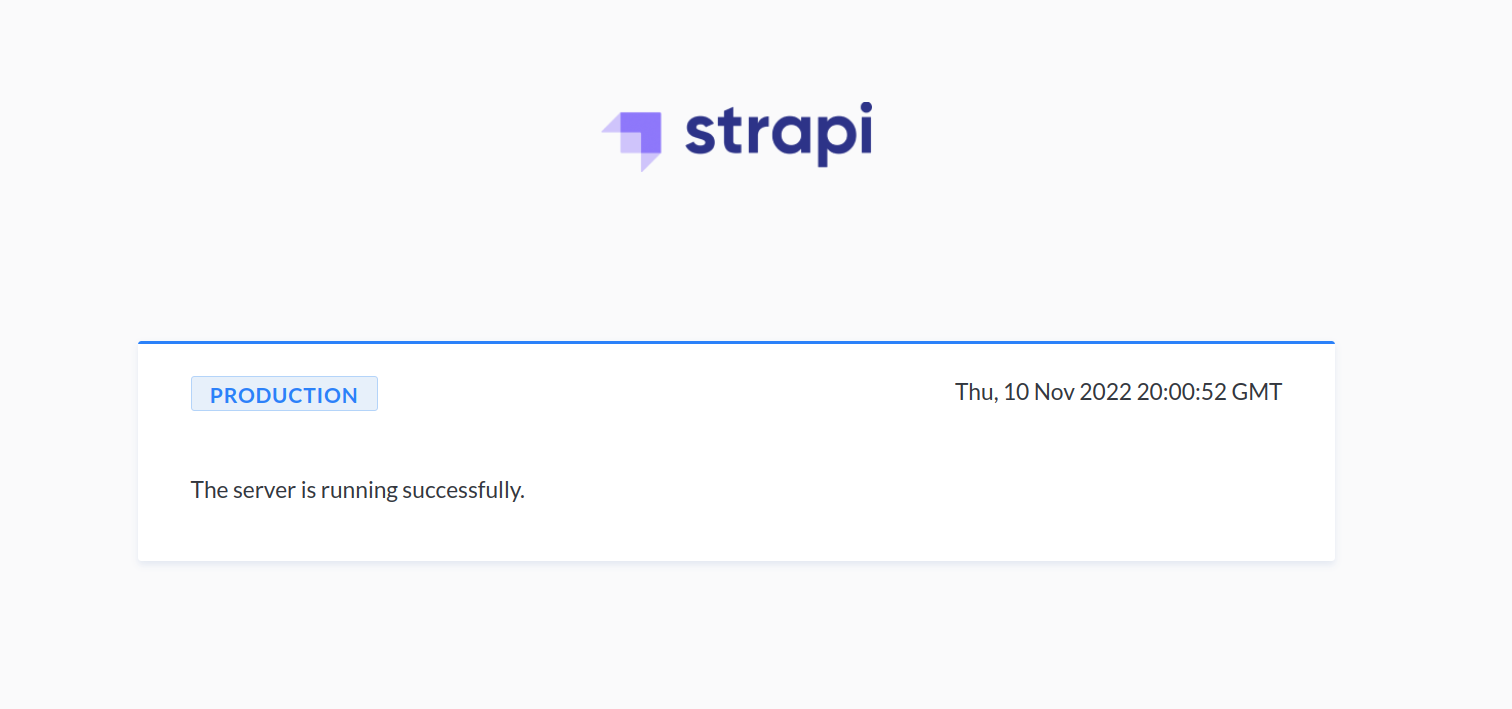
如果您遵循了前提条件,您将 Nginx 设置为反向代理,以便将 Strapi 的默认地址设置为 http://localhost:1337. 在浏览器中导航到 http://your_domain 以查看默认 Strapi 定位页面:

此命令与默认配置目前正在使用Strapi的开发模式,它还依赖于您的终端中的命令而不适合生产的过程。
退出您的服务器,按CTRL+c。
有了Strapi安装,您已经准备好设置PM2以在后台运行服务器作为服务。
步骤 3 – 安装和配置 PM2
要了解有关 PM2 和配置生产准备的 Node.js 应用程序的更多细节,请查看 我们的指南。
首先,确保你在顶级目录:
1cd ~
接下来,使用以下命令安装 PM2:
1sudo npm install pm2@latest -g
然后,使用您喜爱的文本编辑器创建 PM2 配置文件。
1sudo nano ecosystem.config.js
将以下内容添加到此文件中,同时确保更改项目目录名称和路径,以及数据库名称、用户名称和密码:
 1[label ecosystem.config.js]
 2module.exports = {
 3  apps: [
 4    {
 5      name: 'strapi',
 6      cwd: '/home/sammy/my-project',
 7      script: 'npm',
 8      args: 'start',
 9      env: {
10        NODE_ENV: 'production',
11        DATABASE_HOST: 'localhost',
12        DATABASE_PORT: '5432',
13        DATABASE_NAME: 'strapi-db',
14        DATABASE_USERNAME: 'sammy',
15        DATABASE_PASSWORD: 'postgres_password',
16      },
17    },
18  ],
19};
编辑 PM2 配置后,退出文件. 如果您使用nano,请按CTRL+x,然后按y,然后按ENTER。
在背景中运行您的 Strapi 实例,使用以下命令:
1pm2 start ecosystem.config.js
1[secondary_label Output]
2[PM2][WARN] Applications strapi not running, starting...
3[PM2] App [strapi] launched (1 instances)
4┌─────┬───────────┬─────────────┬─────────┬─────────┬──────────┬────────┬──────┬───────────┬──────────┬──────────┬──────────┬──────────┐
5│ id  │ name      │ namespace   │ version │ mode    │ pid      │ uptime │ ↺    │ status    │ cpu      │ mem      │ user     │ watching │
6├─────┼───────────┼─────────────┼─────────┼─────────┼──────────┼────────┼──────┼───────────┼──────────┼──────────┼──────────┼──────────┤
7│ 0   │ strapi    │ default     │ N/A     │ fork    │ 22608    │ 0s     │ 0    │ online    │ 0%       │ 30.3mb   │ sammy    │ disabled │
8└─────┴───────────┴─────────────┴─────────┴─────────┴──────────┴────────┴──────┴───────────┴──────────┴──────────┴──────────┴──────────┘
如果应用程序崩溃或被杀死,在 PM2 下运行的应用程序会自动重新启动. 您可以通过运行以下子命令在启动时启动您的 Strapi 实例:
1pm2 startup
1[secondary_label Output]
2[PM2] Init System found: systemd
3[PM2] To setup the Startup Script, copy/paste the following command:
4sudo env PATH=$PATH:/usr/bin /usr/lib/node_modules/pm2/bin/pm2 startup systemd -u sammy --hp /home/sammy
这会生成并配置一个启动脚本,以便在服务器启动时启动 PM2 及其管理流程。
接下来,复制并执行输出中给你的命令,使用你的用户名而不是sammy:
1sudo env PATH=$PATH:/usr/bin /usr/lib/node_modules/pm2/bin/pm2 startup systemd -u sammy --hp /home/sammy
然后保存 PM2 流程列表:
1pm2 save
如果您返回 http://your_domain,请注意 Strapi 现在处于生产模式:
随着 PM2 在后台运行您的服务器,您可以最终保护您的 Strapi 实例。
步骤 4 – 使用 Let’s Encrypt 保护 Strapi
正如您在导航到您的域中查看 Strapi 定位页时所注意到的,该 URL 以 http:// 代替 https:// 表示,是一种不安全的连接。
用 Let’s Encrypt保护您的 Strapi 实例,输入以下命令:
1sudo snap install --classic certbot
将certbot命令从snap安装目录链接到你的路径,这样你就可以通过键入certbot来运行它:
1sudo ln -s /snap/bin/certbot /usr/bin/certbot
接下来,允许 HTTPS 流量和Nginx 完整配置文件:
1sudo ufw allow 'Nginx Full'
删除冗余的Nginx HTTP配置文件许可:
1sudo ufw delete allow 'Nginx HTTP'
然后使用 Nginx 插件通过输入您的域名地址获取证书:
1sudo certbot --nginx -d your_domain -d www.your_domain
在运行命令时,您将被要求输入电子邮件地址并同意服务条款。您也可以选择登录或退出电子邮件列表。
 1[secondary_label Output]
 2. . .
 3Successfully received certificate.
 4Certificate is saved at: /etc/letsencrypt/live/your_domain/fullchain.pem
 5Key is saved at: /etc/letsencrypt/live/your_domain/privkey.pem
 6This certificate expires on 2023-02-05.
 7These files will be updated when the certificate renews.
 8Certbot has set up a scheduled task to automatically renew this certificate in the background.
 9
10Deploying certificate
11Successfully deployed certificate for your_domain to /etc/nginx/sites-enabled/your_domain
12Successfully deployed certificate for www.your_domain /etc/nginx/sites-enabled/your_domain
13Congratulations! You have successfully enabled HTTPS on https://your_domain and https://www.your_domain
14. . .
导航到 http://your_domain. 您将自动重定向到您的网站的 HTTPS 版本. 请注意,Strapi 正在运行生产模式:
您现在可以导航到 https://your_domain/admin 来创建您的 Strapi 管理员帐户:
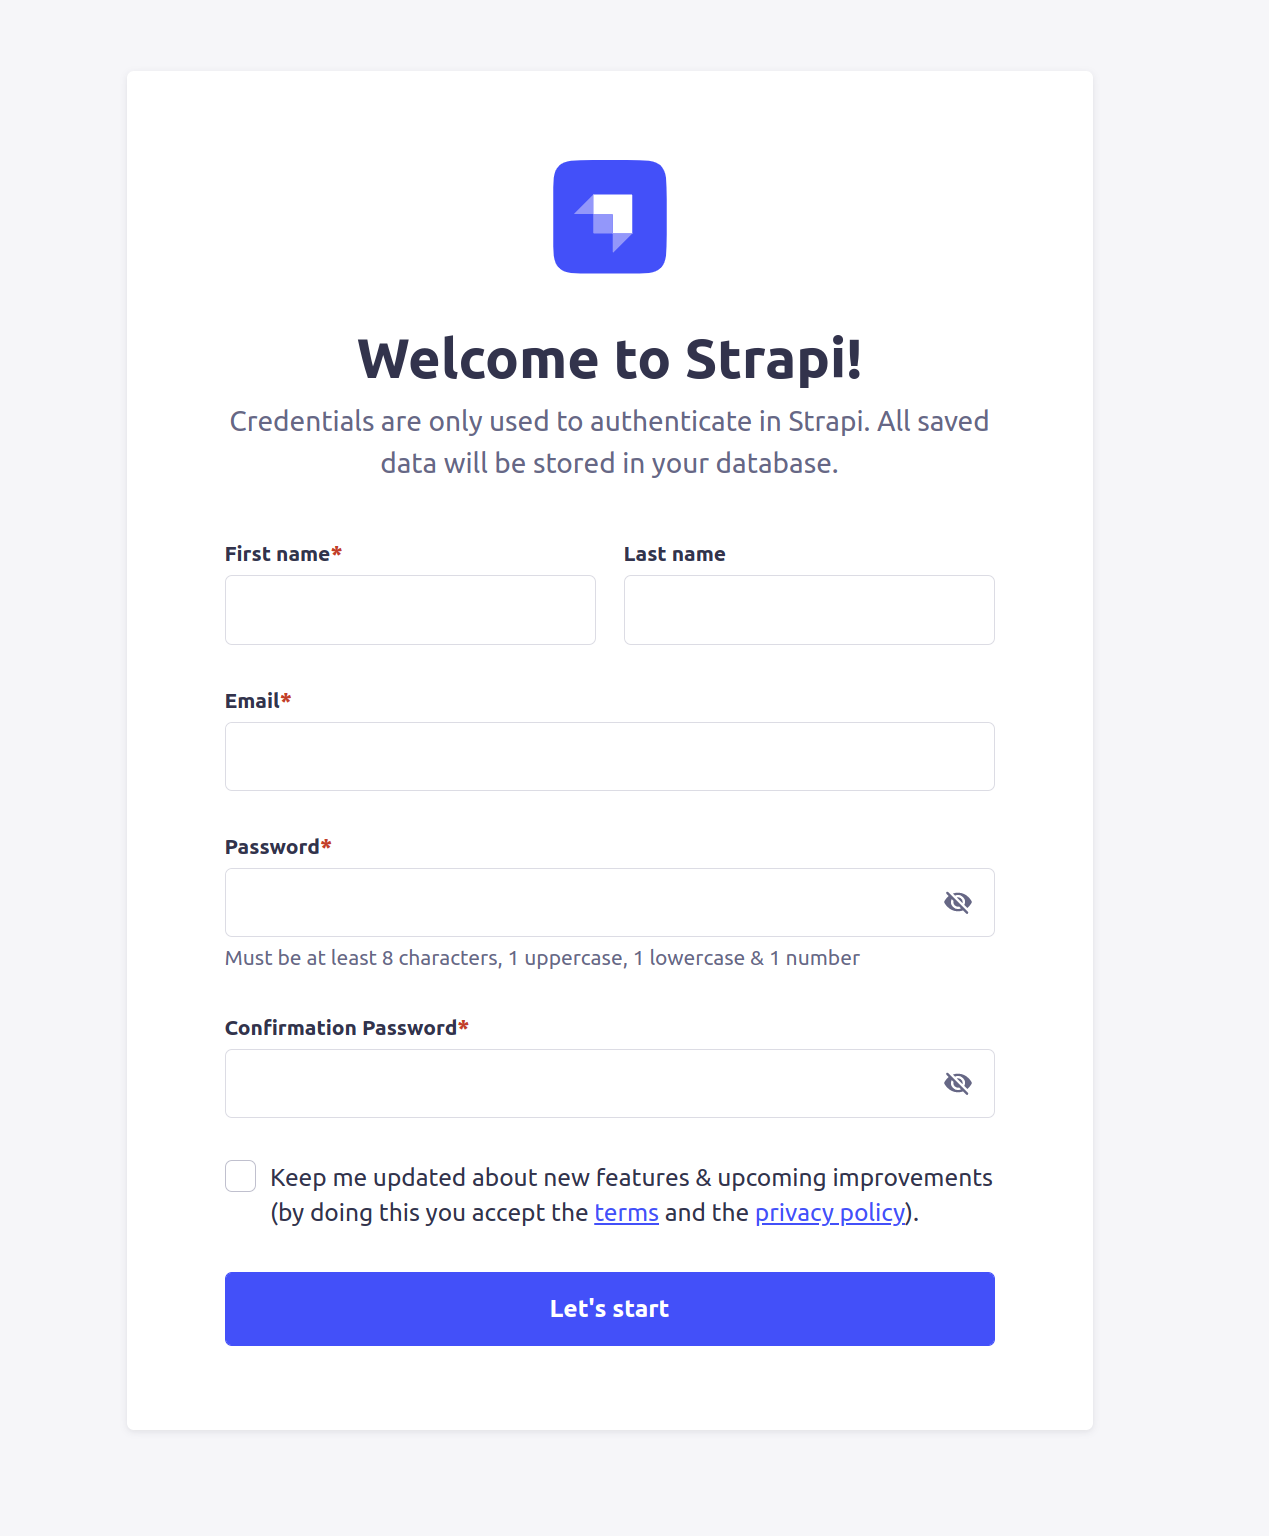
输入新身份证后,您可以进入管理仪表板:
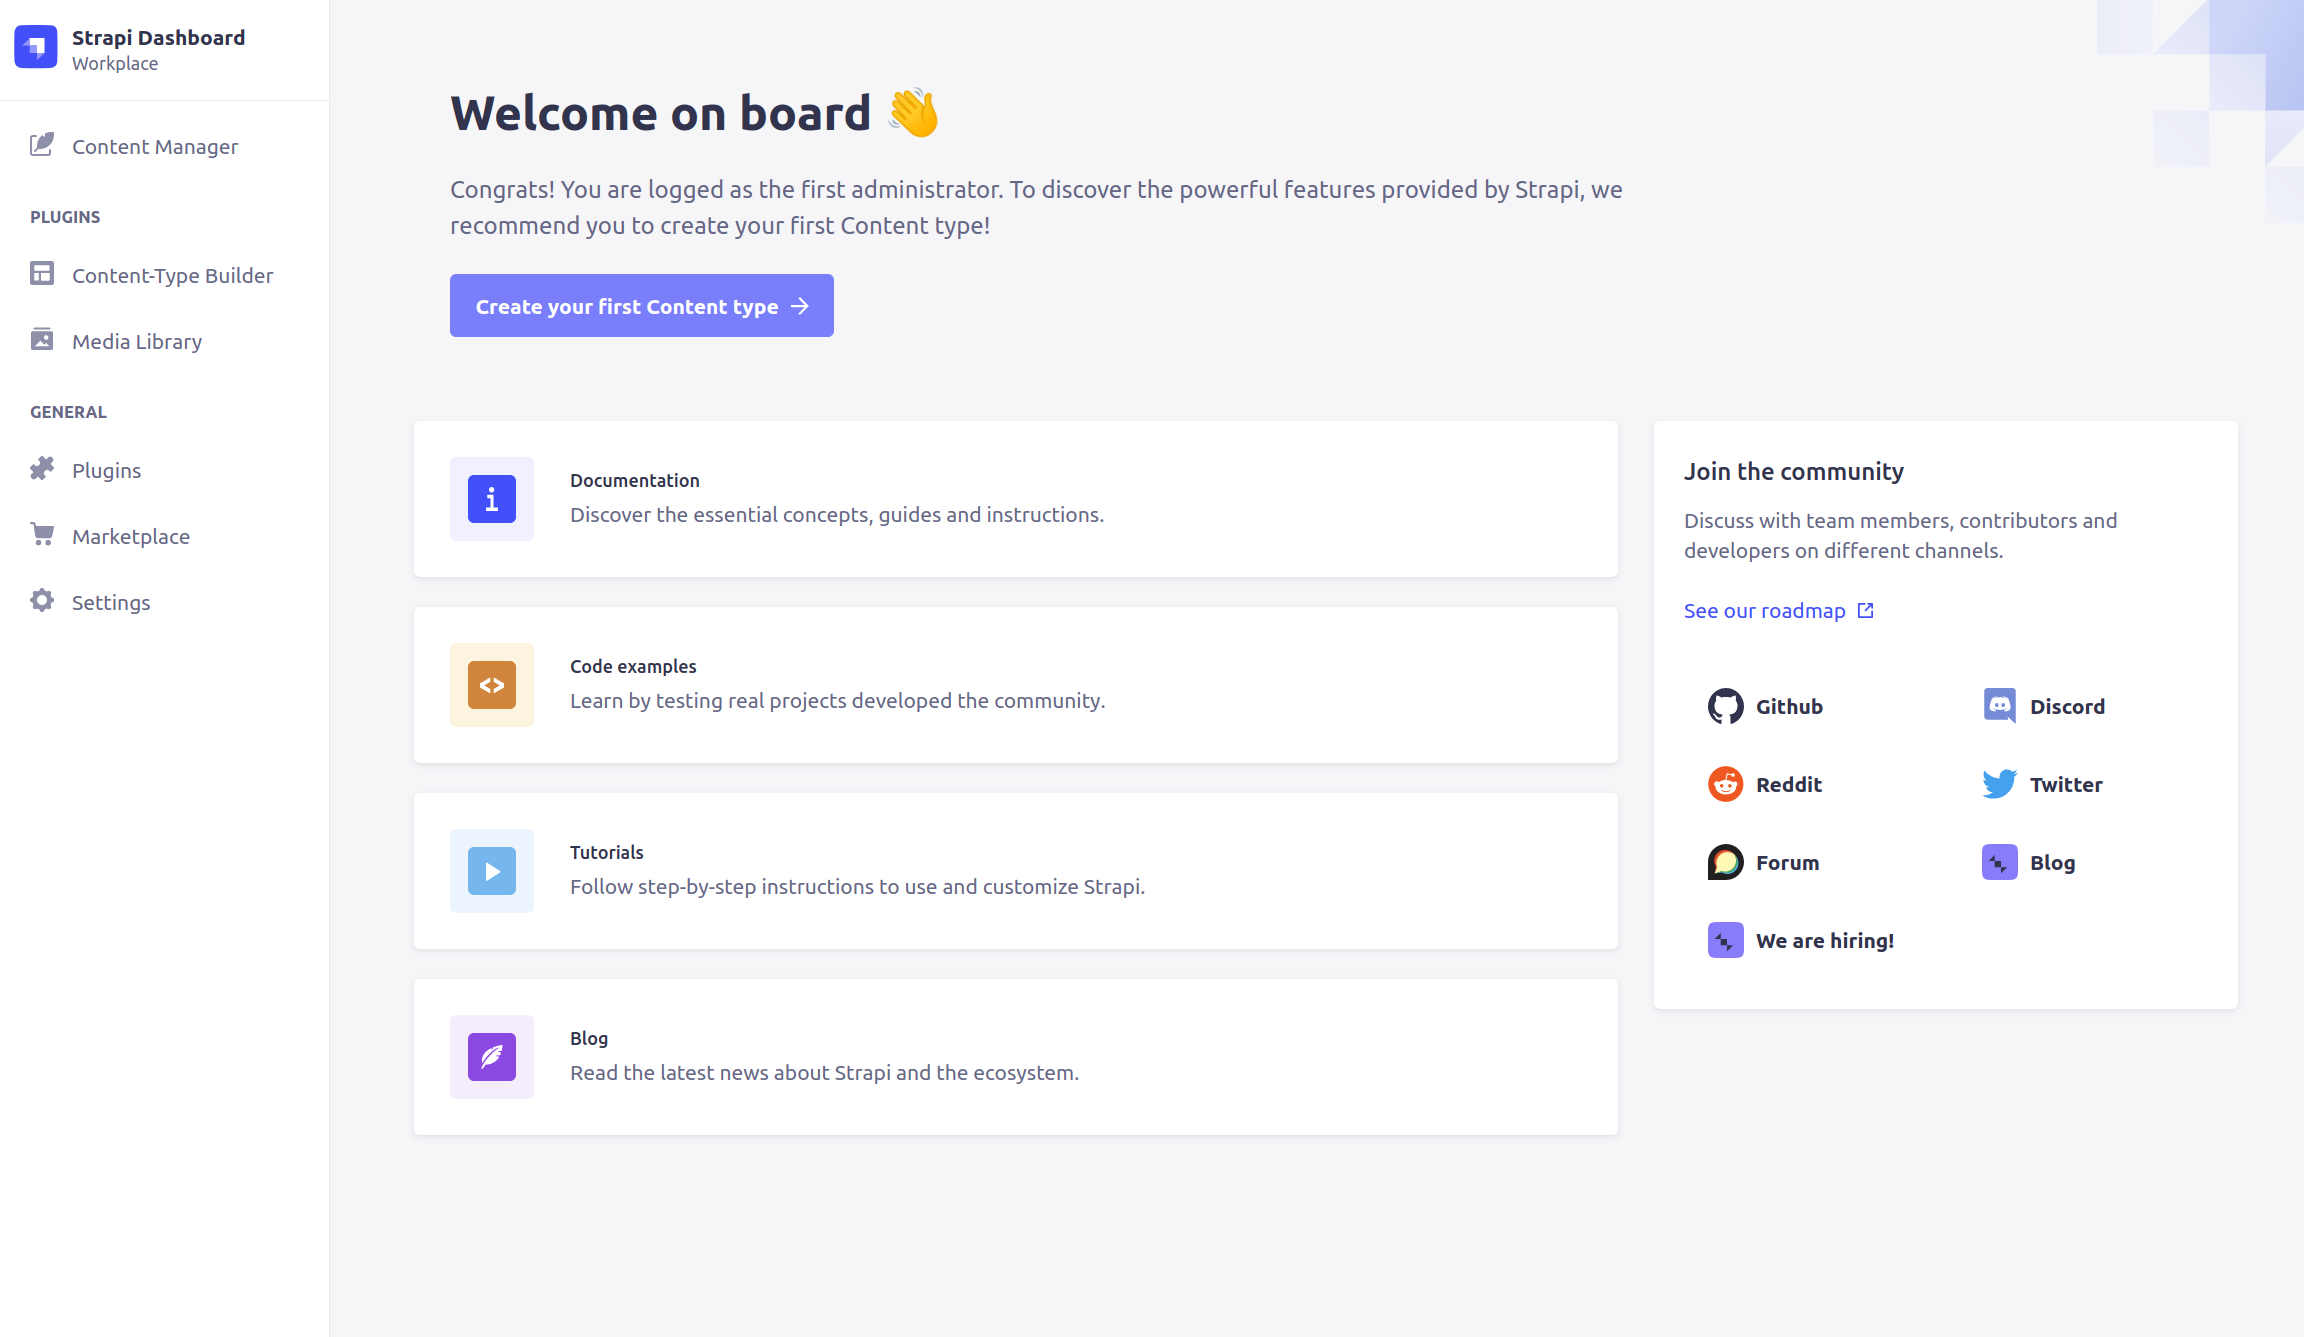
从仪表板开始,您可以开始在Strapi上创建内容。
结论
在本教程中,您使用 PostgreSQL 数据库为 Strapi 设置了生产环境,您还为您的 Strapi 应用程序提供 Nginx 反向代理,并使用 PM2 流程管理器来保持服务器的运行。
设置 Strapi 服务器后,您可以使用 Strapi 管理仪表板开始创建内容,您可以从 Strapi 官方文档了解有关设置和配置 Strapi 应用程序的更多信息。