介绍
在本系列(https://www.digitalocean.com/community/tutorial_series/understanding-the-dom-document-object-model)的以前的教程中,如何对DOM进行更改(https://andsky.com/tech/tutorials/how-to-make-changes-to-the-dom),我们涵盖了如何使用内置方法创建、插入、更换和删除文档对象模型(DOM)中的元素。
在本教程中,您将学习如何通过修改 HTML 元素节点的风格,类和其他属性来进一步改变 DOM。
选择元素的审查
直到最近,一个受欢迎的JavaScript库叫做 jQuery最常用来选择和修改DOM中的元素。
要回顾一下,‘document.querySelector()’和‘document.getElementById()’是用于访问单个元素的方法. 在下面的示例中使用具有‘id’属性的‘div’来访问该元素,我们可以以任何方式访问该元素。
对于HTML来说:
1<div id="demo-id">Demo ID</div>
我们可以使用QuerySelector()方法访问该元素:
1// Both methods will return a single element
2const demoId = document.querySelector('#demo-id');
通过访问单个元素,我们可以轻松地更新元素的一部分,例如内部的文本。
1// Change the text of one element
2demoId.textContent = 'Demo ID text updated.';
但是,当使用一个共同的选择器访问多个元素时,例如特定类,您必须通过列表中的所有元素循环。
1<div class="demo-class">Demo Class 1</div>
2<div class="demo-class">Demo Class 2</div>
您可以使用 querySelectorAll() 抓取所有具有 demo-class 应用于它们的元素,以及 forEach() 通过它们循环并应用更改。
 1// Get a NodeList of all .demo elements
 2const demoClasses = document.querySelectorAll('.demo-class');
 3
 4// Change the text of multiple elements with a loop
 5demoClasses.forEach(element => {
 6  element.textContent = 'All demo classes updated.';
 7});
 8
 9// Access the first element in the NodeList
10demoClasses[0];
<$>[注]
注: 方法 getElementsByClassName() 和 getElementsByTagName() 将返回没有访问 forEach() 方法的 HTML 集合,而方法 querySelectorAll() 具有。
这是在从jQuery向vanillaJavaScript进展时要注意的最重要的区别之一,重要的是要注意应用这些方法和属性到多个元素的过程。
本教程涵盖了用于修改元素的 属性的属性和方法,这些属性和方法通常会附加到 事件倾听者以响应点击、调动或其他触发因素。
变更属性
属性是包含有关 HTML 元素的额外信息的值,它们通常以 name/value 对组成,并且可能取决于元素至关重要。
一些最常见的HTML属性是img标签的src属性,a标签的href,以及class,id和style属性。 有关HTML属性的完整列表,请参阅Mozilla开发者网络上的属性列表(https://developer.mozilla.org/en-US/docs/Web/HTML/Attributes)。
在 JavaScript 中,我们有四种方法来修改元素属性:
| Method | Description | Example |
|---|---|---|
hasAttribute() | Returns a true or false boolean | element.hasAttribute('href'); |
getAttribute() | Returns the value of a specified attribute or null | element.getAttribute('href'); |
setAttribute() | Adds or updates value of a specified attribute | element.setAttribute('href', 'index.html'); |
removeAttribute() | Removes an attribute from an element | element.removeAttribute('href'); |
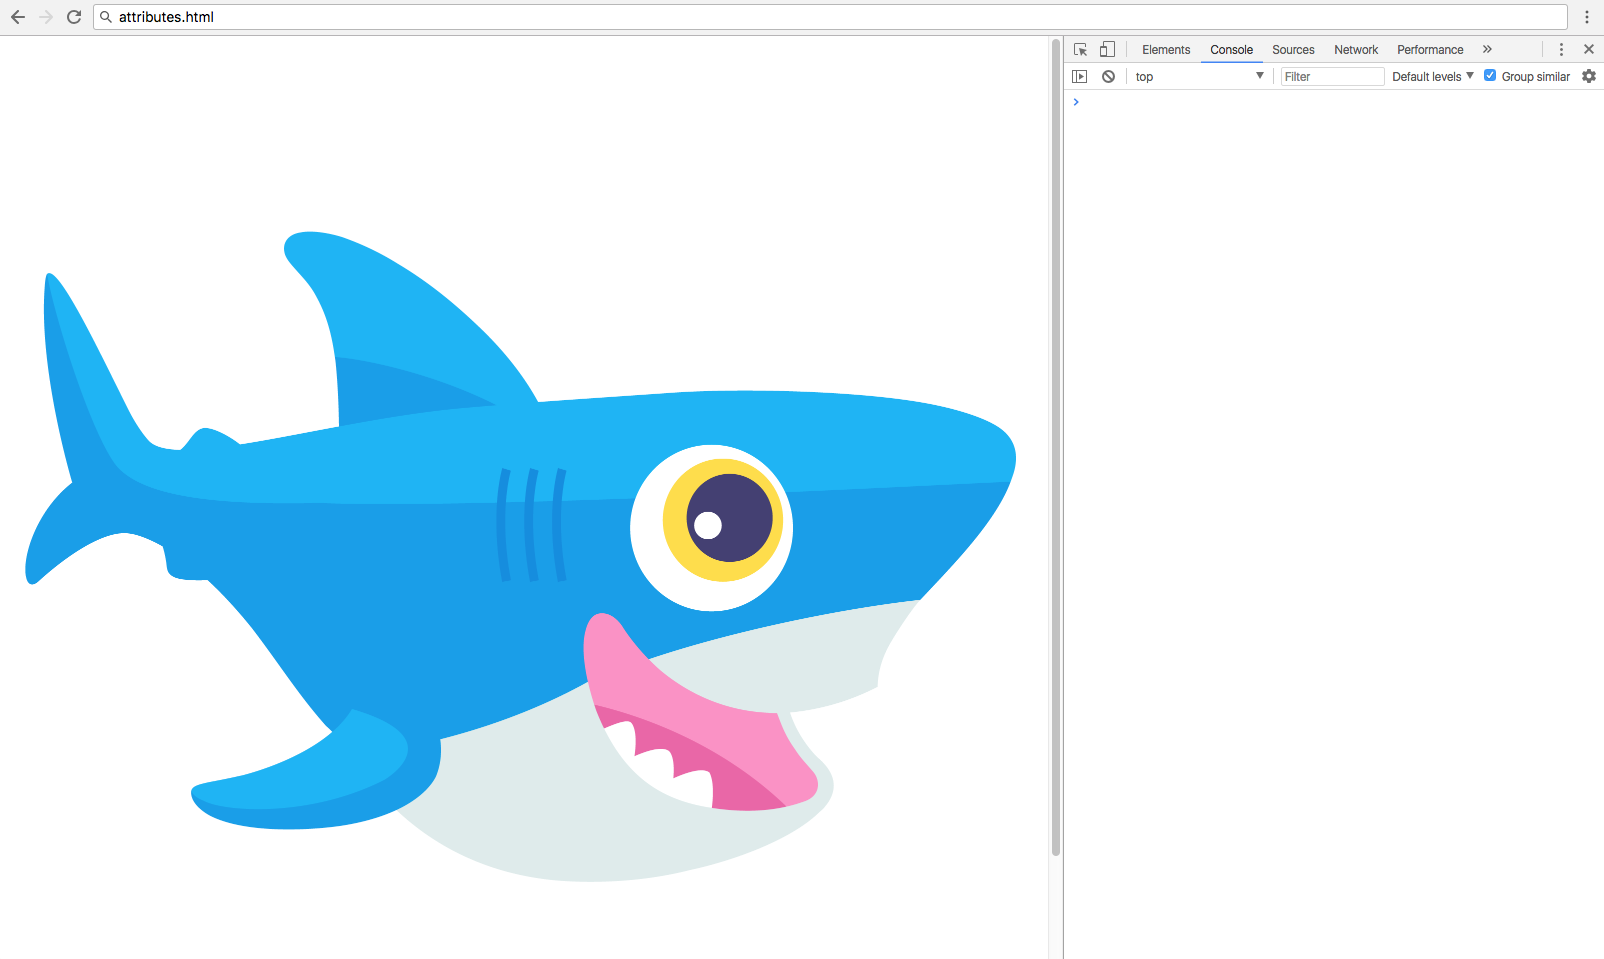
让我们创建一个新的HTML文件,用一个属性的img标签,我们将链接到通过URL可用的公共图像,但如果你在离线工作,你可以用替代的本地图像来交换它。
 1[label attributes.html]
 2<!DOCTYPE html>
 3<html lang="en">
 4<body>
 5
 6    <img src="https://js-tutorials.nyc3.digitaloceanspaces.com/shark.png">
 7
 8</body>
 9
10</html>
当您将上述 HTML 文件加载到现代的 Web 浏览器中并打开内置的 开发者控制台,您应该看到这样的东西:
现在,您可以在飞机上测试所有属性方法。
1// Assign image element
2const img = document.querySelector('img');
3
4img.hasAttribute('src');                // returns true
5img.getAttribute('src');                // returns "...shark.png"
6img.removeAttribute('src');             // remove the src attribute and value
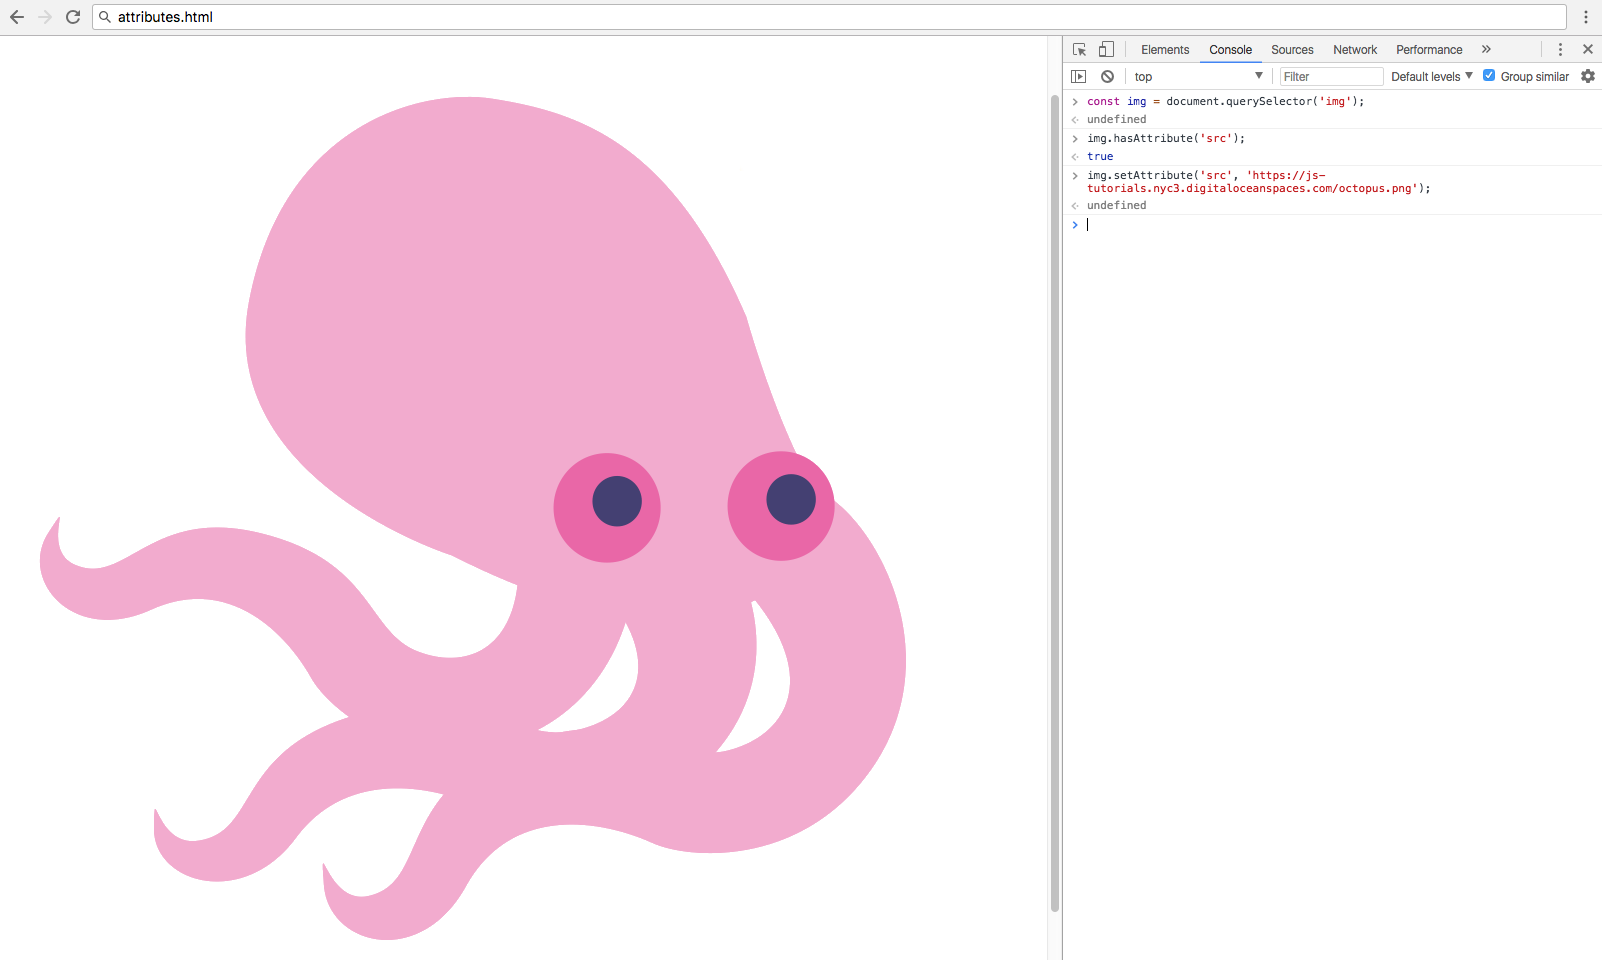
在此时,您将删除src属性和与img相关的值,但您可以重置该属性并使用img.setAttribute()将该值分配给替代图像:
1img.setAttribute('src', 'https://js-tutorials.nyc3.digitaloceanspaces.com/octopus.png');
最后,我们可以通过将一个新的值分配给该属性作为元素的属性来直接修改属性,将src设置回到shark.png文件中。
1img.src = 'https://js-tutorials.nyc3.digitaloceanspaces.com/shark.png';
任何属性都可以以这种方式以及使用上述方法进行编辑。
hasAttribute()和getAttribute()方法通常与 条件陈述一起使用,而setAttribute()和removeAttribute()方法则用于直接修改 DOM。
修订班级
https://developer.mozilla.org/en-US/docs/Web/HTML/Global_attributes/class 属性与 CSS 类选择器相匹配,这不应该与 ES6 类混淆,这是一种特殊类型的 JavaScript 函数。
CSS 类用于将风格应用于多个元素,而不是 ID 只能存在一次,在 JavaScript 中,我们有 className和 classList属性来使用类属性。
| Method/Property | Description | Example |
|---|---|---|
className | Gets or sets class value | element.className; |
classList.add() | Adds one or more class values | element.classList.add('active'); |
classList.toggle() | Toggles a class on or off | element.classList.toggle('active'); |
classList.contains() | Checks if class value exists | element.classList.contains('active'); |
classList.replace() | Replace an existing class value with a new class value | element.classList.replace('old', 'new'); |
classList.remove() | Remove a class value | element.classList.remove('active'); |
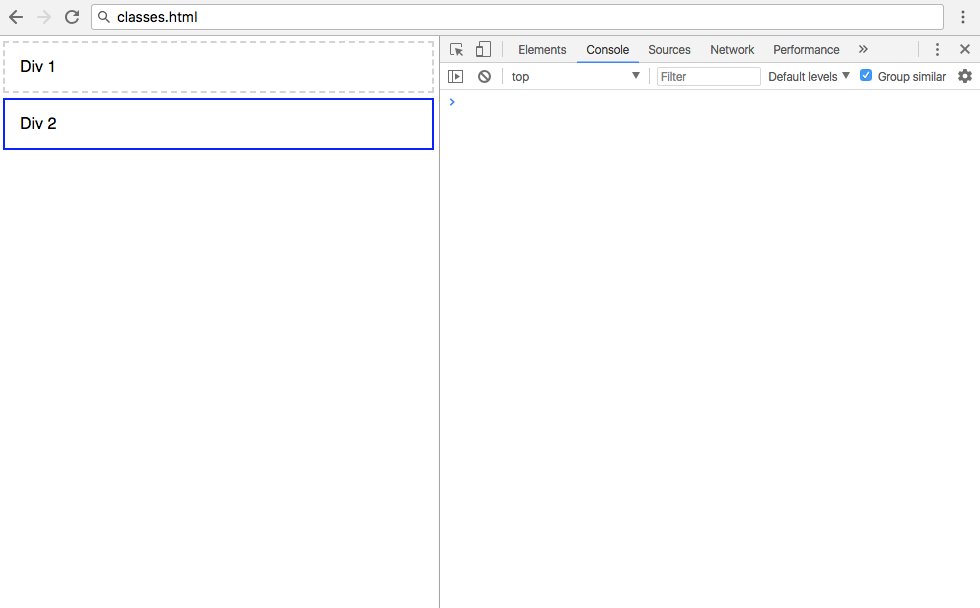
创建另一个 HTML 文件以使用包含两个元素和几个类的类方法工作. 此外,包括一个内线 CSS 样式表,以提供一些样式,以帮助我们看到我们的工作结果。
 1[label classes.html]
 2<!DOCTYPE html>
 3<html lang="en">
 4
 5<style>
 6    body {
 7    	max-width: 600px;
 8    	margin: 0 auto;
 9    	font-family: sans-serif;
10    }
11    .active {
12    	border: 2px solid blue;
13    }
14
15    .warning {
16    	border: 2px solid red;
17    }
18
19    .hidden {
20    	display: none;
21    }
22
23    div {
24    	border: 2px dashed lightgray;
25    	padding: 15px;
26    	margin: 5px;
27    }
28</style>
29
30<body>
31
32    <div>Div 1</div>
33    <div class="active">Div 2</div>
34
35</body>
36
37</html>
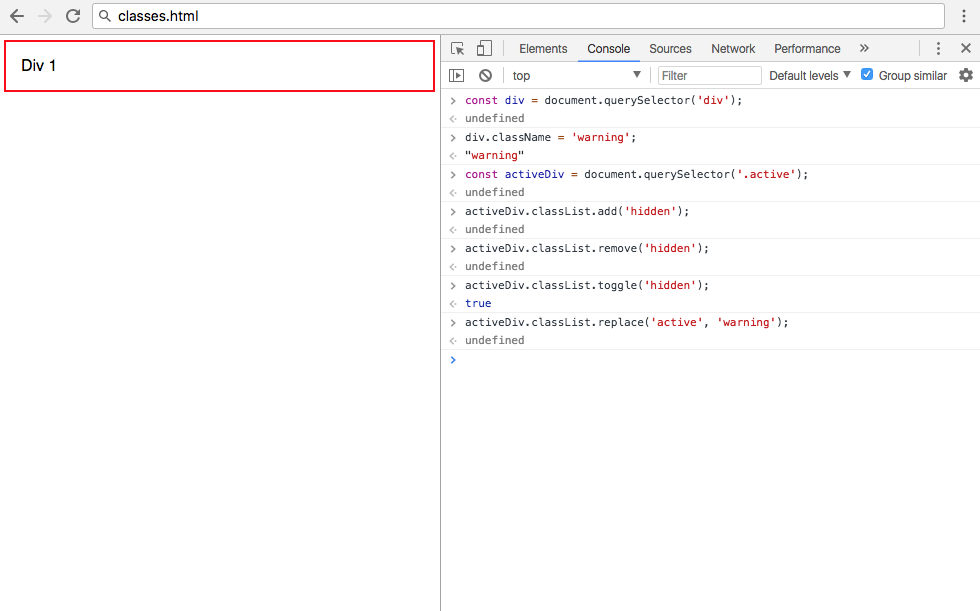
当您在 Web 浏览器中打开 classes.html 文件时,您应该收到类似于以下的渲染:
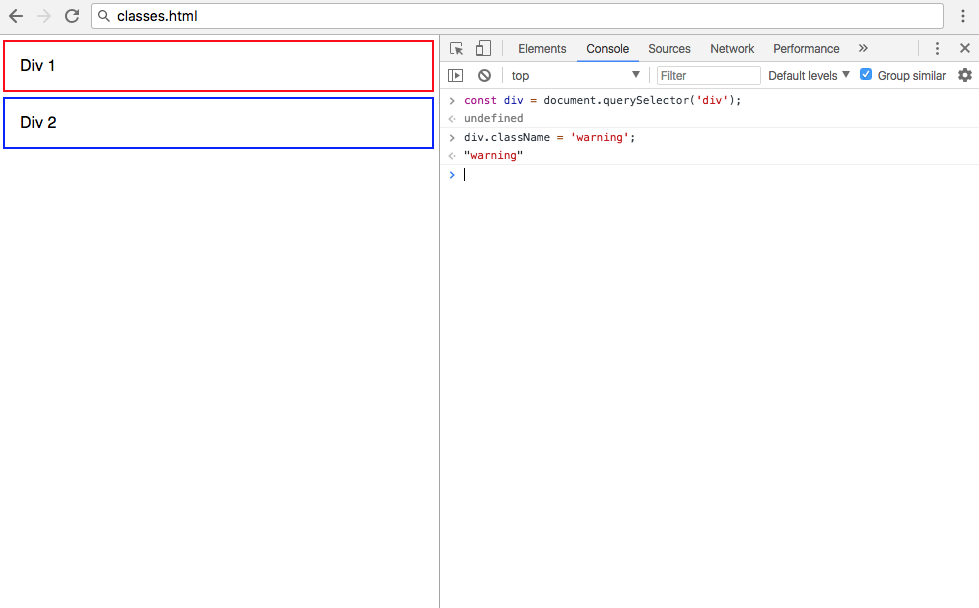
className属性被引入,以防止与JavaScript和其他可以访问DOM的语言中发现的class关键字发生冲突,您可以使用className将值直接分配给类。
1// Select the first div
2const div = document.querySelector('div');
3
4// Assign the warning class to the first div
5div.className = 'warning';
通过将 CSS 值中定义的警告类分配到第一个div,您将收到以下输出:
<$>[注]
注: 如果元素上已存在任何类,则将其排列。您可以使用className属性添加多个空间划分类,或使用它而无需分配操作员来获取元素上的该类的当前值。
修改类的另一种方法是通过 classList属性,其中包含一些有用的方法。这些方法类似于jQuery addClass、 removeClass 和 toggleClass 方法。
1// Select the second div by class name
2const activeDiv = document.querySelector('.active');
3
4activeDiv.classList.add('hidden');                // Add the hidden class
5activeDiv.classList.remove('hidden');             // Remove the hidden class
6activeDiv.classList.toggle('hidden');             // Switch between hidden true and false
7activeDiv.classList.replace('active', 'warning'); // Replace active class with warning class
完成上述方法后,您的网页将看起来如下:
由于activeDiv元素仍然有隐藏类应用于它,所以它不会出现在页面上。
与className示例不同,使用classList.add()将新类添加到现有类列表中,您还可以将多个类添加为单节分开的字符串,也可以使用setAttribute来修改元素的类。
改变风格
通常,风格会通过风格表应用于元素,就像在本文中之前所做的那样,但有时你需要直接添加或编辑一个内线风格。
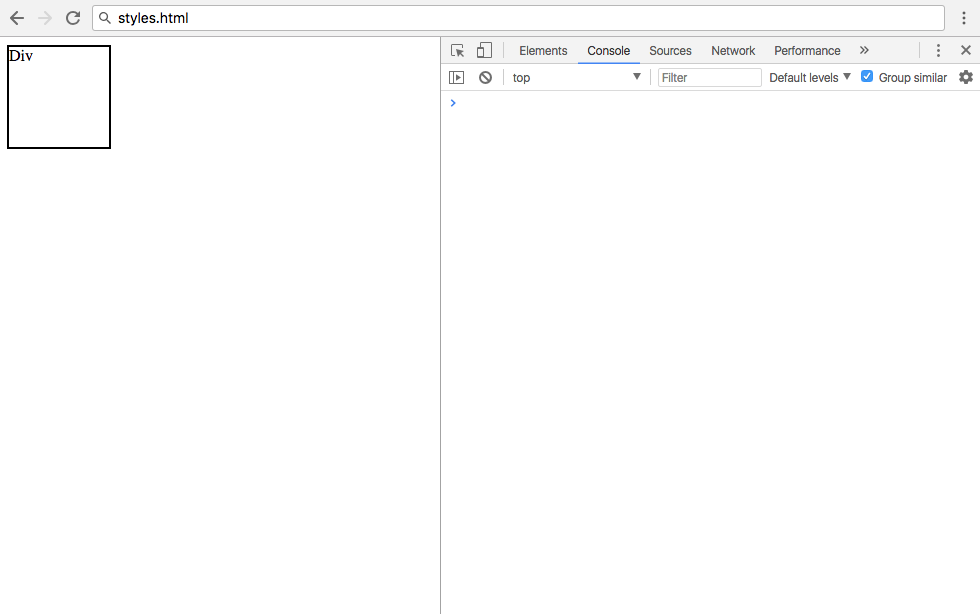
创建一个新的文件以使用JavaScript演示编辑风格. 使用下面的内容包含一个div,其中有一些内线风格应用于显示一个方块。
 1[label styles.html]
 2<!DOCTYPE html>
 3<html lang="en">
 4
 5<body>
 6
 7    <div style="height: 100px;
 8                width: 100px;
 9                border: 2px solid black;">Div</div>
10
11</body>
12
13</html>
当在网页浏览器中打开时,styles.html将看起来像这样:
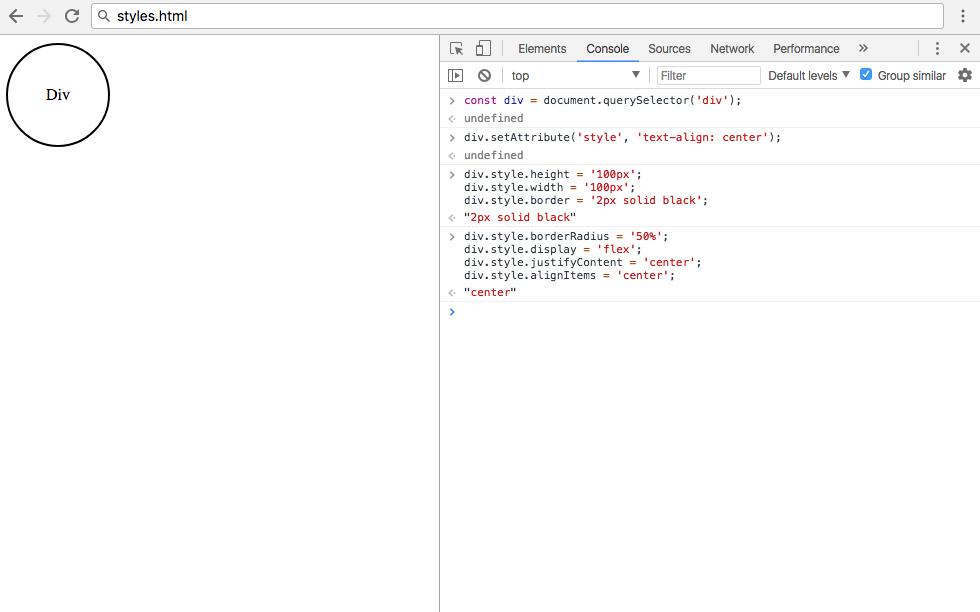
编辑风格的一个选项是setAttribute()。
1// Select div
2const div = document.querySelector('div');
3
4// Apply style to div
5div.setAttribute('style', 'text-align: center');
然而,这将从元素中删除所有现有的内线风格,因为这可能不是预期的效果,所以最好直接使用风格属性。
1div.style.height = '100px';
2div.style.width = '100px';
3div.style.border = '2px solid black';
CSS 属性是用 kebab-case 写的,这就是由 dash 分开的 lowercase 单词。然而, kebab-case CSS 属性不能在 JavaScript 风格属性上使用,因为 dash - 用于抽取。相反,它们将被 camelCase 等级取代,即第一个单词是 lowercase,所有后续单词都被资本化。
1// Make div into a circle and vertically center the text
2div.style.borderRadius = '50%';
3div.style.display = 'flex';
4div.style.justifyContent = 'center';
5div.style.alignItems = 'center';
在完成上述风格更改后,您的styles.html的最终渲染将显示一个圆圈:
如果要对一个元素应用许多风格更改,最佳的做法是将风格应用于您的风格表中的一个单独类,并将该类添加到您的元素中。
结论
HTML元素通常以属性形式分配额外的信息,属性可能由名称/值对组成,而一些最常见的属性是类和风格。
在本教程中,您了解如何使用简单的 JavaScript 访问、修改和删除 DOM 中的 HTML 元素的属性,您还了解如何在元素上添加、删除、转换和更换 CSS 类,以及如何编辑内线 CSS 风格。