介绍
Plausible Analytics是一个开源的,自助托管的网络分析应用程序,以 Elixir编写,专注于简单性和隐私。
在本教程中,您将使用 Docker Compose 安装 Plausible,然后安装 Nginx 作为 Plausible 应用程序的反向代理程序,最后,您将通过使用 Certbot 启用安全的 HTTPS 连接来从 Let's Encrypt Certificate Authority 下载和配置 SSL 证书。
前提条件
为了完成本教程,您首先需要以下内容:
- 一个 Ubuntu 22.04 服务器,有 UFW 防火墙启用. 请阅读我们的 初始服务器设置与 Ubuntu 22.04 了解更多有关设置这些要求
- Docker 安装. 您可以使用 Step 1 的 如何安装和使用 Docker 在 Ubuntu 22.04 才能做到这一点。 可选,您可以遵循该教程的步骤 2 如果您希望您的非** root** 用户能够运行
docker命令而不使用sudo - Docker Compose 安装。 遵循 Step 1 的 如何安装和使用 Docker Compose 在 Ubuntu 22.04 安装此软件
<$>[info] 注: 如果您正在使用 DigitalOcean 的 One-Click Docker Image,则可以跳过这些先决步骤。
在您选择的区域启动一个新的Docker图像,然后登录为 root 用户,并继续使用教程。
最后,要启用 SSL,您需要一个域名,指向您的服务器的公共 IP 地址. 例如,这应该是example.com或plausible.example.com。
当您满足所有前提条件后,请转到 步骤 1 ,在那里您将下载并启动可信软件。
步骤 1 – 使用 Docker Compose 安装可信分析
Plausible 已经创建了一个 Git 存储库,包含所有用于自动托管软件所需的配置文件,您的第一步将是将这个 Repo 克隆到您的服务器,更新两个配置文件,然后启动 Plausible 应用程序和数据库容器。
现在登入您的服务器。
首先,使用cd命令导航到/opt目录:
1cd /opt
然后使用git命令将GitHub的repo克隆到名为可信的/opt中的新目录中:
1sudo git clone https://github.com/plausible/hosting plausible
这将将所有必要的配置文件拖到 /opt/plausible. 移动到新创建的目录:
1cd plausible
我们需要编辑的第一个文件是 plausible-conf.env,该文件有几个配置变量,我们需要设置。
在您打开文件以编辑它之前,创建一个新的随机哈希:
1openssl rand 64 | base64 -w 0 ; echo
这使用openssl命令生成64个随机字符,而base64命令将其编码为 base64. 将输出复制到您的剪辑板,然后打开配置文件:
1sudo nano plausible-conf.env
该文件包含五个变量,您需要填写:
1[label plausible-conf.env]
2ADMIN_USER_EMAIL=your_email_here
3ADMIN_USER_NAME=admin_username
4ADMIN_USER_PWD=admin_password
5BASE_URL=https://your_domain_here
6SECRET_KEY_BASE=paste_your_random_characters_here
填写电子邮件、用户名、密码和基本URL,然后粘贴您用openssl生成的随机字符。
<$>[注]
** 注:** 您在这里指定的密码必须长至少六个字符. 如果您使用的 IP 地址是空的,而不是域名,请确保先使用 http://.
<$>
保存文件(‘CTRL+O’然后在‘nano’中‘ENTER’)并关闭编辑器(‘CTRL+X’)。
您可以为此文件添加更多的配置选项,但这个最小的设置会让你开始运行. 有关通过 plausible-conf.env 配置 Plausible 的更多信息可以找到 在官方的 Plausible Analytics 自我托管文档中。
现在你需要更新docker-compose.yml文件。这个文件是docker-compose命令用于配置和启动多个Docker容器的。
1sudo nano docker-compose.yml
查找定义可信容器的部分,它将以可信:开头,在该节中查找端口:的定义,并将其更新为以下:
1[label docker-compose.yml]
2    ports:
3      - 127.0.0.1:8000:8000
即使你有一个 UFW 防火墙设置,由于 Docker 网络工作方式的一些奇怪之处,如果你没有采取这个步骤,你的 Plausible 容器将在端口 8000 向公众开放,我们只想通过你在下一步设置的 Nginx 代理程序访问它。
保存并关闭docker-compose.yml文件,然后使用docker-compose下载、配置和启动容器:
1sudo docker compose up --detach
分离的旗帜说docker-compose来创建背景中的容器,从我们的终端会话中分离出来:
1[secondary_label Output]
2. . .
3Starting plausible_plausible_events_db_1 ... done
4Starting plausible_plausible_db_1        ... done
5Starting plausible_mail_1                ... done
6Starting plausible_plausible_1           ... done
应用程序容器及其所有支持的邮件和数据库容器现在应该运行。您可以通过使用弯曲命令来验证此情况,以获取您在 localhost 运行的新可信容器的主页:
1curl http://localhost:8000
1[secondary_label Output]
2<html><body>You are being <a href="/login">redirected</a>.</body></html>
如果一些HTML输出到您的终端,你知道服务器正在运行。
接下来,我们将 Nginx 设置为 reverse proxy Plausible 从localhost:8000到公众。
步骤 2:安装和配置 Nginx
将 Nginx 等 Web 服务器放在您的 Elixir 服务器前面可以通过下载缓存、压缩和静态文件来提高性能,从而实现更高效的流程。
首先,更新您的包列表,然后使用apt安装 Nginx:
1sudo apt update
2sudo apt install nginx
允许使用Nginx Full UFW 应用程序配置文件向端口80和443(HTTP 和 HTTPS)的公共流量:
1sudo ufw allow "Nginx Full"
1[secondary_label Output]
2Rule added
3Rule added (v6)
接下来,在/etc/nginx/sites-available目录中打开一个新的 Nginx 配置文件,我们将称之为plausible.conf,但您可以使用不同的名称:
1sudo nano /etc/nginx/sites-available/plausible.conf
将下列内容粘贴到新的配置文件中,确保将your_domain_here替换为您已配置的域,以指向您的可信服务器。
 1[label /etc/nginx/sites-available/plausible.conf]
 2server {
 3    listen 80;
 4    listen       [::]:80;
 5    server_name your_domain_here;
 6
 7    access_log  /var/log/nginx/plausible.access.log;
 8    error_log   /var/log/nginx/plausible.error.log;
 9
10    location / {
11      proxy_pass http://localhost:8000;
12      proxy_set_header X-Forwarded-For $proxy_add_x_forwarded_for;
13  }
14}
此配置目前仅限于 HTTP,因为我们将在下一步让Certbot负责配置SSL。 其余的配置设置了日志位置,然后将所有流量传输到http://localhost:8000,我们在上一步开始的可信实例。
保存并关闭文件,然后通过将其链接到 /etc/nginx/sites-enabled/ 来启用配置:
1sudo ln -s /etc/nginx/sites-available/plausible.conf /etc/nginx/sites-enabled/
使用nginx -t来验证配置文件语法是否正确:
1sudo nginx -t
1[secondary_label Output]
2nginx: the configuration file /etc/nginx/nginx.conf syntax is ok
3nginx: configuration file /etc/nginx/nginx.conf test is successful
最后,重新加载nginx服务以获取新配置:
1sudo systemctl reload nginx
您的可信网站现在应该在简单的HTTP上可用。加载http://your_domain_here,它将看起来像这样:
现在你已经有了网站并在 HTTP 上运行,现在是时候使用 Certbot 和 Let's Encrypt 证书确保连接了。
步骤 3 – 安装 Certbot 和设置 SSL 证书
由于Certbot和Let’s Encrypt免费证书授权,将SSL加密添加到我们的Plausible应用程序只需要两个命令。
首先,安装 Certbot 及其 Nginx 插件:
1sudo apt install certbot python3-certbot-nginx
接下来,在--nginx模式下运行certbot,并指定您在 Nginxserver_name配置中使用的相同域名:
1sudo certbot --nginx -d your_domain_here
您将被要求同意 Let's Encrypt 服务条款,并输入电子邮件地址。
之后,您将被问及是否要将所有HTTP流量重定向到HTTPS。
之后,Let’s Encrypt 将确认您的请求,Certbot 将下载您的证书:
 1[secondary_label Output]
 2Congratulations! You have successfully enabled https://plausible.example.com
 3
 4You should test your configuration at:
 5https://www.ssllabs.com/ssltest/analyze.html?d=plausible.example.com
 6- - - - - - - - - - - - - - - - - - - - - - - - - - - - - - - - - - - - - - - -
 7
 8IMPORTANT NOTES:
 9 - Congratulations! Your certificate and chain have been saved at:
10   /etc/letsencrypt/live/plausible.example.com/fullchain.pem
11   Your key file has been saved at:
12   /etc/letsencrypt/live/plausible.example.com/privkey.pem
13   Your cert will expire on 2022-12-05. To obtain a new or tweaked
14   version of this certificate in the future, simply run certbot again
15   with the "certonly" option. To non-interactively renew *all* of
16   your certificates, run "certbot renew"
17 - Your account credentials have been saved in your Certbot
18   configuration directory at /etc/letsencrypt. You should make a
19   secure backup of this folder now. This configuration directory will
20   also contain certificates and private keys obtained by Certbot so
21   making regular backups of this folder is ideal.
22 - If you like Certbot, please consider supporting our work by:
23
24   Donating to ISRG / Let's Encrypt:   https://letsencrypt.org/donate
25   Donating to EFF:                    https://eff.org/donate-le
Certbot 会自动重新加载 Nginx 以获取新的配置和证书. 重新加载您的网站,如果您选择了重定向选项,它应该自动将您切换到 HTTPS。
您的网站现在是安全的,您可以安全地使用您在 步骤 1 中设置的默认用户信息登录,您将被要求验证注册,并将发送一个验证代码到您配置的地址。
默认情况下,此电子邮件是直接从您的服务器发送的,这可能导致各种垃圾邮件预防措施造成问题。如果您没有收到电子邮件,请检查您的垃圾邮件文件夹。如果它也不在那里,您可能需要在plausible-conf.env文件中设置更合适的SMTP细节。 请参阅(https://plausible.io/docs/self-hosting-configuration)关于邮件配置的详细信息。
当你成功登录时,你会看到一个提示,让你的第一个网站设置与可信:
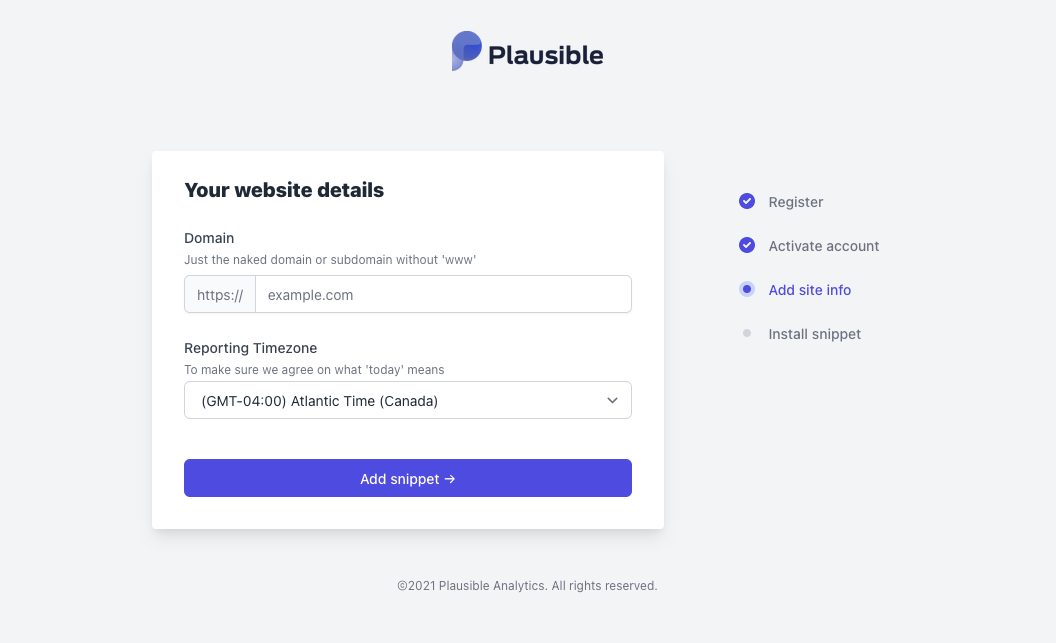
您已成功安裝並保護您的 Plausible Analytics 軟件。
结论
在本教程中,您使用 Docker Compose 启动了 Plausible Analytics 应用程序及其相关的辅助容器,然后设置了 Nginx 反向代理,并使用 Let's Encrypt SSL 证书保护它。
您现在已经准备好设置您的网站并添加可靠分析跟踪脚本,请参阅 官方可靠分析文档有关使用该软件和设置您的网站的更多信息。