介绍
Matomo是一个开源的,自托网站分析应用程序,用PHP(https://www.php.net/)编写。
在本教程中,您将使用 Docker Compose 安装 Matomo 和 MariaDB 数据库,然后安装 Nginx 作为 Matomo 应用程序的反向代理程序。
前提条件
为了完成本教程,您首先需要以下内容:
- 一个 Ubuntu 20.04 服务器,有 UFW 防火墙启用. 请阅读 初始服务器设置与 Ubuntu 20.04 了解有关设置这些要求的更多信息
- Docker 安装. 您可以使用 如何安装和使用 Docker 在 Ubuntu 20.04 的 Step 1 才能做到这一点。 可选的是,如果您希望您的非** root** 用户能够运行
docker命令而不使用sudo - Docker Compose 安装。 遵循 Step 1 的 如何安装和使用 Docker Compose 在 Ubuntu 20.04 安装此软件
<$>[info] 注: 如果您正在使用 DigitalOcean 的 One-Click Docker Image,则可以跳过这些先决步骤。
在您选择的区域启动新的 Docker 图像,然后登录为 root 用户,并继续使用教程. 因为您将使用 ** root** 用户,您可以放弃所有指令的sudo部分,但不需要。
最后,要启用 SSL,您需要一个域名,指向您的服务器的公共 IP 地址. 例如,这应该是example.com或matomo.example.com。
当您满足所有前提条件后,请转到 步骤 1 ,在那里您将下载和启动 Matomo 软件。
步骤 1 — 使用 Docker Compose 运行 Matomo 和 MariaDB
您的第一步将是创建 Docker Compose 配置,该配置将为 Matomo 应用程序和 MariaDB 数据库启动容器。
本教程将将您的配置放在您的家庭目录中的matomo目录中,您也可以选择在/opt/matomo目录或您选择的其他目录中工作。
首先,确保您在您的家庭目录中:
1cd ~
然后创建matomo目录和cd在其中:
1mkdir matomo
2cd matomo
现在打开一个新的空白的 YAML 文件,名为 docker-compose.yml:
1nano docker-compose.yml
这是docker-compose软件在提取容器时会读到的配置文件。
 1[label docker-compose.yml]
 2version: "3"
 3
 4services:
 5  db:
 6    image: mariadb
 7    command: --max-allowed-packet=64MB
 8    restart: always
 9    environment:
10      - MARIADB_DATABASE=matomo
11      - MARIADB_USER
12      - MARIADB_PASSWORD
13      - MARIADB_ROOT_PASSWORD
14    volumes:
15      - ./db:/var/lib/mysql
16
17  app:
18    image: matomo
19    restart: always
20    volumes:
21      - ./matomo:/var/www/html
22    ports:
23      - 127.0.0.1:8080:80
该文件定义了两个服务,一个db服务是MariaDB容器,一个运行Matomo软件的app服务。这两个服务也引用了一个命名的卷,其中存储了一些数据,而app服务也打开了8080端口在循环(‘127.0.0.1’)界面上,我们将通过localhost连接。
在nano中,按CTRL+O,然后按ENTER保存,然后按CTRL+X退出。
docker-compose.yml文件列出了这些环境变量,但并非所有这些都具有相关的值,这是因为保持密码在你的docker-compose.yml文件中是一个很好的做法,特别是如果你要把它交给Git存储库或其他源控制系统。
相反,我们将所需的信息放入同一个目录中的.env 文件中,当我们启动容器时,docker-compose命令会自动加载。
打开一个新的 .env 文件与 nano:
1nano .env
您需要填写用户名和密码,以及 MariaDB root 超级用户帐户的强有力的密码:
1[label .env]
2MARIADB_USER=matomo
3MARIADB_PASSWORD=a_strong_password_for_user
4MARIADB_ROOT_PASSWORD=a_strong_password_for_root
生成强密码的一种方法是使用openssl命令,该命令应该在大多数操作系统上可用。
1openssl rand 30 | base64 -w 0 ; echo
当你完成了在你的 .env 文件中填写的信息时,保存它并离开你的文本编辑器。
您现在已经准备好将两个容器带上docker-compose:
1sudo docker-compose up -d
上子命令告诉docker-compose启动在docker-compose.yml文件中定义的容器(和卷和网络),而-d旗告诉它在背景中这样做(daemonize)以便命令不会接管您的终端。
1[secondary_label Output]
2Creating matomo_db_1  ... done
3Creating matomo_app_1 ... done
当完成时,Matomo 应该运行,您可以通过使用curl命令来检测网页服务器在localhost:8080运行:
1curl --head http://localhost:8080
这将只从响应中打印 HTTP 标题:
 1[secondary_label Output]
 2HTTP/1.1 200 OK
 3Date: Tue, 25 Jan 2022 19:56:16 GMT
 4Server: Apache/2.4.51 (Debian)
 5X-Powered-By: PHP/8.0.14
 6X-Matomo-Request-Id: 1e953
 7Cache-Control: no-store, must-revalidate
 8Referrer-Policy: same-origin
 9Content-Security-Policy: default-src 'self' 'unsafe-inline' 'unsafe-eval'; img-src 'self' 'unsafe-inline' 'unsafe-eval' data:;
10Set-Cookie: MATOMO_SESSID=dde7d477b0822e166ed90448964ec1e7; path=/; HttpOnly; SameSite=Lax
11Content-Type: text/html; charset=utf-8
200 OK响应意味着Matomo服务器已启动并运行,但仅在本地主机上可用。突出的X-Matomo-Request-Id标题表明服务器是Matomo,而不是其他可能配置在端口8080上倾听的东西。
步骤 2:安装和配置 Nginx
将 Nginx 等 Web 服务器放在 Matomo 服务器前面可以通过下载缓存、压缩和静态文件来提高性能,从而实现更高效的流程。我们将安装 Nginx 并将其配置为 reverse proxy 请求到 Matomo,这意味着它将负责将用户的请求传递给 Matomo 并再次返回。使用非集装箱化 Nginx 也将更容易在下一步中添加 Let's Encrypt SSL 证书。
首先,更新您的包列表,然后使用apt安装 Nginx:
1sudo apt update
2sudo apt install nginx
允许使用Nginx Full UFW 应用程序配置文件向端口80和443(HTTP 和 HTTPS)的公共流量:
1sudo ufw allow "Nginx Full"
1[secondary_label Output]
2Rule added
3Rule added (v6)
接下来,在 /etc/nginx/sites-available 目录中打开一个新的 Nginx 配置文件,我们将称呼我们的 matomo.conf,但您可以使用不同的名称:
1sudo nano /etc/nginx/sites-available/matomo.conf
将下列内容粘贴到新配置文件中,确保将your_domain_here替换为您已配置的域,以指向您的 Matomo 服务器。
 1[label /etc/nginx/sites-available/matomo.conf]
 2server {
 3    listen 80;
 4    listen       [::]:80;
 5    server_name your_domain_here;
 6
 7    access_log  /var/log/nginx/matomo.access.log;
 8    error_log   /var/log/nginx/matomo.error.log;
 9
10    location / {
11      proxy_set_header X-Forwarded-For $proxy_add_x_forwarded_for;
12      proxy_set_header X-Real-IP $remote_addr;
13      proxy_set_header X-Forwarded-Host $host;
14      proxy_set_header X-Forwarded-Proto https;
15      proxy_pass http://localhost:8080;
16  }
17}
此配置目前仅限于 HTTP,因为我们将在下一步让Certbot负责配置SSL,其余的配置设置了日志位置,然后传输了所有流量,以及一些重要的代理标题,以及我们在上一步启动的Matomo容器http://localhost:8080.
保存并关闭文件,然后通过将其链接到 /etc/nginx/sites-enabled/ 来启用配置:
1sudo ln -s /etc/nginx/sites-available/matomo.conf /etc/nginx/sites-enabled/
使用nginx -t来验证配置文件语法是否正确:
1sudo nginx -t
1[secondary_label Output]
2nginx: the configuration file /etc/nginx/nginx.conf syntax is ok
3nginx: configuration file /etc/nginx/nginx.conf test is successful
最后,重新加载nginx服务以获取新配置:
1sudo systemctl reload nginx
您的 Matomo 网站现在应该在简单的 HTTP 上载 http://your_domain_here(您可能需要点击安全警告),它将看起来像这样:
现在你已经有了网站并在 HTTP 上运行,现在是时候使用 Certbot 和 Let's Encrypt 证书确保连接了。
步骤 3 – 安装 Certbot 和设置 SSL 证书
由于Certbot和Let's Encrypt免费证书授权,将SSL加密添加到我们的Matomo应用程序只需要两个命令。
首先,安装 Certbot 及其 Nginx 插件:
1sudo apt install certbot python3-certbot-nginx
接下来,在--nginx模式下运行certbot,并指定您在 Nginxserver_name配置中使用的相同域名:
1sudo certbot --nginx -d your_domain_here
您将被要求同意 Let's Encrypt 服务条款,并输入电子邮件地址。
之后,您将被问及是否要将所有HTTP流量重定向到HTTPS。
之后,Let’s Encrypt 将确认您的请求,Certbot 将下载您的证书:
 1[secondary_label Output]
 2Congratulations! You have successfully enabled https://matomo.example.com
 3
 4You should test your configuration at:
 5https://www.ssllabs.com/ssltest/analyze.html?d=matomo.example.com
 6- - - - - - - - - - - - - - - - - - - - - - - - - - - - - - - - - - - - - - - -
 7
 8IMPORTANT NOTES:
 9 - Congratulations! Your certificate and chain have been saved at:
10   /etc/letsencrypt/live/matomo.example.com/fullchain.pem
11   Your key file has been saved at:
12   /etc/letsencrypt/live/matomo.example.com/privkey.pem
13   Your cert will expire on 2021-12-06. To obtain a new or tweaked
14   version of this certificate in the future, simply run certbot again
15   with the "certonly" option. To non-interactively renew *all* of
16   your certificates, run "certbot renew"
17 - Your account credentials have been saved in your Certbot
18   configuration directory at /etc/letsencrypt. You should make a
19   secure backup of this folder now. This configuration directory will
20   also contain certificates and private keys obtained by Certbot so
21   making regular backups of this folder is ideal.
22 - If you like Certbot, please consider supporting our work by:
23
24   Donating to ISRG / Let's Encrypt:   https://letsencrypt.org/donate
25   Donating to EFF:                    https://eff.org/donate-le
Certbot 会自动重新加载 Nginx 以获取新的配置和证书. 重新加载您的网站,如果您选择了重定向选项,它应该自动将您切换到 HTTPS。
您的网站现在是安全的,它是安全的继续基于Web的设置步骤。
步骤 4 – 设置 Matomo
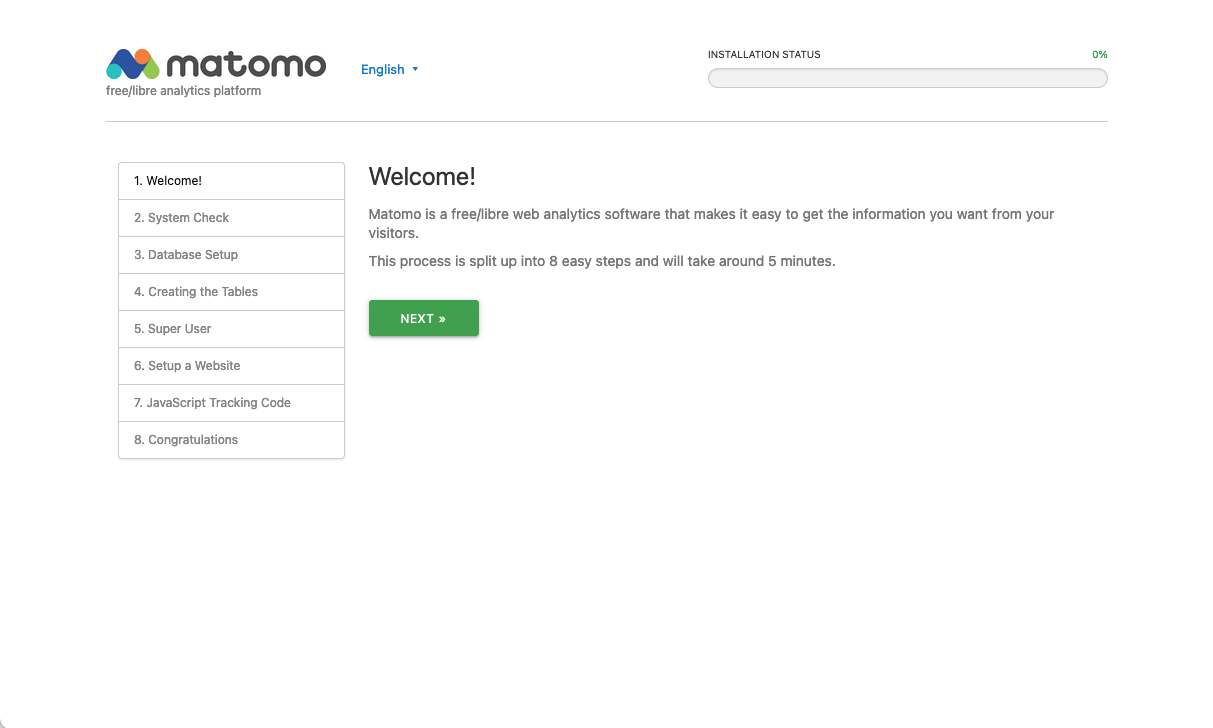
在您的 Web 浏览器中,您现在应该通过安全的 https:// 连接打开 Matomo 的 Welcome! 页面,现在您可以安全地输入用户名和密码,以完成安装过程。
点击下一步按钮,您将被带到系统检查步骤:
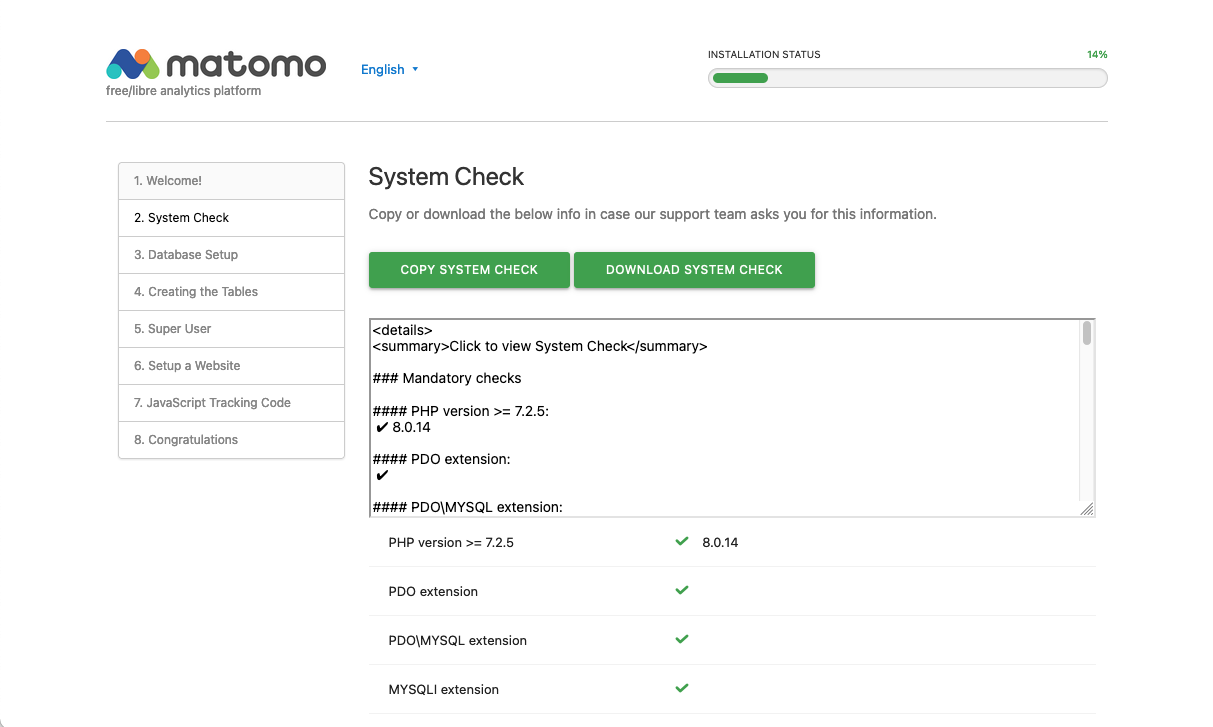
这是 Matomo 正在运行的系统的摘要,一切都应该是绿色标记,表示没有问题。
现在您将位于数据库设置页面上:
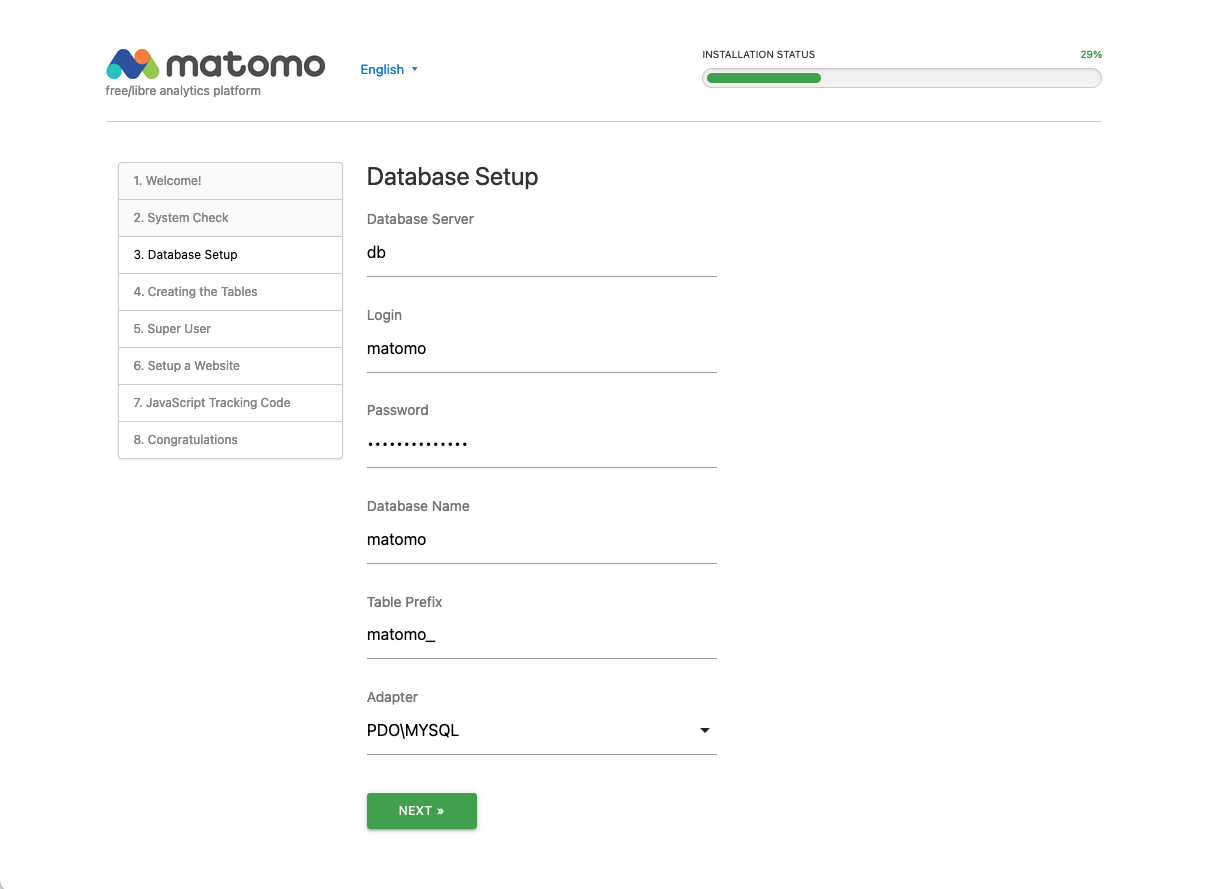
您在此页面上输入的信息将告诉 Matomo 应用程序如何连接到 MariaDB 数据库. 您需要您在步骤 1 中选择的 MARIADB_USER 和 MARIADB_PASSWORD。
填写前四个字段:
- 数据库服务器: db
- 登录: 您在
MARIADB_USER环境中设置的用户名变量 - 密码: 您在
MARIADB_PASSWORD环境中设置的密码变量 - 数据库名称: matomo
默认值适用于剩余的两个字段。
再次点击 Next 您将得到确认数据库已正确设置。 再次点击 ** Next** 您将需要设置一个管理员用户,最后您将设置有关您想要收集分析的第一个网站的信息。
毕竟,你应该在步骤8结束,一个 恭喜 页面. 你几乎全部完成了. 滚动到底部,点击 ** 继续到Matomo** 按钮,你将被带到主页:

页面顶部会有一个大警告,您需要对 Matomo 配置文件进行一个小更新,以完成此过程。
回到命令行,使用文本编辑器打开配置文件:
1sudo nano matomo/config/config.ini.php
接近顶部,你应该有一个[一般]部分. 将下面突出的最后三行添加到该部分的末尾:
 1[label config.ini.php]
 2[General]
 3proxy_client_headers[] = "HTTP_X_FORWARDED_FOR"
 4proxy_host_headers[] = "HTTP_X_FORWARDED_HOST"
 5salt = "e0a81d6e54d6d2200efd0f0ef6ef8563"
 6trusted_hosts[] = "localhost"
 7trusted_hosts[] = "example.com"
 8trusted_hosts[] = "localhost:8080"
 9assume_secure_protocol = 1
10force_ssl = 1
这些选项让Matomo知道使用端口8080是安全的,并且应该假定它总是通过安全连接访问。
保存并关闭配置文件,然后返回您的浏览器并重新加载页面。
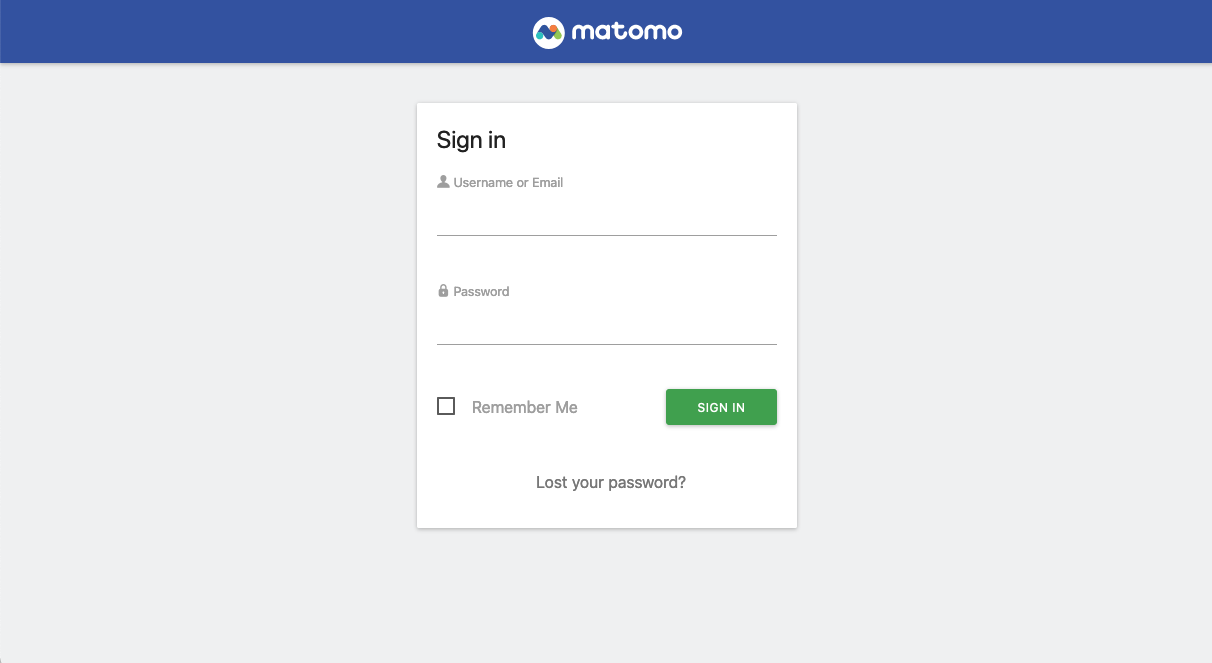
使用您在设置过程中创建的管理员帐户登录,您应该被带到仪表板:
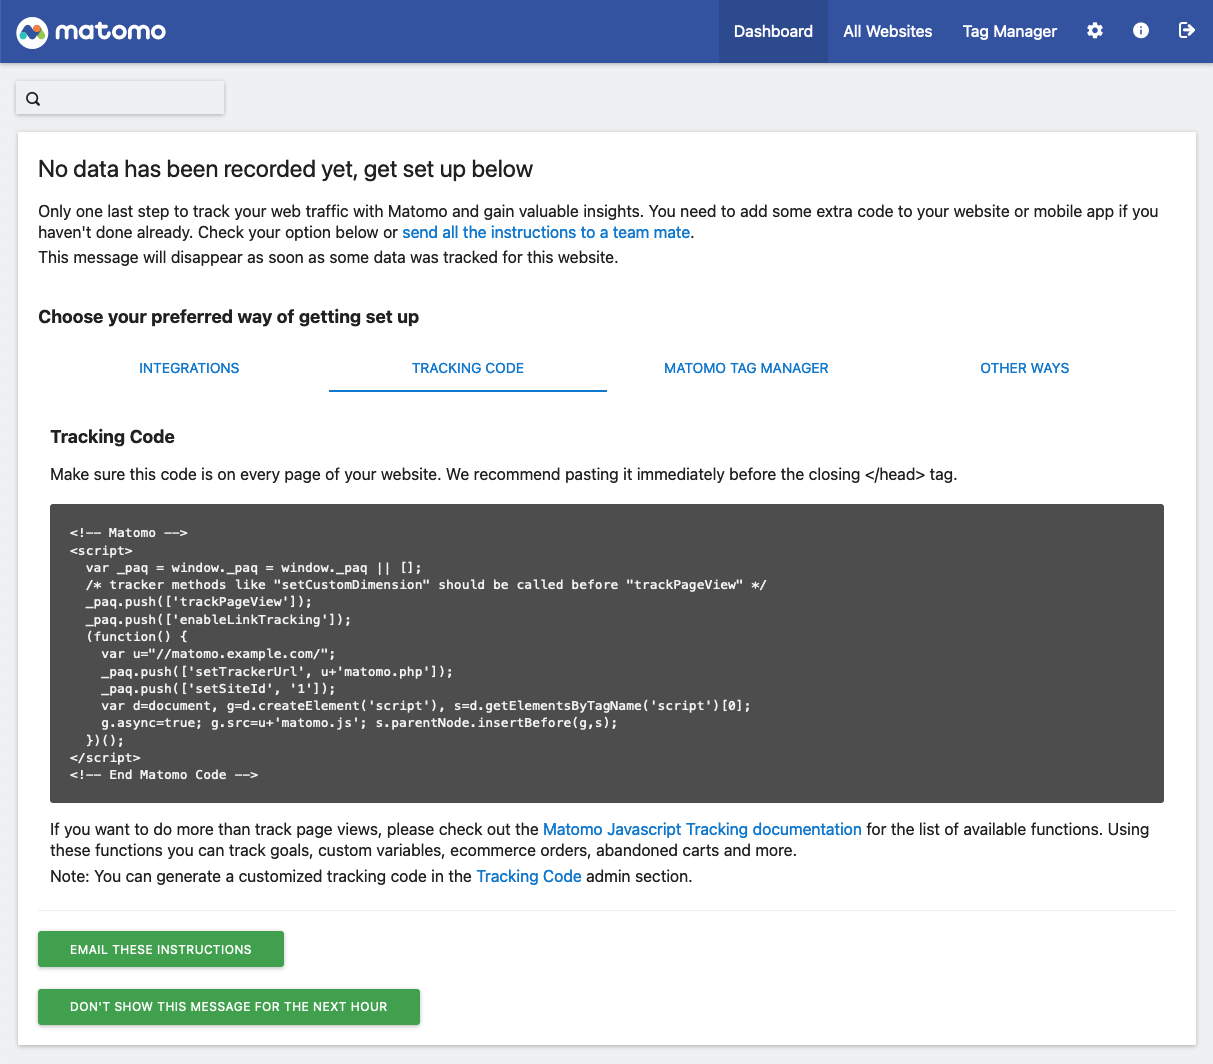
由于您可能尚未设置跟踪代码,因此仪表板将显示没有记录数据。 按照指示完成网站上设置 JavaScript 代码,开始接收分析数据。
结论
在本教程中,您使用 Docker Compose 启动了 Matamo 分析应用程序和 MariaDB 数据库,然后设置了 Nginx 反向代理,并使用 Let's Encrypt SSL 证书保护它。
您现在已经准备好设置您的网站并添加 Matomo 分析跟踪脚本. 有关操作 Matomo 软件的更多信息,请参阅 官方 Matomo 文档。