介绍
Mastodon是一个免费的和开源的软件,提供即时的全球通信. 它使用一个分散的模型称为 federation 由其创建者。 每个Mastodon服务器是完全独立的,同时与其他服务器进行通信,形成一个社交网络。 它可以由任何人部署在任何服务器上,每个服务器是其自己的 instance 与其自己的政策和调控。
本教程将引导您通过使用DigitalOcean Mastodon 1-Click App预安装的Mastodon来旋转DigitalOcean Droplet。
此外,在为您的 Mastodon 实例创建 Droplet 后,您将创建管理员帐户并设置您的帐户偏好。
<$>[注] 注: 本教程详细介绍了使用DigitalOcean Mastodon 1-Click应用程序的安装。
- [如何在Ubuntu 20.04上安装Mastodon(https://andsky.com/tech/tutorials/how-to-install-mastodon-on-ubuntu-20-04)
美元
1 点击部署
Mastodon 1-Click 配备了以下软件包:
| Package | Version |
|---|---|
| Nginx | 1.18.0 |
| Postgres | 15 |
| Certbot | 0.40.0 |
| Redis | 5.0.7 |
截至本文写作时,这些包正在Ubuntu 20.04服务器上运行,以及Mastodon版本 4.0.2。
前提条件
要让您的 Mastodon 1-Click 运行,您需要一个域名。 您可以使用 DNS quickstart guide来学习如何使用 DigitalOcean DNS 设置一个域名。
步骤1 - 创建一个Mastodon滴
Mastodon 1-Click Droplet 是 在我们的市场上可用。 开始,请选择 Create Mastodon Droplet 按钮:

您的 DigitalOcean 控制面板列出了 Mastodon 1-Click Droplet 作为您的选择:

选择一个计划
选择一个适合你工作的计划,请记住,你可以根据你的需求(https://docs.digitalocean.com/products/droplets/how-to/resize/)重量。
选择数据中心
为了避免潜在的延迟,建议您选择最接近用户库的数据中心区域。在某些地区,我们有多个数据中心。
选择身份验证方法
建议使用 SSH 密钥 选项,而不是为您的 Droplet 提供密码。
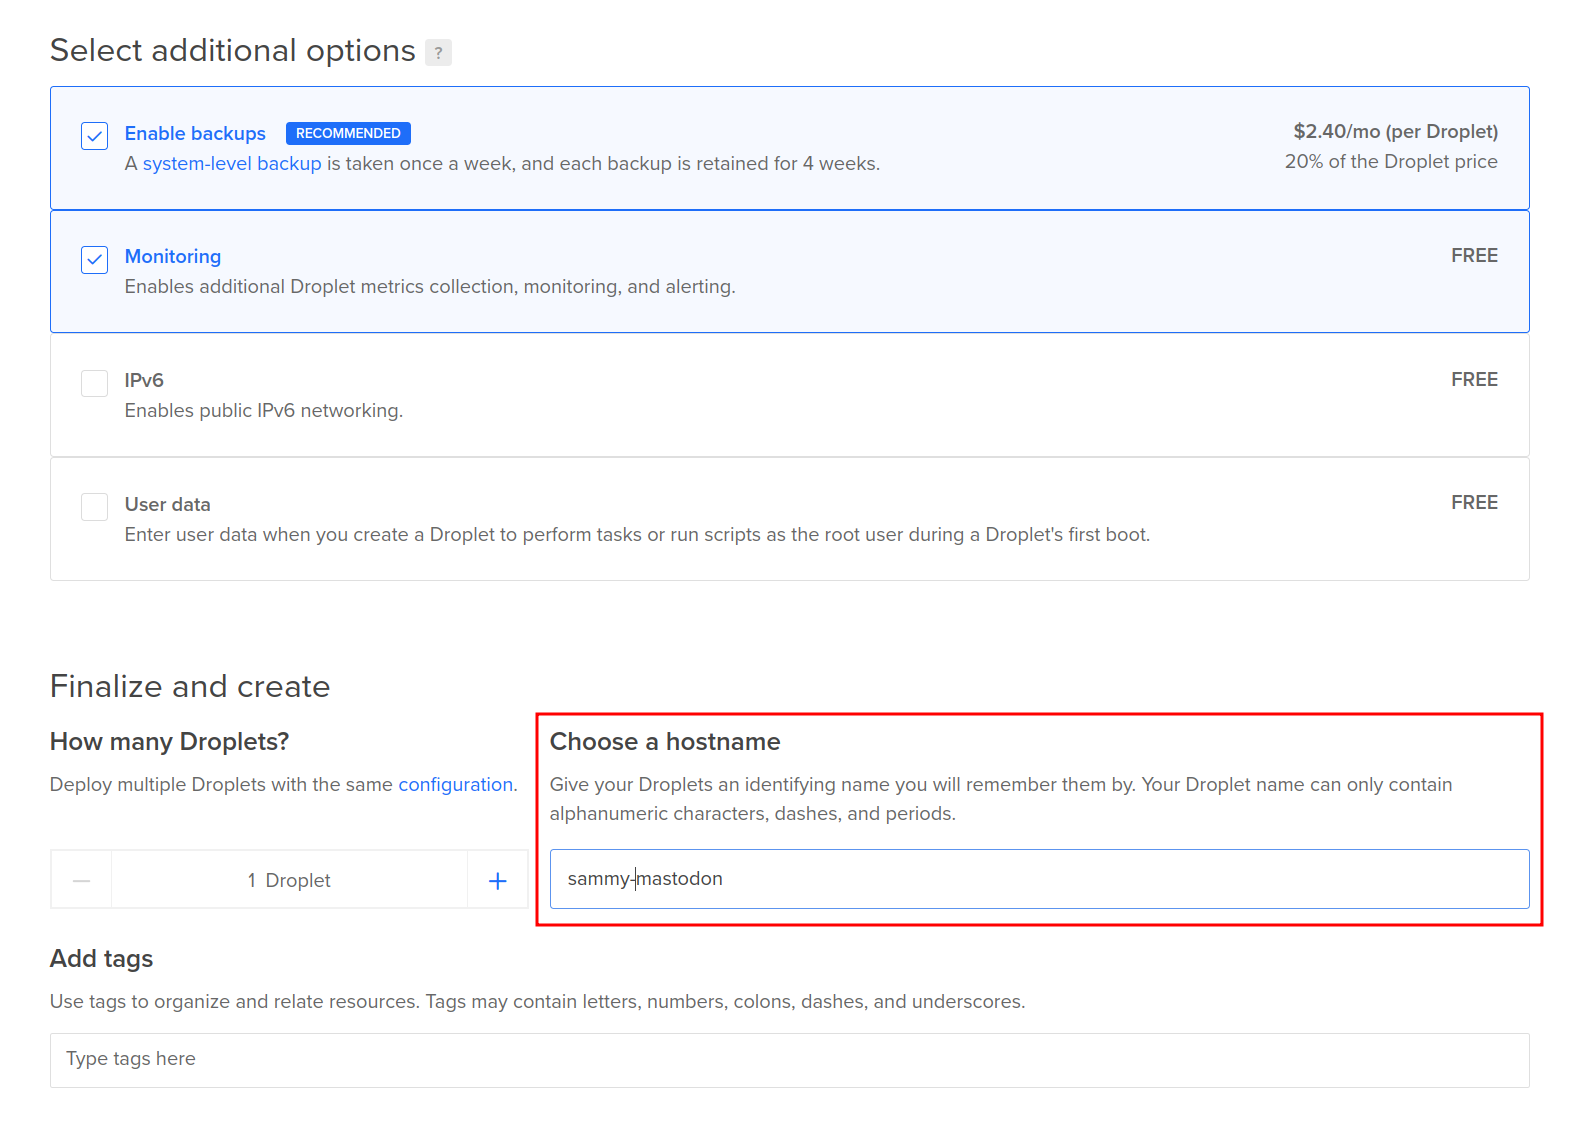
选择其他选项
将改进的指标、监控和警报添加到您的 Droplet 可以帮助您跟踪您的 Droplet 资源的使用时间。
选择一个主机
给你的Droplet一个识别名称:
输入名称并进行选择后,点击创建Droplet按钮,您的Droplet将启动安装过程,并可能需要一段时间才能完成。

1-Click Marketplace 应用程序提供额外的资源,您可以通过点击 Get Start 来访问。这包括应用程序概述,进一步的安装设置,以及来自我们社区网站的相关教程的链接(https://www.digitalocean.com/community)。

完成所有选择后,您现在已经准备好在终端访问新的Mastodon Droplet以继续安装过程。
步骤 2 — 通过 SSH 访问 Droplet 以启用配置
如果您以前没有使用过 SSH 或 PuTTY 等终端程序,请参阅 How To Connect To Your Droplet with SSH。当您准备好时,请打开计算机上的终端并通过 SSH 登录您的 Droplet 作为 root ,以此命令代替您的 Droplet 的 IP 地址:
1ssh root@your_server_ip
当终端提示您继续连接时,请输入是。
 1[secondary_label Output]
 2
 3                        ,----,__ __---''--___
 4                     ,-'   ,-'\ '--'
 5            ,       /   O      \
 6           <_'---__/-       '-_/
 7             '--___--
 8                  /   ,
 9            _ _/  ,''--__-''-_
10           / '-'   ;            '-_
11           '--__--'                \        ;
12                                    ;      /--__
13                                    |     ; ;
14                                    |     | ;
15                                    |     | ;
16                                    |     | ;
17                                    |     | ;
18                                   /ooo___|''
19
20Welcome to Mastodon!
21
22The documentation is available at https://docs.joinmastodon.org
23
24You can restart Mastodon with:
25
26 * sudo systemctl restart mastodon-web
27 * sudo systemctl restart mastodon-streaming
28 * sudo systemctl restart mastodon-sidekiq
29
30Mastodon is installed under /home/mastodon/live. To browse or change the
31files, login to the mastodon system user with:
32
33 * sudo su - mastodon
34
35You can browse error logs with:
36
37 * sudo journalctl -u mastodon-web
38
39Booting Mastodon's first-time setup wizard...
40Welcome to the Mastodon first-time setup!
在通过 SSH 访问您的 Droplet 后,Mastodon 将开始安装过程. 在下一步,您将完成 Mastodon 设置向导。
步骤 3 – 完成您滴上的Mastodon安装
设置向导后,有一个提示请求您的域名. 输入您的域名以继续:
1. . .
2Booting Mastodon's first-time setup wizard...
3Welcome to the Mastodon first-time setup!
4Domain name: your_domain
5. . .
有一个额外的提示询问您是否想要将用户上传的文件存储到云:
1. . .
2Do you want to store user-uploaded files on the cloud? No
3. . .
如果您没有云存储解决方案,请回答不。选择不意味着用户文件存储在本地数据库中。
<$>[note]
注: 依靠用户文件的本地存储不是一个可持续的长期解决方案. 如果您有基于云的存储解决方案,请为此问题输入是,然后输入您的云服务帐户凭据。
若要使用 DigitalOcean Spaces,您可以 遵循市场指南将其附加到您的 Mastodon 实例中。
Mastodon 使用 SMTP 向登录您的服务器的用户发送验证电子邮件。默认的电子邮件服务提供商选择是 Mailgun,但您可以配置任何其他 SMTP 服务器。
<$>[note] ** 注意:** 在您提供 SMTP 凭证之前,将不会发送来自 Mastodon 实例的电子邮件,这意味着没有人能够正确登录加入 Mastodon 实例,并且不会通知您新用户或可能出现的安全问题。
如果您正在使用 Mailgun 作为 SMTP 提供商,您可以检查他们的 在哪里找到您的身份证件的文档。
请用您的 SMTP 凭证填写下面的部分:
 1. . .
 2SMTP server: smtp.mailgun.org
 3SMTP port: 587
 4SMTP username: your_SMTP_username
 5SMTP password: your_SMTP_password
 6SMTP authentication: plain
 7SMTP OpenSSL verify mode: peer
 8E-mail address to send e-mails "from": Mastodon <notifications@your_domain>
 9Send a test e-mail with this configuration right now? yes
10. . .
以下是每个SMTP凭证的简要概述:
SMTP 服务器:这是您将使用的 SMTP 服务器来连接到您的 Mastodon 实例。SMTP 端口: 端口587是与电子邮件提供商的 TLS 连接的默认端口。SMTP 用户名:您的 SMTP 用户名.SMTP 密码:您的 SMTP 密码。
请参阅您的电子邮件服务提供商的官方文档,了解如何安全地与其SMTP服务进行交互。
您可以将电子邮件地址留给发送电子邮件从作为默认,或与您的电子邮件提供商创建一个自定义电子邮件地址。发送测试电子邮件将确保您的SMTP配置正常工作。
输入您的 SMTP 凭证后,创建您的管理帐户:
1Great! Saving this configuration...
2Booting up Mastodon...
3It is time to create an admin account that you'll be able to use from the browser!
4Username: sammy
5E-mail: your_email_address
6You can login with the password: your_auto_generated_admin_password
7The web interface should be momentarily accessible via https://your_domain
8. . .
创建一个独特的用户名,然后输入电子邮件地址与您的管理员帐户相关联。
<$>[warning] 警告: 跟踪此生成的密码. 您需要它来首次登录您的 Mastodon 管理员帐户. 如果您丢失此密码,您将无法登录,并且必须创建一个新的实例。
接下来, Let’s Encrypt 工具将为您获得 SSL 证书. 输入您的电子邮件地址以继续:
1. . .
2Launching Let's Encrypt utility to obtain SSL certificate...
3Saving debug log to /var/log/letsencrypt/letsencrypt.log
4Plugins selected: Authenticator standalone, Installer None
5Enter email address (used for urgent renewal and security notices) (Enter 'c' to
6cancel): your_email_address
7. . .
您可以通过键入是或不来选择进入或退出 Let’s Encrypt 电子邮件。
 1- - - - - - - - - - - - - - - - - - - - - - - - - - - - - - - - - - - - - - - -
 2Would you be willing to share your email address with the Electronic Frontier
 3Foundation, a founding partner of the Let's Encrypt project and the non-profit
 4organization that develops Certbot? We'd like to send you email about our work
 5encrypting the web, EFF news, campaigns, and ways to support digital freedom.
 6- - - - - - - - - - - - - - - - - - - - - - - - - - - - - - - - - - - - - - - -
 7(Y)es/(N)o: no
 8Obtaining a new certificate
 9Performing the following challenges:
10http-01 challenge for your_domain
11Waiting for verification...
12Cleaning up challenges
13
14IMPORTANT NOTES:
15 - Congratulations! Your certificate and chain have been saved at:
16   /etc/letsencrypt/live/your_domain/fullchain.pem
17   Your key file has been saved at:
18   /etc/letsencrypt/live/your_domain/privkey.pem
19   Your cert will expire on 2023-03-02. To obtain a new or tweaked
20   version of this certificate in the future, simply run certbot
21   again. To non-interactively renew *all* of your certificates, run
22   "certbot renew"
23 - Your account credentials have been saved in your Certbot
24   configuration directory at /etc/letsencrypt. You should make a
25   secure backup of this folder now. This configuration directory will
26   also contain certificates and private keys obtained by Certbot so
27   making regular backups of this folder is ideal.
28 - If you like Certbot, please consider supporting our work by:
29
30   Donating to ISRG / Let's Encrypt:   https://letsencrypt.org/donate
31   Donating to EFF:                    https://eff.org/donate-le
32
33Created symlink /etc/systemd/system/multi-user.target.wants/mastodon-web.service → /etc/systemd/system/mastodon-web.service.
34Created symlink /etc/systemd/system/multi-user.target.wants/mastodon-streaming.service → /etc/systemd/system/mastodon-streaming.service.
35Created symlink /etc/systemd/system/multi-user.target.wants/mastodon-sidekiq.service → /etc/systemd/system/mastodon-sidekiq.service.
36Setup is complete! Login at your_domain
获取证书后,请导航到 https://your_domain 以访问您的 Mastodon 服务器. 在您新实例的登陆页面生成之前可能需要一段时间:

你现在有一个Mastodon服务器并运行。
步骤4:更新您的密码
有了Mastodon服务器,您可以登录您的管理帐户:

然后输入您的电子邮件地址和从您的终端生成的密码:

登录后,导航到右侧的面板,然后选择 ** 偏好 ** 然后在左侧面板找到 ** 帐户设置 ** 选项并创建一个新的密码:

对于额外的安全性,您还可以设置双重身份验证。
步骤 5 – 更新服务器配置文件设置
作为Mastodon管理员,对您的网站和任何有兴趣加入您的服务器的人来说,定制设置很重要。作为管理员或用户,您可以做的更新之一是包括有关您的个人资料的详细信息,例如显示名称和生物。
要开始自定义您的网站设置,首先导航到左侧面板上的 Profile 选项. 从列表中,选择 ** 外观** ,并提供相关信息或上传您希望在您的网站上显示的图像:

另外,如果您不打算监控服务器,您可以在自动化层面上操作它,您可以通过选择这是一个机器人帐户框来向其他人展示这一点。您还可以选择向其他人建议您的帐户,以便潜在的追随者能够发现您,或者隐藏您跟随的人或跟随您的人,以免在您的服务器上公开显示。
若要使用网站主题选项或语言对用户界面进行更改,请导航到偏好选项,然后选择外观选项。在此页面上,您可以选择您对服务器和网站主题的偏好语言,偏好为Mastodon(Dark)**主题,还有其他选项,您可以选择有关动画、可访问性、帖子布局、趋势发现、提示用户确认对话以及敏感内容如何显示、隐藏或标记警告:

如果你导航到 ** 其他** 选项,你可以定制你的服务器的功能,如搜索引擎索引,如果你想减少你的服务器的可见性. 还有隐私和语言选项的帖子,标记任何敏感的媒体,并披露你正在使用的应用程序发布(这是已经默认选择)。

作为一个管理员,你有很多选择,你想如何定制和向世界展示你的服务器。
步骤 6 – 在您的服务器上管理帐户
Mastodon 管理员的另一个有价值的功能是追随者管理。如前所述,Mastodon 由在独立服务器上运行的实例组成,通常由管理员管理。因此,如果您是您的服务器的管理员,您可能会有通过您的实例设置帐户的人。

当您导航到 Follows and Followers 时,顶部将有几个选项,包括 ** Relationship** 、 ** Account Status** 、 ** Account Activity** 和 ** Order By** . 默认情况下,选项将为您正在跟踪的帐户提供详细信息。

您可能会注意到向左指向的箭头,这意味着该帐户正在跟踪您,但您没有跟踪他们。如果您想要跟踪一个跟踪您的帐户,请按下名称,在本示例中, barneythebarnacle 。

如果您返回您的偏好和跟踪和追随者选项,那么barneythebarnacle现在会反映在您跟随的帐户列表中。

作为一个管理员,你还可以控制你想向你的服务器上的潜在帐户发送的邀请类型。这可以通过导航到 邀请用户 选项来完成。在这里,你可以生成和共享邀请他人到你的服务器的链接。由于你有这些行政权限,你甚至可以创建一个特殊的邀请链接,这将自动允许帐户跟踪你。但是,如果你有某些批准流程,那么你可能不想选择这个选项。

作为管理员,您可能会收到虚假或垃圾邮件帐户的请求,或者可能与现有帐户有问题. 在这种情况下,您可能会想要实施某些参数,以防止这些类型的帐户访问您的服务器和您的其他帐户。
若没有当前的过滤器,那么页面将是空的. 如果您想要添加过滤器,请按一下右上方的添加新过滤器按钮,然后输入所需的信息,如标题,过滤器背景和文件夹操作。过滤器背景可以应用到您的服务器的不同方面,过滤器操作是您想要执行的,如果这个过滤器被触发,如警告或自动隐藏内容。
总的来说,对Mastodon服务器拥有强大的帐户管理是保持良好的隐私和安全实践的重要,以证明您的服务器对当前和未来的追随者都是可信的。
结论
现在你已经设置了自己的Mastodon服务器,你可以继续通过使用各种选项来自定义你的服务器以满足你想要的外观和设置来尝试它,你也可以开始通过为你的追随者阅读帖子来提高参与度。