介绍
一个LAMP堆栈是一组开源软件,用于让Web服务器启动和运行。缩写是Linux,Apache,MySQL和PHP。由于服务器已经运行了Fedora,Linux部分被照顾。
前提条件
在开始本教程之前,您应该有一个运行的 Fedora 22 滴,并通过 SSH 登录。
设置
在您开始安装 LAMP 程序之前,您应先下载并安装所有更新以代替 dnf 更新 dnf 作为 Fedora 版本 22 的默认包管理器:
1sudo dnf update
步骤一:安装Apache
Apache 是一个免费的开源软件,运行全球超过 50% 的 Web 服务器。
要安装apache,打开终端并在这个命令中输入:
1sudo dnf install httpd
一旦安装,您可以开始在您的VPS上运行apache:
1sudo systemctl start httpd.service
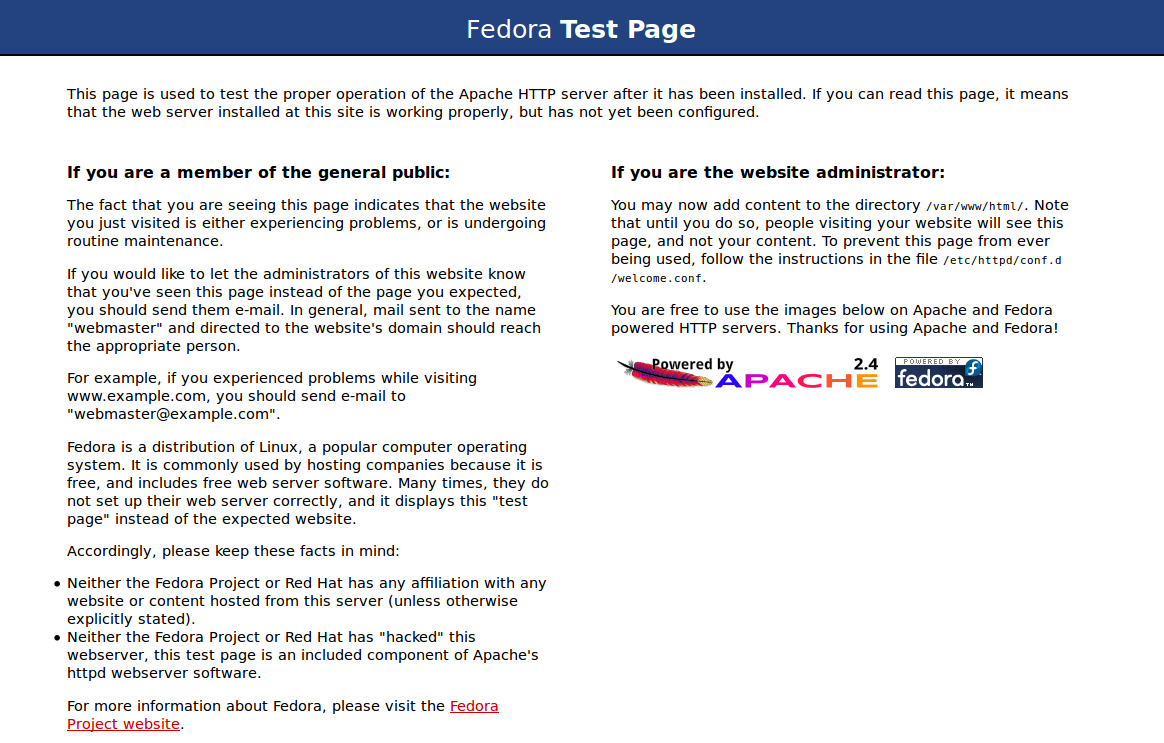
That’s it. To check if Apache is installed, direct your browser to your server’s IP address (eg. http://12.34.56.789). You should see the default Fedora page
如何找到您的Droplet的IP地址
您可以运行以下命令来揭示您的服务器的IP地址。
1ifconfig eth0 | grep inet | awk '{ print $2 }'
第2步:安装MySQL
MySQL/MariaDB 是一个强大的数据库管理系统,用于在虚拟服务器上组织和检索数据。
要安装MySQL,打开终端并输入以下命令:
1sudo dnf install mysql mysql-server
2sudo systemctl start mariadb.service
一旦安装完成,您可以设置一个 root MySQL 密码:
1sudo /usr/bin/mysql_secure_installation
提示将要求您提供当前的 root 密码。
因为你刚刚安装了MySQL,你很可能会没有一个,所以通过按入来让它空。
1Enter current password for root (enter for none):
2OK, successfully used password, moving on...
然后提示会问你是否要设置根密码. 继续选择 Y 并遵循指示。
Fedora 自动化了 MySQL 设置过程,向您提出一系列是或不的问题。
最简单的就是对所有选项说是,最后MySQL会重新加载并实施新的更改。
 1<pre>By default, a MariaDB installation has an anonymous user, allowing anyone
 2to log into MariaDB without having to have a user account created for
 3them. This is intended only for testing, and to make the installation
 4go a bit smoother. You should remove them before moving into a
 5production environment.
 6
 7Remove anonymous users? [Y/n] Y
 8 ... Success!
 9
10Normally, root should only be allowed to connect from 'localhost'. This
11ensures that someone cannot guess at the root password from the network.
12
13Disallow root login remotely? [Y/n] Y
14 ... Success!
15
16By default, MariaDB comes with a database named 'test' that anyone can
17access. This is also intended only for testing, and should be removed
18before moving into a production environment.
19
20Remove test database and access to it? [Y/n] Y
21 - Dropping test database...
22 ... Success!
23 - Removing privileges on test database...
24 ... Success!
25
26Reloading the privilege tables will ensure that all changes made so far
27will take effect immediately.
28
29Reload privilege tables now? [Y/n] Y
30 ... Success!
31
32Cleaning up...
33
34All done!  If you've completed all of the above steps, your MariaDB
35installation should now be secure.
36
37Thanks for using MariaDB!
第三步:安装PHP
PHP是一个开源的Web脚本语言,广泛用于构建动态网页。
要在虚拟私人服务器上安装 PHP,打开终端并输入此命令:
1sudo dnf install php php-mysql
一旦您对 PHP 提示回答是,PHP 会自动安装。
PHP 模块
PHP 还具有各种有用的库和模块,您可以将其添加到您的服务器上,您可以通过键入查看可用的库:
1dnf search php-
接下来,终端将显示可能的模块列表. 开始看起来像这样:
 1php-fpdf-doc.noarch : Documentation for php-fpdf
 2php-libvirt-doc.noarch : Document of php-libvirt
 3php-pear-Auth-radius.noarch : RADIUS support for php-pear-Auth
 4php-pear-Auth-samba.noarch : Samba support for php-pear-Auth
 5ice-php-devel.i686 : PHP tools for developping Ice applications
 6ice-php-devel.x86_64 : PHP tools for developping Ice applications
 7perl-PHP-Serialization.noarch : Converts between PHP's serialize() output and
 8                              : the equivalent Perl structure
 9php-IDNA_Convert.noarch : Provides conversion of internationalized strings to
10                        : UTF8
11php-Kohana.noarch : The Swift PHP Framework
12php-LightweightPicasaAPI.noarch : A lightweight API for Picasa in PHP
13php-PHPMailer.noarch : PHP email transport class with a lot of features
14php-Smarty.noarch : Template/Presentation Framework for PHP
15php-ZendFramework.noarch : Leading open-source PHP framework
16php-ZendFramework-Auth-Adapter-Ldap.noarch : Zend Framework LDAP
17                                           : Authentication Adapter
18php-ZendFramework-Cache-Backend-Apc.noarch : Zend Framework APC cache backend
若要查看每个模块所做的更多细节,请在终端中键入以下命令,将模块名称替换为您想要了解的任何库。
1dnf info name of the module
一旦您决定安装模块,键入:
1sudo dnf install name of the module
您可以通过将每个模块的名称与一个空间分开,同时安装多个库。
恭喜你!你现在有LAMP堆在你的滴!
我们还应该将进程设置为在服务器启动时自动运行(Apache启动后php将自动运行):
1sudo chkconfig httpd on
2sudo chkconfig mariadb on
步骤四:结果:在您的服务器上查看PHP
虽然LAMP安装在您的虚拟服务器上,但我们仍然可以通过创建一个快速的php信息页面来查看并在线查看组件。
要设置此设置,先安装 nano 文本编辑器并创建一个新的文件:
1sudo dnf install nano
2sudo nano /var/www/html/info.php
添加在下列行:
1<?php
2phpinfo();
3?>
然后保存和退出。
重新启动 apache,以便所有更改在虚拟服务器上生效:
1sudo systemctl restart httpd.service
最后,访问您的php信息页面(请确保您用正确的代替示例IP地址): http://12.34.56.789/info.php
它应该看起来像这样:
