_ 作者选择了 免费和开源基金作为 写给捐款计划的一部分接受捐款。
介绍
Terraform 提供先进的功能,随着项目的规模和复杂性不断增加,这些功能变得越来越有用,您可以通过结构化代码来最大限度地减少重复,并引入工具辅助工作流程来简化测试和部署来降低维护多个环境的复杂基础设施定义的成本。
Terraform 将 state_与后端连接,它决定状态的存储和检索地点和方式. 每个州只有一个后端,并绑定在基础设施配置上. 某些后端,如 " 当地 " 或 " s3 " ,可能包含多个状态。 在这种情况下,将状态和基础设施配对到后端是描述一个_workspace. 工作空间允许您部署多个相同的基础设施配置的不同实例,而不将它们存储在单独的后端.
在本教程中,您首先将使用不同的工作空间部署多个基础设施实例,然后将部署一个具有状态的资源,在本教程中,将是一个DigitalOcean Volume。 最后,您将参考来自Terraform注册表(https://registry.terraform.io/),您可以使用它来补充自己的模块。
前提条件
要完成这个教程,你需要:
- 数字海洋个人访问Token,您可以通过数字海洋控制面板创建. 您可以在 DigitalOcean 产品文档中找到指令,如何创建个人访问Token.
- 在您的本地机器上安装了Terraform,并与DO提供商共同建立了一个项目。 完成[如何用数字海洋使用地表 (https://andsky.com/tech/tutorials/how-to-use-terraform-with-digitalocean)的 步骤1** 和** 步骤2** ,并确保将项目文件夹命名为
先进',而不是负载平衡'。 在** 步骤2** 中,不包括pvt_key变量和SSH密钥资源。 .
<$>[注] 注: 本教程已被特定的测试与Terraform 1.0.2。
使用工作区部署多个基础设施实例
多个工作空间在您想要部署或测试您主基础设施的修改后版本而不创建单独的工程和再次设置认证密钥时是有用的. 一旦您使用单独的状态开发并测试了一个特性,您就可以将新代码纳入主工作空间,并可能删除附加状态. 当您init一个Terraform项目时,无论后端如何,Terraform都会创建一个名为默认的工作空间。 它总是存在的,你永远不能删除它.
但是,多个工作区不是创建多个环境的合适解决方案,例如舞台制作和生产,因此,仅跟踪状态的工作区不会存储代码或其修改。
由于工作空间不跟踪实际代码,所以您应该通过将多个工作空间与其基础设施变体相匹配来管理版本控制(VCS)级别的多个工作空间之间的代码分离. 如何实现此目标取决于VCS工具本身;例如,在[Git 分支(https://andsky.com/tech/tutorials/how-to-use-git-branches)中将是一个合适的抽象. 为了便于管理多个环境的代码,可以将它们分解为[可重复使用的模块] (https://andsky.com/tech/tutorials/how-to-create-reusable-infrastructure-with-terraform-modules-and-templates),这样可以避免每个环境重复类似的代码.
在工作空间中部署资源
现在,您将创建一个部署 Droplet 的项目,您将从多个工作区中应用。
您将将 Droplet 定义存储在名为droplets.tf的文件中。
假设您位于terraform-advanced目录中,请通过运行创建并打开它以进行编辑:
1nano droplets.tf
添加以下几行:
1resource "digitalocean_droplet" "web" {
2  image  = "ubuntu-18-04-x64"
3  name   = "web-${terraform.workspace}"
4  region = "fra1"
5  size   = "s-1vcpu-1gb"
6}
这个定义将创建一个运行Ubuntu 18.04的Droplet,其中有一个CPU核心和1 GB的RAM在fra1区域。
将项目应用于Terraform以运行其行动:
1terraform apply -var "do_token=${DO_PAT}"
结果将看起来像这样:
 1[secondary_label Output]
 2Terraform used the selected providers to generate the following execution plan. Resource actions are indicated with the following symbols:
 3  + create
 4
 5Terraform will perform the following actions:
 6
 7  # digitalocean_droplet.web will be created
 8  + resource "digitalocean_droplet" "web" {
 9      + backups              = false
10      + created_at           = (known after apply)
11      + disk                 = (known after apply)
12      + id                   = (known after apply)
13      + image                = "ubuntu-18-04-x64"
14      + ipv4_address         = (known after apply)
15      + ipv4_address_private = (known after apply)
16      + ipv6                 = false
17      + ipv6_address         = (known after apply)
18      + ipv6_address_private = (known after apply)
19      + locked               = (known after apply)
20      + memory               = (known after apply)
21      + monitoring           = false
22      + name                 = "web-default"
23      + price_hourly         = (known after apply)
24      + price_monthly        = (known after apply)
25      + private_networking   = (known after apply)
26      + region               = "fra1"
27      + resize_disk          = true
28      + size                 = "s-1vcpu-1gb"
29      + status               = (known after apply)
30      + urn                  = (known after apply)
31      + vcpus                = (known after apply)
32      + volume_ids           = (known after apply)
33      + vpc_uuid             = (known after apply)
34    }
35
36Plan: 1 to add, 0 to change, 0 to destroy.
37...
请在默认工作空间中部署 Droplet 时输入是。
Droplet 的名称将是web-default,因为您开始的工作区称为default,您可以列出工作区以确认它是唯一可用的工作区:
1terraform workspace list
结果将看起来像这样:
1[secondary_label Output]
2* default
星座(* )表示您目前已选择该工作区。
创建并切换到一个名为测试的新工作区,您将通过运行工作区新来部署不同的 Droplet:
1terraform workspace new testing
结果将看起来像这样:
1[secondary_label Output]
2Created and switched to workspace "testing"!
3
4You're now on a new, empty workspace. Workspaces isolate their state,
5so if you run "terraform plan" Terraform will not see any existing state
6for this configuration.
您计划通过运行再次部署 Droplet:
1terraform plan -var "do_token=${DO_PAT}"
结果将与前一轮相似:
 1[secondary_label Output]
 2Terraform used the selected providers to generate the following execution plan. Resource actions are indicated with the following symbols:
 3  + create
 4
 5Terraform will perform the following actions:
 6
 7  # digitalocean_droplet.web will be created
 8  + resource "digitalocean_droplet" "web" {
 9      + backups              = false
10      + created_at           = (known after apply)
11      + disk                 = (known after apply)
12      + id                   = (known after apply)
13      + image                = "ubuntu-18-04-x64"
14      + ipv4_address         = (known after apply)
15      + ipv4_address_private = (known after apply)
16      + ipv6                 = false
17      + ipv6_address         = (known after apply)
18      + ipv6_address_private = (known after apply)
19      + locked               = (known after apply)
20      + memory               = (known after apply)
21      + monitoring           = false
22      + name                 = "web-testing"
23      + price_hourly         = (known after apply)
24      + price_monthly        = (known after apply)
25      + private_networking   = (known after apply)
26      + region               = "fra1"
27      + resize_disk          = true
28      + size                 = "s-1vcpu-1gb"
29      + status               = (known after apply)
30      + urn                  = (known after apply)
31      + vcpus                = (known after apply)
32      + volume_ids           = (known after apply)
33      + vpc_uuid             = (known after apply)
34    }
35
36Plan: 1 to add, 0 to change, 0 to destroy.
37...
请注意,Terraform计划部署一个名为web-testing的Dropplet,它已经与web-default不同的名称。
若要确认您处于测试工作区,请输出当前的工作区与工作区显示:
1terraform workspace show
输出将是当前工作区的名称:
1[secondary_label Output]
2testing
要删除一个工作区,你首先需要摧毁所有部署的资源,然后,如果它是活跃的,你需要使用工作区选择切换到另一个工作区,因为这里的测试工作区是空的,你可以立即切换到默认:
1terraform workspace select default
您将收到Terraform的输出,确认交换机:
1[secondary_label Output]
2Switched to workspace "default".
然后您可以通过运行工作区删除来删除它:
1terraform workspace delete testing
然后Terraform将执行删除:
1[secondary_label Output]
2Deleted workspace "testing"!
您可以通过运行下列操作来破坏您在默认工作区部署的 Droplet:
1terraform destroy -var "do_token=${DO_PAT}"
当被要求完成过程时输入是。
在本节中,您已经在多个Terraform工作区工作过,在下一节中,您将部署一个具有状态的资源。
部署国家资源
无国籍资源不存储数据,因此您可以快速创建和更换它们,因为它们不是独一无二的。
由于您可能最终破坏这些资源,或者多个资源需要他们的数据,最好将其存储在一个单独的实体中,例如 DigitalOcean Volumes。
卷提供额外的存储空间. 它们可以连接到 Droplets(服务器),但与它们分开。 在此步骤中,您将定义 Volume,并将其连接到droplets.tf中的 Droplet。
打开它来编辑:
1nano droplets.tf
添加以下几行:
 1resource "digitalocean_droplet" "web" {
 2  image  = "ubuntu-18-04-x64"
 3  name   = "web-${terraform.workspace}"
 4  region = "fra1"
 5  size   = "s-1vcpu-1gb"
 6}
 7
 8resource "digitalocean_volume" "volume" {
 9  region                  = "fra1"
10  name                    = "new-volume"
11  size                    = 10
12  initial_filesystem_type = "ext4"
13  description             = "New Volume for Droplet"
14}
15
16resource "digitalocean_volume_attachment" "volume_attachment" {
17  droplet_id = digitalocean_droplet.web.id
18  volume_id  = digitalocean_volume.volume.id
19}
在这里,您定义了两个新资源,即 Volume 本身和 Volume 附件。 Volume 将是 10GB,格式化为ext4,称为新卷,并位于与 Droplet 相同的区域。由于 Volume 和 Droplet 是独立的实体,您需要定义一个 Volume 附件对象来连接它们。
完成后,保存并关闭文件。
通过运行此配置计划:
1terraform plan -var "do_token=${DO_PAT}"
Terraform将计划的行动将如下:
 1[secondary_label Output]
 2Terraform used the selected providers to generate the following execution plan. Resource actions are indicated with the following symbols:
 3  + create
 4
 5Terraform will perform the following actions:
 6
 7  # digitalocean_droplet.web will be created
 8  + resource "digitalocean_droplet" "web" {
 9      + backups              = false
10      + created_at           = (known after apply)
11      + disk                 = (known after apply)
12      + id                   = (known after apply)
13      + image                = "ubuntu-18-04-x64"
14      + ipv4_address         = (known after apply)
15      + ipv4_address_private = (known after apply)
16      + ipv6                 = false
17      + ipv6_address         = (known after apply)
18      + ipv6_address_private = (known after apply)
19      + locked               = (known after apply)
20      + memory               = (known after apply)
21      + monitoring           = false
22      + name                 = "web-default"
23      + price_hourly         = (known after apply)
24      + price_monthly        = (known after apply)
25      + private_networking   = (known after apply)
26      + region               = "fra1"
27      + resize_disk          = true
28      + size                 = "s-1vcpu-1gb"
29      + status               = (known after apply)
30      + urn                  = (known after apply)
31      + vcpus                = (known after apply)
32      + volume_ids           = (known after apply)
33      + vpc_uuid             = (known after apply)
34    }
35
36  # digitalocean_volume.volume will be created
37  + resource "digitalocean_volume" "volume" {
38      + description             = "New Volume for Droplet"
39      + droplet_ids             = (known after apply)
40      + filesystem_label        = (known after apply)
41      + filesystem_type         = (known after apply)
42      + id                      = (known after apply)
43      + initial_filesystem_type = "ext4"
44      + name                    = "new-volume"
45      + region                  = "fra1"
46      + size                    = 10
47      + urn                     = (known after apply)
48    }
49
50  # digitalocean_volume_attachment.volume_attachment will be created
51  + resource "digitalocean_volume_attachment" "volume_attachment" {
52      + droplet_id = (known after apply)
53      + id         = (known after apply)
54      + volume_id  = (known after apply)
55    }
56
57Plan: 3 to add, 0 to change, 0 to destroy.
58...
输出细节是Terraform会创建一个Droplet、一个Volume和一个Volume附件,该附件将Volume连接到Droplet。
您现在已经定义并将 Volume (一个国家资源) 连接到 Droplet. 在下一节中,您将审查可在项目中纳入的公共、预制的 Terraform 模块。
参考预制模块
除了为您的项目创建自己的(https://andsky.com/tech/tutorials/how-to-build-a-custom-terraform-module)自定义模块外,您还可以使用其他开发商的预制模块和提供商,这些模块在 Terraform 注册表提供。
在 模块部分中,您可以搜索可用的模块数据库并按供应商进行排序,以便找到具有您需要的功能的模块。
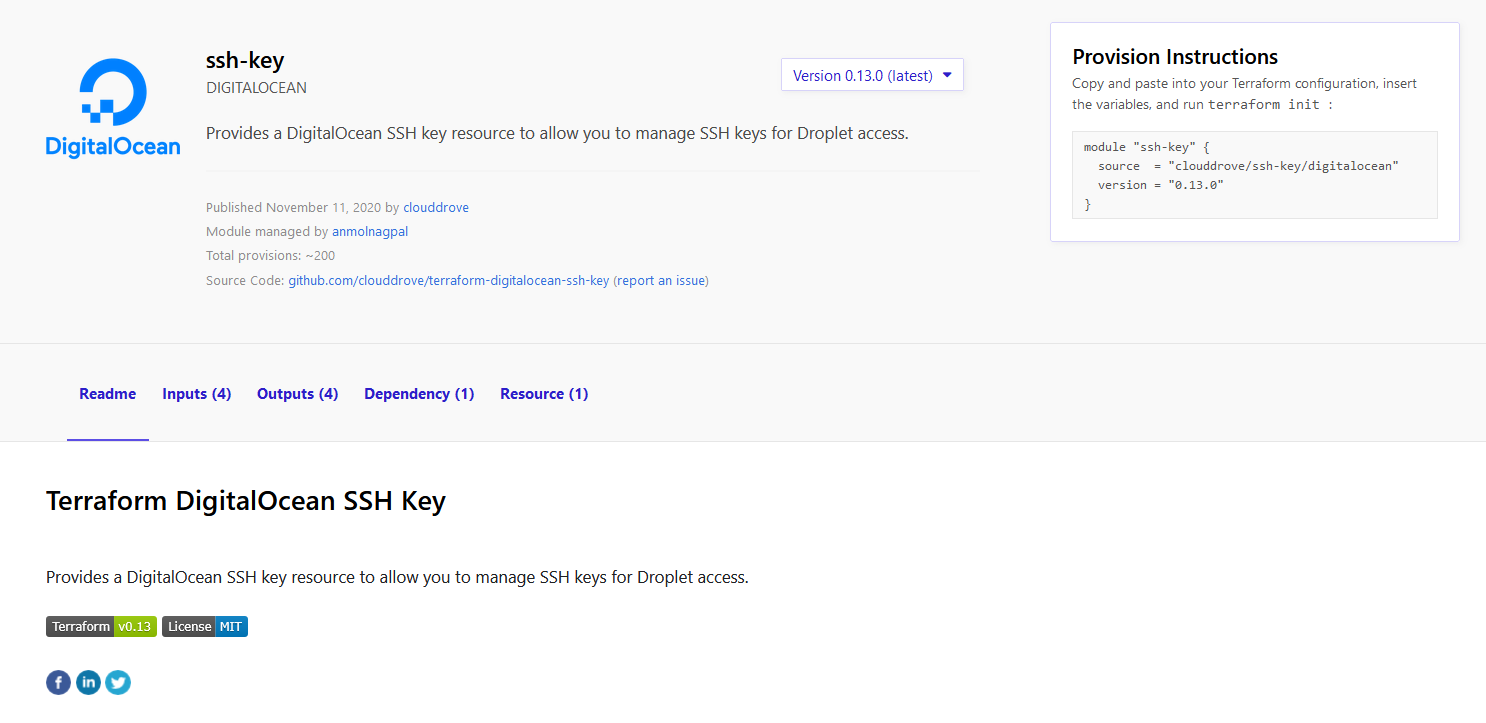
您现在将添加 DigitalOcean SSH 密钥模块到您的项目中。 您将将代码从现有定义分开存储到名为 ssh-key.tf 的文件中。 通过运行创建并打开以编辑:
1nano ssh-key.tf
添加以下几行:
1module "ssh-key" {
2  source         = "clouddrove/ssh-key/digitalocean"
3  key_path       = "~/.ssh/id_rsa.pub"
4  key_name       = "new-ssh-key"
5  enable_ssh_key = true
6}
此代码从注册表中定义了clouddrove/droplet/digitalocean模块的实例,并设置了它提供的一些参数。
完成后,保存并关闭文件。
在计划此代码之前,您必须通过运行下载所引用的模块:
1terraform init
您将收到类似于以下的输出:
 1[secondary_label Output]
 2Initializing modules...
 3Downloading clouddrove/ssh-key/digitalocean 0.13.0 for ssh-key...
 4- ssh-key in .terraform/modules/ssh-key
 5
 6Initializing the backend...
 7
 8Initializing provider plugins...
 9- Reusing previous version of digitalocean/digitalocean from the dependency lock file
10- Using previously-installed digitalocean/digitalocean v2.10.1
11
12Terraform has been successfully initialized!
13...
现在您可以为这些更改计划代码:
1terraform plan -var "do_token=${DO_PAT}"
您将收到类似于此的输出:
 1[secondary_label Output]
 2Terraform used the selected providers to generate the following execution plan. Resource actions are indicated with the following symbols:
 3  + create
 4
 5Terraform will perform the following actions:
 6
 7...
 8  # module.ssh-key.digitalocean_ssh_key.default[0] will be created
 9  + resource "digitalocean_ssh_key" "default" {
10      + fingerprint = (known after apply)
11      + id          = (known after apply)
12      + name        = "devops"
13      + public_key  = "ssh-rsa ... demo@clouddrove"
14    }
15
16Plan: 4 to add, 0 to change, 0 to destroy.
17...
输出显示您将创建 SSH 密钥资源,这意味着您从代码中下载并调用了该模块。
结论
较大的项目可以利用Terraform提供的一些先进功能来帮助减少复杂性,并使维护更容易。 工作区允许您测试新增代码,而不影响稳定的主要部署。 您还可以将工作区与版本控制系统相配,以跟踪代码变化。 使用预制模块也可以缩短开发时间,但如果模块过时,将来可能会产生额外的费用或时间。
本教程是如何管理 Terraform 基础设施的一部分(https://www.digitalocean.com/community/tutorial_series/how-to-manage-infrastructure-with-terraform)系列。 该系列涵盖了许多 Terraform 主题,从首次安装 Terraform 到管理复杂的项目。