_ 作者选择了 Creative Commons以作为 Write for Donations计划的一部分接收捐款。
介绍
您可以使用默认的[创造回放 App] (https://andsky.com/tech/tutorials/how-to-set-up-a-react-project-with-create-react-app) 构建工具,快速向服务器部署React应用程序. `构建'脚本将应用程序汇编成一个单一的目录,其中包含所有JavaScript代码,图像,样式,以及HTML文件. 以单个位置的资产,可以部署到配置最小的网络服务器.
在本教程中,您将在本地机器上部署 React 应用程序到 Ubuntu 20.04运行的服务器 Nginx.您将使用 Create React App 构建应用程序,使用 Nginx 配置文件来确定部署文件的位置,并安全地将构建目录及其内容复制到服务器上。
前提条件
- 联合国 在您的本地机上, 您需要运行 [Node.js] (https://nodejs.org/en/about/; 此教程在 Node.js 版本 10. 22.0 和 npm 版本 6. 14.6. 6 上进行了测试 。 要在macOS或Ubuntu 20.04上安装,请遵循如何在macOS上安装节点js并创建本地开发环境或[如何在Ubuntu 20.04上安装节点js]的 总和使用PPA** 部分(https://andsky.com/tech/tutorials/how-to-install-node-js-on-ubuntu-20-04)的步骤。
- 用于部署的1个Ubuntu 20.04服务器,通过跟踪此Ubuntu 20.04的初始服务器设置教程设置,包括一个由sudo启用的非 root** 用户,一个防火墙,以及来自您本地机器的SSH访问. 要通过 [如何与 SSH 连接到 Digital Ocean Droplet (https://www.digitalocean.com/products/droplets/) 获取 SSH 访问权限。
- 一个已注册域名。 此教程将始终使用) 购买域名, 用 [Freenom] (https://www.freenom.com/) 免费获取域名, 或者使用您选择的域名注册员 。
- 为您的服务器设置的下列DNS记录。 如果您正在使用 DigitalOcean,请查看我们的DNS文档,了解如何添加这些文档的细节.
- 以
你的域名标示服务器公开IP地址的记录。 - 以
www.your_domain标示服务器公共IP地址的记录。
- Nginx通过跟踪如何在Ubuntu 20.04上安装 Nginx而安装. 确定您有您的域名的 [服务器块 (https://andsky.com/tech/tutorials/how-to-install-nginx-on-ubuntu-20-04# step-5-%E2%80%93-setting-up-server-blocks-(recommended]] 。 该教程将使用`/etc/nginx/可用网站/你的_域'作为实例。
- 联合国 建议您也使用 HTTPS 证书保护您的服务器 。 您可以在 Ubuntu 20.04 上使用 [如何保护 Nginx 。] (https://andsky.com/tech/tutorials/how-to-secure-nginx-with-let-s-encrypt-on-ubuntu-20-04) 教程 。
- 联合国 您还需要JavaScript, HTML, CSS 的基本知识, 您可以在 [How To Build a website with HTML series] (https://www.digitalocean.com/community/tutorial_series/how-to-build-a-website-with-html), [How To Build a website with CSS series] (https://www.digitalocean.com/community/tutorial_series/how-to-build-a-website-with-css), 以及 [How To Code in JavaScript] (https://www.digitalocean.com/community/tutorial_series/how-to-code-in-javascript)中找到这些知识. .
步骤1 - 创建一个反应项目
在此步骤中,您将使用 Create React App 创建应用程序,并构建可部署的 boilerplate 应用程序版本。
要开始,请在本地环境中使用Create React App创建一个新应用程序. 在终端中,运行构建应用程序的命令. 在本教程中,该项目将被称为react-deploy:
1npx create-react-app react-deploy
npx' 命令将运行一个[节点](https://www.digitalocean.com/community/tutorial_series/how-to-code-in-node-js)包,而不下载到您的机器上。 创建-反应-应用'脚本将安装您的React app所需的所有依赖性,并在`反应-部署'目录中建立一个基础项目。 更多关于 Create React App 的信息,请检查教程 [如何用 Create React App 设置 React 项目] (https://andsky.com/tech/tutorials/how-to-set-up-a-react-project-with-create-react-app) .
代码将运行几分钟,因为它下载和安装依赖性。当它完成时,您将收到一个成功消息. 如果您使用yarn而不是npm,您的版本可能会略有不同:
 1[secondary_label Output]
 2Success! Created react-deploy at your_file_path/react-deploy
 3Inside that directory, you can run several commands:
 4
 5  npm start
 6    Starts the development server.
 7
 8  npm build
 9    Bundles the app into static files for production.
10
11  npm test
12    Starts the test runner.
13
14  npm eject
15    Removes this tool and copies build dependencies, configuration files
16    and scripts into the app directory. If you do this, you can’t go back!
17
18We suggest that you begin by typing:
19
20  cd react-deploy
21  npm start
22
23Happy hacking!
按照输出中的建议,先进入项目文件夹:
1cd react-deploy
现在你有一个基础项目,运行它本地来测试它将如何出现在服务器上。
1npm start
当命令运行时,您将收到本地服务器信息的输出:
 1[secondary_label Output]
 2Compiled successfully!
 3
 4You can now view react-deploy in the browser.
 5
 6  Local:            http://localhost:3000
 7  On Your Network:  http://192.168.1.110:3000
 8
 9Note that the development build is not optimized.
10To create a production build, use npm build.
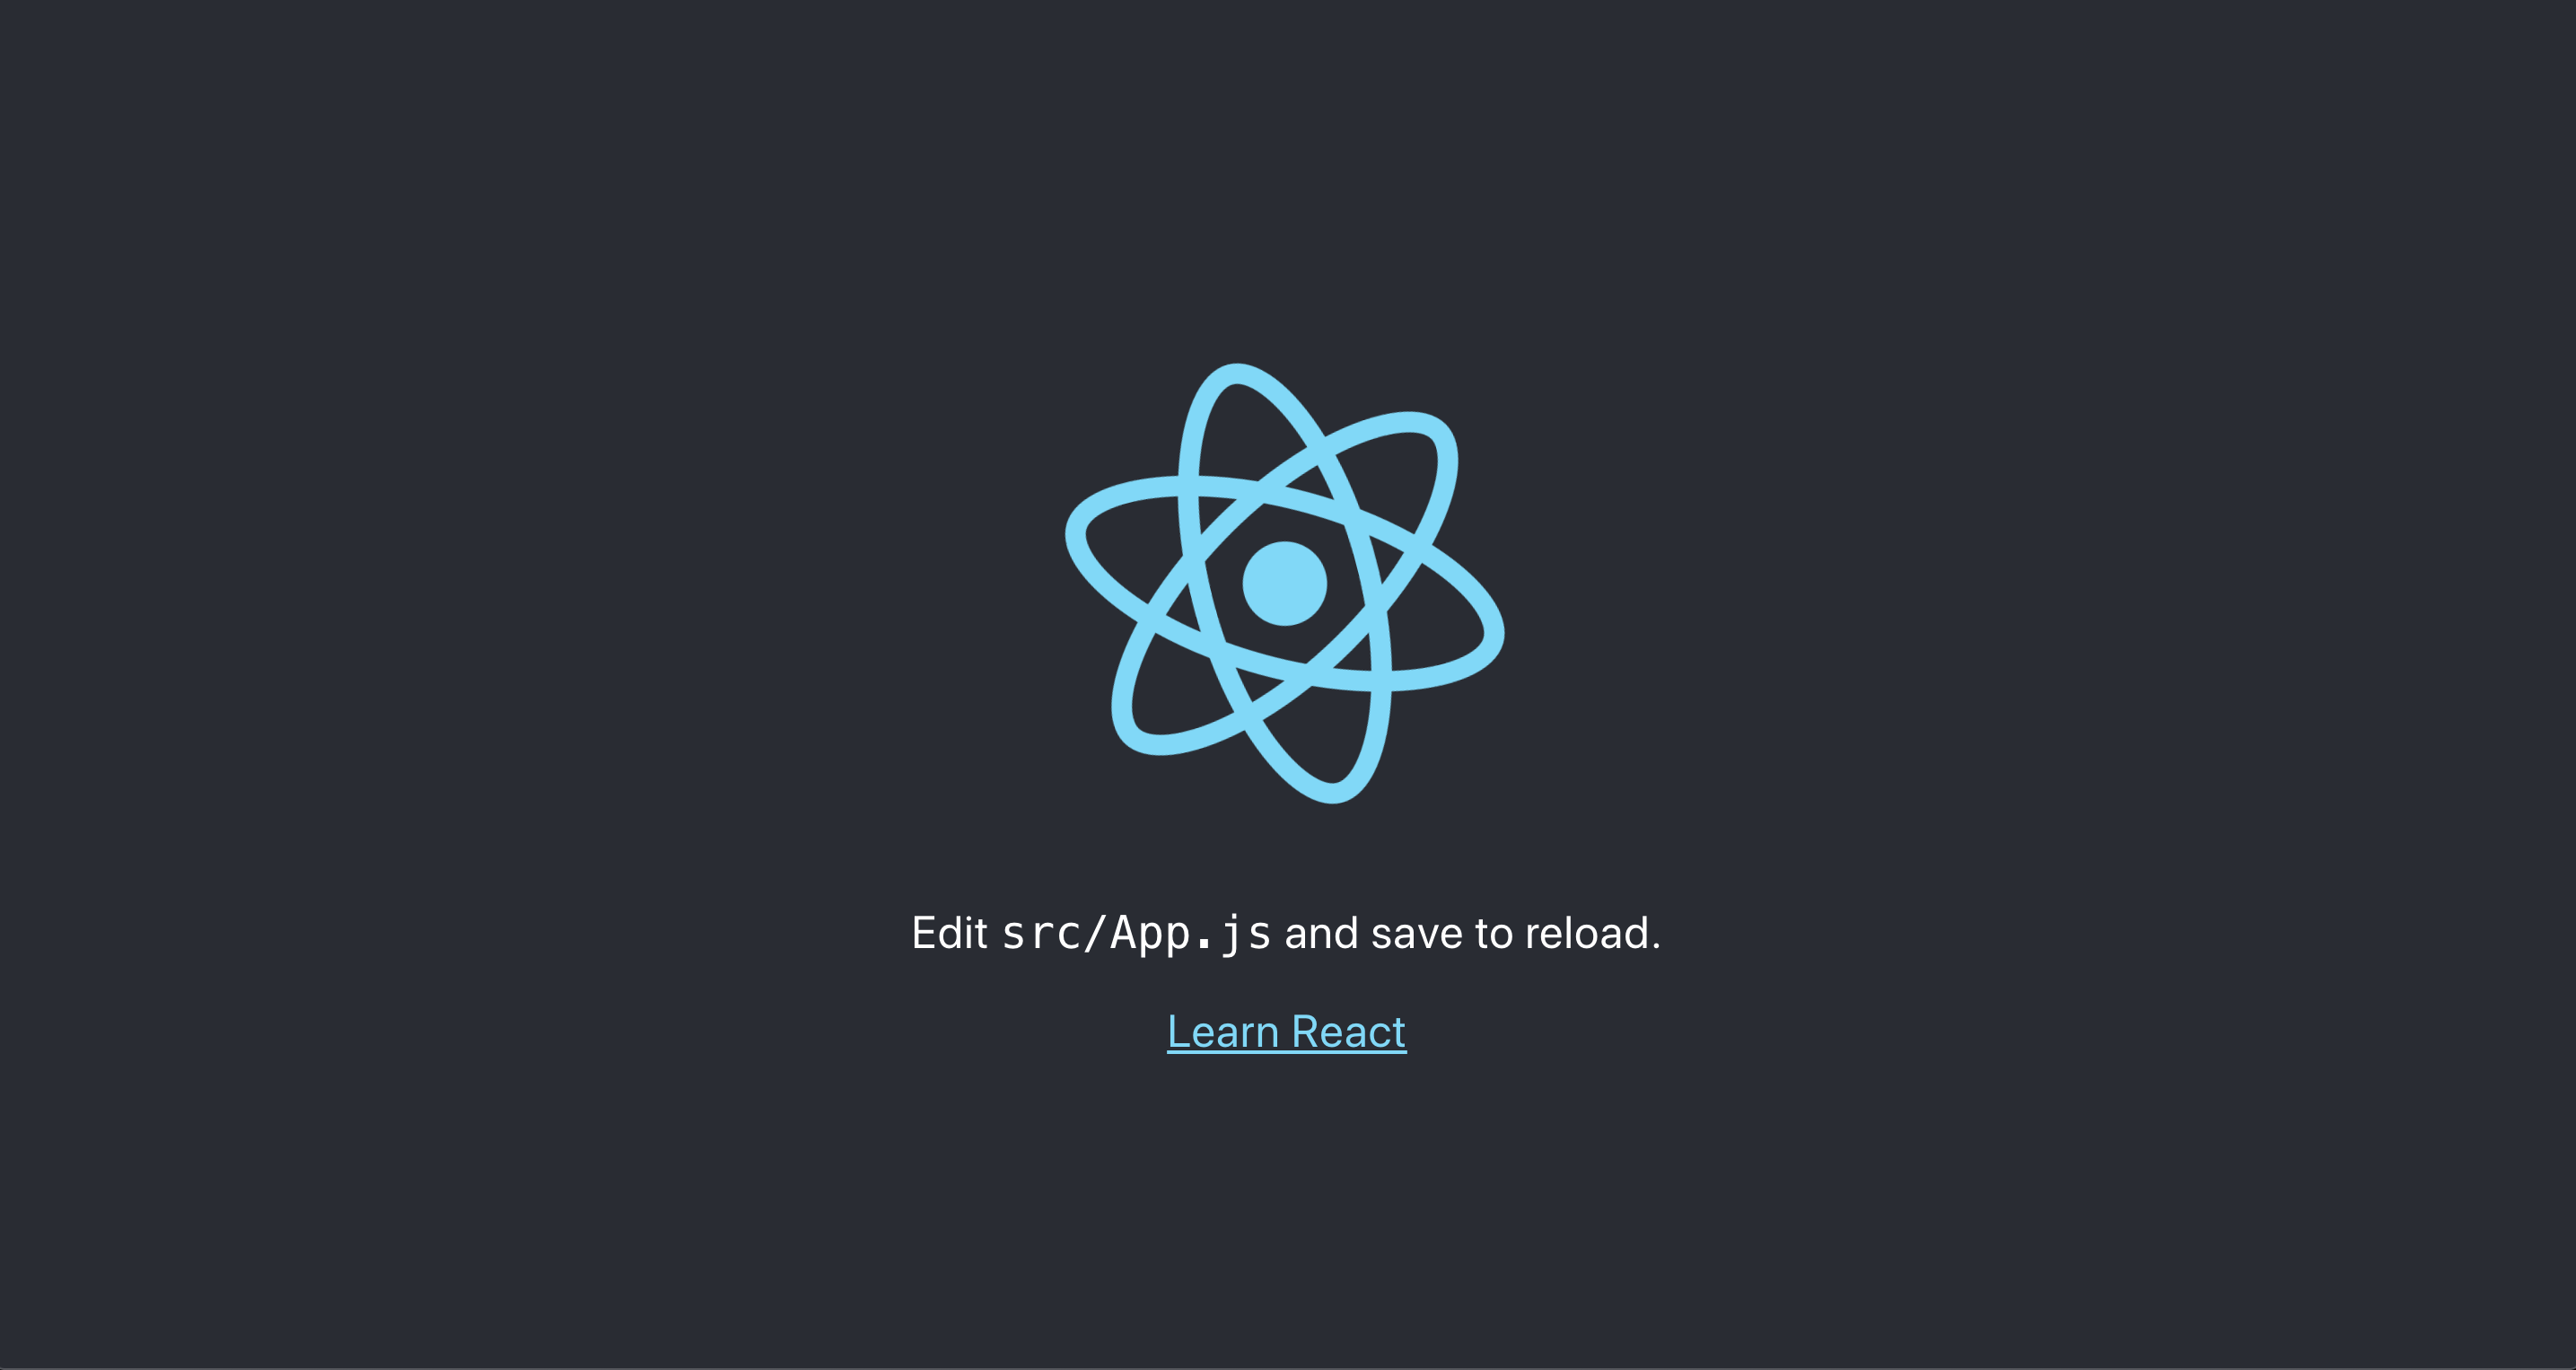
打开浏览器并导航到 http://localhost:3000.您将能够访问 boilerplate React 应用程序:

通过在终端中输入CTRL+C或+C来停止项目。
现在你有一个在浏览器中成功运行的项目,你需要创建一个生产构建。
1npm run build
这个命令会将JavaScript和资产编译到构建目录中。当命令完成时,您将收到一些关于您的构建的数据的输出。请注意,文件名中包含一个哈希,因此您的输出将略有不同:
 1[secondary_label Output]
 2Creating an optimized production build...
 3Compiled successfully.
 4
 5File sizes after gzip:
 6
 7  41.21 KB build/static/js/2.82f639e7.chunk.js
 8  1.4 KB build/static/js/3.9fbaa076.chunk.js
 9  1.17 KB build/static/js/runtime-main.1caef30b.js
10  593 B build/static/js/main.e8c17c7d.chunk.js
11  546 B build/static/css/main.ab7136cd.chunk.css
12
13The project was built assuming it is hosted at /.
14You can control this with the homepage field in your package.json.
15
16The build folder is ready to be deployed.
17You may serve it with a static server:
18
19  serve -s build
20
21Find out more about deployment here:
22
23  https://cra.link/deployment
构建目录现在将包含您为您的项目所需的所有文件的编译和缩小版本. 在此时,您不必担心构建目录以外的任何东西。
在此步骤中,您创建了一个新的 React 应用程序. 您验证了该应用程序在本地运行,并使用 Create React App build 脚本创建了生产版本. 在下一步,您将登录到您的服务器,以了解如何复制 build 目录。
步骤 2 — 在您的 Ubuntu 服务器上确定部署文件位置
在此步骤中,您将开始将您的 React 应用程序部署到服务器上。但在您可以上传文件之前,您需要在部署服务器上确定正确的文件位置。本教程使用 Nginx 作为 Web 服务器,但方法与 [Apache] 相同(https://andsky.com/tech/tutorials/how-to-install-the-apache-web-server-on-ubuntu-20-04)。 主要区别在于配置文件将在不同的目录中。
要找到 Web 服务器将作为项目的根目录的目录,请使用 `ssh' 登录您的服务器:
1ssh username@server_ip
一旦在服务器上,请在/etc/nginx/sites-enabled中查找您的 Web 服务器配置;还有一个名为sites-allowed的目录;这个目录包含不一定被激活的配置。
1[environment second]
2cat /etc/nginx/sites-enabled/your_domain
如果您的网站没有HTTPS证书,您将收到类似于以下的结果:
 1[environment second]
 2[secondary_label Output]
 3server {
 4        listen 80;
 5        listen [::]:80;
 6
 7        root /var/www/your_domain/html;
 8        index index.html index.htm index.nginx-debian.html;
 9
10        server_name your_domain www.your_domain;
11
12        location / {
13                try_files $uri $uri/ =404;
14        }
15}
如果您遵循 Let’s Encrypt 的前提条件来保护您的 Ubuntu 20.04 服务器,您将收到以下输出:
 1[environment second]
 2[secondary_label Output]
 3server {
 4
 5        root /var/www/your_domain/html;
 6        index index.html index.htm index.nginx-debian.html;
 7
 8        server_name your_domain www.your_domain;
 9
10        location / {
11                try_files $uri $uri/ =404;
12        }
13
14    listen [::]:443 ssl ipv6only=on; # managed by Certbot
15    listen 443 ssl; # managed by Certbot
16    ssl_certificate /etc/letsencrypt/live/your_domain/fullchain.pem; # managed by Certbot
17    ssl_certificate_key /etc/letsencrypt/live/your_domain/privkey.pem; # managed by Certbot
18    include /etc/letsencrypt/options-ssl-nginx.conf; # managed by Certbot
19    ssl_dhparam /etc/letsencrypt/ssl-dhparams.pem; # managed by Certbot
20
21}
22server {
23    if ($host = www.your_domain) {
24        return 301 https://$host$request_uri;
25    } # managed by Certbot
26
27    if ($host = your_domain) {
28        return 301 https://$host$request_uri;
29    } # managed by Certbot
30
31        listen 80;
32        listen [::]:80;
33
34        server_name your_domain www.your_domain;
35    return 404; # managed by Certbot
36
37}
在这两种情况下,部署React应用程序最重要的领域是root。这将HTTP请求指向/var/www/your_domain/html目录,这意味着您将将文件复制到该位置。在下一行中,您可以看到 Nginx将寻找一个index.html文件。如果您在本地的build目录中查看,您将看到一个index.html文件,它将作为主要输入点。
退出 Ubuntu 20.04 服务器并返回本地开发环境。
现在你知道 Nginx 将服务的文件位置,你可以上传你的构建。
步骤 3 – 使用scp上传构建文件
在这一点上,你的构建文件已经准备好了,你所需要做的就是将其复制到服务器上。 一个快速的方法是使用scp将文件复制到正确的位置。 scp命令是将文件复制到远程服务器的安全方法。 命令使用你的ssh密钥,如果已配置。 否则,你将被要求提供用户名和密码。
命令格式将是 scp files_to_copy username@server_ip:path_on_server. 第一个参数将是您要复制的文件. 在这种情况下,您正在复制在 build 目录中的所有文件。 第二个参数是您的凭证和目的地路径的组合。 目的地路径将与您的 Nginx 配置中的 root 相同:/var/www/your_domain/html。
使用* wildcard 将所有构建文件复制到/var/www/your_domain/html:
1scp -r ./build/* username@server_ip:/var/www/your_domain/html
当您运行命令时,您将收到输出显示您的文件已上传,您的结果将略有不同:
 1[secondary_label Output]
 2asset-manifest.json 100% 1092 22.0KB/s 00:00
 3favicon.ico 100% 3870 80.5KB/s 00:00
 4index.html 100% 3032 61.1KB/s 00:00
 5logo192.png 100% 5347 59.9KB/s 00:00
 6logo512.png 100% 9664 69.5KB/s 00:00
 7manifest.json 100%  492 10.4KB/s 00:00
 8robots.txt 100%   67 1.0KB/s 00:00
 9main.ab7136cd.chunk.css 100%  943 20.8KB/s 00:00
10main.ab7136cd.chunk.css.map 100% 1490 31.2KB/s 00:00
11runtime-main.1caef30b.js.map 100%   12KB 90.3KB/s 00:00
123.9fbaa076.chunk.js 100% 3561 67.2KB/s 00:00
132.82f639e7.chunk.js.map 100%  313KB 156.1KB/s 00:02
14runtime-main.1caef30b.js 100% 2372 45.8KB/s 00:00
15main.e8c17c7d.chunk.js.map 100% 2436 50.9KB/s 00:00
163.9fbaa076.chunk.js.map 100% 7690 146.7KB/s 00:00
172.82f639e7.chunk.js 100%  128KB 226.5KB/s 00:00
182.82f639e7.chunk.js.LICENSE.txt 100% 1043 21.6KB/s 00:00
19main.e8c17c7d.chunk.js 100% 1045 21.7KB/s 00:00
20logo.103b5fa1.svg 100% 2671 56.8KB/s 00:00
当命令完成时,您已经完成了,因为React项目是由只需要浏览器的静态文件构建的,您不需要配置任何其他服务器侧语言。

在此步骤中,您部署了 React 应用程序到服务器上. 您学会了如何在您的服务器上识别根网页目录,并用scp复制了文件。
结论
使用 Create React App 部署 React 应用程序是一个快速的过程. 您运行构建命令来创建部署所需的所有文件的目录. 运行 Build 后,您将文件复制到服务器上的正确位置,将应用程序直播到 Web。
如果您想阅读更多 React 教程,请查看我们的 React 主题页面,或返回 如何编码在 React.js 系列页面。