介绍
Visual Studio Code是微软的代码编辑器,可在 Windows、Linux 和 macOS 上使用。 它提供可以通过 Visual Studio Code Marketplace安装的扩展功能,可在编辑器中提供额外的功能。 当您找不到完全需要的扩展时,您可以创建自己的扩展。
在本文中,您将创建您的第一个Visual Studio Code扩展。
前提条件
要完成本教程,您将需要:
- 下载并安装最新版本的 Visual Studio 代码。 * Node.js 安装在您的计算机上,如下 如何安装 Node.js 和创建本地开发环境。
本教程已通过 Node v14.4.0、npm v6.14.5、yo v3.1.1 和 generator-code v1.2.16 进行验证。
第1步:安装工具
Visual Studio Code 团队创建了一个生成器来创建扩展,它会生成所有必要的启动文件,以便开始创建您的扩展。
要开始开发 VS 代码扩展,您需要两个不同的 npm 包:
yo- 一个命令行界面为 Yeoman. *generator-code- 一个 Yeoman 生成器来写 Visual Studio 代码扩展。
您可以使用内置的 Visual Studio Code 终端使用 npx运行本地副本的 yo 和 generator-code,然后运行命令 yo code 启动您的新项目:
1npx -p yo -p generator-code yo code
在此时刻,Yeoman将运行代码生成器。
第2步:创建你的第一个扩展
您现在已经准备好创建您的第一个扩展。
您将需要选择您正在创建的扩展类型以及TypeScript和JavaScript之间。
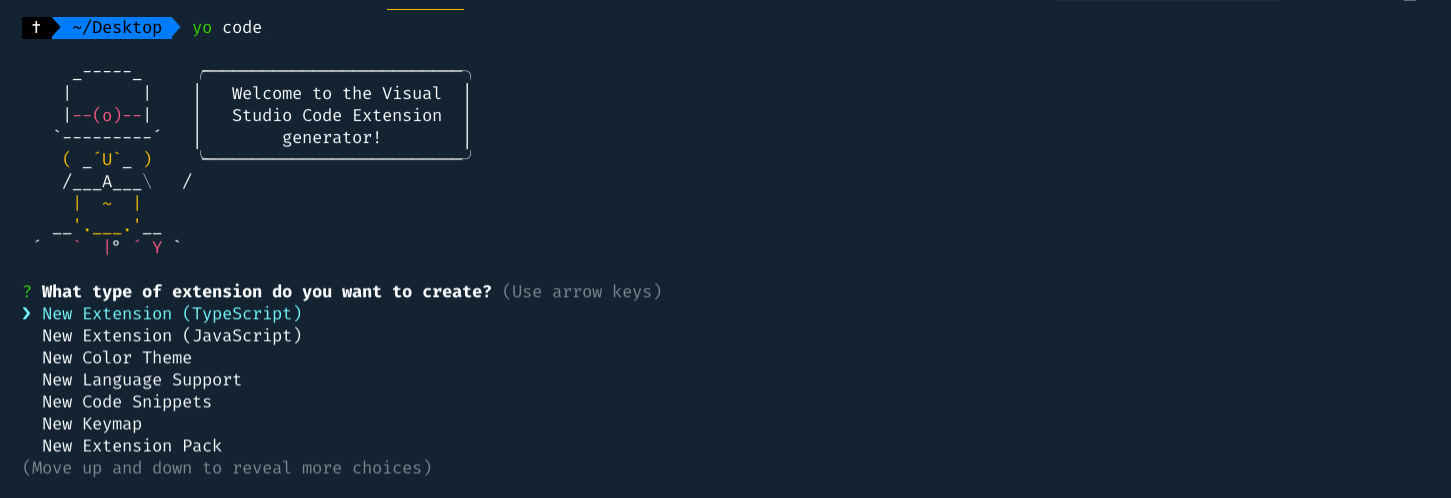
然后,您将被介绍一些更多的问题. 对于本教程,选择了以下选项:
1? What type of extension do you want to create? New Extension (JavaScript)
2? What's the name of your extension? testytest
3? What's the identifier of your extension? testytest
4? What's the description of your extension? This is a test extension
5? Enable JavaScript type checking in 'jsconfig.json'? Yes
6? Initialize a git repository? Yes
7? Which package manager to use? npm
完成此过程后,您将有所有需要启动的文件. 您的两个最重要的文件是:
package.json*扩展.js
打开package.json,让我们看看。你会看到名称、描述等等.还有两个非常重要的部分。
activationEvents:这是将激活您的扩展的事件列表. 扩展被懒散地加载,所以直到发生其中一个激活事件才激活。
我们将很快回到这些。
 1[label package.json]
 2{
 3  // ...
 4  "activationEvents": [
 5    "onCommand:testytest.helloWorld"
 6  ],
 7  "main": "./extension.js",
 8  "contributes": {
 9    "commands": [
10      {
11        "command": "testytest.helloWorld",
12        "title": "Hello World"
13      }
14    ]
15  },
16  // ...
17}
您还可以看看‘extension.js’文件. 这是我们要写我们的扩展代码的地方. 这里有一些锅炉板代码,所以让我们把它分解下来。
请注意,这个名称helloWorld与package.json中的命令相同。 这是故意的。 package.json定义了用户可用的命令,但extension.js文件则注册了该命令的代码。
 1[label extension.js]
 2// ...
 3
 4/**
 5 * @param {vscode.ExtensionContext} context
 6 */
 7function activate(context) {
 8  console.log('Congratulations, your extension "testytest" is now active!');
 9
10  let disposable = vscode.commands.registerCommand('testytest.helloWorld', function () {
11    vscode.window.showInformationMessage('Hello World from testytest!');
12  });
13
14  context.subscriptions.push(disposable);
15}
16
17// ...
在这个Hello World示例中,这个命令只会向用户显示一个Hello World消息。
步骤 3 – 调试您的扩展
现在我们已经安装了所有必要的文件,我们可以运行我们的扩展。
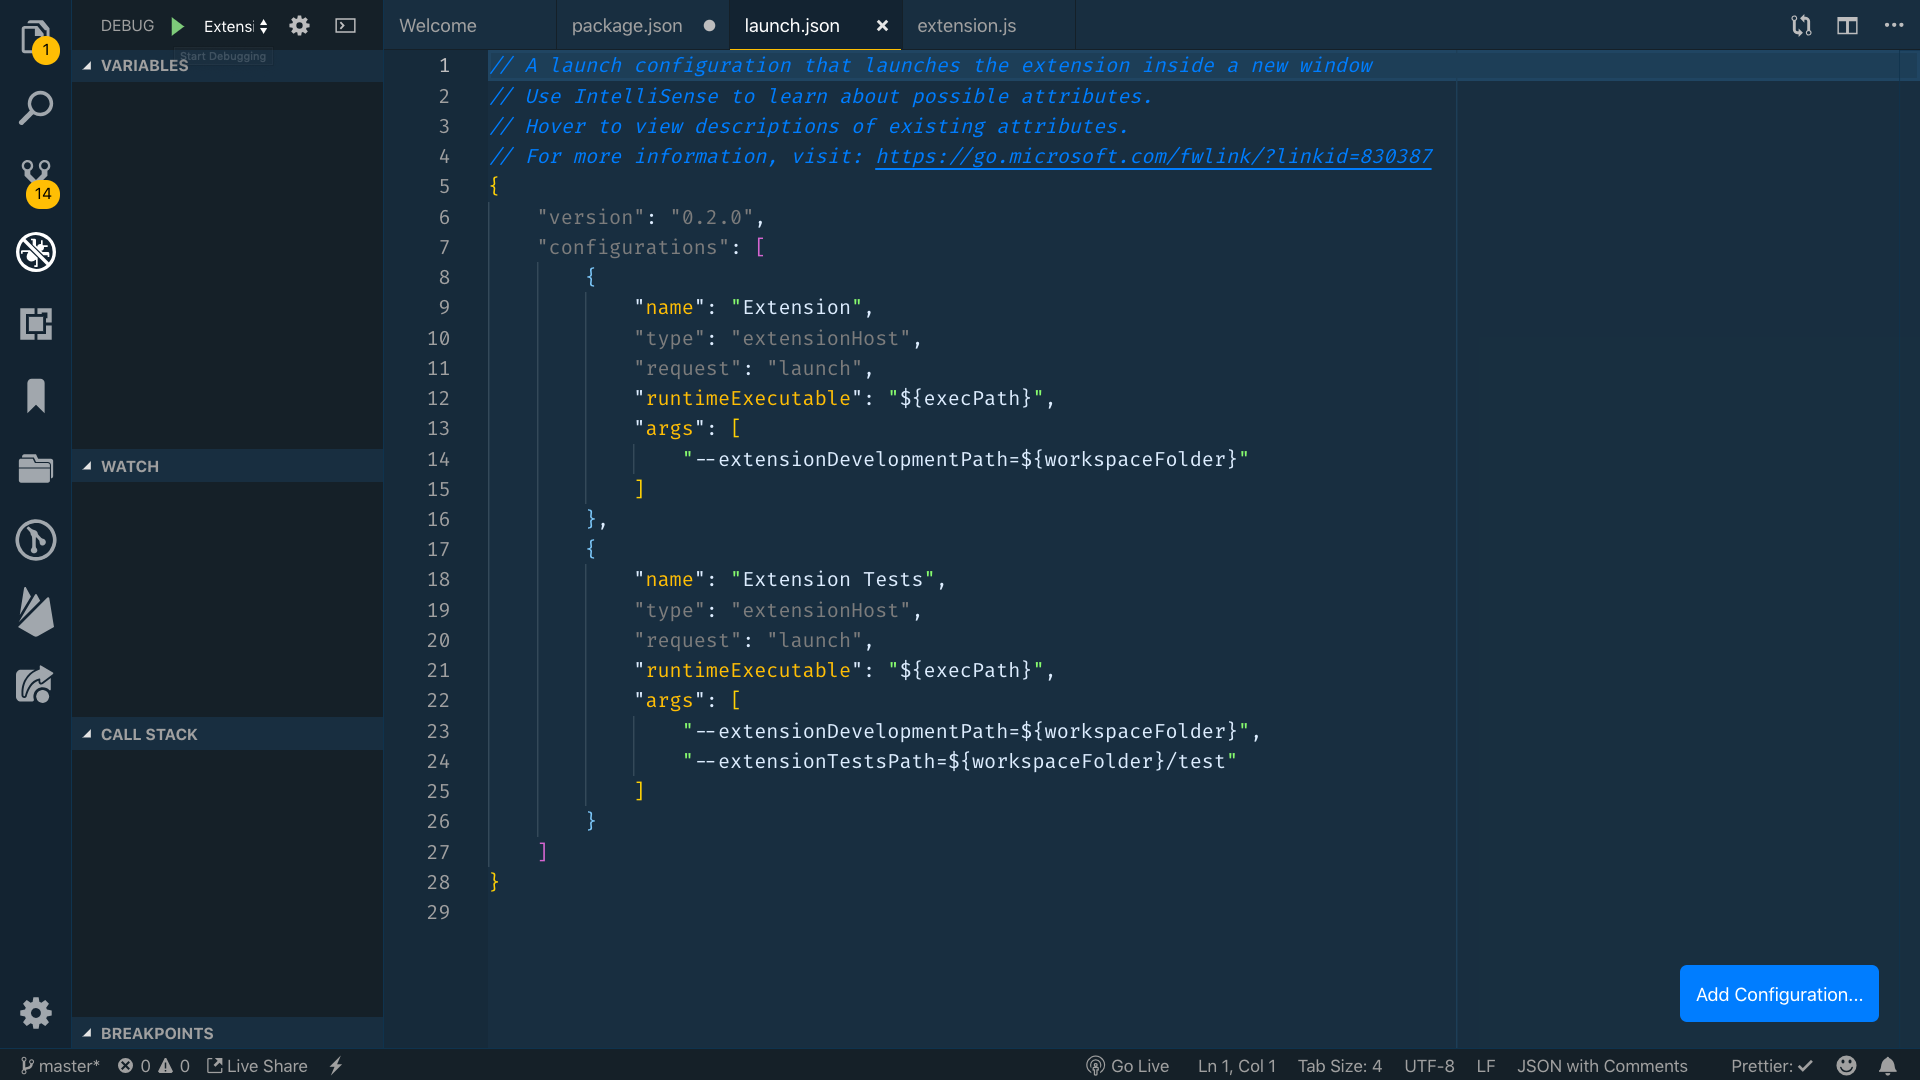
.vscode文件夹是VS Code为您的项目存储各种配置文件的地方,在这种情况下,它包括一个包含调试配置的launch.json。
 1[label .vscode/launch.json]
 2// ...
 3{
 4  // ...
 5  "configurations": [
 6    {
 7      "name": "Run Extension",
 8      "type": "extensionHost",
 9      "request": "launch",
10      "runtimeExecutable": "${execPath}",
11      "args": [
12        "--extensionDevelopmentPath=${workspaceFolder}"
13      ]
14    },
15    // ...
16  ]
17}
打开屏幕左侧的 debug 卡,然后点击播放图标。
这将打开一个新的(debug) VS 代码实例。
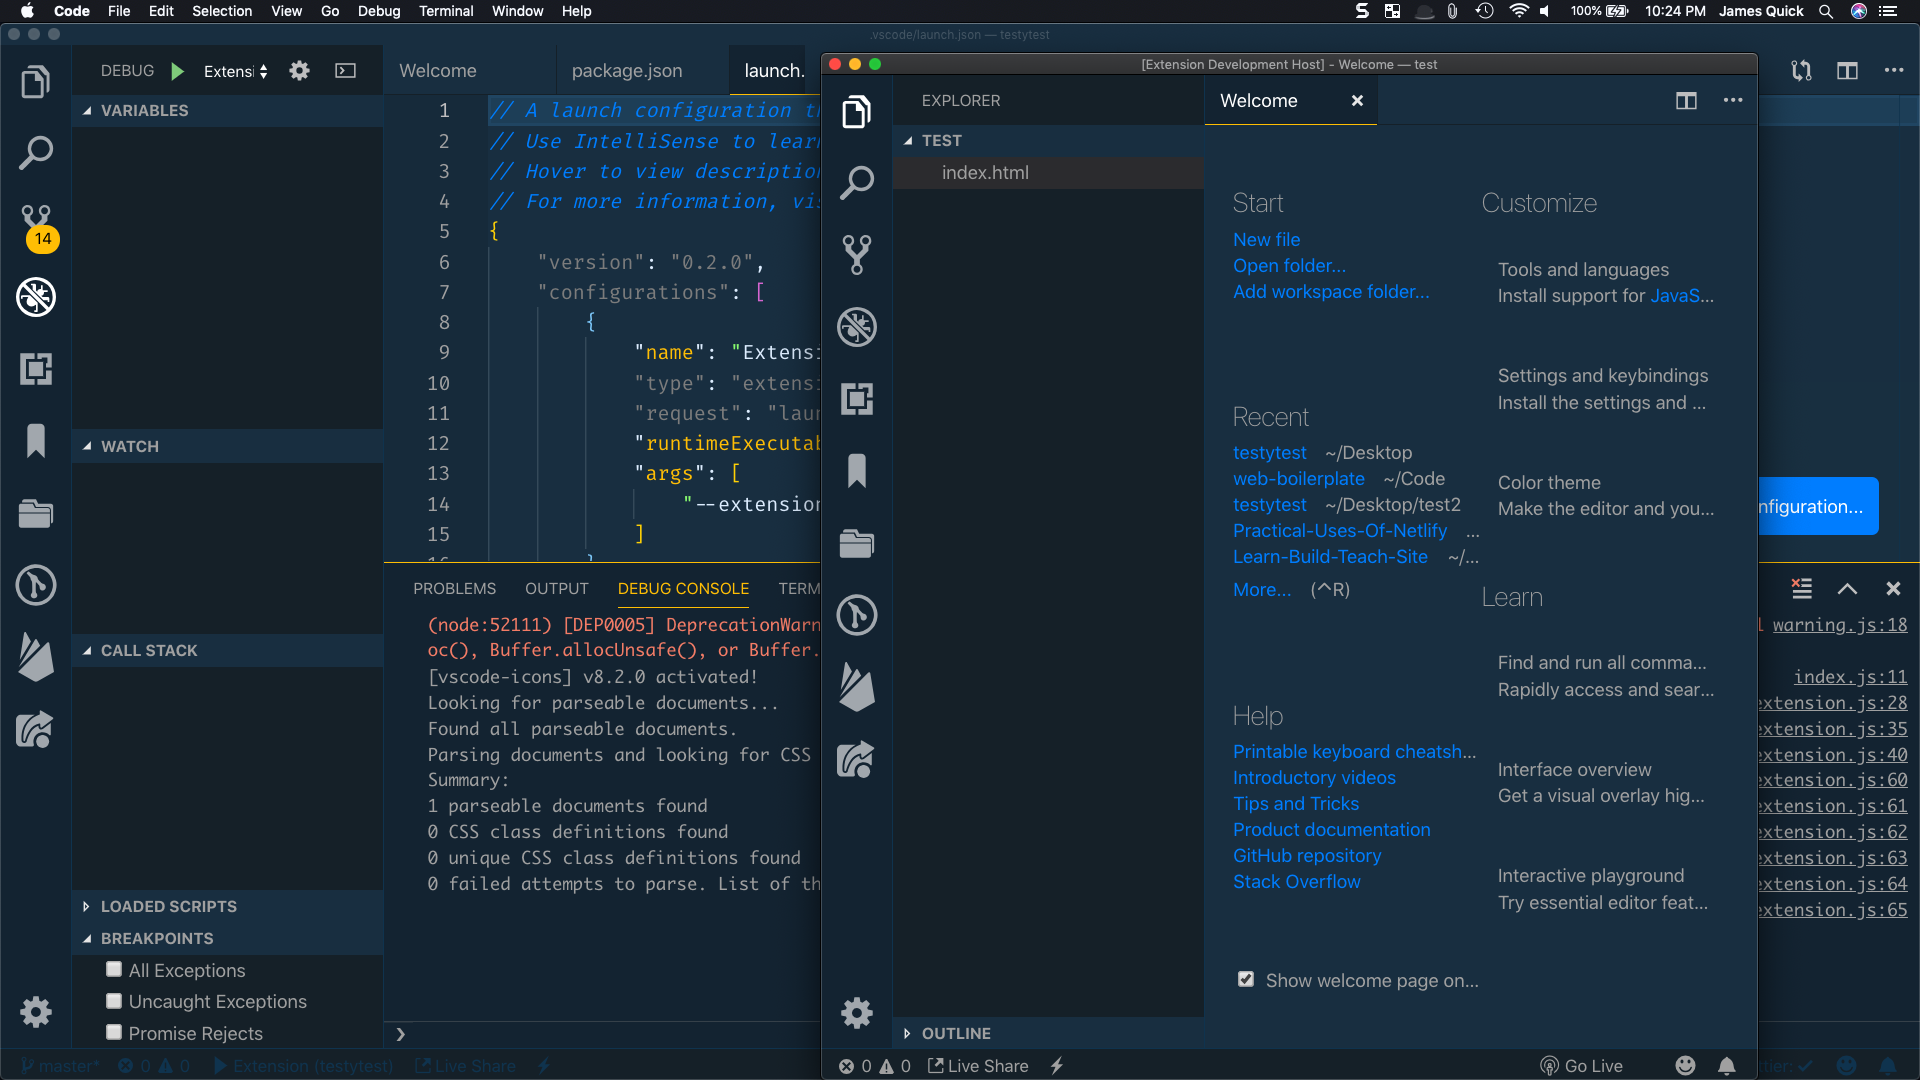
通过打开此 VS Code 调试实例,您可以在 Mac 上使用COMMAND+SHIFT+P或在 Windows 上使用CTRL+SHIFT+P打开命令板,然后运行 Hello World 。
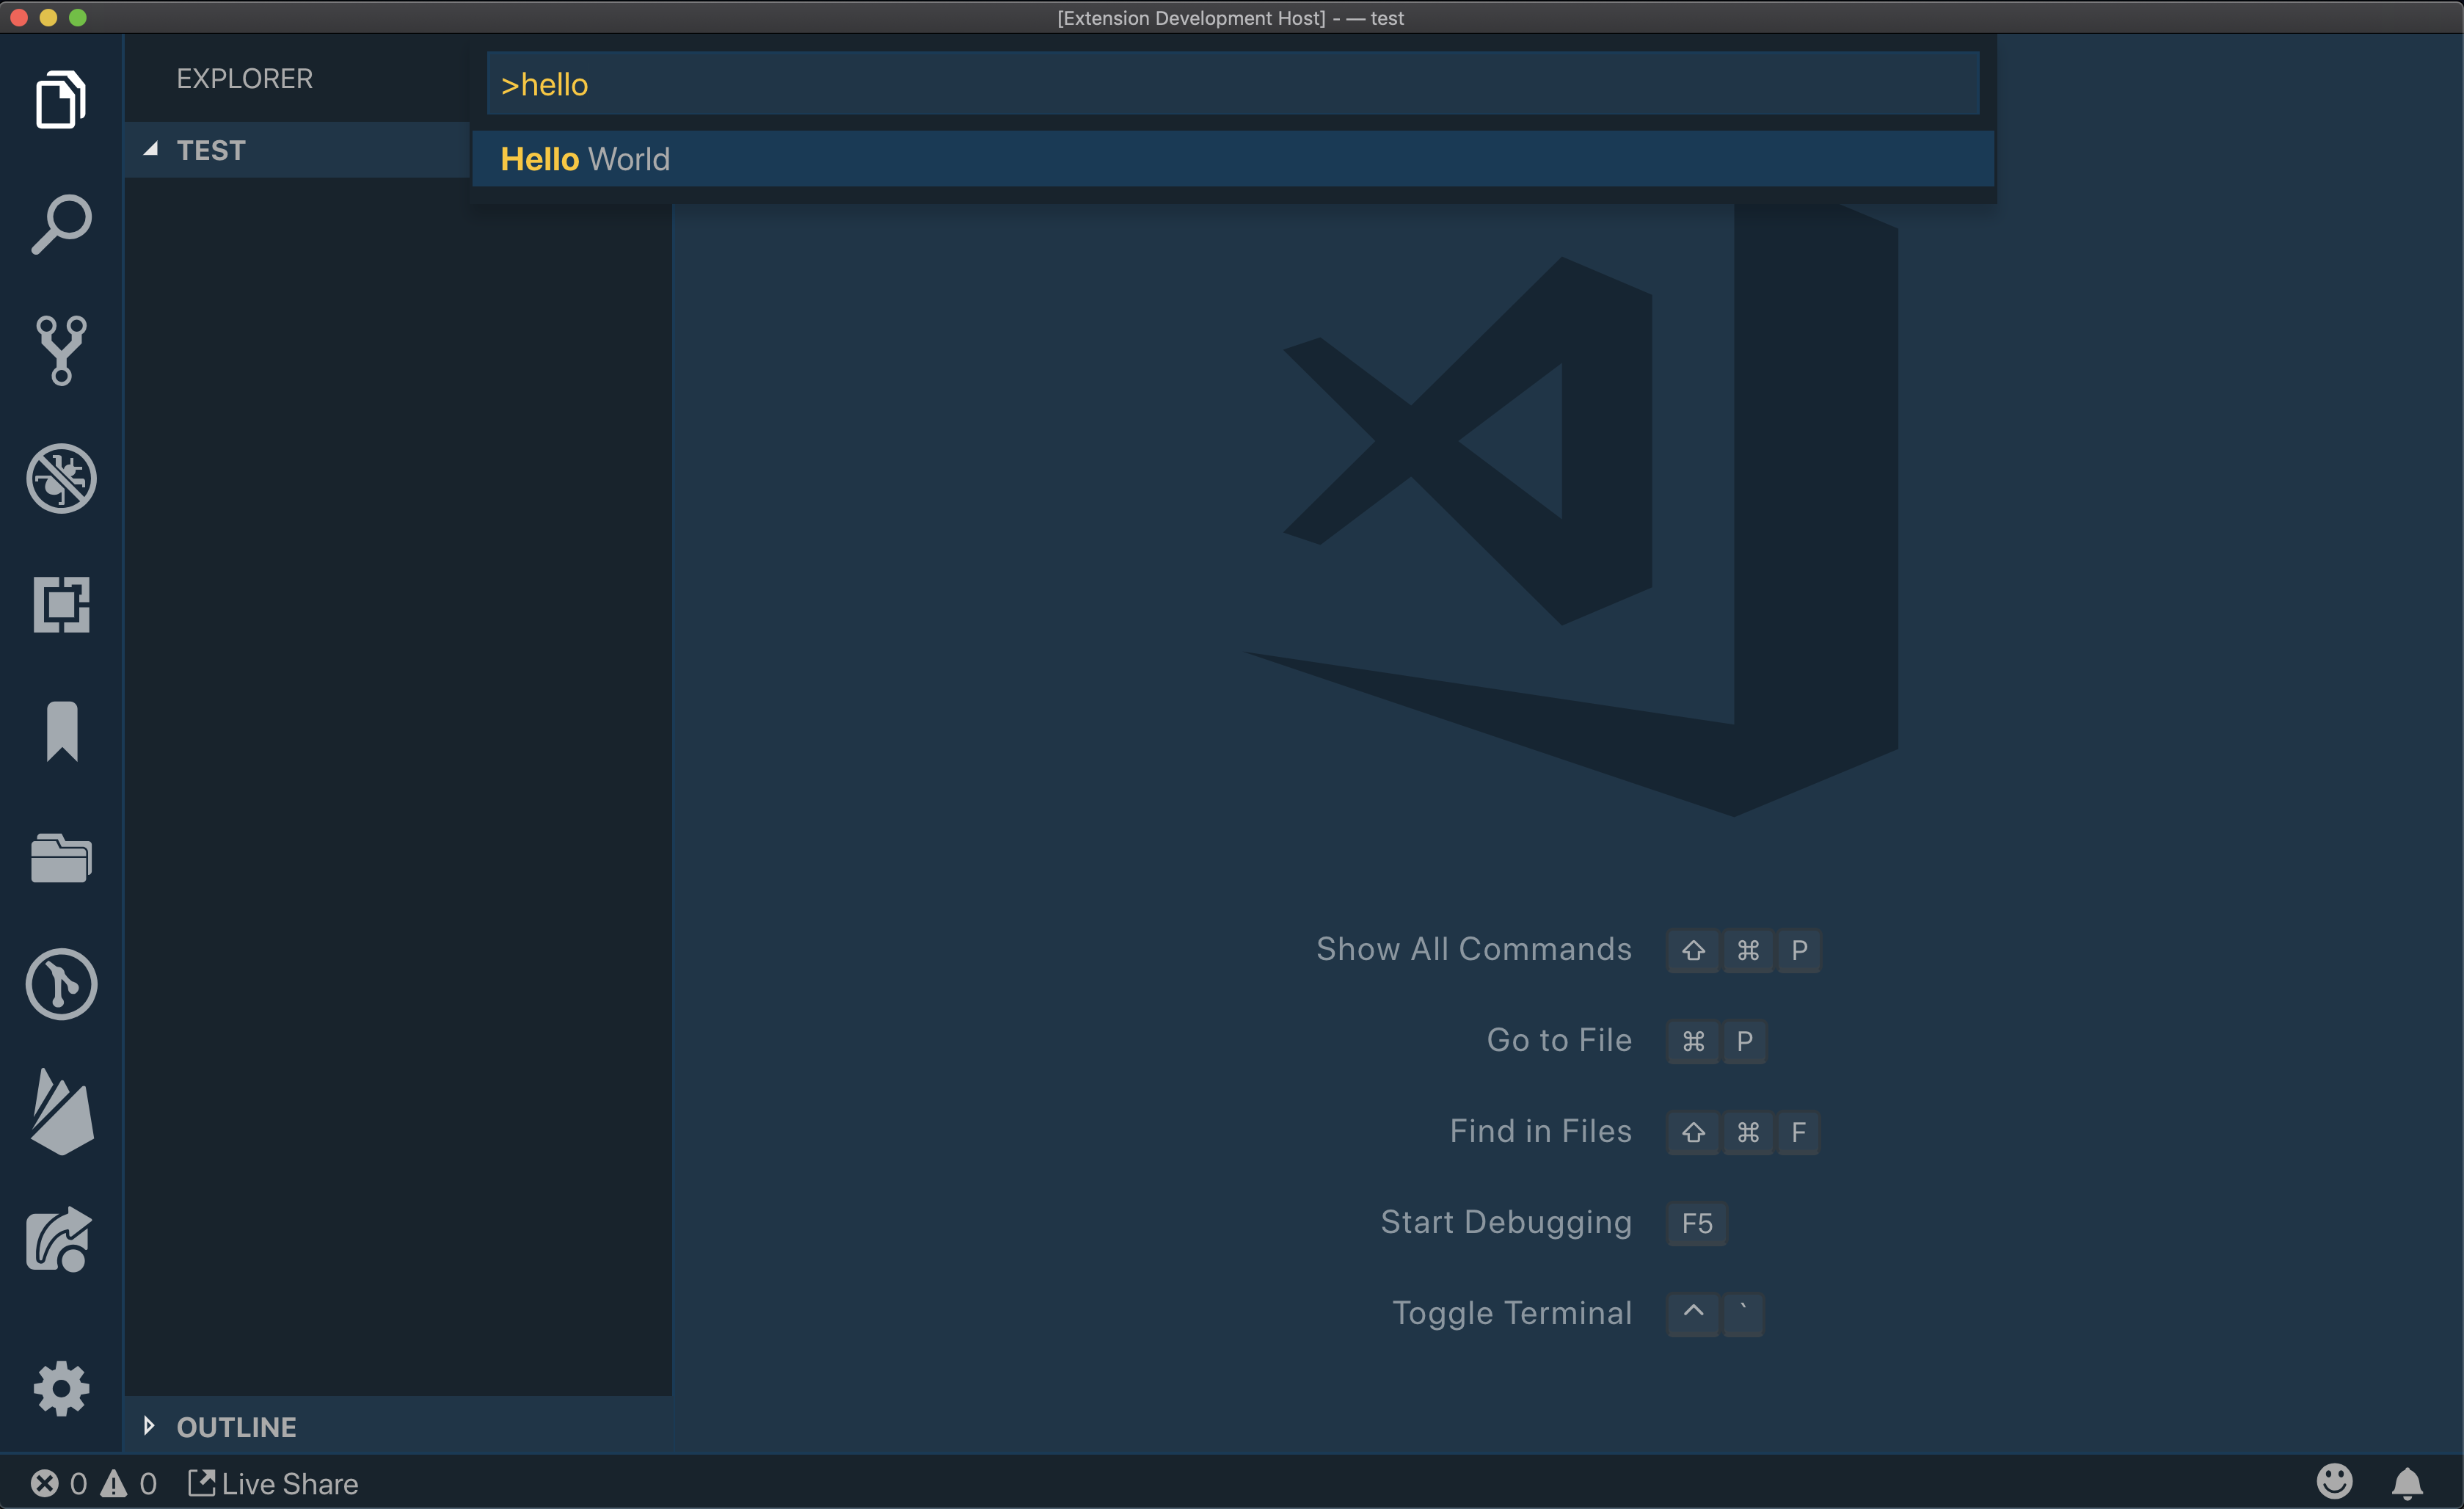
您将在右下角看到Hello World消息。
步骤4 - 编辑您的扩展
在我们研究代码之前,让我们再来看看package.json文件中的activationEvents部分。 再次,本节包含一份列表,这些事件将随时激活我们的扩展。
在理论上,这个事件可以是任何东西,更具体地说是* 任何东西。通过将激活事件设置为* ,这意味着当VS Code启动时,您的扩展将被加载。
1[label package.json]
2{
3  // ...
4  "activationEvents": [
5    "*"
6  ],
7  // ...
8}
现在让我们开始构建我们的扩展. 假设我们希望这个扩展能够创建一个 HTML 文件,它已经在其中的 boilerplate 代码,并被添加到我们的项目。
在 extension.js 中,将命令名称从 extension.helloworld 更新到 extension.createBoilerplate。
 1[label extension.js]
 2// ...
 3
 4/**
 5 * @param {vscode.ExtensionContext} context
 6 */
 7function activate(context) {
 8  console.log('Congratulations, your extension "testytest" is now active!');
 9
10  let disposable = vscode.commands.registerCommand('testytest.createBoilerplate', function () {
11    vscode.window.showInformationMessage('Hello World from testytest!');
12  });
13
14  context.subscriptions.push(disposable);
15}
16
17// ...
现在,更新package.json文件以相应的方式更改命令。
 1[label package.json]
 2{
 3  // ...
 4  "activationEvents": [
 5    "onCommand:testytest.createBoilerplate"
 6  ],
 7  "main": "./extension.js",
 8  "contributes": {
 9    "commands": [
10      {
11        "command": "testytest.createBoilerplate",
12        "title": "Create Boilerplate"
13      }
14    ]
15  },
16  // ...
17}
现在,让我们写下我们的功能。我们要做的第一件事是需要几个包。我们将使用‘fs’(文件系统)和‘path’模块。
1[label extension.js]
2const fs = require('fs');
3const path = require('path');
我们还需要获取通往当前文件夹的路径。在命令中,添加以下片段:
1[label extension.js]
2if (!vscode.workspace) {
3  return vscode.window.showErrorMessage('Please open a project folder first');
4}
5
6const folderPath = vscode.workspace.workspaceFolders[0].uri
7  .toString()
8  .split(':')[1];
我们还需要将我们的锅炉 HTML 代码存储在变量中,以便我们可以将其写入文件中。
 1[label extension.js]
 2const htmlContent = `<!DOCTYPE html>
 3<html lang="en">
 4<head>
 5  <meta charset="UTF-8" />
 6  <meta name="viewport" content="width=device-width, initial-scale=1.0" />
 7  <meta http-equiv="X-UA-Compatible" content="ie=edge" />
 8  <title>Document</title>
 9  <link rel="stylesheet" href="app.css" />
10</head>
11<body>
12  <script src="app.js"></script>
13</body>
14</html>`;
我们可以调用文件系统模块的writeFile函数,并将其传输到文件夹路径和HTML内容中。
请注意,我们使用路径模块将文件夹路径与我们想要创建的文件的名称结合起来,然后在回复中,如果出现错误,我们会向用户显示。
1[label extension.js]
2fs.writeFile(path.join(folderPath, 'index.html'), htmlContent, (err) => {
3  if (err) {
4    return vscode.window.showErrorMessage('Failed to create boilerplate file!');
5  }
6  vscode.window.showInformationMessage('Created boilerplate files');
7});
以下是完整功能的样子:
 1[label extension.js]
 2//...
 3  let disposable = vscode.commands.registerCommand(
 4    'testytest.createBoilerplate', async function () {
 5    // The code you place here will be executed every time your command is executed
 6
 7    if (!vscode.workspace) {
 8      return vscode.window.showErrorMessage('Please open a project folder first');
 9    }
10
11    const folderPath = vscode.workspace.workspaceFolders[0].uri
12      .toString()
13      .split(':')[1];
14
15    const htmlContent = `<!DOCTYPE html>
16<html lang="en">
17<head>
18  <meta charset="UTF-8" />
19  <meta name="viewport" content="width=device-width, initial-scale=1.0" />
20  <meta http-equiv="X-UA-Compatible" content="ie=edge" />
21  <title>Document</title>
22  <link rel="stylesheet" href="app.css" />
23</head>
24<body>
25  <script src="app.js"></script>
26</body>
27</html>`;
28
29    fs.writeFile(path.join(folderPath, 'index.html'), htmlContent, (err) => {
30      if (err) {
31        return vscode.window.showErrorMessage(
32          'Failed to create boilerplate file!'
33        );
34      }
35      vscode.window.showInformationMessage('Created boilerplate files');
36    });
37
38    // ...
39  }
40// ...
然后打开命令板并运行 Create Boilerplate (记住我们更改了名称)。
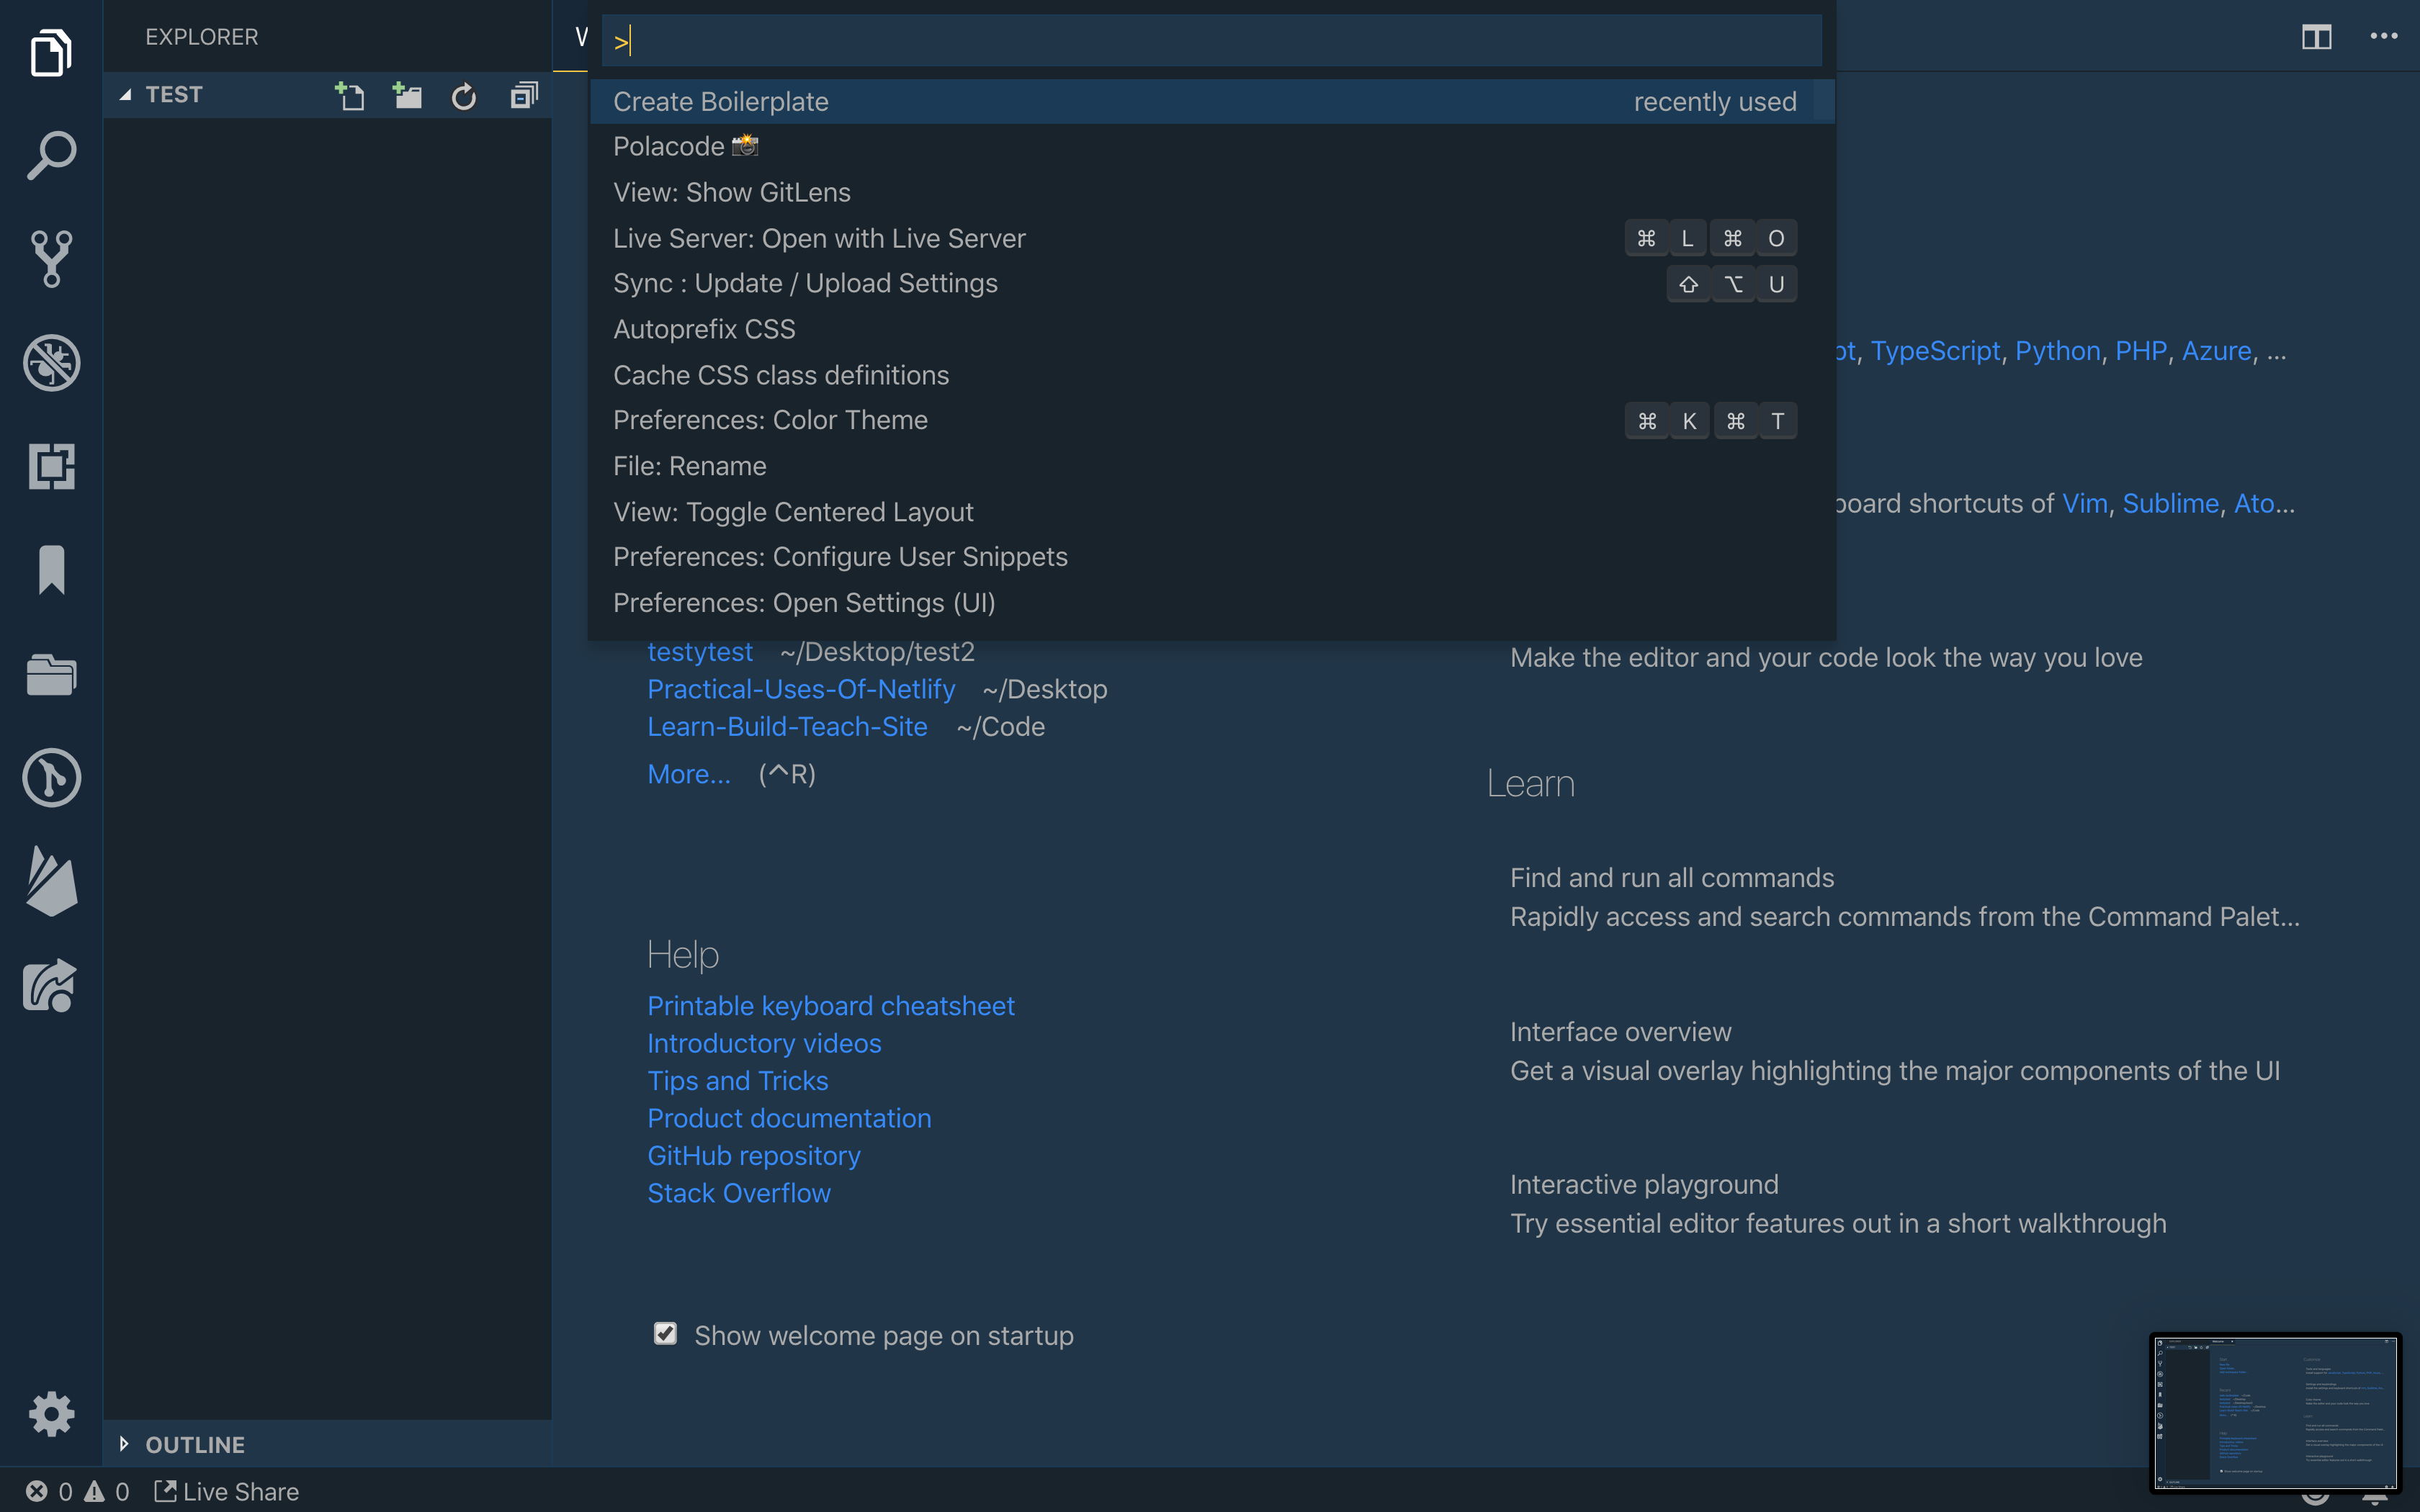
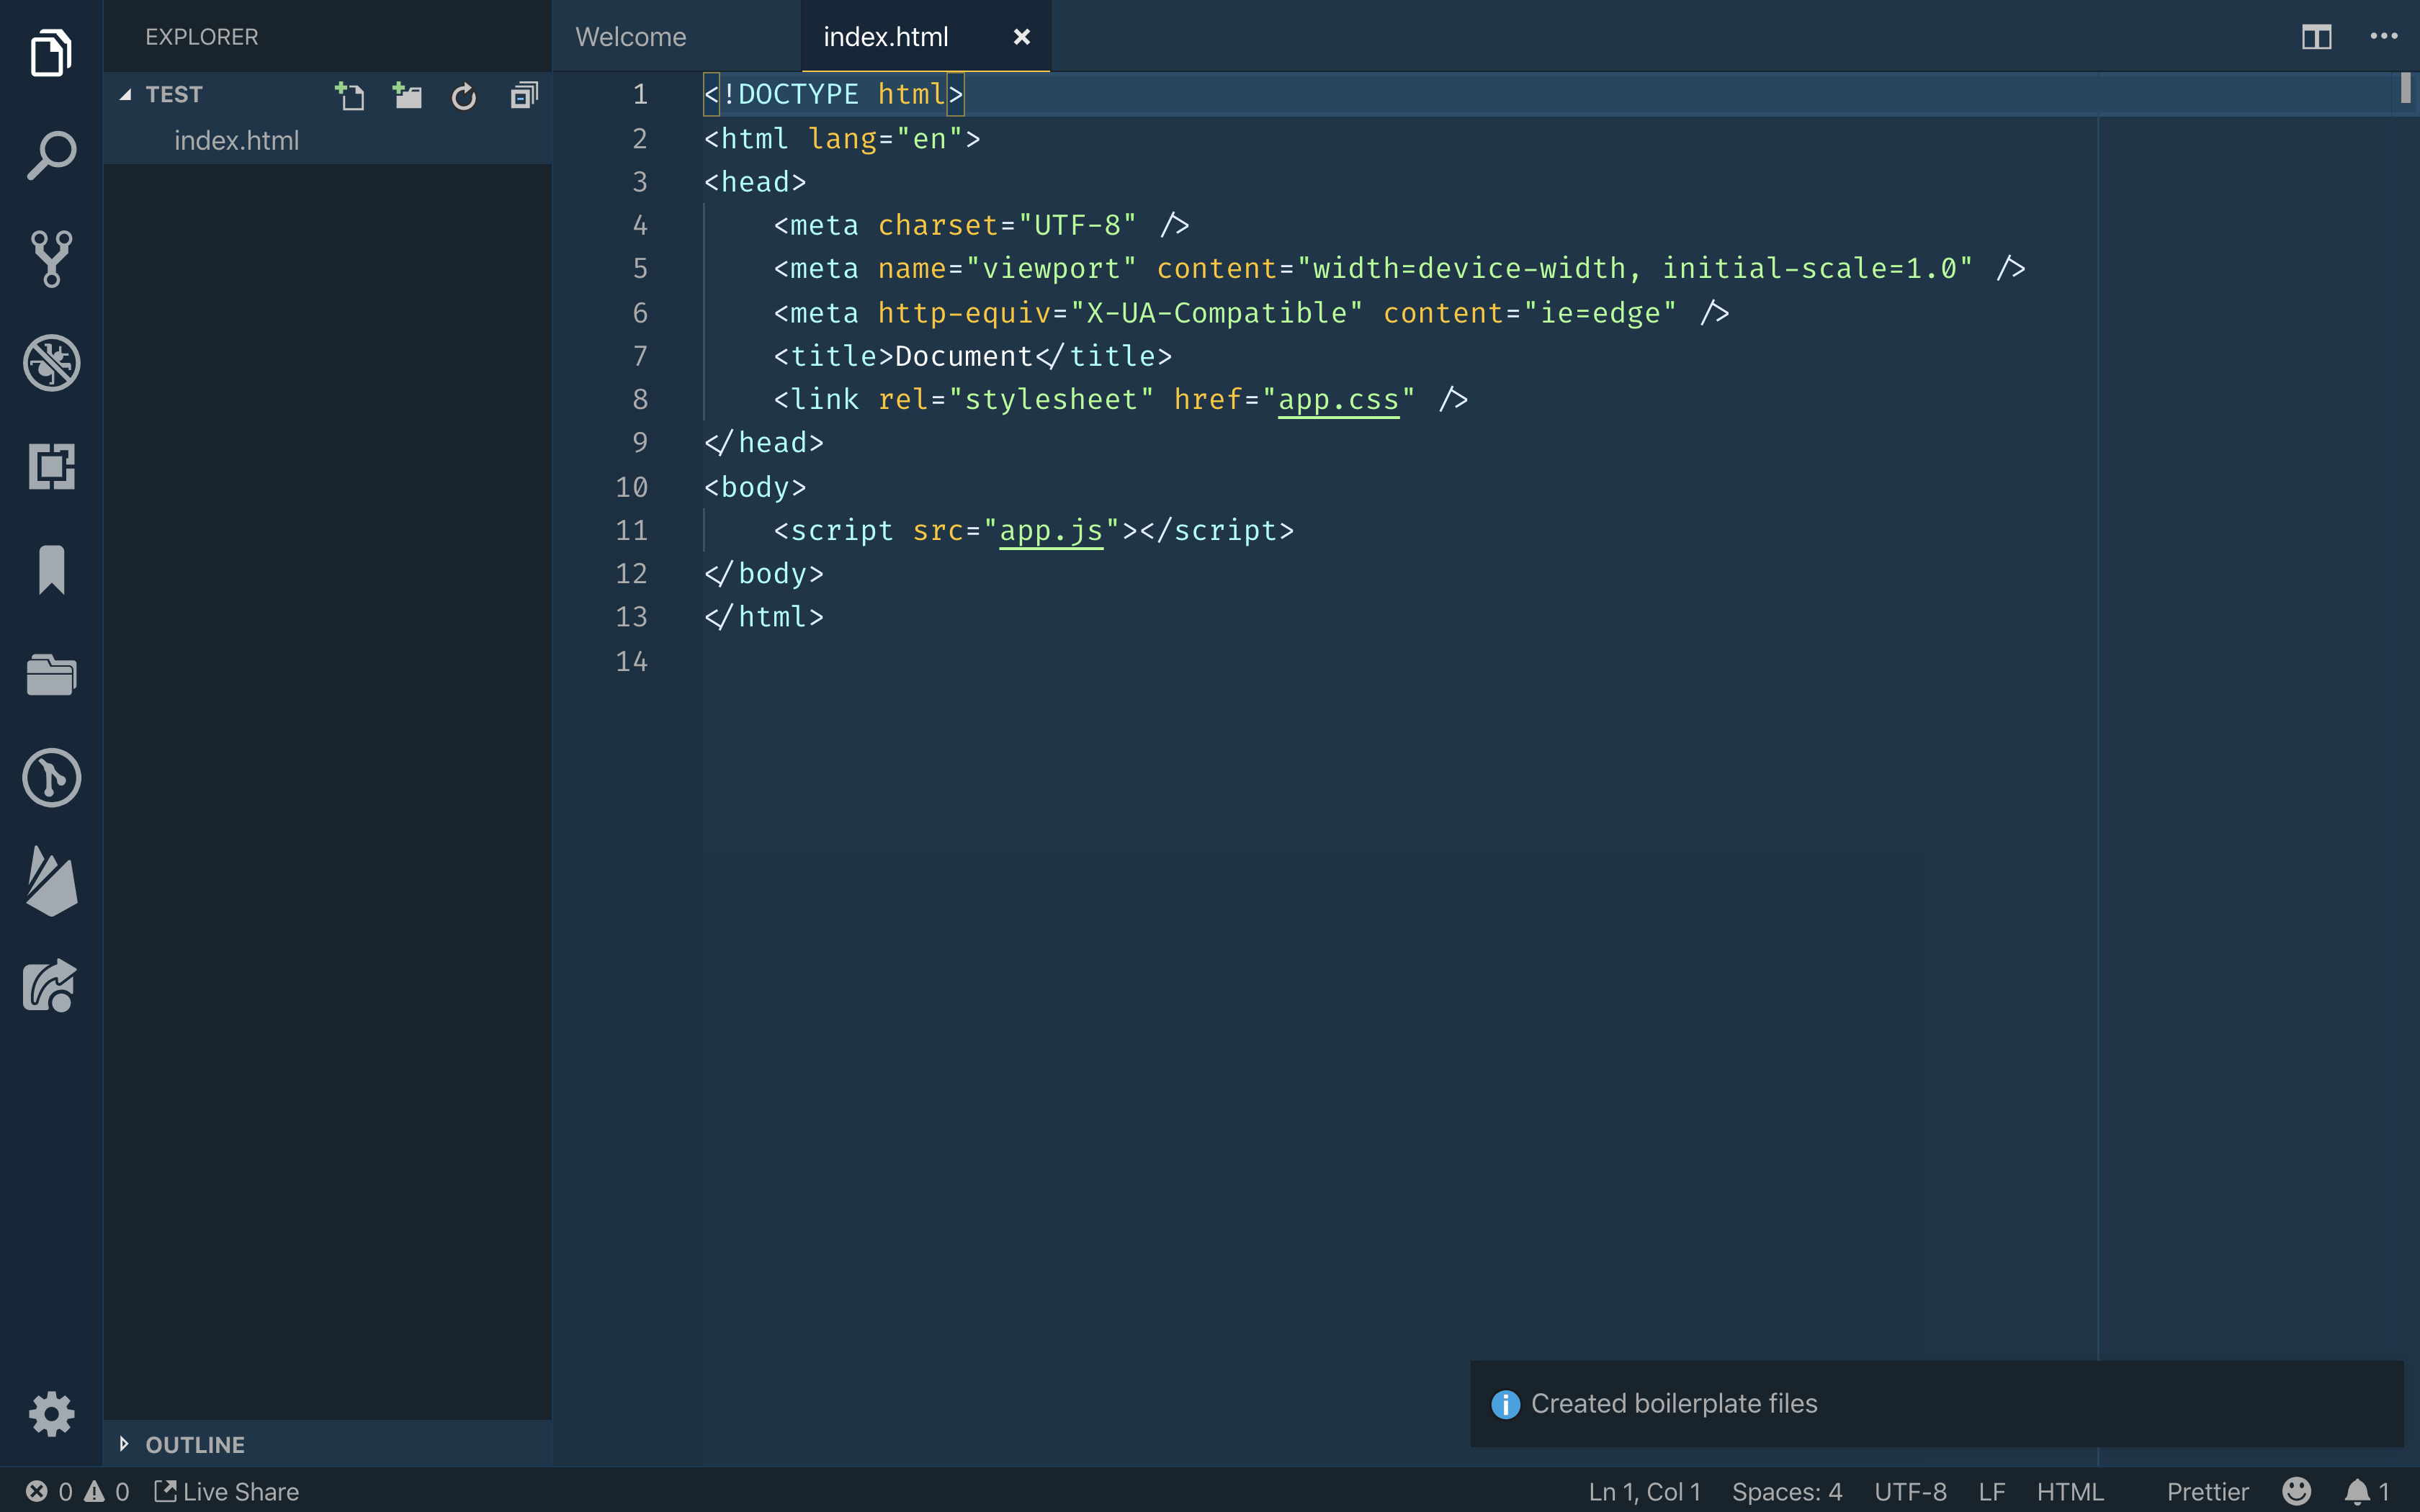
运行命令后,你会看到新生成的 index.html 文件和一个信息,让用户知道:
结论
要了解有关使用哪些 API 以及如何使用它们的更多信息,请阅读 Visual Studio 代码 扩展 API 文档。
這個教程的代碼在GitHub上可用(https://github.com/do-community/Web-Boilerplate-VSCE)。