作者选择了 Mozilla 基金会作为 写给捐款计划的一部分,以接收捐款。
介绍
博客是一个媒体来与他人分享您的知识,经验或新闻。 Ghost是一个开源平台,允许您构建和运行现代博客或出版物。
虽然Ghost提供了您可用于前端的模板,但设计和添加自定义功能的灵活性有限. [Next.js] (https://nextjs.org/)是一个[反应] (https://reactjs.org/)的框架,为生产优化,性能,和SEO等问题提供解决方案. Next.js为与React一起构建应用提供了比开发者经验的优势. 您可以使用Next. 也可以自定义您的设计并添加您想要的功能 .
在本教程中,您将使用 Ghost 来管理文章和 Next.js 来构建您的博客的前端。 这种方法允许您控制博客的内容,设计和功能。 您将在Ubuntu服务器上自动托管 Ghost,您可以使用 Ghost One-Click Droplet在 DigitalOcean Marketplace部署。
前提条件
要完成本教程,您将需要:
- 数字海洋账户。 没有账户的,签入新账户。
- Ghost被安装在至少拥有1GB内存的Ubuntu服务器上. 您可以[在 DigitalOcean (https://marketplace.digitalocean.com/apps/ghost) 上部署一个Ghost One-Click Droplet, 或者遵循 [Ghost 文档进行手动设置] (https://ghost.org/docs/install/ubuntu/).
- 一个注册域名来指向你的"鬼"博客. 您可以在 How to point to Digital Ocean Nameervers from Community Domain Registers 指南中找到关于设置数字海洋命名服务器上的域名的指令.
- Node.js的本地开发环境. follow [如何安装Node.js并创建本地开发环境] (https://www.digitalocean.com/community/tutorial_series/how-to-install-node-js-and-create-a-local-development-environment).
- 本地机器上的下一个项目。 您可以通过图书馆的 ** Setup 步骤在 [Getting started] (https://nextjs.org/docs/getting-started) 指南中创建 Next.js 项目. 使用 create-next-app并接受配置默认值. .
注意:您可以使用 TypeScript 或 JavaScript 创建 Next.js 项目,本教程使用 JavaScript,但无论如何都将起作用。
- 尾风安装在您的本地机上, 并配置为 Next.js 。 在安装了 Next.js后,遵循 [Install Tailwind CSS with Next.js] (https://tailwindcss.com/docs/guides/nextjs# setting-up-tailwind-css) 指南中的指令.
- 像[Visual Studio Code (https://code.visualstudio.com/download)这样的文本编辑器. 此教程使用 [`nano' (https://www.nano-editor.org/ ).
- 熟悉React,可以通过[How To Code in react.js (https://www.digitalocean.com/community/tutorial_series/how-to-code-in-react-js)系列获得. .
步骤 1 — 在 Ghost 上发布帖子
在此步骤中,您将创建一个Ghost帐户,并发布一些样本文章,以便您在未来的步骤中有内容。
有了Ghost安装和设置,您将需要一个管理员帐户来管理您的博客. 导航到YOUR_DOMAIN/ghost,在那里YOUR_DOMAIN是您在Ghost安装过程中输入的URL。
您将看到一个 欢迎来到 Ghost 页面,您将被邀请创建一个帐户. 输入您的网站的标题,您的名字,电子邮件地址和密码。
在左侧栏中,在 你想先做什么? 下,选择** 写你的第一个帖子** 选项. 输入你的博客帖子的标题和体,然后点击** 发布** 在右上角. 按** 继续,最终评论** ,然后点击** 发布帖子,现在** 按钮。
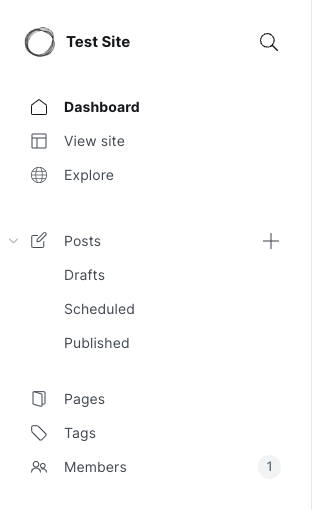
在左侧侧栏中,选择 查看网站 以查看您的网站的直播预览:

在本教程中稍后,您将在您的网站上渲染多个博客帖子. 从仪表板中,在左侧栏中选择 帖子 ,以创建两个更多的博客帖子。
在此步骤中,您在 Ghost 上设置了管理页面并发布了博客文章。 您的博客目前正在使用 Ghost 提供的默认模板。 在下一步中,您将创建一个 Next.js 项目,为您提供更多的设计灵活性。
第2步:创建 Next.js 项目
在此步骤中,您将使用 Next.js 创建您的博客的前端,并使用 Tailwind CSS添加风格。
在您喜爱的代码编辑器中打开您创建的 Next.js 项目。
1nano pages/index.js
在文件中,删除现有的代码,并添加以下内容,从Next/head导入Head组件,并创建 React 组件:
1[label pages/index.js]
2import Head from 'next/head';
3
4export default function Home() {
5    return (
6    );
7}
Head组件允许您添加您在HTML中使用的标签,如<title>和<meta>。
要建立在Head组件上,添加一个包含<div>标签的返回声明,在<div>标签中,添加一个<Head>标签,其中包括一个<title>和一个<meta>标签:
 1[label pages/index.js]
 2...
 3return (
 4    <div>
 5         <Head>
 6                <title>My First Blog</title>
 7                <meta name="description" content="My personal blog created with Next.js and Ghost" />
 8            </Head>
 9    </div>
10);
11...
标签<title>将您的网页标题设置为我的第一个博客标签具有名称属性设置为描述,而内容属性设置为我用Next.js 和 Ghost 创建的个人博客。
现在你已经设置了标题和描述,你将显示文章列表. 此代码片段目前使用模仿数据. 你将在下一节中从Ghost收集博客帖子. 在<Head>标签下方,使用<li>标签添加文章列表:
 1[label pages/index.js]
 2...
 3<div>
 4    <Head>
 5    ...
 6    </Head>
 7    <main className="container mx-auto py-10">
 8    	<h1 className="text-center text-3xl">My Personal Blog</h1>
 9    	<div className="flex justify-center mt-10 ">
10    		<ul className="text-xl">
11    			<li>How to build and deploy your blog on DigitalOcean</li>
12    			<li>How to style a Next.js website</li>
13    			<li>How to cross-post your articles automatically</li>
14    		</ul>
15    	</div>
16    </main>
17</div>
18...
你现在已经添加了包含头条和
<main>标签。<div>标签包含几个模糊文章标题的未分类列表。<main>、<h1>、<div>和<ul>标签均包含className属性。index.js文件现在应该是这样的:
 1[label pages/index.js]
 2import Head from 'next/head';
 3
 4export default function Home() {
 5    return (
 6    	<div>
 7    		<Head>
 8    			<title>My First Blogp</title>
 9    			<meta
10    				name="description"
11    				content="My personal blog created with Next.js and Ghost"
12    			/>
13    		</Head>
14    		<main className="container mx-auto py-10">
15    			<h1 className="text-center text-3xl">My Personal Blog</h1>
16    			<div className="flex justify-center mt-10 ">
17    				<ul className="text-xl">
18    					<li>How to build and deploy your blog on DigitalOcean</li>
19    					<li>How to style a Next.js website</li>
20    					<li>How to cross-post your articles automatically</li>
21    				</ul>
22    			</div>
23    		</main>
24    	</div>
25    );
26}
保存并关闭文件。
如果您正在使用 Yarn,请运行以下命令:
1yarn dev
如果您正在使用「npm」,請執行以下命令:
1npm run dev
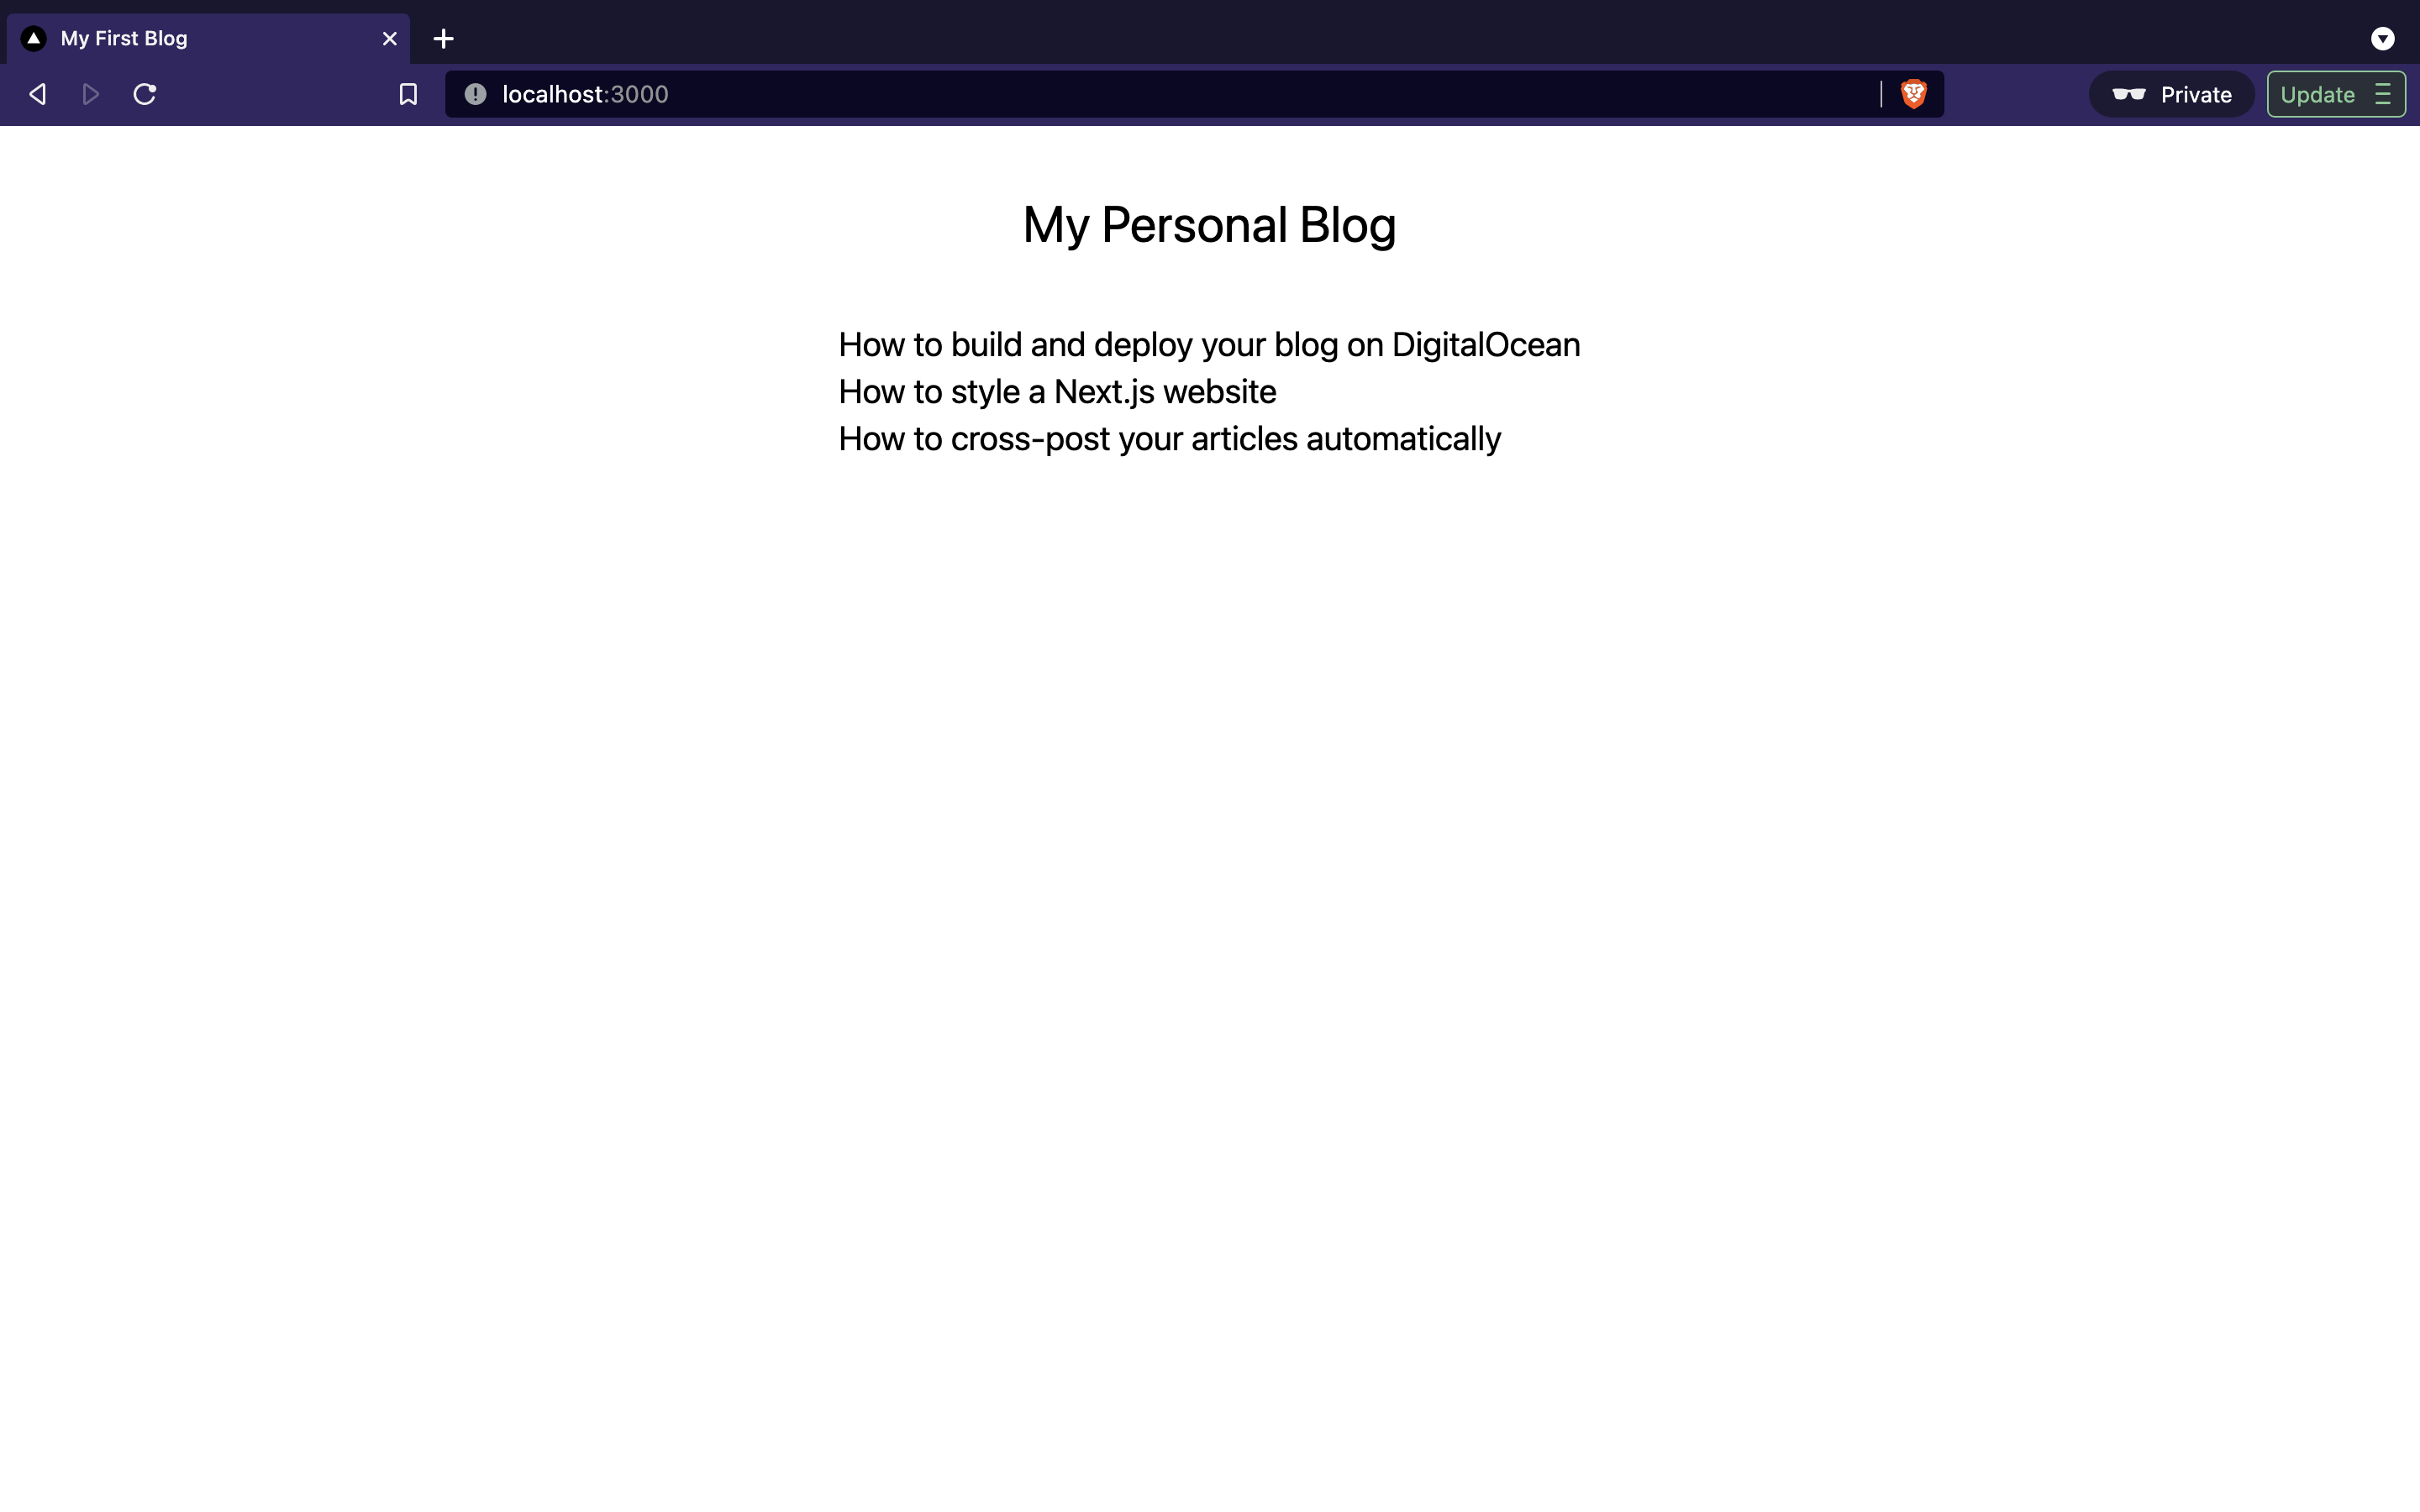
在您的浏览器中导航到 https://localhost:3000,您应该从模仿数据中找到博客文章的列表。

在此步骤中,您创建了您的博客的主页页面,并添加了模糊文章的列表,在下一步,您将从Ghost上收集您的博客帖子。
步骤 3 - 收集来自 Ghost 的所有博客帖子
在此步骤中,您将收集您在Ghost中创建的博客帖子,并在浏览器中渲染它们。
要从 Ghost 获取您的文章,您必须先安装 [Ghost 内容 API] 的 JavaScript 库(https://www.npmjs.com/package/@tryghost/content-api)。 使用键盘缩短 CTRL+C 关闭服务器。 在终端中运行以下命令来安装库:
如果您正在使用 Yarn,请执行以下命令:
1yarn add @tryghost/content-api
如果您正在使用「npm」,請執行以下命令:
1npm i @tryghost/content-api
成功安装了该库,您现在将创建一个存储逻辑的文件,以获取您的博客帖子. 在页面目录中,创建一个名为实用的新文件夹:
1mkdir utils
在该文件夹中创建一个名为ghost.js的新文件:
1nano pages/utils/ghost.js
在 Ghost.js 文件中,从 Ghost Content API 库中导入GhostContentAPI模块,为GhostContentAPI初始化一个新对象,并将该值存储在一个恒定变量api中。
1[label utils/ghost.js]
2import GhostContentAPI from "@tryghost/content-api";
3
4const api = new GhostContentAPI({
5    url: `YOUR_URL`,
6    key: `YOUR_API_KEY`,
7    version: 'v5.0'
8});
值 YOUR_URL 是您在安装 Ghost 时配置的域名,包括协议,最有可能是 https://。
要找到您的 Ghost API 密钥,请按照以下步骤:
- 导航到 " YOUR_DOMAIN/Ghost " ( " YOUR_DOMAIN " 是您配置的URL),并登录您的管理员证书。
- 联合国 按左侧栏下方的齿轮图标访问Settings 页面. 3个 在Advanced Category 中,在左侧栏点击** Integrations** 。** 集成** 页出现,显示可能的集成列表,下方为自定义集成. 4.四. 按 Q 键 添加自定义集成**. 一个弹出 要求你命名你的整合。 5 (韩语). 在 Name 字段中输入您整合的名称,并单击 ** Create** 。 这将带您到一个页面来配置您的自定义集成 。
- 国家 复制所显示的 Content API 密钥 (而不是管理API 密钥) 。
- 联合国 新闻 拯救 以保存定制集成。 .
在「ghost.js」文件中,用复制的 API 密钥取代「YOUR_API_KEY」。
现在你已经初始化了GhostContentAPI,你会写一个不同步的函数来从你的Ghost安装中提取所有文章。这个函数会提取博客帖子,而不论它们的标签。
 1[label utils/ghost.js]
 2...
 3export async function getPosts() {
 4  return await api.posts
 5    .browse({
 6        include:"tags",
 7        limit: "all"
 8    })
 9    .catch(err => {
10      console.error(err);
11    });
12}
承诺解决后,)方法,并采用包括和限制参数。您已将包括值设置为标签,以检索标签和内容。限制值设置为所有`以检索所有博客帖子。如果出现错误,它会在浏览器控制台登录。
在此时,api/ghost.js 文件包含以下代码:
 1[label utils/ghost.js]
 2import GhostContentAPI from '@tryghost/content-api';
 3
 4const api = new GhostContentAPI({
 5    url: `YOUR_URL`,
 6    key: `YOUR_API_KEY`,
 7    version: 'v5.0',
 8});
 9
10export async function getPosts() {
11    return await api.posts
12    	.browse({
13    		include: 'tags',
14    		limit: 'all',
15    	})
16    	.catch((err) => {
17    		console.error(err);
18    	});
19}
保存并关闭文件。
要查看帖子列表,请打开您的 index.js 文件. 添加以下突出的行,以便在 Head 导入上方导入 getPosts 函数:
1[label pages/index.js]
2import { getPosts } from './utils/ghost';
3import Head from 'next/head';
4
5…
您现在将创建一个非同步函数(‘getStaticProps()’),这将允许Next.js在构建时预览页面。
在)并在函数体内调用)方法返回值props。
1[label pages/index.js]
2...
3export async function getStaticProps() {
4    const posts = await getPosts();
5    return { props: { posts } };
6}
保存檔案
现在定义了getStaticProps()方法,如果使用 Yarn,则使用npm run dev或yarn dev重新启动服务器。
在您的浏览器中,页面仍然显示静态数据. 页面不会显示您从Ghost中获取的数据. 这是因为您正在获取值,但没有渲染它们。
您将对 index.js 进行一些更改,以便您的 Home 组件可以消耗您从 Ghost 获取的值。
按CTRL-C停止服务器,然后打开index.js进行编辑:
1nano pages/index.js
对 index.js 进行以下突出更改:
 1[label pages/index.js]
 2export default function Home({posts}) {
 3    return (
 4    	<div>
 5    		<Head>
 6    			<title>My First Blog</title>
 7    			<meta
 8    				name="description"
 9    				content="My personal blog created with Next.js and Ghost"
10    			/>
11    		</Head>
12    		<main className="container mx-auto py-10">
13    			<h1 className="text-center text-3xl">My Personal Blog</h1>
14    			<div className="flex justify-center mt-10 ">
15    				<ul className="text-xl">
16    					{posts.map((post) => (
17    						<li key={post.title}>{post.title}</li>
18    					))}
19    				</ul>
20    			</div>
21    		</main>
22    	</div>
23    );
24}
在这个代码中,你首先摧毁并将帖子作为参数转移到主页组件中,然后你将包含你用来嘲笑的静态内容的<li>标签替换为收集博客帖子标题的功能。
您使用array.map()方法重复您从props中获取的帖子集合以获取每个帖子的标题。
重新启动服务器使用npm run dev或yarn dev,如果使用 Yarn。
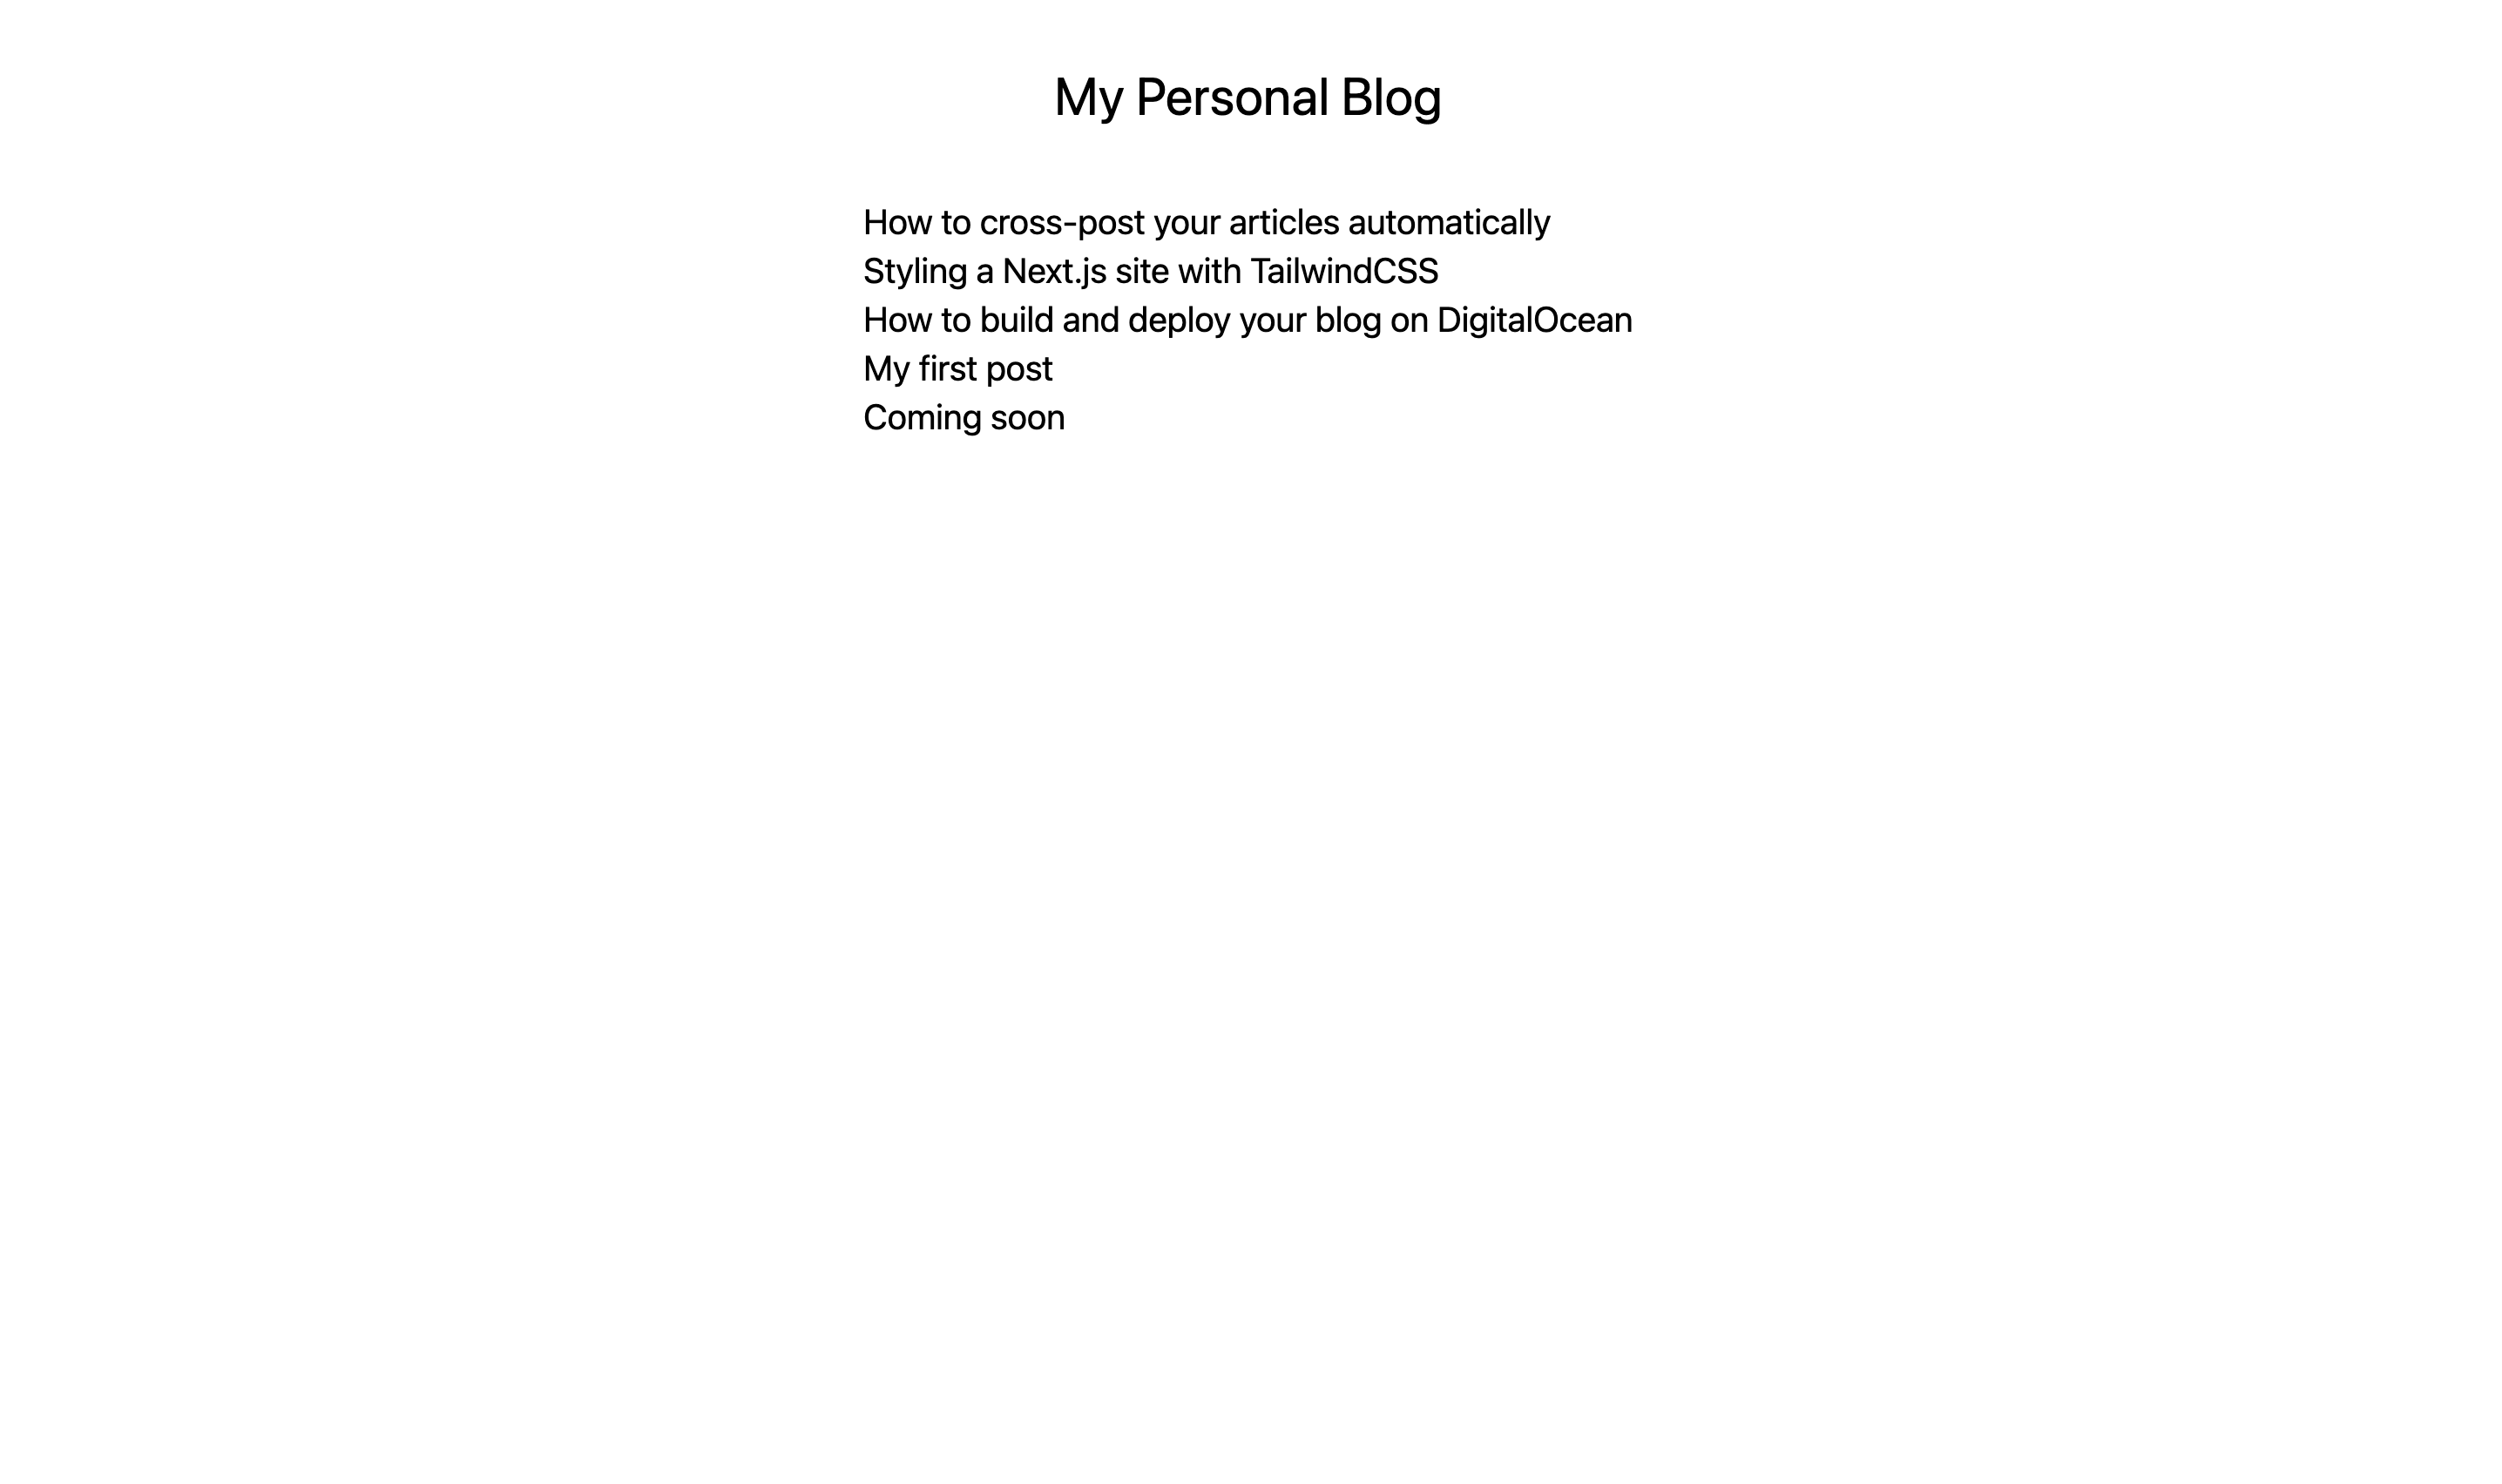
返回「localhost:3000」。現在你的部落格顯示了Ghost的文章列表。
您的 index.js 文件的代码将匹配如下:
 1[label pages/index.js]
 2import { getPosts } from './utils/ghost';
 3import Head from 'next/head';
 4
 5export default function Home({ posts }) {
 6    return (
 7    	<div>
 8    		<Head>
 9    			<title>My First Blog</title>
10    			<meta
11    				name="description"
12    				content="My personal blog created with Next.js and Ghost"
13    			/>
14    		</Head>
15    		<main className="container mx-auto py-10">
16    			<h1 className="text-center text-3xl">My Personal Blog</h1>
17    			<div className="flex justify-center mt-10 ">
18    				<ul className="text-xl">
19    					{posts.map((post) => (
20    						<li key={post.title}>{post.title}</li>
21    					))}
22    				</ul>
23    			</div>
24    		</main>
25    	</div>
26    );
27}
28
29export async function getStaticProps() {
30    const posts = await getPosts();
31    return { props: { posts } };
32}
您的主页将看起来如下:

您的博客现在已经从CMS中获取并显示了帖子标题,但它仍然不显示单个帖子。
步骤4 - 让每个单独的帖子
在此步骤中,您将编写代码来从 Ghost 获取每个博客帖子的内容,创建动态路线,并在主页上添加帖子标题作为链接。
在 Next.js 中,您可以创建 动态路径以便您可以渲染具有相同布局的页面。动态路径有助于通过重复使用组件来减少代码冗余。一旦您创建动态路径,所有帖子都将使用相同的文件进行渲染。您不需要为每个帖子创建页面。
要创建动态路径并渲染单个帖子,您需要:
- 写一个函数来获取博客帖子的内容 2. 创建动态路线 3. 添加博客链接到项目列表。
在)`,以获取所有博客帖子的列表。
例如,如果您的文章标题为我的第一个帖子,Ghost 将生成我的第一个帖子作为帖子。
getSinglePost()函数将postSlug作为参数,并返回相应的博客帖子的内容。
停止服务器如果它仍然在运行,然后打开pages/utils/ghost.js进行编辑。
在你的ghost.js文件中的)`。
 1[label utils/ghost.js]
 2...
 3export async function getSinglePost(postSlug) {
 4    return await api.posts
 5      .read({
 6        slug: postSlug
 7      })
 8      .catch(err => {
 9        console.error(err);
10      });
11  }
)方法,并将)方法。
最后的 /utils/ghost.js 文件包含以下代码:
 1[label utils/ghost.js]
 2import GhostContentAPI from '@tryghost/content-api';
 3
 4const api = new GhostContentAPI({
 5    url: `YOUR_URL`,
 6    key: `YOUR_API_KEY`,
 7    version: 'v5.0',
 8});
 9
10export async function getPosts() {
11    return await api.posts
12    	.browse({
13    		include: 'tags',
14    		limit: 'all',
15    	})
16    	.catch((err) => {
17    		console.error(err);
18    	});
19}
20
21export async function getSinglePost(postSlug) {
22    return await api.posts
23      .read({
24        slug: postSlug
25      })
26      .catch(err => {
27        console.error(err);
28      });
29  }
保存并关闭文件。
在 Next.js 中,您可以向文件名([param])添加插件以创建动态路线,例如, /post/[slug].js 将创建动态路线。
在页面目录中,创建一个名为/post/[slug].js的新文件:
1nano pages/post/\[slug\].js
<$>[注] 注: nano 命令显示了带回击(\)逃脱的轴承,这需要 bash 创建一个名称中的轴承的文件。
文件名 [slug].js 将与路径 /post/ 之后的任何字符串匹配。
在您的 /post/[slug].js 文件中,从 ../utils/ghost.js 文件中导入 getPosts() 和 getSinglePost() 函数。
该 /post/[slug].js 文件还包含帖子的模板. 将以下代码添加到 /post/[slug].js 文件:
 1[label pages/post/[slug].js]
 2import { getPosts, getSinglePost } from '../utils/ghost';
 3
 4export default function PostTemplate(props) {
 5    const { post } = props;
 6    const { title, html, feature_image } = post;
 7    return (
 8    	<main className="container mx-auto py-10">
 9    		<h1 className="text-center text-3xl">{title}</h1>
10    		<article
11    			className="mt-10 leading-7 text-justify"
12    			dangerouslySetInnerHTML={{ __html: html }}
13    		/>
14    	</main>
15    );
16}
17
18export const getStaticProps = async ({ params }) => {
19    const post = await getSinglePost(params.slug);
20    return {
21    	props: { post },
22    };
23};
PostTemplate()函数创建一个功能组件. 在该函数中,您从props中提取post对象,并从post对象中提取title,html和feature_image。
由于Ghost API在HTML中返回博客内容,所以<article>标签包含dangerouslySetInnerHTML属性,其HTML值是从post对象中提取的。
getStaticProps() async 函数收集与 slug 相符的博客帖子的内容。
要用 URL 正确地绘制内容,Next.js 需要知道路径的值(‘slug’在您的情况下)。 您可以使用 getStaticPaths() 函数来做到这一点。 类似于 getStaticProps() 函数,写一个名为 getStaticPaths() 的同步函数以返回一个 slug 列表。 将下列函数添加到 [slug].js 文件的末尾:
 1[label pages/post/[slug].js]
 2...
 3export const getStaticPaths = async () => {
 4    const allPosts = await getPosts();
 5    return {
 6    	paths: allPosts.map(({ slug }) => {
 7    		return {
 8    			params: { slug },
 9    		};
10    	}),
11    	fallback: false,
12    };
13};
<$>[注] 注: 将)`返回的路径将导致一个** 404** 页面。
/post/[slug].js 文件应该如下:
 1[label pages/post/[slug].js]
 2import { getPosts, getSinglePost } from '../utils/ghost';
 3
 4export default function PostTemplate(props) {
 5    const { post } = props;
 6    const { title, html, feature_image } = post;
 7    return (
 8    	<main className="container mx-auto py-10">
 9    		<h1 className="text-center text-3xl">{title}</h1>
10    		<article
11    			className="mt-10 leading-7 text-justify"
12    			dangerouslySetInnerHTML={{ __html: html }}
13    		/>
14    	</main>
15    );
16}
17
18export const getStaticProps = async ({ params }) => {
19    const post = await getSinglePost(params.slug);
20    return {
21    	props: { post },
22    };
23};
24
25export const getStaticPaths = async () => {
26    const allPosts = await getPosts();
27    return {
28    	paths: allPosts.map(({ slug }) => {
29    		return {
30    			params: { slug },
31    		};
32    	}),
33    	fallback: false,
34    };
35};
重新启动服务器使用npm run dev或yarn dev,如果使用 Yarn。
导航到localhost:3000/post/SLUG,用与您的博客帖子相符的取代SLUG,现在您可以访问与浏览器中渲染的<^<SLUG相关的博客内容。
现在,您必须手动输入URL来访问帖子,这是不方便的,您可以通过添加链接到项目列表来解决这个问题,这将允许您从主页导航到帖子。
如果服务器仍在运行,请停止,然后重新打开「pages/index.js」进行编辑。
如下编辑index.js中的突出部分,添加一个导入和一个链接组件:
 1[label pages/index.js]
 2import { getPosts } from './utils/ghost';
 3import Head from 'next/head';
 4import Link from 'next/link';
 5
 6export default function Home(props) {
 7    return (
 8    	<div>
 9    		<Head>
10    			<title>My First Blog</title>
11    			<meta
12    				name="description"
13    				content="My personal blog created with Next.js and Ghost"
14    			/>
15    		</Head>
16    		<main className="container mx-auto py-10">
17    			<h1 className="text-center text-3xl">My Personal Blog</h1>
18    			<div className="flex justify-center mt-10 ">
19    			<ul className="text-xl">
20    				{props.posts.map((post) => (
21    					<li key={post.title}>
22    						<Link href={`post/${post.slug}`}>{post.title}</Link>
23    					</li>
24    				))}
25    			</ul>
26    			</div>
27    		</main>
28    	</div>
29    );
30}
31
32export async function getStaticProps() {
33    const posts = await getPosts();
34    return { props: { posts } };
35}
Next.js 提供了一个Link组件,允许客户端路由。在你的index.js文件中,你从next/link导入了Link组件。在li>标签中,你将帖子标题嵌入到Link组件中。就像 HTML 中的标签一样,Link标签也采用了href属性。你将 slug 传递为href属性值。
保存文件并通过运行命令npm run dev或yarn dev重新启动开发服务器。
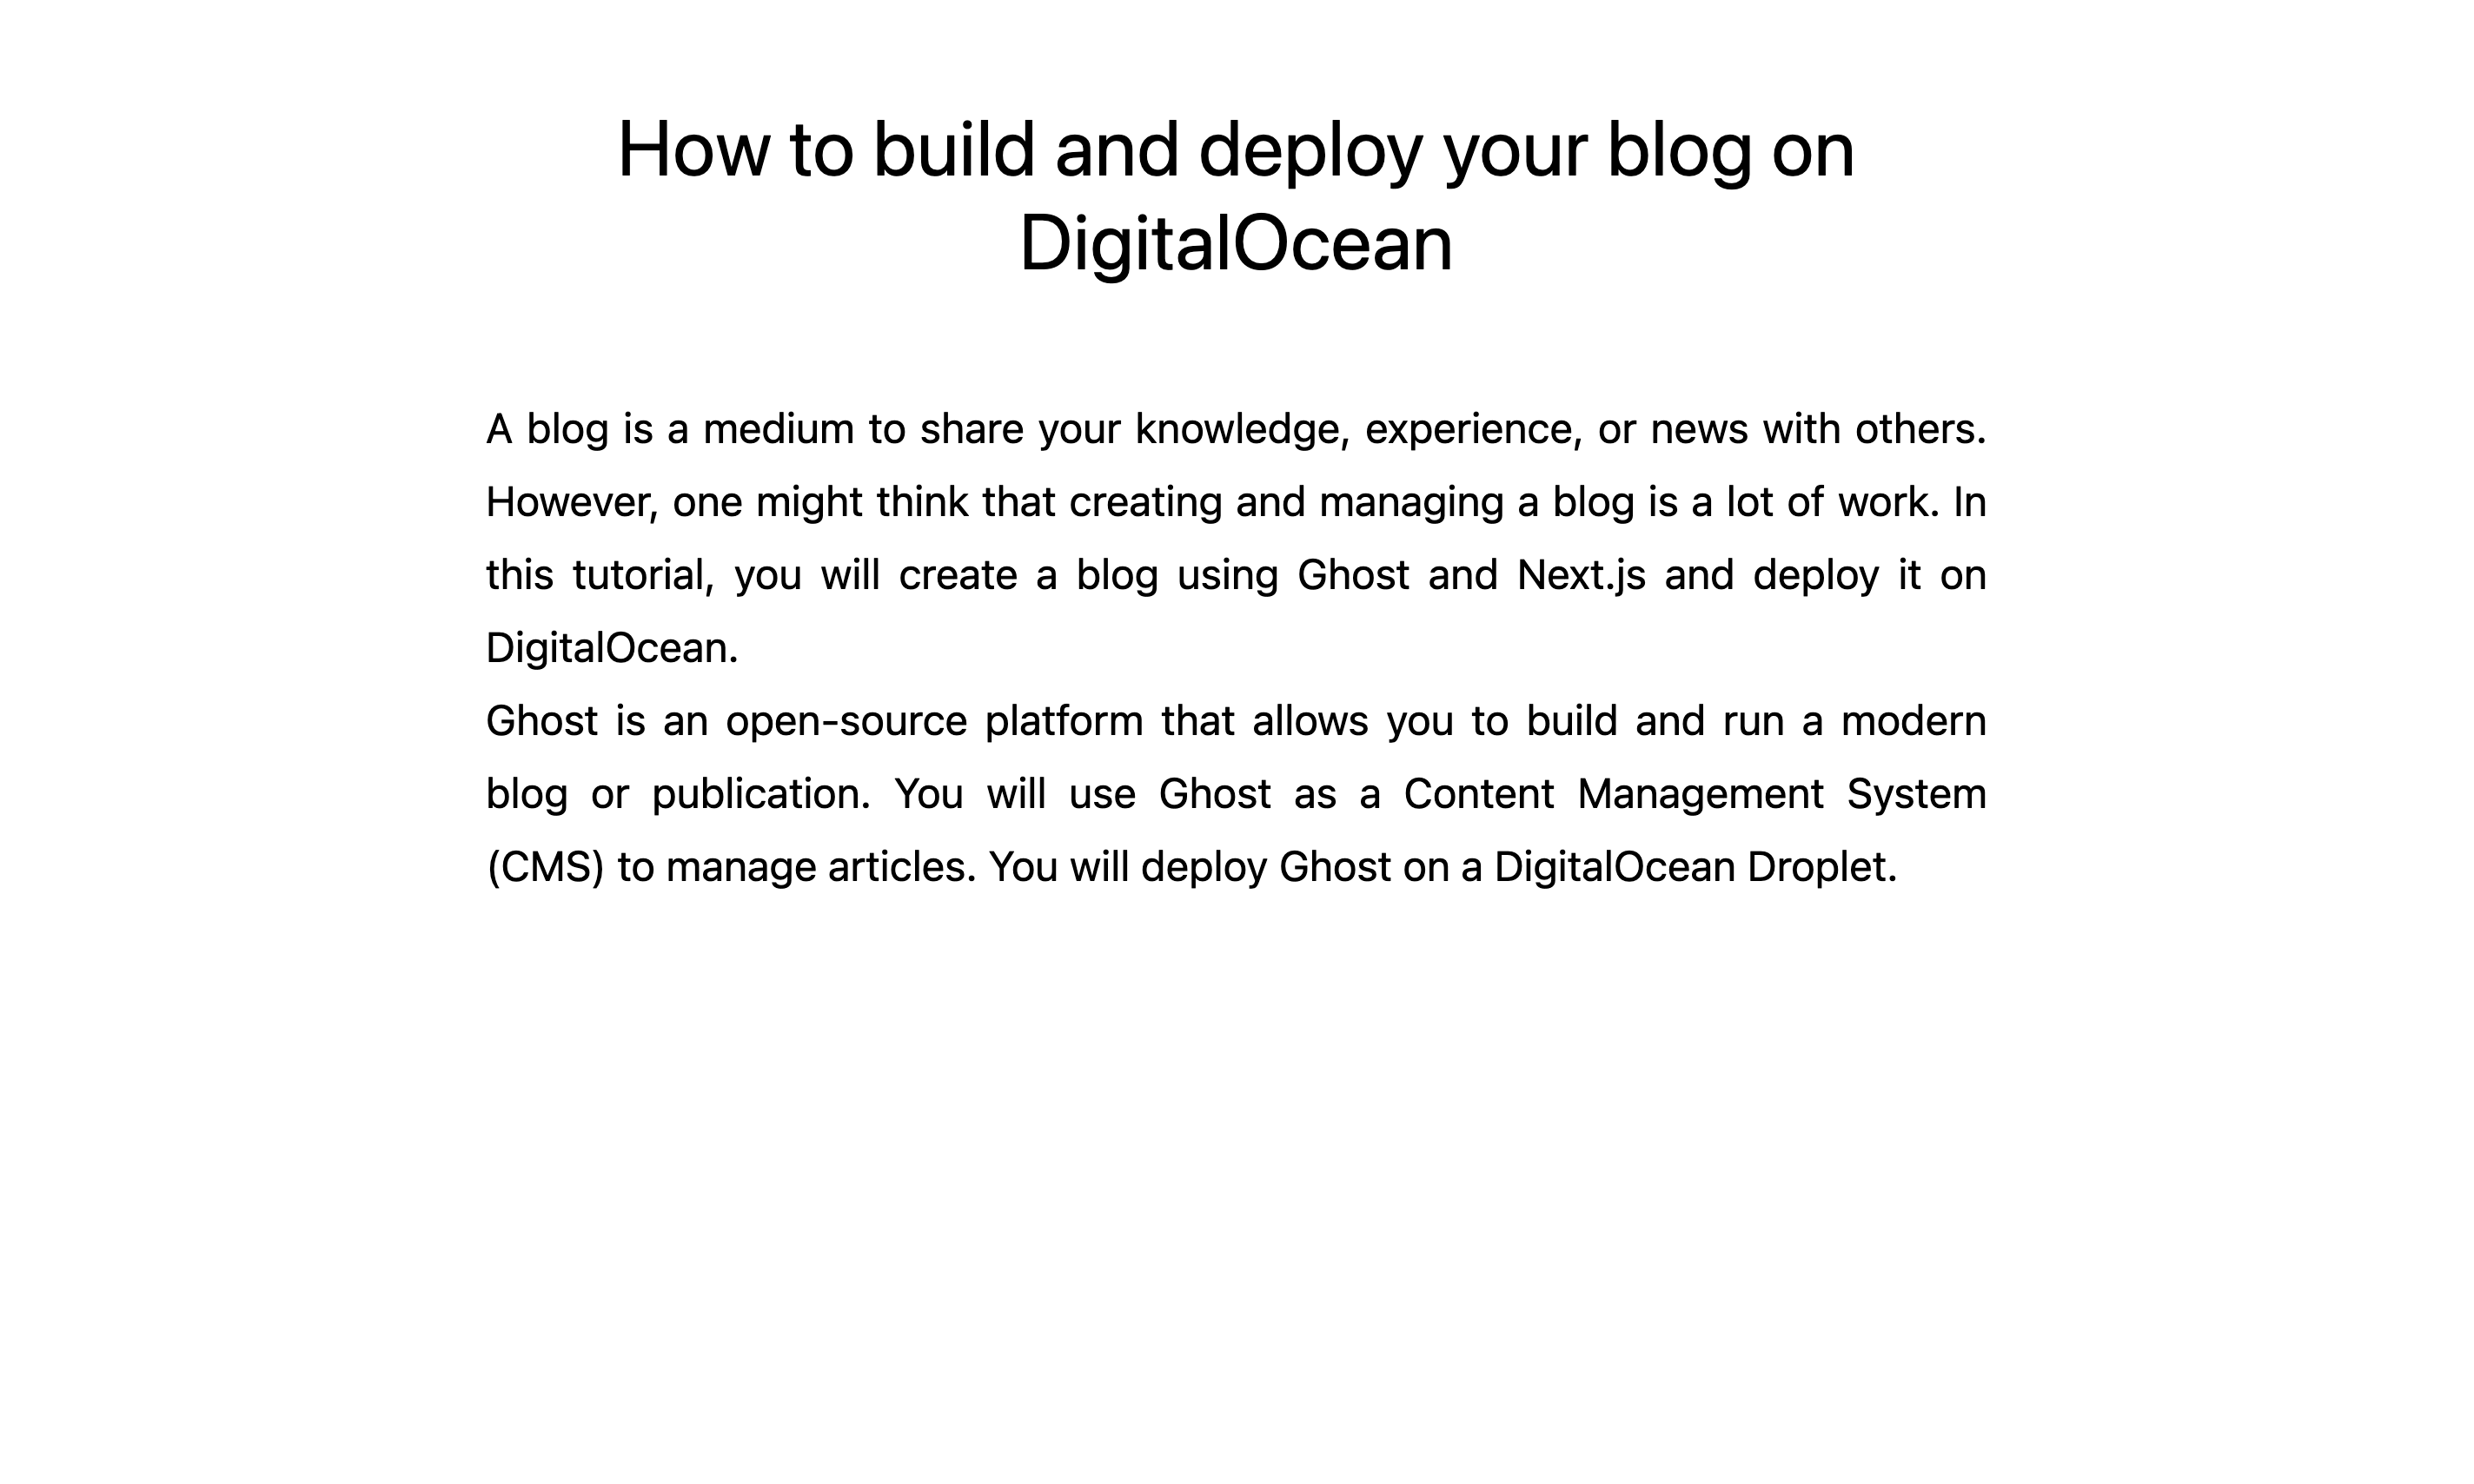
现在,如果您点击任何帖子标题,您将导航到相应的博客帖子. 您的博客页面将显示如下:

您的帖子页面将出现在您在步骤 1 中提供的标题和内容中,这里显示的样本标题为如何在DigitalOcean上构建和部署您的博客和本教程的介绍内容。
在此步骤中,您添加了功能来从 Ghost CMS 获取个别帖子内容,将其渲染为个别页面,并链接到索引页面的每个帖子。
结论
在本文中,您在DigitalOcean Droplet上部署了Ghost作为CMS,您使用Next.js创建了自己的静态生成的网站,并连接了Ghost CMS,为您的Next.js网站提供内容。
目前,您的博客正在本地运行在您的机器上。 作为下一步,您可以 部署在DigitalOcean App Platform以便其他人可以查看它。 要开始,请遵循 [部署 Next.js 应用到 App Platform]上的教程(https://docs.digitalocean.com/tutorials/app-nextjs-deploy/)。
例如,您可以使用 Algolia实现搜索功能,用 n8n自动化帖子发布流程,或添加功能以列出基于 [tags]的文章(https://ghost.org/docs/content-api/javascript/# helpers)。