介绍
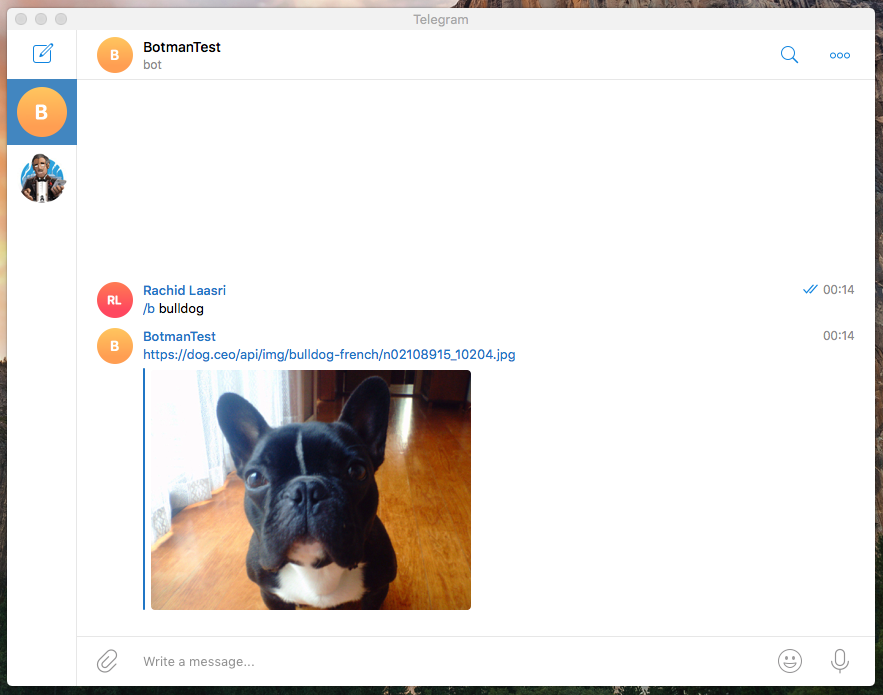
自动机器人是根据他们的请求为用户提供自定义数据的一种方式。 Laravel 和 Botman 框架提供了创建有用的机器人的工具。 在本教程中,您将使用 Dog API创建一个Telegram 机器人,它看起来像这样:
安装 Laravel 和 Botman
我们将采取的第一个步骤来创建这个机器人是安装 Laravel和 Botman.但在这样做之前,让我们先快速看看什么是机器人和它是如何工作的:
BotMan是一个框架无知的PHP库,旨在简化为多个消息平台开发创新机器人的任务,包括Slack,Telegram,Microsoft Bot Framework,Nexmo,HipChat,Facebook Messenger和WeChat。
1$botman->hears('Bot, What’s the best Web Development training website?', function (BotMan $bot) {
2    $bot->reply('DigitalOcean for sure. Give me a harder question!!');
3});
安装 Botman 工作室
Marcel Pociot,Botman的创造者,已经通过创建Botman Studio来节省了我们一些时间,这是一个可用和最新的Laravel应用程序,包括Botman和其他测试工具(稍后讨论)。
继续前进,创建一个新项目:
1composer create-project --prefer-dist botman/studio ilovedogs
现在我们有新的安装Laravel和Botman,让我们检查一切是否正常运行。
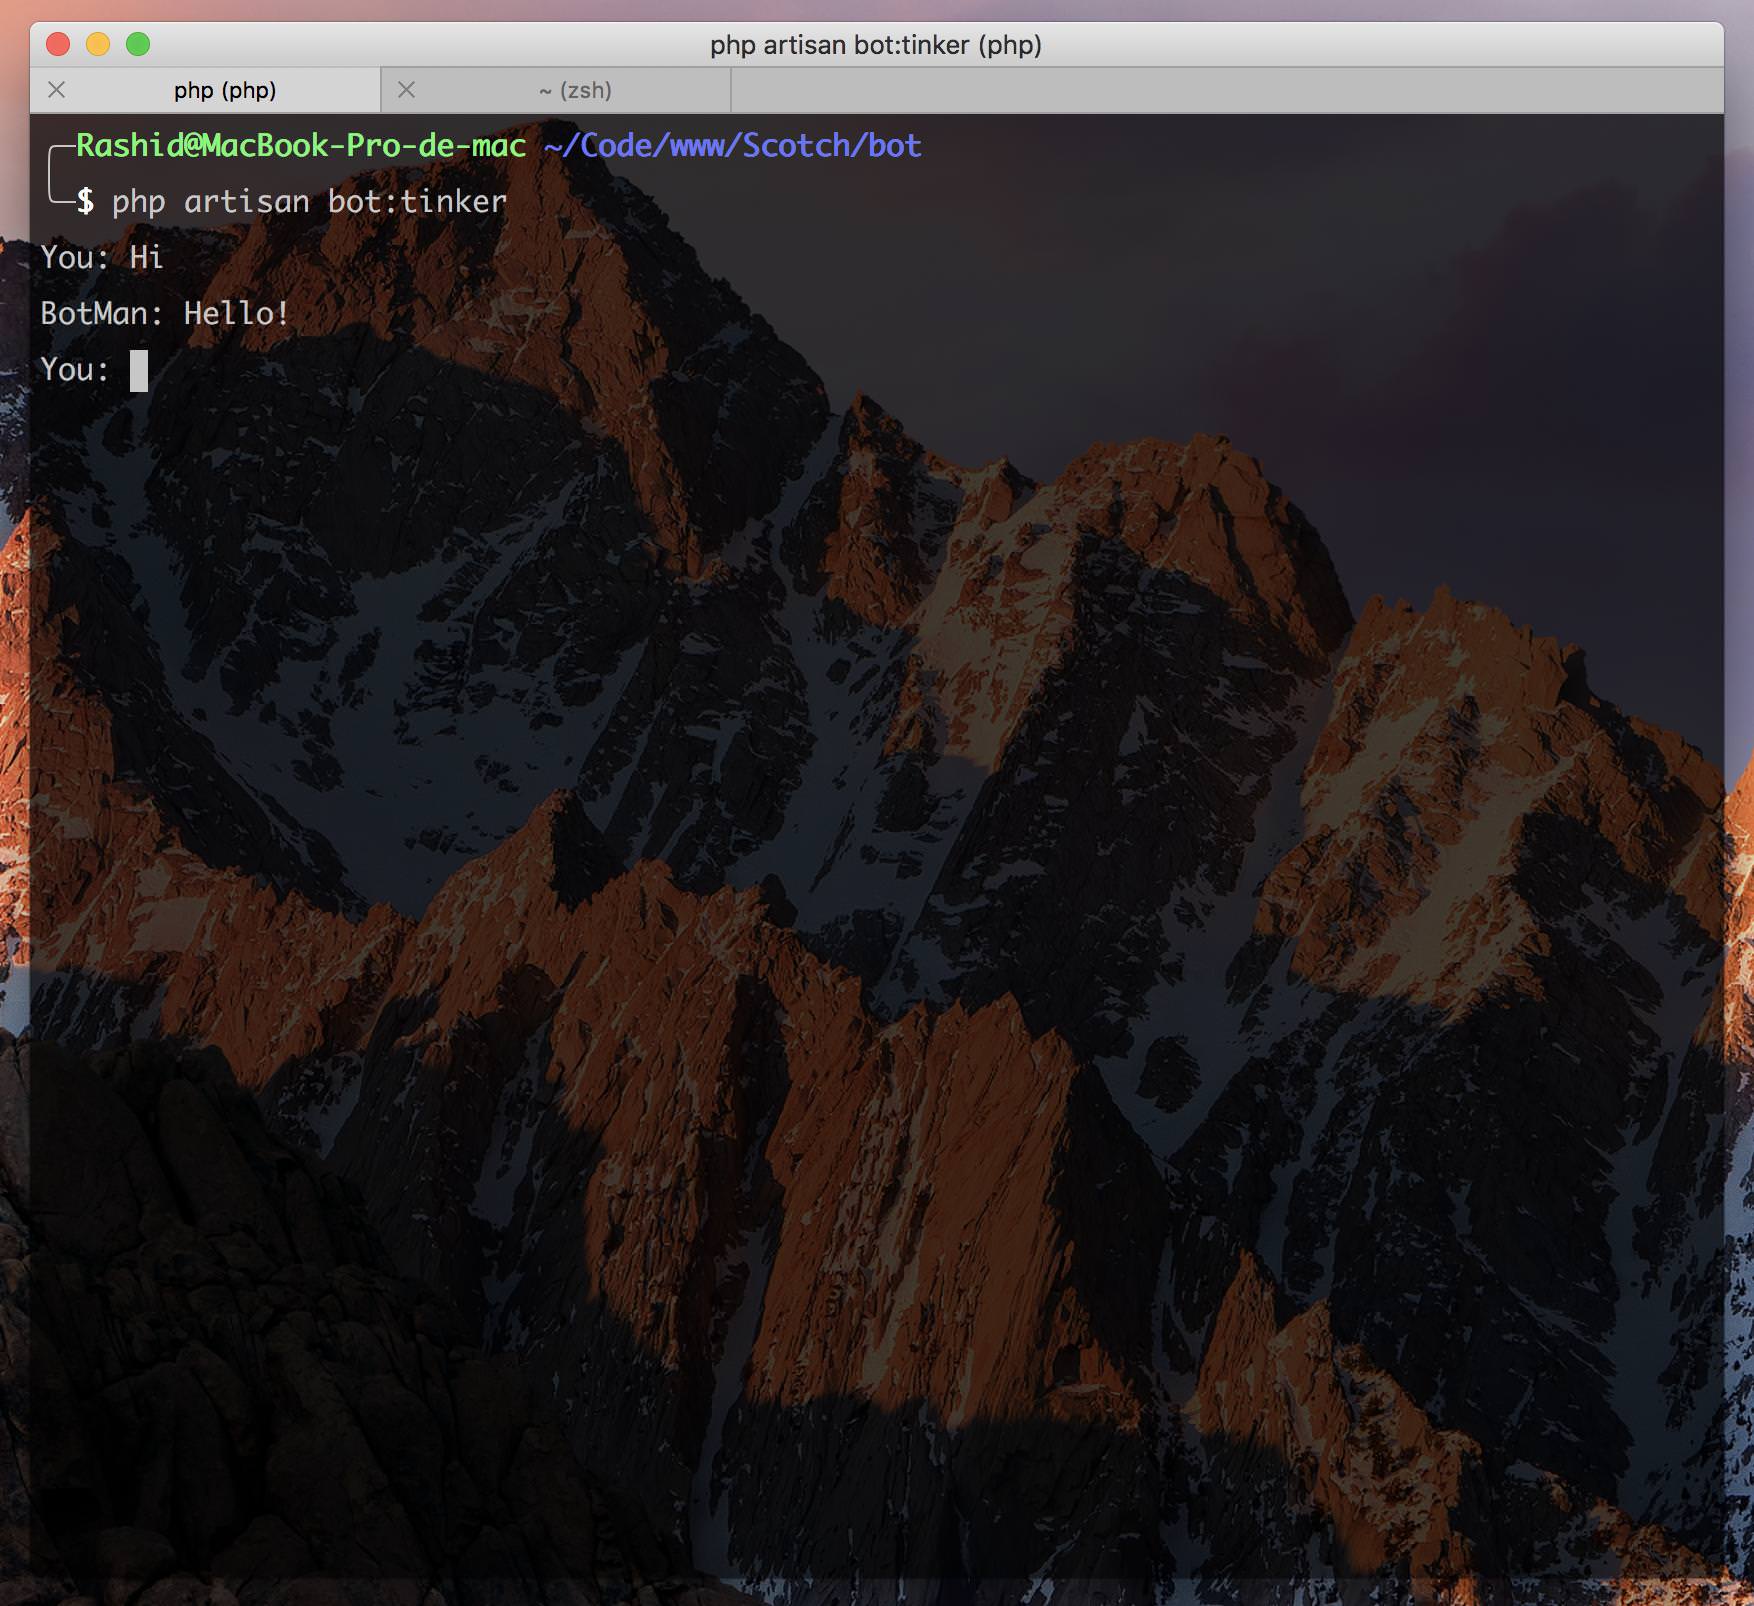
1php artisan botman:tinker
如果你输入了Hi,而机器人回答了Hello,那么你已经准备好了。
创建命令
我们的机器人应该能够响应不同的消息类型,这是我们将实施的功能的列表,但当然你总是可以添加任何额外的命令,你会喜欢你的机器人倾听:
- 发送所有犬种的随机照片 * 发送随机照片 * 发送随机照片 * 发送随机照片 * 发送随机照片 * 发送随机照片 * 发送随机照片 * 发送随机照片 * 发送随机照片 * 发送随机照片 * 发送随机照片 * 发送随机照片 * 发送随机照片 * 发送随机照片 * 发送随机照片 * 发送随机照片 * 发送随机照片 * 发送随机照片 * 发送随机照片 * 发送随机照片 * 发送随机照片 * 发送随机照片 * 发送随机照片 * 发送随机照片。
让我们清除routes/botman.php文件并从零开始。
发送来自所有品种的随机狗照片
为了从机器人获得随机狗照片,你必须发送它 / 随机,这就是我们如何告诉它响应这个准确的命令:
在您的routes/botman.php文件中:
1<?php
2
3use App\Conversations\StartConversation;
4
5$botman = resolve('botman');
6
7$botman->hears('/random', 'App\Http\Controllers\AllBreedsController@random');
继续前进并创建控制器:
1php artisan make:controller AllBreedsController
这就是它应该是什么样子:
 1<?php
 2
 3namespace App\Http\Controllers;
 4
 5use App\Services\DogService;
 6use App\Http\Controllers\Controller;
 7
 8class AllBreedsController extends Controller
 9{
10    /**
11     * Controller constructor
12     *
13     * @return void
14     */
15    public function __construct()
16    {
17        $this->photos = new DogService;
18    }
19
20    /**
21     * Return a random dog image from all breeds.
22     *
23     * @return void
24     */
25    public function random($bot)
26    {
27        // $this->photos->random() is basically the photo URL returned from the service.
28        // $bot->reply is what we will use to send a message back to the user.
29        $bot->reply($this->photos->random());
30    }
31
32}
我们首先创建了一个我们的DogService实例(app//services/DogService.php),它将负责向我们的终端进行API调用并获取图像,这里是它的样子:
 1<?php
 2
 3namespace App\Services;
 4
 5use Exception;
 6use GuzzleHttp\Client;
 7
 8class DogService
 9{
10    // The endpoint we will be getting a random image from.
11    const RANDOM_ENDPOINT = 'https://dog.ceo/api/breeds/image/random';
12
13    /**
14     * Guzzle client.
15     *
16     * @var GuzzleHttp\Client
17     */
18    protected $client;
19
20    /**
21     * DogService constructor
22     *
23     * @return void
24     */
25    public function __construct()
26    {
27        $this->client = new Client;
28    }
29
30    /**
31     * Fetch and return a random image from all breeds.
32     *
33     * @return string
34     */
35    public function random()
36    {
37        try {
38            // Decode the json response.
39            $response = json_decode(
40                // Make an API call an return the response body.
41                $this->client->get(self::RANDOM_ENDPOINT)->getBody()
42            );
43
44            // Return the image URL.
45            return $response->message;
46        } catch (Exception $e) {
47            // If anything goes wrong, we will be sending the user this error message.
48            return 'An unexpected error occurred. Please try again later.';
49        }
50    }
51}
通过其品种发送随机狗照片
对于这个,我们将使用命令 /b {breed} 和上面的同样的,我们打开了 routes/botman.php 文件,并告诉机器人通过添加这个行来倾听该命令:
1$botman->hears('/b {breed}', 'App\Http\Controllers\AllBreedsController@byBreed');
我们将使用我们以前使用的控制器,打开AllBreedsController,并添加以下方法:
 1/**
 2 * Return a random dog image from a given breed.
 3 *
 4 * @return void
 5 */
 6public function byBreed($bot, $name)
 7{
 8    // Because we used a wildcard in the command definition, Botman will pass it to our method.
 9    // Again, we let the service class handle the API call and we reply with the result we get back.
10    $bot->reply($this->photos->byBreed($name));
11}
让我们通过打开 DogService 类来定义我们服务类中的byBreed方法,并添加此方法:
 1/**
 2 * Fetch and return a random image from a given breed.
 3 *
 4 * @param string $breed
 5 * @return string
 6 */
 7public function byBreed($breed)
 8{
 9    try {
10        // We replace %s 	in our endpoint with the given breed name.
11        $endpoint = sprintf(self::BREED_ENDPOINT, $breed);
12
13        $response = json_decode(
14            $this->client->get($endpoint)->getBody()
15        );
16
17        return $response->message;
18    } catch (Exception $e) {
19        return "Sorry I couldn\"t get you any photos from $breed. Please try with a different breed.";
20    }
21}
不要忘了将上面的const端点添加到相同的文件中:
1// The endpoint we will hit to get a random image by a given breed name.
2const BREED_ENDPOINT = 'https://dog.ceo/api/breed/%s/images/random';
通过其品种和子品种发送随机狗照片
对于子品种照片,让我们使用命令 /s {breed}:{subBreed}
1$botman->hears('/s {breed}:{subBreed}', 'App\Http\Controllers\SubBreedController@random');
创建控制器:
1php artisan make:controller SubBreedController
我们将定义如下所示的随机方法:
 1<?php
 2
 3namespace App\Conversations;
 4
 5use App\Services\DogService;
 6use App\Http\Controllers\Controller;
 7
 8class SubBreedController extends Controller
 9{
10    /**
11     * Controller constructor
12     *
13     * @return void
14     */
15    public function __construct()
16    {
17        $this->photos = new DogService;
18    }
19
20    /**
21     * Return a random dog image from all breeds.
22     *
23     * @return void
24     */
25    public function random($bot, $breed, $subBreed)
26    {
27        $bot->reply($this->photos->bySubBreed($breed, $subBreed));
28    }
29}
我们将所需的终端点和方法添加到我们的DogService类:
1// The endpoint we will hit to get a random image by a given breed name and its sub-breed.
2const SUB_BREED_ENDPOINT = 'https://dog.ceo/api/breed/%s/%s/images/random';
 1/**
 2 * Fetch and return a random image from a given breed and its sub-breed.
 3 *
 4 * @param string $breed
 5 * @param string $subBreed
 6 * @return string
 7 */
 8public function bySubBreed($breed, $subBreed)
 9{
10    try {
11        $endpoint = sprintf(self::SUB_BREED_ENDPOINT, $breed, $subBreed);
12
13        $response = json_decode(
14            $this->client->get($endpoint)->getBody()
15        );
16
17        return $response->message;
18    } catch (Exception $e) {
19        return "Sorry I couldn\"t get you any photos from $breed. Please try with a different breed.";
20    }
21}
进行对话并提供帮助
对话是你通常在构建你的机器人时使用的内容,文件将其描述为:
当涉及到聊天机器人时,你可能不想简单地对单个关键字做出反应,但相反,你可能需要通过对话从用户那里收集信息,比如说,你希望你的聊天机器人为你的应用程序用户提供优雅的用户登机体验。
让我们通过将这个行添加到我们的routes/botman.php文件来创建我们的对话:
1$botman->hears('Start conversation', 'App\Http\Controllers\ConversationController@index');
创建控制器:
1php artisan make:controller ConversationController
然后在该类内定义一个索引方法:
 1<?php
 2
 3namespace App\Http\Controllers;
 4
 5use App\Http\Controllers\Controller;
 6use App\Conversations\DefaultConversation;
 7
 8class ConversationController extends Controller
 9{
10    /**
11     * Create a new conversation.
12     *
13     * @return void
14     */
15    public function index($bot)
16    {
17        // We use the startConversation method provided by botman to start a new conversation and pass
18        // our conversation class as a param to it.
19        $bot->startConversation(new DefaultConversation);
20    }
21}
如果你正在使用Botman Studio,你应该已经在应用程序文件夹中有一个对话文件夹,所以继续在该文件夹中创建一个新类,并命名它 DefaultConversation.php:
 1<?php
 2
 3namespace App\Conversations;
 4
 5use BotMan\BotMan\Messages\Incoming\Answer;
 6use BotMan\BotMan\Messages\Outgoing\Question;
 7use BotMan\BotMan\Messages\Outgoing\Actions\Button;
 8use BotMan\BotMan\Messages\Conversations\Conversation;
 9
10class DefaultConversation extends Conversation
11{
12    /**
13     * First question to start the conversation.
14     *
15     * @return void
16     */
17    public function defaultQuestion()
18    {
19        // We first create our question and set the options and their values.
20        $question = Question::create('Huh - you woke me up. What do you need?')
21            ->addButtons([
22                Button::create('Random dog photo')->value('random'),
23                Button::create('A photo by breed')->value('breed'),
24                Button::create('A photo by sub-breed')->value('sub-breed'),
25            ]);
26
27        // We ask our user the question.
28        return $this->ask($question, function (Answer $answer) {
29            // Did the user click on an option or entered a text?
30            if ($answer->isInteractiveMessageReply()) {
31                // We compare the answer to our pre-defined ones and respond accordingly.
32                switch ($answer->getValue()) {
33                case 'random':
34                    $this->say((new App\Services\DogService)->random());
35                    break;
36                    case 'breed':
37                        $this->askForBreedName();
38                        break;
39                    case 'sub-breed':
40                        $this->askForSubBreed();
41                        break;
42                }
43            }
44        });
45    }
46
47    /**
48     * Ask for the breed name and send the image.
49     *
50     * @return void
51     */
52    public function askForBreedName()
53    {
54        $this->ask('What\'s the breed name?', function (Answer $answer) {
55            $name = $answer->getText();
56
57            $this->say((new App\Services\DogService)->byBreed($name));
58        });
59    }
60
61    /**
62     * Ask for the breed name and send the image.
63     *
64     * @return void
65     */
66    public function askForSubBreed()
67    {
68        $this->ask('What\'s the breed and sub-breed names? ex:hound:afghan', function (Answer $answer) {
69            $answer = explode(':', $answer->getText());
70
71            $this->say((new App\Services\DogService)->bySubBreed($answer[0], $answer[1]));
72        });
73    }
74
75    /**
76     * Start the conversation
77     *
78     * @return void
79     */
80    public function run()
81    {
82        // This is the boot method, it's what will be excuted first.
83        $this->defaultQuestion();
84    }
85}
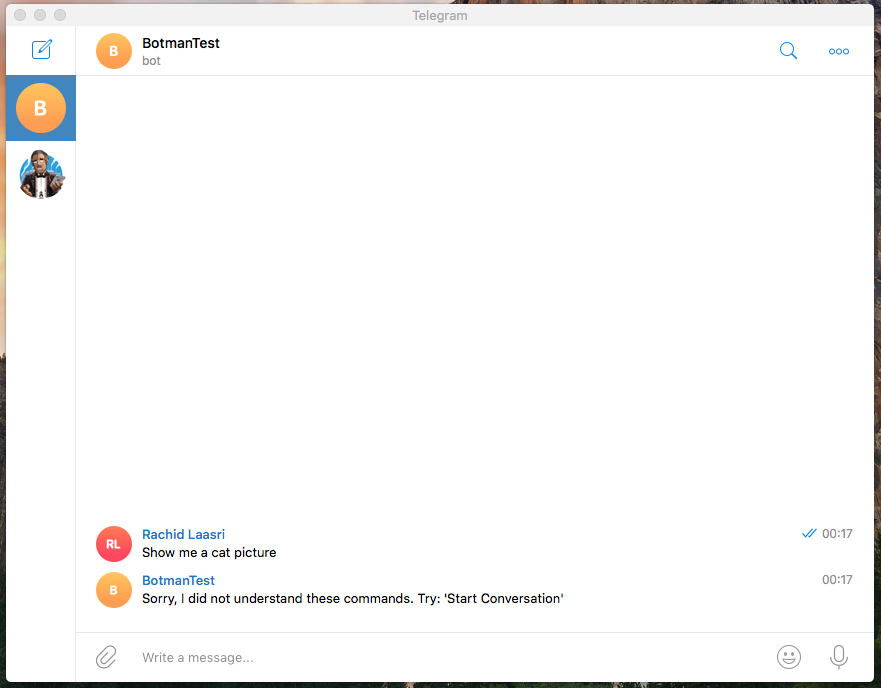
回复未识别的命令:
最后,我们需要让用户知道他们发送的消息时,我们的机器人无法识别,我们可以使用倒退方法这样做。
1$botman->fallback('App\Http\Controllers\FallbackController@index');
创建控制器:
1php artisan make:controller FallbackController
我们只会返回我们希望用户看到的信息:
 1<?php
 2
 3namespace App\Http\Controllers;
 4
 5use App\Http\Controllers\Controller;
 6
 7class FallbackController extends Controller
 8{
 9    /**
10     * Respond with a generic message.
11     *
12     * @param Botman $bot
13     * @return void
14     */
15    public function index($bot)
16    {
17        $bot->reply('Sorry, I did not understand these commands. Try: \'Start Conversation\'');
18    }
19}
测试船
- 发送来自所有品种的随机狗照片:
- 根据其品种发送随机狗照片:
- 根据其品种和子品种发送随机狗照片:
- 進行對話並提供幫助:

- 响应未识别的命令:
安装 Telegram 驱动程序
成功创建和测试我们的命令后,现在是时候与Telegram集成了。
1composer require botman/driver-telegram
创建一个电报机器人
我们成功创建了我们的bot,定义了命令并测试了它,现在是时候创建一个Telegram Bot了。
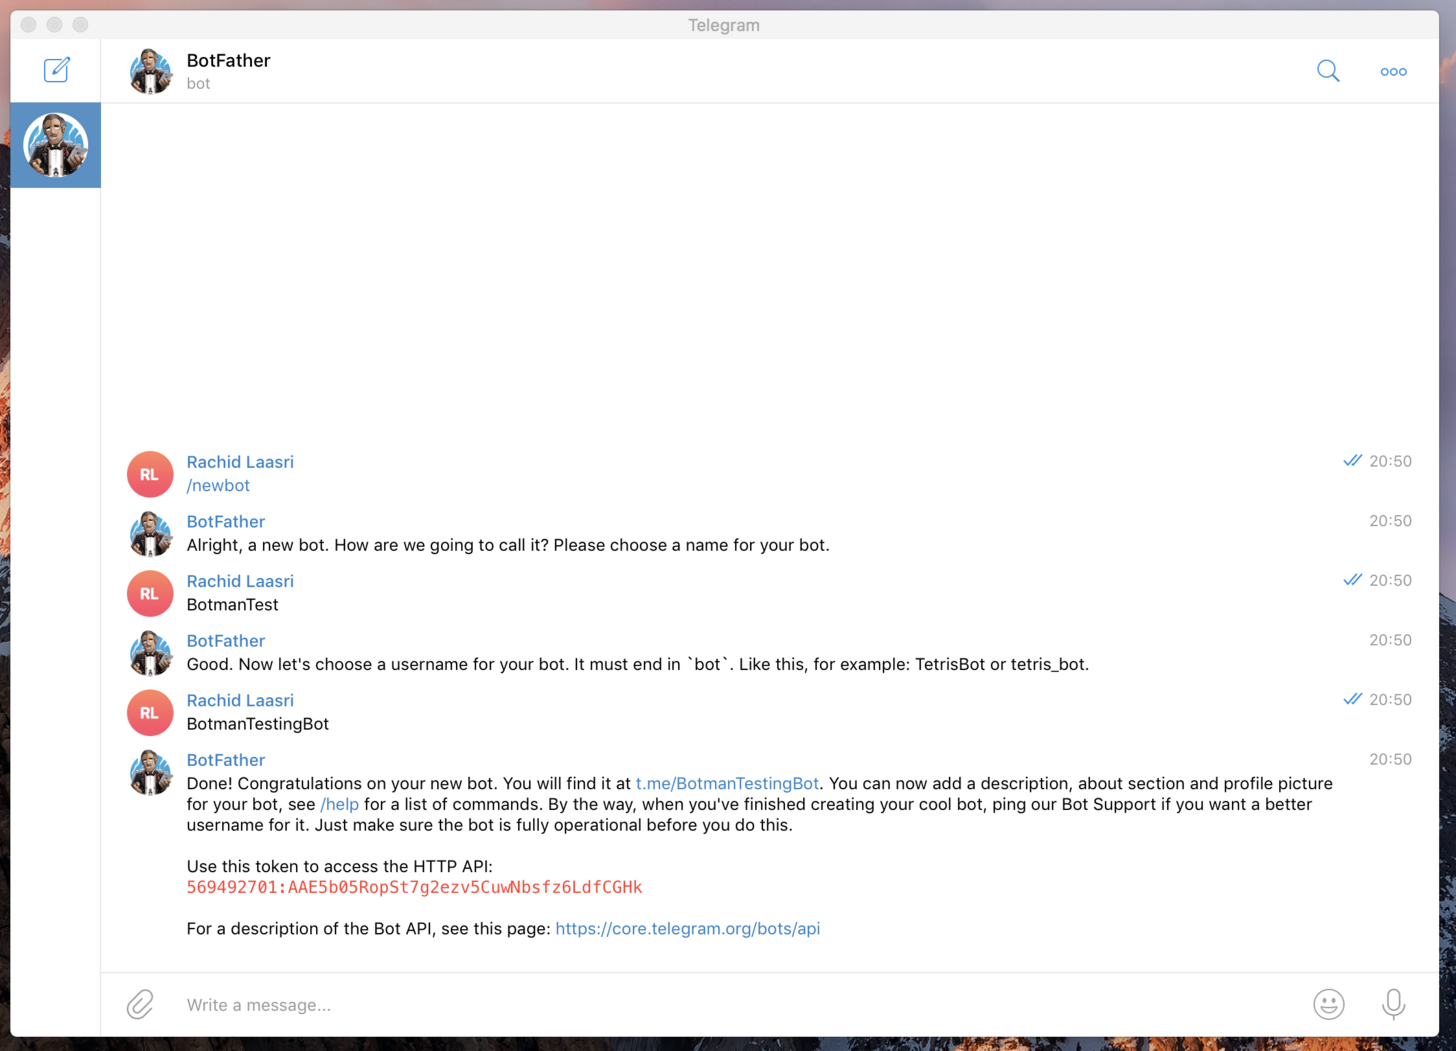
将此添加到您的 .env 文件中,并用 Telegram 给你的代币取代 YOUR_TOKEN:
1TELEGRAM_TOKEN=YOUR_TOKEN
安装和运行 ngrok
因为Telegram需要一个有效和安全的URL来设置网页和接收用户的消息,我们将使用ngrok或你可以部署你的应用程序在服务器上并设置SSL证书,但对于演示我们会坚持到ngrok。
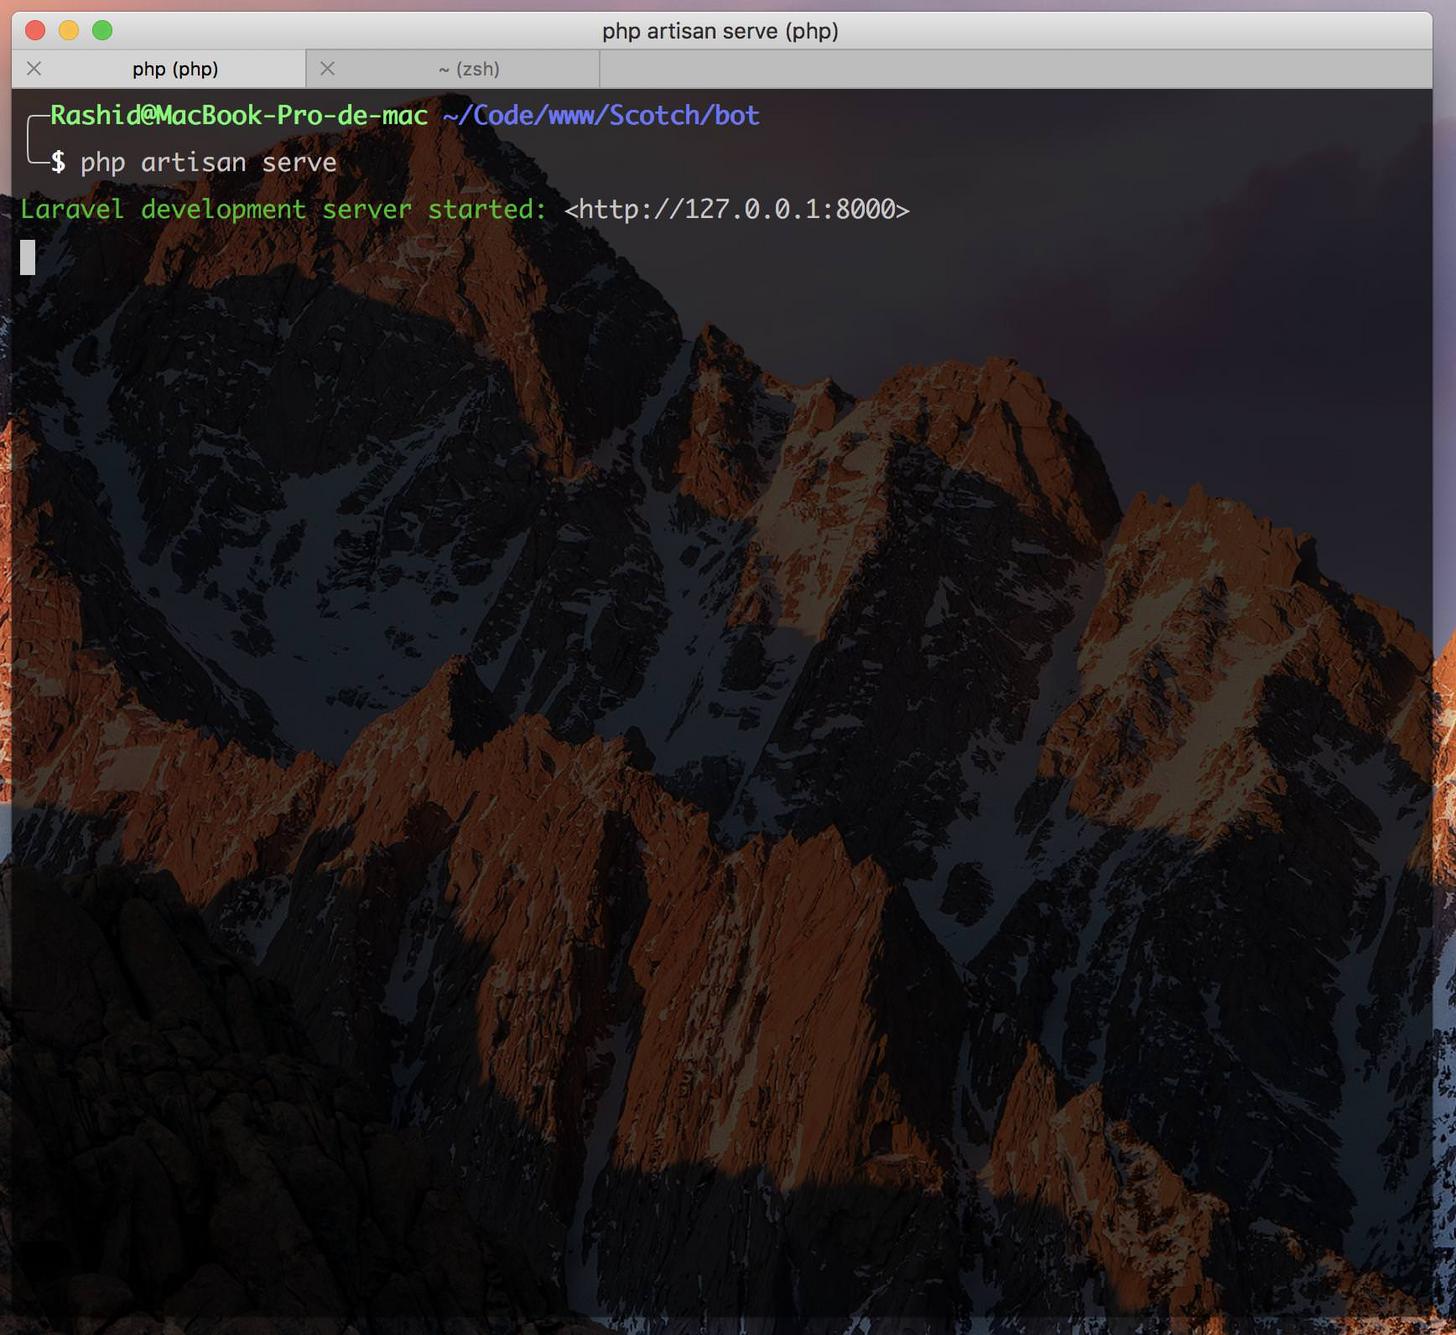
现在cd进入你的应用程序文件夹,然后运行php工艺服务
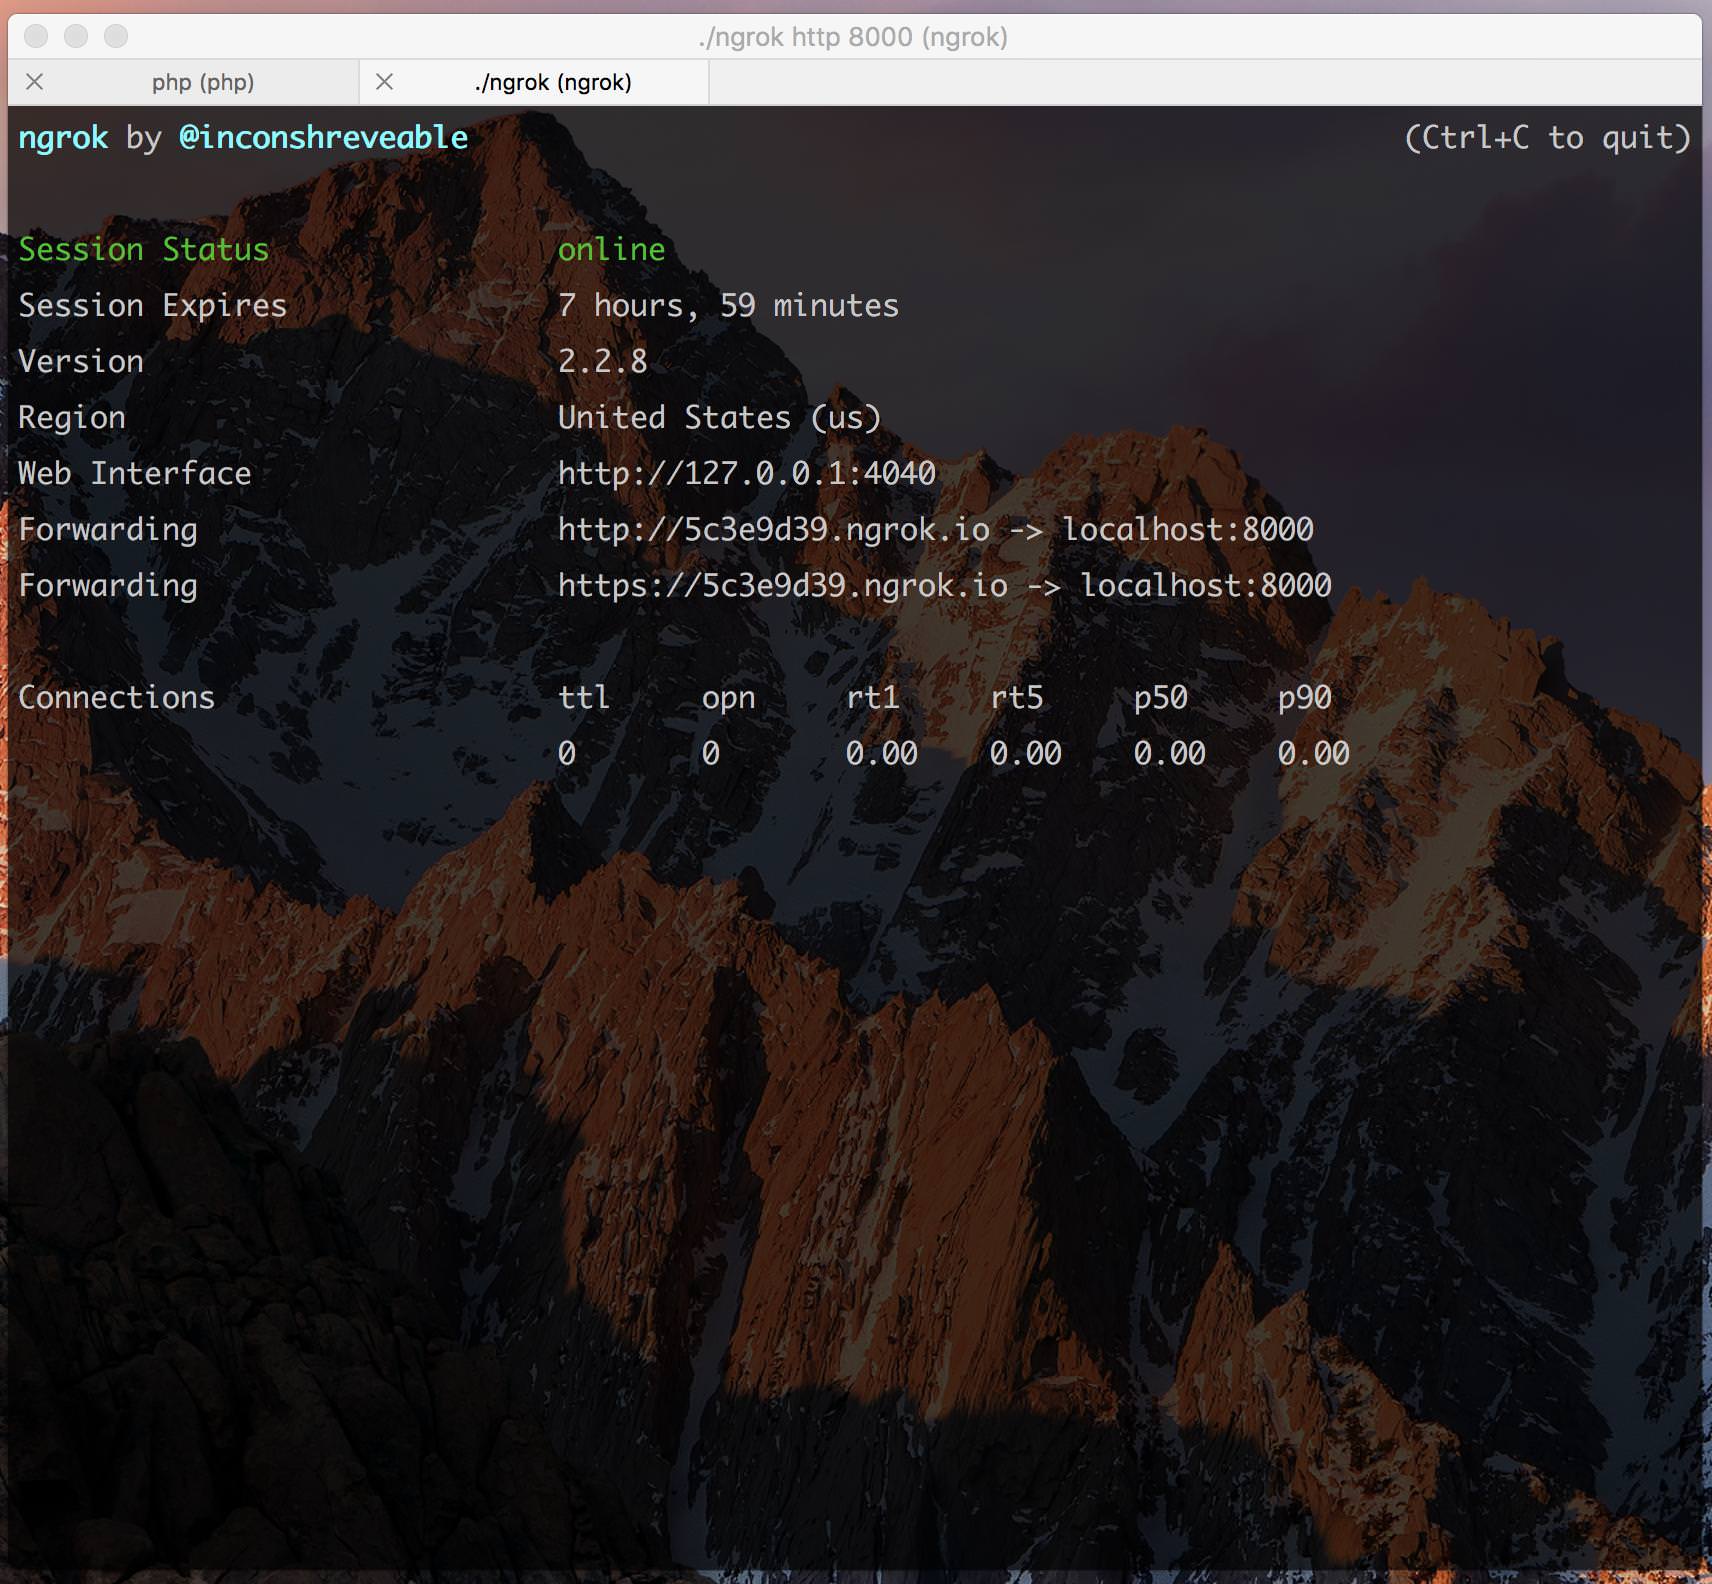
时间运行 ngrok, cd 进入 ngrok 所在的文件夹并运行 ./ngrok http 8000
将机器人链接到电报
最后一步是将我们的应用链接到我们之前创建的Telegram Bot,然后我们将向该URL发送POST请求,并传递为我们生成的URL ngrok:
1https://api.telegram.org/bot{TOKEN}/setWebhook
您可以使用 Postman 或 CURL 执行此命令:
1curl -X POST -F 'url=https://{YOU_URL}/botman' https://api.telegram.org/bot{TOKEN}/setWebhook
如果你做得对,你应该得到这个准确的JSON响应:
1{
2    "ok": true,
3    "result": true,
4    "description": "Webhook was set"
5}
在电报上测试它
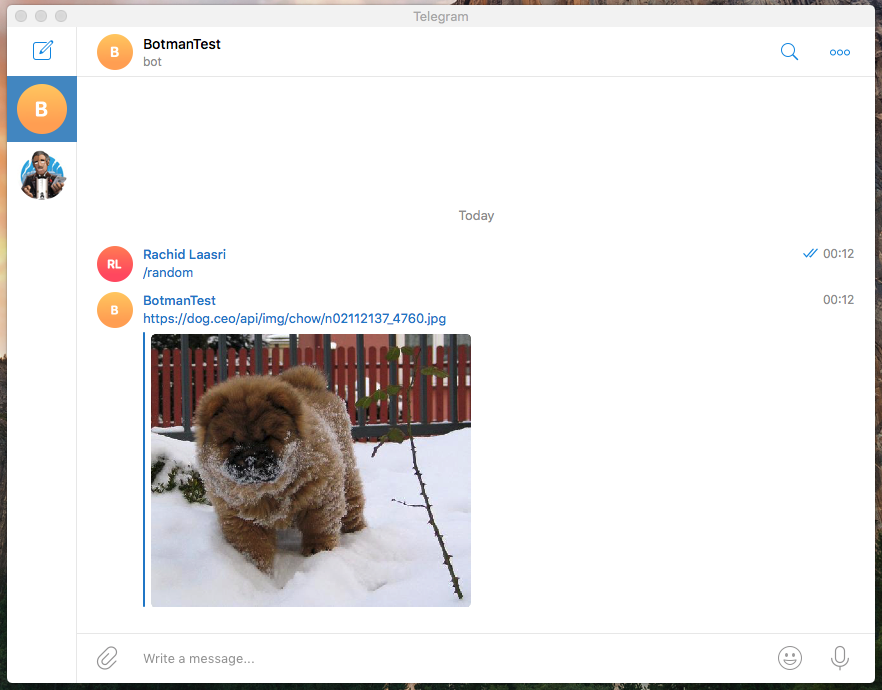
- 发送来自所有品种的随机狗照片:
- 根据其品种发送随机狗照片:
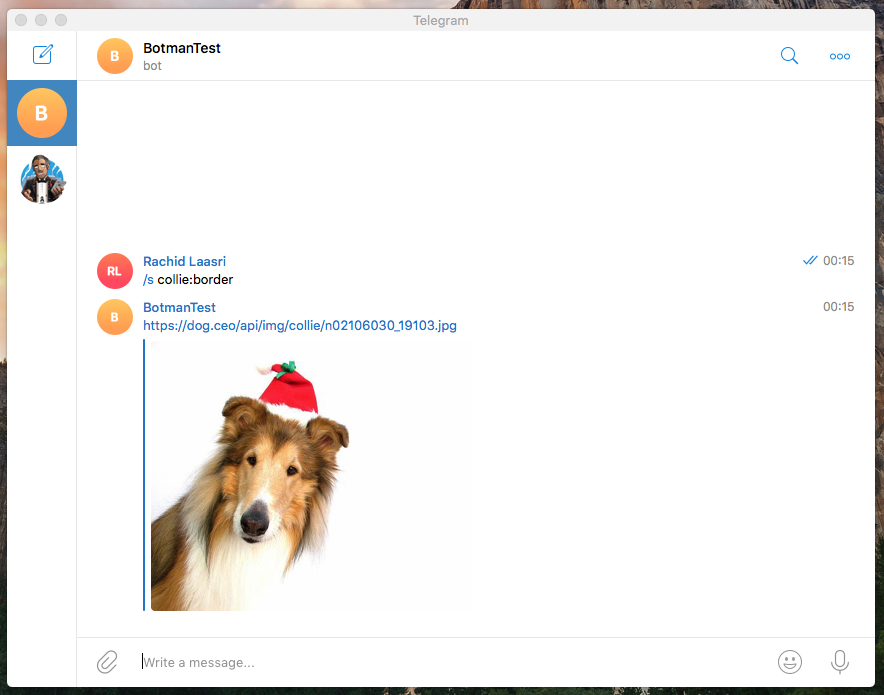
- 根据其品种和子品种发送随机狗照片:
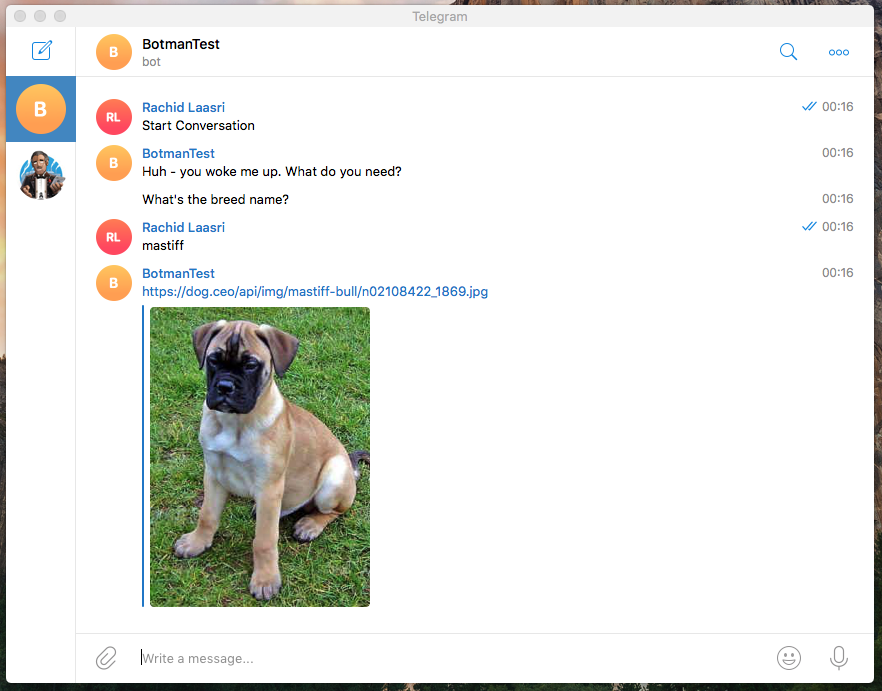
- 進行對話並提供幫助:
- 响应未识别的命令:
结论
我希望你发现这个教程有用,如果你跟随并创建了自己的机器人。