作者选择了 多样性在技术基金作为 写给捐款计划的一部分接受捐款。
介绍
landing pages 是宣传产品或服务的网页,为客户在到达网站时提供一个地方。对于企业来说,它们往往是在线广告和营销电子邮件中的链接的目的地。
在本教程中,您将使用以下两种技术构建一个定位页面:
- Gatsby,一个基于 React的前端框架,旨在生成静态网站。Gatsby允许您快速生成定位页面,这在为不同项目创建多个定位页面时可能有用。 * TypeScript是JavaScript的一个超组,在构建时引入静态类型和类型检查。TypeScript已经成为其强大的打字系统,使开发人员在代码进入信号之前警告代码中的问题,成为最常用的替代品之一。
您将在本教程中构建的示例定位页面将促进书店,并将包括下列定位页面的常见组件:
- 书店的标题 * 与商店相关的英雄图像 * 功能/服务列表的销售场景 * 电子邮件登记表格,可用于将读者添加到有关业务的邮件列表中
样本项目将在教程结束时看起来像以下图像:

前提条件
- 联合国 您需要安装在您的机器上的 [Node] (https://nodejs.org) (npm] (https://www.npmjs.com/) 来运行一个开发服务器并使用软件包工作 。 此教程已通过Node.js版本14.17.2和npm 6.14.13测试. 要安装在 macOS 或 Ubuntu 20.04 上,请遵循 [如何在 macOS (https://andsky.com/tech/tutorials/how-to-install-node-js-and-create-a-local-development-environment-on-macos) 上安装节点并创建本地开发环境(https://andsky.com/tech/tutorials/how-to-install-node-js-on-ubuntu-20-04)中的步骤,或者使用 [如何在 Ubuntu 20.04 (https://andsky.com/tech/tutorials/how-to-install-node-js-on-ubuntu-20-04 上安装节点.js] 的 PPA** 部分。
- 联合国 您需要安装 [Gatsby CLI (https://www.gatsbyjs.com/docs/reference/gatsby-cli/) 工具, 并使用
Gatsby- starter- default模板新建 Gatsby 站点 。 在 [如何设置您的第一个 Gatsby 网站] (https://andsky.com/tech/tutorials/how-to-set-up-your-first-gatsby-website ) 中跟随 ** 第 1 段 ** 启动一个新项目。 该教程将把该项目称为 " 书店-登陆页 " 。 - 联合国 您需要设置您的 Gatsby 计划, 与 TypeScript 合作 。 遵循 ** 第 1 段 ** 至 ** 第 4 段 ** 在 [How to set up a Gatsby Project with TypeScript] (https://andsky.com/tech/tutorials/how-to-set-up-a-gatsby-project-with-typescript) 中安装适当的依赖性,创建新的
tsconfig.json文件,并在 TypeScript 中重构 `seo.tsx' 文件 。 - 联合国 您需要熟悉反应组件和JSX,因为Gatsby是一个基于反应的框架. 此教程还将包括使用表单中的事件处理器. 您可以在 [How To Code in react.js] (https://www.digitalocean.com/community/tutorial_series/how-to-code-in-react-js) 系列中学习这些概念和更多的概念. .
步骤 1 – 重构头部和布局组件
在此步骤中,您将开始重构现有的header.tsx和layout.tsx组件,您在前提教程中创建的书店定位页项目。这将包括用自定义类型接口更换默认类型定义,并修订一些GraphQL查询。完成此步骤后,您将用页面的标题和描述填充您的定位页的标题,并创建一个布局组件来实现未来的组件。
《Header》
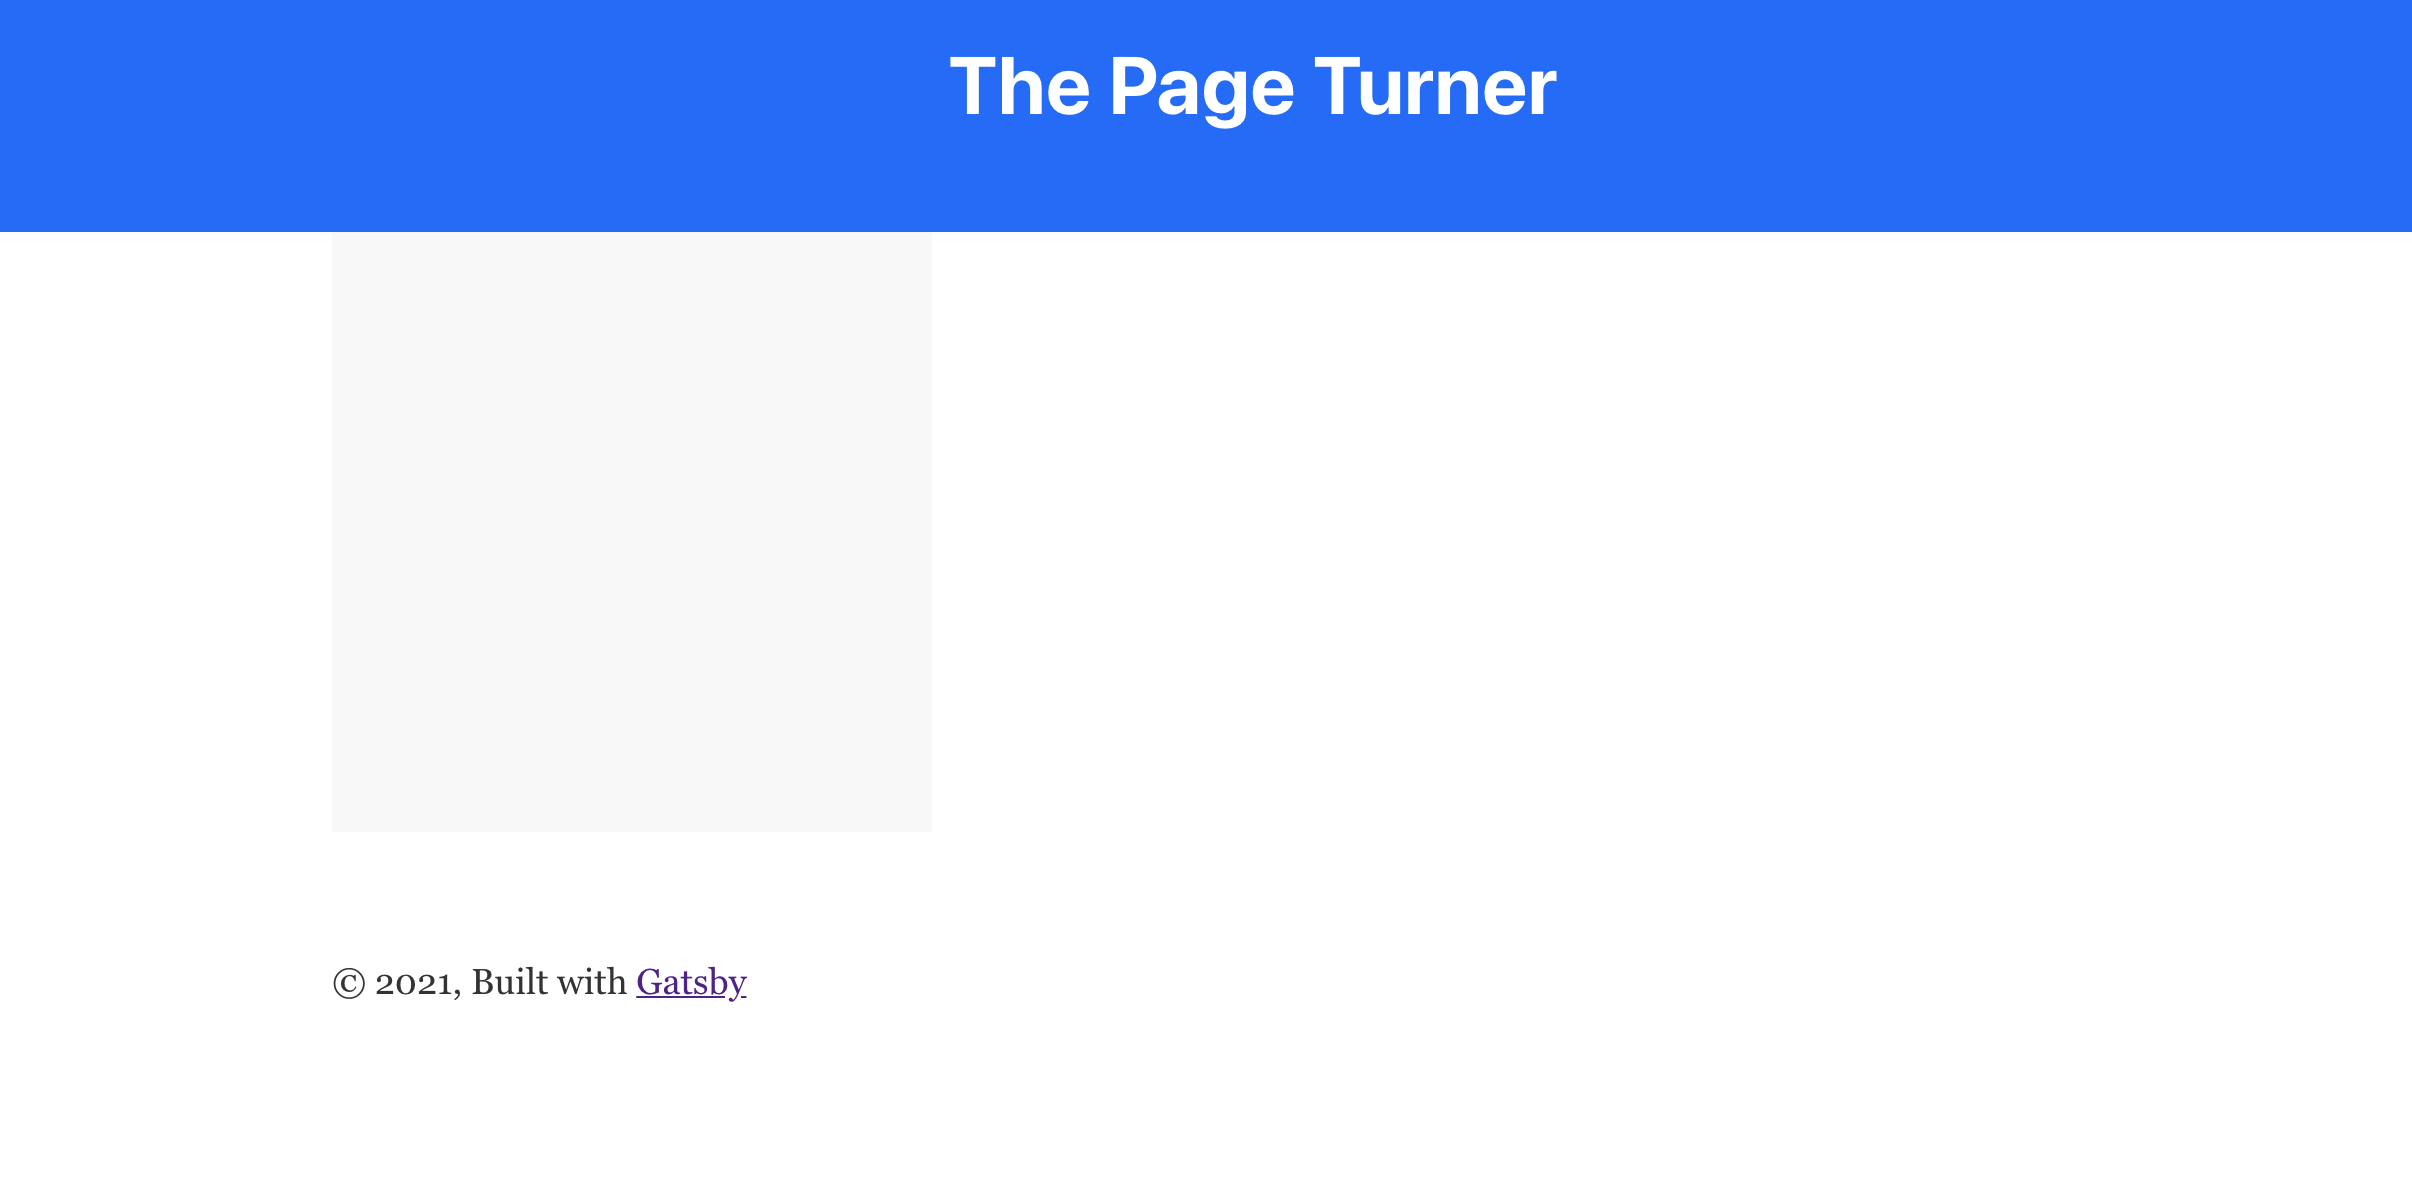
Header组件将在浏览器窗口的顶部显示您的页面标题和描述,但在重构此组件之前,您将在项目的根目录中打开gatsby-config.js文件,以更新网站的元数据。
在导出模块中的siteMetaData下,将标题和描述的值更改为书店名称和商业口号,如下所示的突出代码所示:
1[label bookstore-landing-page/gatsby-config.js]
2module.exports = {
3  siteMetadata: {
4    title: `The Page Turner`,
5    description: `Explore the world through the written word!`,
6    author: `@gatsbyjs`,
7  },
8  plugins: [
9    ...
执行这些更改后,保存并关闭gatsby-config.js文件。
接下来,在bookstore-landing-page/src/components目录中,打开header.tsx文件. 从这里开始,您将重塑<Header />组件以使用TypeScript打字而不是默认PropTypes。
 1[label bookstore-landing-page/src/components/header.tsx]
 2import * as React from "react"
 3import { Link } from "gatsby"
 4
 5interface HeaderProps {
 6  siteTitle: string,
 7  description: string
 8}
 9
10const Header = ({ siteTitle, description }: HeaderProps) => (
11  ...
12)
13
14export default Header
您在Header声明后删除了Header.PropTypes和Header.defaultProps对象,并使用siteTitle和description属性替换了HeaderProps自定义接口,然后将description添加到转移到函数组件的参数列表中,并将其分配到HeaderProps类型。新定义的HeaderProps接口将作为从<Layout/>组件中的 GraphQL 查询中转移到<Header/>组件的参数的自定义类型。
接下来,在<Header />组件的JSX中,更改打开header标签中的风格,以便背景颜色是蓝色,文本是中间对齐的。
 1[label bookstore-landing-page/src/components/header.tsx]
 2...
 3
 4const Header = ({ siteTitle, description }: HeaderProps) => (
 5  <header
 6    style={{
 7      background: `#0069ff`,
 8      textAlign: `center`,
 9    }}
10  >
11    <div
12      style={{
13        margin: `0 auto`,
14        maxWidth: 960,
15        padding: `1.45rem 1.0875rem`,
16      }}
17    >
18      <h1 style={{ margin: 0 }}>
19        <Link
20          to="/"
21          style={{
22            color: `white`,
23            textDecoration: `none`,
24          }}
25        >
26          {siteTitle}
27        </Link>
28      </h1>
29      <h3 style={{
30        color: 'white'
31      }}>
32        {description}
33      </h3>
34    </div>
35  </header>
36)
37
38export default Header
现在,当数据传输到该组件时,您将有内线样式。
將變更保存在「header.tsx」檔案中,然後執行「gatsby develop」並在您的瀏覽器上移至「localhost:8000」。
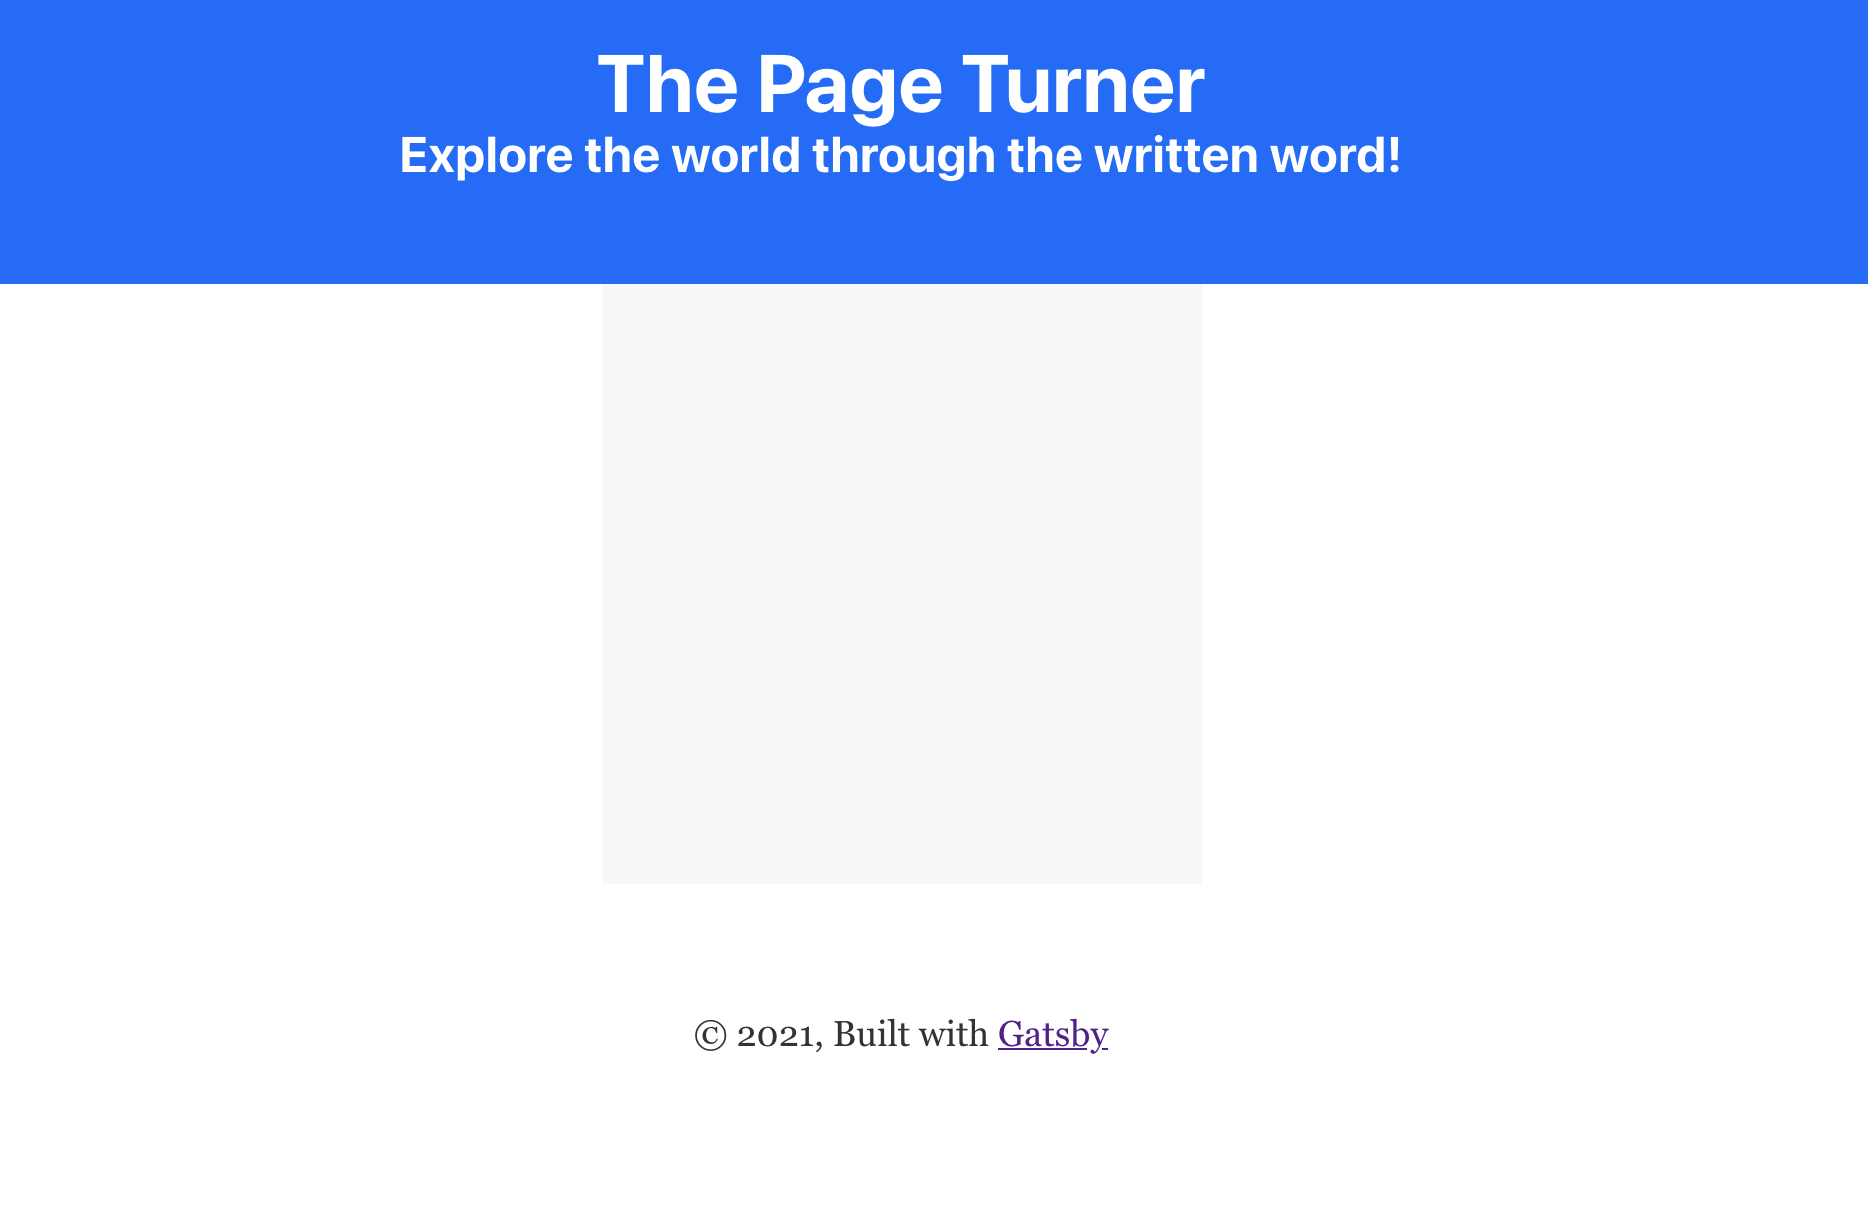
请注意,说明尚未渲染,下一步,您将将此添加到layout.tsx中的 GraphQL 查询中,以确保显示。
随着<Header/>组件的准备,您现在可以重新定义定位页的默认<Layout/>组件。
布局
<Layout />组件将包装您的目标页面,并可以帮助您在您的网站上分享未来页面的风格和格式化。
要开始编辑此组件,请在文本编辑器中打开layout.tsx。 删除文件末尾的默认类型定义,然后在导入陈述后定义一个名为LayoutProps的新界面。
 1[label bookstore-landing-page/src/components/layout.tsx]
 2/**
 3 * Layout component that queries for data
 4 * with Gatsby's useStaticQuery component
 5 *
 6 * See: https://www.gatsbyjs.com/docs/use-static-query/
 7 */
 8
 9import * as React from "react"
10import { useStaticQuery, graphql } from "gatsby"
11
12import Header from "./header"
13import "./layout.css"
14
15interface LayoutProps {
16  children: ReactNode
17}
18
19const Layout = ({ children }: LayoutProps) => {
20  ...
21}
22
23default export Layout
该界面使用您与 React 库一起导入的 ReactNode 类型。 此类型定义适用于大多数 React 子组件,这是 <Layout/> 默认表示的。
接下来,检查位于<Layout/>组件内的默认 GraphQL 查询。在siteMetaData对象中,添加在gatsby-config.js中设置的描述。
 1[label bookstore-landing-page/src/components/layout.tsx]
 2...
 3
 4const Layout = ({ children }: LayoutProps) => {
 5  const data = useStaticQuery(graphql`
 6    query SiteTitleQuery {
 7      site {
 8        siteMetadata {
 9          title
10          description
11        }
12      }
13    }
14  `)
15
16  const siteTitle = data.site.siteMetadata?.title || `Title`
17  const description = data.site.siteMetadata?.description || 'Description'
18
19 ...
现在,您可以将描述作为附件传递到布局返回的 JSX 中的<Header/>组件中,这很重要,因为描述在HeaderProps界面中被定义为所需的属性:
 1[label bookstore-landing-page/src/components/layout.tsx]
 2
 3...
 4
 5  return (
 6    <>
 7      <Header siteTitle={siteTitle} description={description}/>
 8      ...
 9    </>
10  )
11
12export default Layout
保存并退出layout.tsx文件。
作为您布局的最终更改,请进入layouts.css,以中心页面的身体中的所有文本来进行样式更改:
 1[label bookstore-landing-page/src/components/layout.css]
 2...
 3
 4/* Custom Styles */
 5
 6body {
 7  margin: 0;
 8  -webkit-font-smoothing: antialiased;
 9  -moz-osx-font-smoothing: grayscale;
10  color: hsla(0, 0%, 0%, 0.8);
11  font-family: georgia, serif;
12  font-weight: normal;
13  word-wrap: break-word;
14  font-kerning: normal;
15  -moz-font-feature-settings: "kern", "liga", "clig", "calt";
16  -ms-font-feature-settings: "kern", "liga", "clig", "calt";
17  -webkit-font-feature-settings: "kern", "liga", "clig", "calt";
18  font-feature-settings: "kern", "liga", "clig", "calt";
19  text-align: center;
20}
21
22...
保存并关闭layout.css文件,然后启动开发服务器并在浏览器中渲染您的网站。
现在你已经重塑了你的Gatsby网站的基于文件,你可以添加一个英雄图像到你的页面,使它更有视觉吸引力的客户。
步骤 2 — 添加英雄图像
英雄图像是指在定位页面中为产品或服务提供支持的视觉图像,在此步骤中,您将下载图像,用于您的书店定位页面,并使用gatsby-plugin-image插件的<StaticImage />组件在网站上渲染。
注:本项目使用了 Gatsby 版本 3.9.0,因此您将无法使用已过时的gatsby-image包,该包被gatsby-plugin-image取代,这个新插件将与gatsby-plugin-sharp的帮助一起,提供具有处理功能的响应性图像。
首先,从 Unsplash下载书架图像,该网站提供您可以自由使用的图像:
1curl https://images.unsplash.com/photo-1507842217343-583bb7270b66 -o src/images/bookshelf.png
这个命令使用curl来下载图像. -o 标志表示输出,您已在 images 目录中设置为名为 bookshelf.png 的文件。
现在打开src/pages/index.tsx文件. Gatsby 的默认启动模板已经具有<StaticImage/>组件,所以替换属性来指向您新下载的图像:
 1[label bookstore-landing-page/src/pages/index.tsx]
 2import * as React from "react"
 3import { StaticImage } from "gatsby-plugin-image"
 4
 5import Layout from "../components/layout"
 6import Seo from "../components/seo"
 7
 8const IndexPage = () => (
 9  <Layout>
10    <Seo title="Home" />
11    <StaticImage
12      src="../images/bookshelf.png"
13      alt="Bookshelf hero image"
14    />
15  </Layout>
16)
17
18export default IndexPage
您在您的图像目录中添加了一个src属性,将Gatsby导向正确的图像,然后添加了alt属性,为图像提供替代文本。
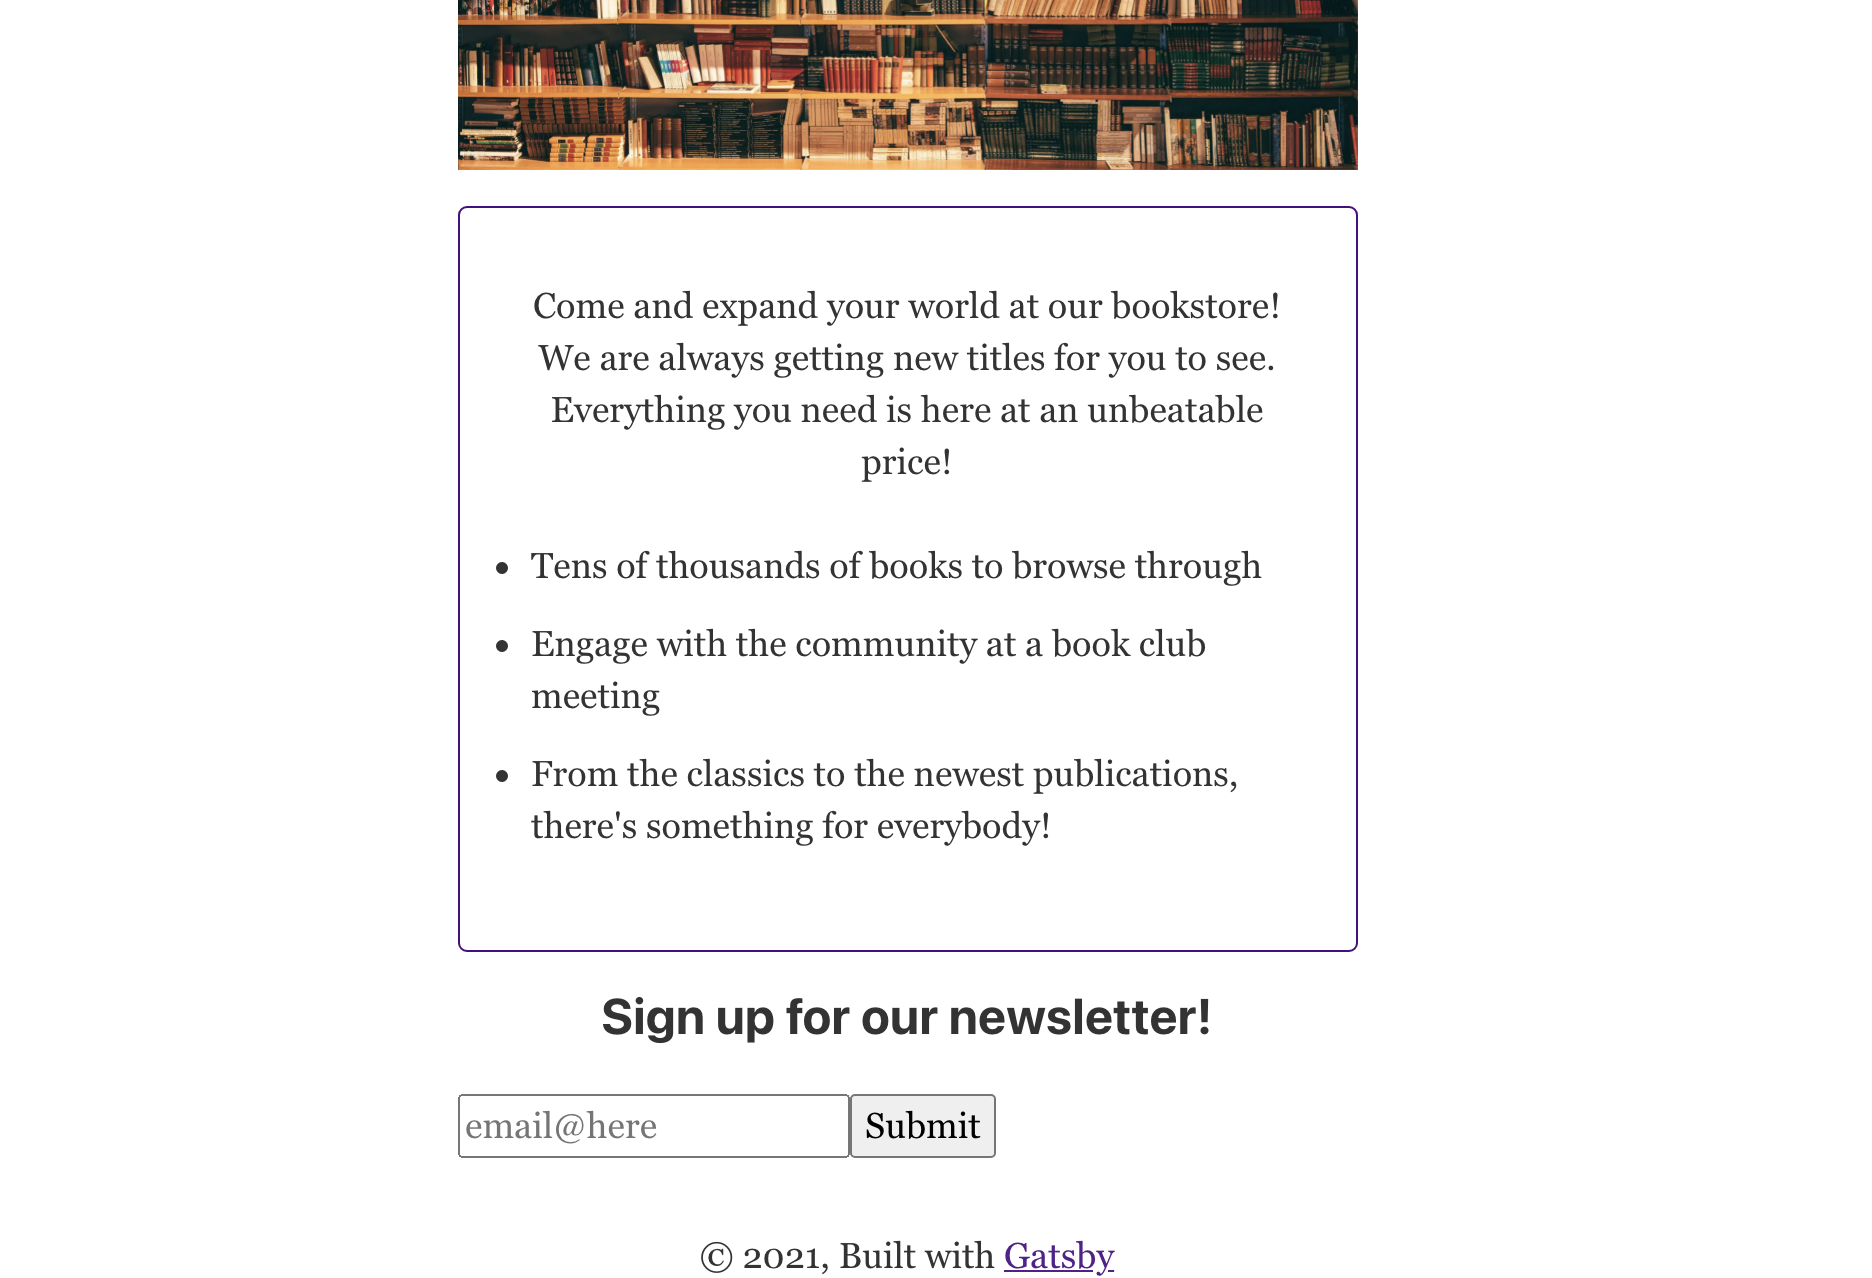
保存并关闭文件,然后重新启动开发服务器. 您的页面现在将有下载的书架图像在其中心渲染:

随着您的图像现在在您的网站上渲染,您可以继续向页面添加一些内容。
步骤 3 — 创建销售场地和功能组件
对于定位页的下一部分,你将构建一个新的组件,以保持你的书店的销售场景. 这将解释为什么你的客户应该来你的商店。
在bookstore-landing-page/src/components中,继续创建一个名为salesPitchAndFeatures.tsx的新文件,在新文件中导入React,创建一个名为SalesPitchAndFeatures的新功能组件,然后导出:
1[label bookstore-landing-page/src/components/salesPitchAndFeatures.tsx]
2import * as React from "react"
3
4const SalesPitchAndFeatures = () => {
5  <>
6  </>
7}
8
9export default SalesPitchAndFeatures
该组件的界面将包含一个可选的salesPitch属性,类型为string。它还将包含一个类型为Array<string>的功能列表,需要:
1[label bookstore-landing-page/src/components/salesPitchAndFeatures.tsx]
2import * as React from "react"
3
4interface SalesPitchAndFeaturesProps {
5  salesPitch?: string
6  features: Array<string>
7}
8...
用于salesPitch和功能的数据将在salesPitchAndFeatures.tsx内硬编码,但您也可以将其存储在另一个位置(如gatsby-config.js)并使用 GraphQL 查询所需的数据。
 1[label bookstore-landing-page/src/components/salesPitchAndFeatures.tsx]
 2...
 3
 4interface salesPitchAndFeaturesProps {
 5    salesPitch?: string
 6    features: Array<string>
 7}
 8
 9const content: SalesPitchAndFeaturesProps = {
10    salesPitch: "Come and expand your world at our bookstore! We are always getting new titles for you to see. Everything you need is here at an unbeatable price!",
11    features: [
12    "Tens of thousands of books to browse through",
13    "Engage with the community at a book club meeting",
14    "From the classics to the newest publications, there's something for everybody!"
15]}
16
17const SalesPitchAndFeatures = () => {
18    return (
19        <>
20
21          ...
请注意,salesPitch是字符串,而功能是字符串的数组,就像您在界面中设置它们一样。
您还需要一个函数来显示功能列表. 创建一个 showFeatures(f) 函数。
 1[label bookstore-landing-page/src/components/salesPitchAndFeatures.tsx]
 2...
 3
 4const showFeatures: any = (f: string[]) => {
 5    return f.map(feature => <li>{feature}</li>)
 6}
 7
 8const SalesPitchAndFeatures = () => {
 9    return (
10        <>
11
12          ...
将f传入showFeatures的参数类型为Array<string>,以与string类型的函数组合一致。
填充返回声明与您的内容,包装在潜水与分配的类名称为风格:
 1[label bookstore-landing-page/src/components/salesPitchAndFeatures.tsx]
 2...
 3
 4const SalesPitchAndFeatures = () => {
 5    return (
 6        <div className='features-container'>
 7            <p className='features-info'>
 8                {content.salesPitch}
 9            </p>
10            <ul className='features-list'>
11                {showFeatures(content.features)}
12            </ul>
13        </div>
14    )
15}
16
17export default SalesPitchAndFeatures
保存并关闭salesPitchAndFeatures.tsx。
接下来,打开layout.css以添加在<SalesPitchAndFeatures/>组件中添加的类名称的样式:
 1[label bookstore-landing-page/src/components/layout.css]
 2...
 3.features-container {
 4  border: 1px solid indigo;
 5  border-radius: 0.25em;
 6  padding: 2em;
 7  margin: 1em auto;
 8}
 9
10.features-list {
11  text-align: left;
12  margin: auto;
13}
这增加了围绕销售场景和功能列表的边界,然后增加了元素之间的间距,以增加可读性。
保存并关闭layout.css。
最后,您将将该组件渲染到目标页面上。在src/pages/目录中打开index.tsx。在渲染的布局中添加<SalesPitchAndFeatures/>组件:
 1[label bookstore-landing-page/src/pages/index.tsx]
 2import * as React from "react"
 3import { StaticImage } from "gatsby-plugin-image"
 4
 5import Layout from "../components/layout"
 6import SalesPitchAndFeatures from "../components/salesPitchAndFeatures"
 7import SEO from "../components/seo"
 8
 9const IndexPage = () => (
10  <Layout>
11    <SEO title="Home" />
12    <div style={{ maxWidth: `450px`, margin: ' 1em auto'}}>
13      <StaticImage
14        src="../images/bookshelf.png"
15        alt="Bookshelf hero image"
16      />
17      <SalesPitchAndFeatures/>
18    </div>
19  </Layout>
20)
21
22export default IndexPage
您还添加了一个div,将一些风格应用于图像和销售场景。
重新启动你的开发服务器,你会发现你的销售场景和功能列表在你的图像下面渲染:
您现在在您的定位页面上有一个销售点,这将有助于向潜在客户传达他们为什么应该去您的业务。
步骤4 — 创建注册表单组件
电子邮件登录按钮是一个常见的定位页面组件,允许用户输入他们的电子邮件地址,并注册有关产品或业务的更多新闻和信息。
要开始,请在bookstore-landing-page/src/components中创建一个名为signupForm.tsx的新文件,该组件不会有任何自定义类型,但会有一个 事件处理器,它有其自己的特殊的基于 React 的类型。
首先,构建<SignUpForm/>组件及其返回声明,里面有一个标题:
 1[label bookstore-landing-page/src/components/signupForm.tsx]
 2import * as React from "react"
 3
 4const SignUpForm = () => {
 5  return (
 6    <h3>Sign up for our newsletter!</h3>
 7  )
 8}
 9
10export default SignupForm
接下来,添加一些标记以创建一个表格元素,具有onSubmit属性,此时已初始化为null。
 1[label bookstore-landing-page/src/components/signupForm.tsx]
 2import * as React from "react"
 3
 4const SignUpForm = () => {
 5  return (
 6    <React.Fragment>
 7      <h3>Sign up for our newsletter!</h3>
 8      <form onSubmit={null}>
 9        <div style={{display: 'flex'}}>
10            <input type='email' placeholder='email@here'/>
11
12        <button type='submit'>Submit</button>
13        </div>
14      </form>
15    <React.Fragment>
16  )
17}
18
19export default SignupForm
如果您在文本字段中输入您的电子邮件地址,然后点击登录在现在的渲染目标页面上,不会发生任何事情,因为您仍然需要写一个事件处理器,每次提交表单时会触发。
在编写单独函数之前,您将编写函数在行中,以确定事件对象的静态类型是什么,以便您可以稍后使用该类型:
 1[label bookstore-landing-page/src/components/signupForm.tsx]
 2...
 3
 4    return (
 5        <React.Fragment>
 6            <h3>Sign up for our newsletter!</h3>
 7            <form onSubmit={(e) => null}>
 8                <div style={{display: 'flex'}}>
 9                    <input type='email' placeholder='email@here' style={{width: '100%'}}/>
10                    <button type="submit">Submit</button>
11                </div>
12            </form>
13        </React.Fragment>
14    )
15...
16}
17
18export default SignupForm
如果您使用的是像 Visual Studio Code这样的文本编辑器,那么在e参数上浮动的方针将使用TypeScript的 IntelliSense来显示其预期类型,在这种情况下是React.FormEvent<HTMLFormElement>。
现在你已经知道你的单独函数的预期类型是什么,然后继续使用这个来写一个名为handleSubmit的新单独函数:
 1[label bookstore-landing-page/src/components/signupForm.tsx]
 2import * as React from "react"
 3
 4const SignupForm = () => {
 5    const handleSubmit = (e: React.FormEvent<HTMLFormElement>) => {
 6        e.preventDefault();
 7        alert(alert('The submit button was clicked! You\'re signed up!'))
 8    }
 9    return (
10        <React.Fragment>
11            <h3>Sign up for our newsletter!</h3>
12            <form onSubmit={handleSubmit}>
13                <div style={{display: 'flex'}}>
14                  <input type='email' placeholder='email@here'/>
15                  <button type='submit'>Submit</button>
16                </div>
17            </form>
18        </React.Fragment>
19  )
20}
21
22export default SignupForm
现在,在提交表单时,handsSubmit函数将触发浏览器警告,请注意,这是一个临时的位置持有者;要实际地将用户添加到电子邮件列表中,您将不得不将其连接到后端数据库,这是超出本教程的范围。
保存并关闭signupForm.tsx文件。
现在,打开index.tsx文件并添加新的<SignupForm/>组件:
 1[label bookstore-landing-page/src/pages/index.tsx]
 2import * as React from "react"
 3import { StaticImage } from "gatsby-plugin-image"
 4
 5import Layout from "../components/layout"
 6import SalesPitchAndFeatures from "../components/salesPitchAndFeatures"
 7import SignupForm from "../components/signupForm"
 8import Seo from "../components/seo"
 9
10const IndexPage = () => (
11  <Layout>
12    <Seo title="Home" />
13    <div style={{ maxWidth: `450px`, margin: ' 1em auto'}}>
14      <HeroImage />
15      <SalesPitchAndFeatures />
16      <SignupForm />
17    </div>
18  </Layout>
19)
20
21export default IndexPage
保存和退出文件。
重新启动您的开发服务器,您将在您的浏览器中找到完成的定位页面,以及电子邮件登录按钮:
现在你已经完成了你书店登陆页的所有核心组件的构建。
结论
由于Gatsby创建了快速的静态网站,而TypeScript允许数据被静态打字,所以建立一个定位页是一个很好的用例。您可以塑造其常见元素(标题,英雄图像,电子邮件登录等)的类型,以便错误的数据形式在进入生产之前会引发错误。
如果您想了解更多关于 TypeScript 的信息,请参阅我们的 如何在 TypeScript 系列中编码,或尝试我们的 如何使用 Gatsby.js 系列创建静态网站来了解更多关于 Gatsby 的信息。