介绍

在本文中,您将建立一个博客,该博客将使用GraphQL服务器,我们将使用Apollo客户端和Vue构建博客应用程序。
前提条件
要完成本教程,您将需要:
- Node.js 本地安装,您可以按照 如何安装 Node.js 和创建本地开发环境进行操作。
本教程假设您熟悉 JavaScript 和 Vue 和 GraphQL。
本教程已通过 Node v14.4.0、npm v6.14.5、MySQL v14.14、@adonisjs/cli v4.0.12、@vue/cli v4.4.6、vue v2.5.2、graphql v15.1.0 和 apollo-client v2.6.10 进行验证。
创建一个 GraphQL 服务器
你可以抓住GraphQL服务器,这样你就可以跟随教程。
一旦您克隆了 Repo,请导航到 GraphQL 服务器项目目录:
1cd adonis-graphql-server
安装所需的包裹:
1npm install
将.env.example复制为.env:
1cp .env.example .env
根据需要编辑.env 文件,以便数据库信息为您所运行的 MySQL 数据库提供适当的凭证。
生成 Adonis 的密钥:
1npx @adonisjs/cli key:generate
迁移数据库配置:
1npx @adonisjs/cli migration:run
允许跑步
GraphQL 服务器是用 AdonisJS 构建的。AdonisJS 提供了一个包,我们可以在我们的 API 上使用它来处理跨源资源共享(CORS)。
要在 AdonisJS 应用程序上启用 CORS,我们将起源设置为真在config/cors.js中如下:
1[label config/cors.js]
2origin: true
克隆的 GraphQL 服务器已经启用了 CORS,但值得一提。
启动GraphQL服务器
由于我们的博客应用程序将使用GraphQL服务器,我们将需要启动服务器,并在教程的剩余时间内继续运行。
要开始,请确保您位于 GraphQL 服务器项目目录中,然后运行下面的命令:
1npx @adonisjs/cli serve --dev
这将启动 GraphQL 服务器并保持运行。

该教程的其余部分假定您已经启动了 GraphQL 服务器,并且它正在运行。
考虑到这一点,让我们开始建立我们的博客应用程序。
步骤1 — 创建Vue应用程序
我们将开始使用Vue CLI创建一个新的Vue应用程序:
1npx -p @vue/cli -p @vue/cli-init vue init webpack graphql-blog-app
<$>[注] 注: 现代视觉项目可以使用:
1npx @vue/cli create graphql-blog-app
美元
您将被提示提出有关您的项目的问题. 以下是所作的一些选择. 对于本教程,安装‘vue-router’将是很重要的:
1? Project name graphql-blog-app
2? Project description A Vue.js project
3? Vue build standalone
4? Install vue-router? Yes
5? Use ESLint to lint your code? Yes
6? Pick an ESLint preset Standard
7? Set up unit tests No
8? Setup e2e tests with Nightwatch? No
9? Should we run `npm install` for you after the project has been created? (recommended) npm
这将创建一个名为graphql-blog-app的新Vue应用程序,并安装其依赖性。
导航到新创建的目录:
1cd graphql-blog-app
该应用程序可以随时在浏览器中运行并查看,在您的终端运行下列操作:
1npm start
步骤 2 — 安装包
随着应用程序的创建,我们可以继续安装构建我们的GraphQL博客应用程序所需的包:
1npm install --save vue-apollo graphql apollo-client apollo-link apollo-link-context apollo-link-http apollo-cache-inmemory graphql-tag
讓我們快速地通過每個包裝:
vue-apollo: 用于 VueJS 的 Apollo/GraphQL 集成. 我们安装了最新的插件版本,允许我们使用与 Apollo 客户端 2.0 一起提供的所有伟大的功能。 *graphql: 用于 JavaScript 的 GraphQL 参考实现。 *apollo-client: 用于每个服务器或 UI 框架的全功能、生产准备的加密 GraphQL 客户端。 *apollo-link: 用于修改 GraphQL 请求的控制流程并获取 GraphQL 结果的标准接口. *apollo-link-context: 用于设置操作的背景,由其他链接进一步在链接中使用。 *apollo-link-http: 用于通过使用 HTTP 检索网络获取 GraphQL
第3步:设置Vue Apollo
接下来,让我们开始使用这些包,我们将创建一个ApolloClient实例并安装VueApollo插件,然后打开src/main.js,并添加以下代码:
 1[label src/main.js]
 2// ...
 3
 4import { ApolloClient } from 'apollo-client'
 5import { HttpLink } from 'apollo-link-http'
 6import { InMemoryCache } from 'apollo-cache-inmemory'
 7import VueApollo from 'vue-apollo'
 8
 9const httpLink = new HttpLink({
10    // URL to graphql server, you should use an absolute URL here
11    uri: 'http://localhost:3333/graphql'
12})
13
14// create the apollo client
15const apolloClient = new ApolloClient({
16    link: httpLink,
17    cache: new InMemoryCache()
18})
19
20// install the vue plugin
21Vue.use(VueApollo)
我们创建一个新的实例,以我们的GraphQL服务器的URL(http://localhost:3333/graphql)。然后我们使用上面的httpLink创建一个Apollo客户端,并指定我们想要一个内存缓存。
接下来,让我们创建一个apolloProvider对象,我们将在我们的根组件中指定:
 1[label src/main.js]
 2// ...
 3
 4const apolloProvider = new VueApollo({
 5    defaultClient: apolloClient
 6})
 7
 8// update Vue instance by adding `apolloProvider`
 9/* eslint-disable no-new */
10new Vue({
11    el: '#app',
12    router,
13    apolloProvider,
14    template: '<App/>',
15    components: { App }
16})
我们使用作为我们的默认客户端创建的apolloClient创建了Vue Apollo插件的新实例,最后,我们通过在Vue实例中添加它来使用apolloProvider对象,就像我们使用Vue路由器一样。
第4步:添加Bulma
对于本教程的目的,我们将使用 Bulma CSS. 所以,让我们添加它。
 1[label index.html]
 2<!DOCTYPE html>
 3<html>
 4<head>
 5    <meta charset="utf-8">
 6    <meta name="viewport" content="width=device-width,initial-scale=1.0">
 7    <title>GraphQL Blog App</title>
 8    <link rel="stylesheet" href="https://cdnjs.cloudflare.com/ajax/libs/bulma/0.6.1/css/bulma.min.css">
 9</head>
10<body>
11    <div id="app"></div>
12    <!-- built files will be auto injected -->
13</body>
14</html>
我们在这个内容交付网络(CDN)上参考Bulma。
第5步:删除未使用的代码
当我们创建我们的Vue应用程序时,有一些文件和代码,我们不会在本教程中使用它们。
删除HelloWorld组件,并从src/router/index.js中删除所有引用。
步骤6 - 创建主要布局
博客将在其页面上使用通用布局. 在这种情况下,让我们定义所有页面将使用的布局. 要做到这一点,请打开src/App.vue并更新如下:
 1[label src/App.vue]
 2<template>
 3    <div id="app">
 4        <nav class="navbar is-primary" role="navigation" aria-label="main navigation">
 5            <div class="container">
 6                <div class="navbar-brand">
 7                    <router-link class="navbar-item" to="/">Blog App</router-link>
 8
 9                    <button class="button navbar-burger">
10                        <span></span>
11                        <span></span>
12                        <span></span>
13                    </button>
14                </div>
15            </div>
16        </nav>
17        <router-view/>
18    </div>
19</template>
20
21<script>
22export default {
23  name: 'app'
24}
25</script>
我们将添加一个标题,所有页面都将使用。
第7步:创建用户登录页
用户应该能够登录到我们的博客应用程序. 我们将创建一个SignUp组件来处理这个问题.所以,在src/components内创建一个新的Admin文件夹。
在我们创建SignUp组件之前,让我们创建一个专用文件,它将包含我们所有的GraphQL查询和突变,我们将直接在src内部创建这个文件,在src内部创建一个graphql.js文件,并粘贴下面的代码:
 1[label src/graphql.js]
 2import gql from 'graphql-tag'
 3
 4export const SIGNUP_MUTATION = gql`
 5  mutation SignupMutation($username: String!, $email: String!, $password: String!) {
 6    createUser(
 7      username: $username,
 8      email: $email,
 9      password: $password
10    ) {
11      id
12      username
13      email
14    }
15  }
16`
这是 GraphQL 突变,将处理在我们的 GraphQL 服务器上创建一个新用户。它需要用户的用户名、电子邮件和密码。
在Admin文件夹中,创建一个SignUp.vue文件并粘贴下面的代码:
 1[label src/components/Admin/SignUp.vue]
 2<template>
 3   <section class="section">
 4    <div class="columns">
 5      <div class="column is-4 is-offset-4">
 6
 7        <h2 class="title has-text-centered">Signup</h2>
 8
 9        <form method="POST" @submit.prevent="signup">
10          <div class="field">
11            <label class="label">Username</label>
12            <p class="control">
13              <input
14                type="text"
15                class="input"
16                v-model="username"
17              />
18            </p>
19          </div>
20
21          <div class="field">
22            <label class="label">E-Mail Address</label>
23            <p class="control">
24              <input
25                type="email"
26                class="input"
27                v-model="email"
28              />
29            </p>
30          </div>
31
32          <div class="field">
33            <label class="label">Password</label>
34            <p class="control">
35              <input
36                type="password"
37                class="input"
38                v-model="password"
39              />
40            </p>
41          </div>
42
43          <p class="control">
44            <button class="button is-primary is-fullwidth is-uppercase">SignUp</button>
45          </p>
46        </form>
47      </div>
48    </div>
49   </section>
50</template>
51
52<script>
53import { SIGNUP_MUTATION } from '@/graphql'
54
55export default {
56  name: 'SignUp',
57  data () {
58    return {
59      username: '',
60      email: '',
61      password: ''
62    }
63  },
64  methods: {
65    signup () {
66      this.$apollo
67        .mutate({
68          mutation: SIGNUP_MUTATION,
69          variables: {
70            username: this.username,
71            email: this.email,
72            password: this.password
73          }
74        })
75        .then(response => {
76          // redirect to login page
77          this.$router.replace('/login')
78        })
79    }
80  }
81}
82</script>
此组件为用户提供一个登录表格。一旦提交表单,就叫做登录方法。在登录方法中,我们使用在this.$apollo上可用的变异方法(来自Vue Apollo插件)。我们使用先前创建的SIGNUP_MUTATION突变并通过必要的变量。一旦登录过程成功(即用户已经创建),我们将用户重定向到登录页面(我们将很快创建)。
添加注册路线
打开src/router/index.js,并添加下面的代码:
 1[label src/router/index.js]
 2// ...
 3
 4import SignUp from '@/components/Admin/SignUp'
 5
 6// ...
 7
 8export default new Router({
 9  routes: [
10    // add these inside the `routes` array
11    {
12      path: '/signup',
13      name: 'SignUp',
14      component: SignUp
15    }
16  ]
17})
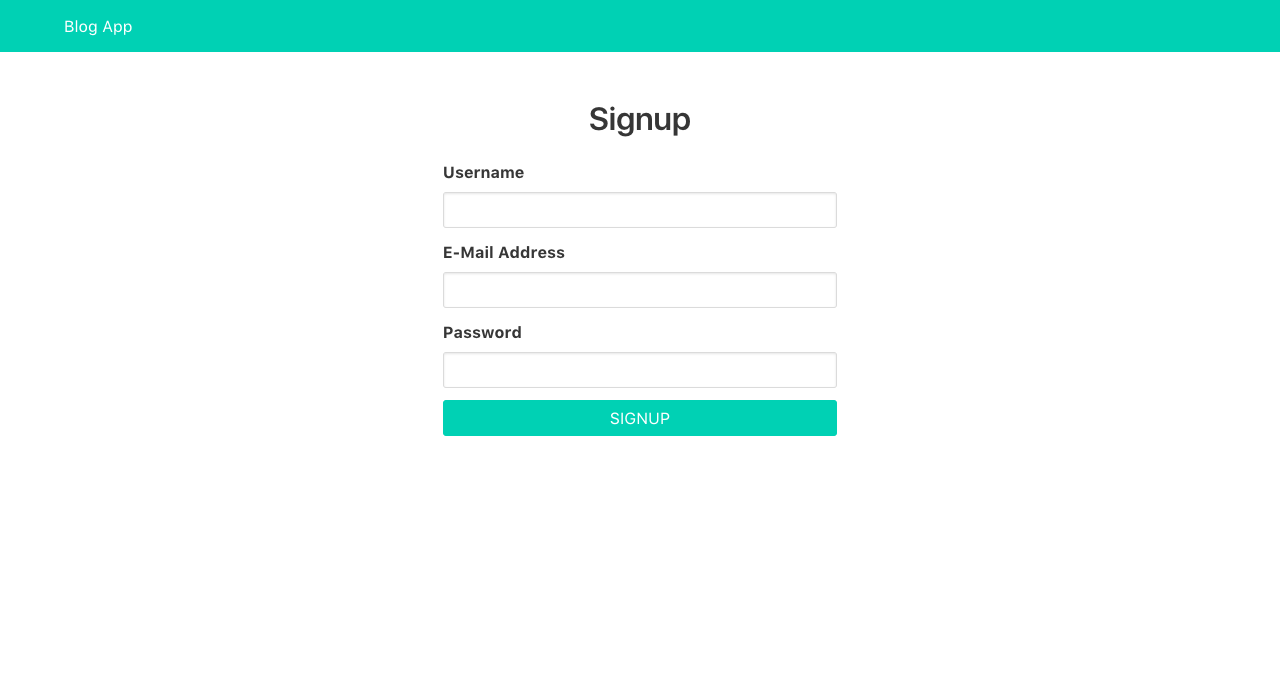
现在,当我们访问‘/signup’路线时,我们应该看到我们的注册表格如下图像:
第8步:创建用户登录页
就像我们在用户登录时一样,让我们先创建 GraphQL 突变,然后将下面的代码添加到 src/graphql.js:
1[label src/graphql.js]
2export const LOGIN_MUTATION = gql`
3  mutation LoginMutation($email: String!, $password: String!) {
4    login(
5      email: $email,
6      password: $password
7    )
8  }
9`
此 GraphQL 突变处理用户登录到我们的 GraphQL 服务器. 它需要用户的电子邮件和密码。
接下来,在Admin文件夹中,创建一个LogIn.vue文件并粘贴下面的代码:
 1[label src/components/Admin/LogIn.vue]
 2<template>
 3   <section class="section">
 4    <div class="columns">
 5      <div class="column is-4 is-offset-4">
 6
 7        <h2 class="title has-text-centered">Login</h2>
 8
 9        <form method="POST" @submit.prevent="login">
10          <div class="field">
11            <label class="label">E-Mail Address</label>
12
13            <p class="control">
14              <input
15                type="email"
16                class="input"
17                v-model="email"
18              />
19            </p>
20          </div>
21
22          <div class="field">
23            <label class="label">Password</label>
24
25            <p class="control">
26              <input
27                type="password"
28                class="input"
29                v-model="password"
30              />
31            </p>
32          </div>
33
34          <p class="control">
35            <button class="button is-primary is-fullwidth is-uppercase">Login</button>
36          </p>
37        </form>
38      </div>
39    </div>
40   </section>
41</template>
42
43<script>
44import { LOGIN_MUTATION } from '@/graphql'
45
46export default {
47  name: 'LogIn',
48  data () {
49    return {
50      email: '',
51      password: ''
52    }
53  },
54  methods: {
55    login () {
56      this.$apollo
57        .mutate({
58          mutation: LOGIN_MUTATION,
59          variables: {
60            email: this.email,
61            password: this.password
62          }
63        })
64        .then(response => {
65          // save user token to localstorage
66          localStorage.setItem('blog-app-token', response.data.login)
67
68          // redirect user
69          this.$router.replace('/admin/posts')
70        })
71    }
72  }
73}
74</script>
此组件为用户提供一个简单的登录表格。一旦提交表格,就叫做登录方法。在登录方法中,我们使用变异方法。我们使用先前创建的LOGIN_MUTATION突变并通过必要的变量。一旦登录过程成功,我们将从我们的 GraphQL 服务器获得的代币保存到 localStorage,并重定向用户。
添加登录路径
打开src/router/index.js,并添加下面的代码:
 1[label src/router/index.js]
 2// ...
 3
 4import LogIn from '@/components/Admin/LogIn'
 5
 6// ...
 7
 8export default new Router({
 9  routes: [
10    // ...
11
12    // add these inside the `routes` array
13    {
14      path: '/login',
15      name: 'LogIn',
16      component: LogIn
17    }
18  ]
19})
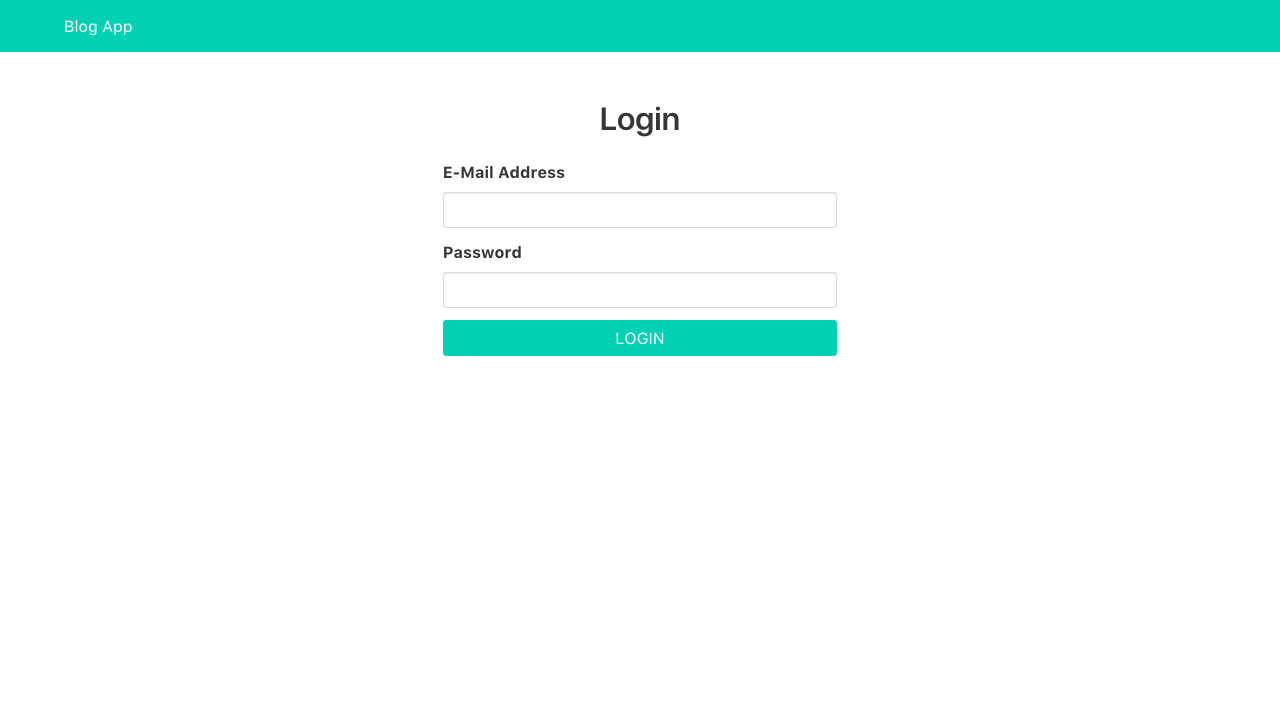
现在,当我们访问‘/login’路线时,我们应该看到我们的登录表格如下图像:
第9步:创建菜单组件
在我们开始整理博客的admin-ish部分之前,让我们创建一个菜单组件,它将作为侧面栏导航菜单。
 1[label src/components/Admin/Menu.vue]
 2<template>
 3  <aside class="menu">
 4    <p class="menu-label">Post</p>
 5      <ul class="menu-list">
 6        <li>
 7          <router-link to="/admin/posts/new">New Post</router-link>
 8        </li>
 9        <li>
10          <router-link to="/admin/posts">Posts</router-link>
11        </li>
12      </ul>
13    <p class="menu-label">User</p>
14    <ul class="menu-list">
15      <li>
16        <router-link to="/admin/users">Users</router-link>
17      </li>
18    </ul>
19  </aside>
20</template>
这使得链接到我们博客应用程序的某些管理部分。
第10步:创建用户列表页面
在 admin 部分中,我们希望能够看到已创建的用户列表。 为此,我们创建了一个用户组件,但首先,让我们写一个 GraphQL 查询,该查询将收集所有创建的用户。
 1[label src/graphql.js]
 2export const ALL_USERS_QUERY = gql`
 3  query AllUsersQuery {
 4    allUsers {
 5      id
 6      username
 7      email
 8    }
 9  }
10`
此 GraphQL 查询从我们的 GraphQL 服务器获取所有用户。
在Admin文件夹中,创建一个Users.vue文件并粘贴下面的代码:
 1[label src/components/Admin/Users.vue]
 2<template>
 3  <section class="section">
 4    <div class="container">
 5      <div class="columns">
 6        <div class="column is-3">
 7          <Menu/>
 8        </div>
 9        <div class="column is-9">
10          <h2 class="title">Users</h2>
11
12          <table class="table is-striped is-narrow is-hoverable is-fullwidth">
13            <thead>
14              <tr>
15                <th>Username</th>
16                <th>Email</th>
17                <th></th>
18              </tr>
19            </thead>
20            <tbody>
21              <tr
22                v-for="user in allUsers"
23                :key="user.id">
24                <td>{{ user.username }}</td>
25                <td>{{ user.email }}</td>
26                <td>
27                  <router-link :to="`/admin/users/${user.id}`">View</router-link>
28                </td>
29              </tr>
30            </tbody>
31          </table>
32        </div>
33      </div>
34    </div>
35  </section>
36</template>
37
38<script>
39import Menu from '@/components/Admin/Menu'
40import { ALL_USERS_QUERY } from '@/graphql'
41
42export default {
43  name: 'Users',
44  components: {
45    Menu
46  },
47  data () {
48    return {
49      allUsers: []
50    }
51  },
52  apollo: {
53    // fetch all users
54    allUsers: {
55      query: ALL_USERS_QUERY
56    }
57  }
58}
59</script>
我们使用以前创建的菜单组件,然后我们定义了我们从我们的GraphQL服务器获取数据后将被填充的数据。在apollo对象中,我们添加了我们的GraphQL查询以获取所有用户。这使用了我们上面创建的ALL_USERS_QUERY。重要的是要注意,我们的数据的名称(allUsers在这种情况下)必须是我们GraphQL查询中使用的相同的名称(allUsers在这种情况下)。
添加用户路线
打开src/router/index.js,并添加下面的代码:
 1[label src/router/index.js]
 2// ...
 3
 4import Users from '@/components/Admin/Users'
 5
 6// ...
 7
 8export default new Router({
 9  routes: [
10    // ...
11
12    // add these inside the `routes` array
13    {
14      path: '/admin/users',
15      name: 'Users',
16      component: Users
17    }
18  ]
19})
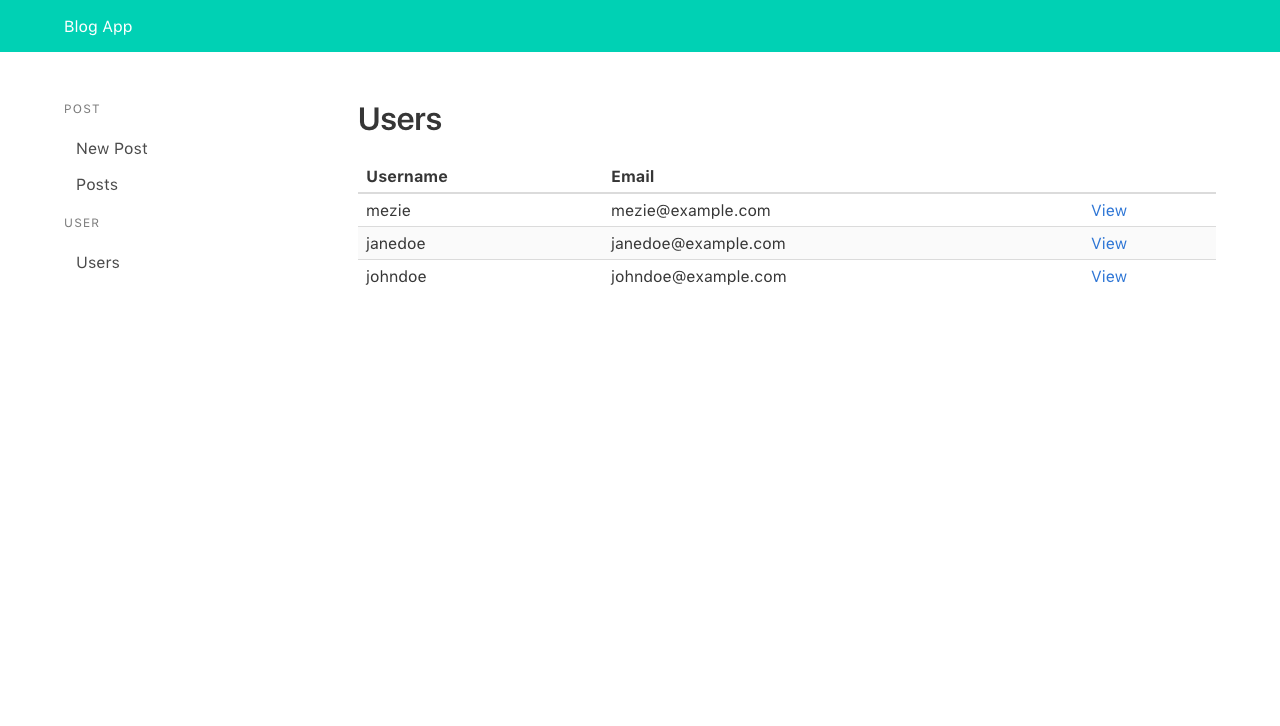
现在,当我们访问‘/admin/users’路径时,我们应该看到下面的图像中的用户列表:
步骤 11 — 创建用户详细信息页面
在最后一节中,我们添加了一个链接,以查看用户细节。现在,让我们实现它。添加下面的代码到‘src/graphql.js’:
 1[label src/graphql.js]
 2export const USER_QUERY = gql`
 3  query UserQuery($id: Int!) {
 4    user(id: $id) {
 5      id
 6      username
 7      email
 8      posts {
 9        id
10      }
11    }
12  }
13`
此 GraphQL 查询从我们的 GraphQL 服务器获取用户的 ID. 它将用户的 ID 作为一个参数。
在Admin文件夹中,创建一个UserDetails.vue文件并粘贴下面的代码:
 1[label src/components/Admin/UserDetails.vue]
 2<template>
 3  <section class="section">
 4    <div class="container">
 5      <div class="columns">
 6        <div class="column is-3">
 7          <Menu/>
 8        </div>
 9        <div class="column is-9">
10          <h2 class="title">User Details</h2>
11
12          <div class="field is-horizontal">
13            <div class="field-label is-normal">
14              <label class="label">Username</label>
15            </div>
16            <div class="field-body">
17              <div class="field">
18                <p class="control">
19                  <input class="input is-static" :value="user.username" readonly />
20                </p>
21              </div>
22            </div>
23          </div>
24
25          <div class="field is-horizontal">
26            <div class="field-label is-normal">
27              <label class="label">Email Address</label>
28            </div>
29            <div class="field-body">
30              <div class="field">
31                <p class="control">
32                  <input class="input is-static" :value="user.email" readonly />
33                </p>
34              </div>
35            </div>
36          </div>
37
38          <div class="field is-horizontal">
39            <div class="field-label is-normal">
40              <label class="label">Number of posts</label>
41            </div>
42            <div class="field-body">
43              <div class="field">
44                <p class="control">
45                  <input class="input is-static" :value="user.posts.length" readonly />
46                </p>
47              </div>
48            </div>
49          </div>
50        </div>
51      </div>
52    </div>
53  </section>
54</template>
55
56<script>
57import Menu from '@/components/Admin/Menu'
58import { USER_QUERY } from '@/graphql'
59
60export default {
61  name: 'UserDetails',
62  components: {
63    Menu
64  },
65  data () {
66    return {
67      user: '',
68      id: this.$route.params.id
69    }
70  },
71  apollo: {
72    // fetch user by ID
73    user: {
74      query: USER_QUERY,
75      variables () {
76        return {
77          id: this.id
78        }
79      }
80    }
81  }
82}
83</script>
我们显示所指定的用户的用户名、电子邮件和创建的帖子的数量。USER_QUERY接受我们想要查看其细节的用户 ID。用户 ID是从路线参数中获得的。 也就是说,给定的/admin/users/12,12是特定用户的 ID。 我们需要一种方法来将这个 ID 传递给我们的查询。 为此,我们使用 *reactive 参数 *通过定义一个变量函数,该函数返回包含用户 ID 的对象。
添加用户详细路线
打开src/router/index.js,并添加下面的代码。
 1[label src/router/index.js]
 2// ...
 3
 4import UserDetails from '@/components/Admin/UserDetails'
 5
 6// ...
 7
 8export default new Router({
 9  routes: [
10    // ...
11
12    // add these inside the `routes` array
13    {
14      path: '/admin/users/:id',
15      name: 'UserDetails',
16      component: UserDetails,
17      props: true
18    }
19  ]
20})
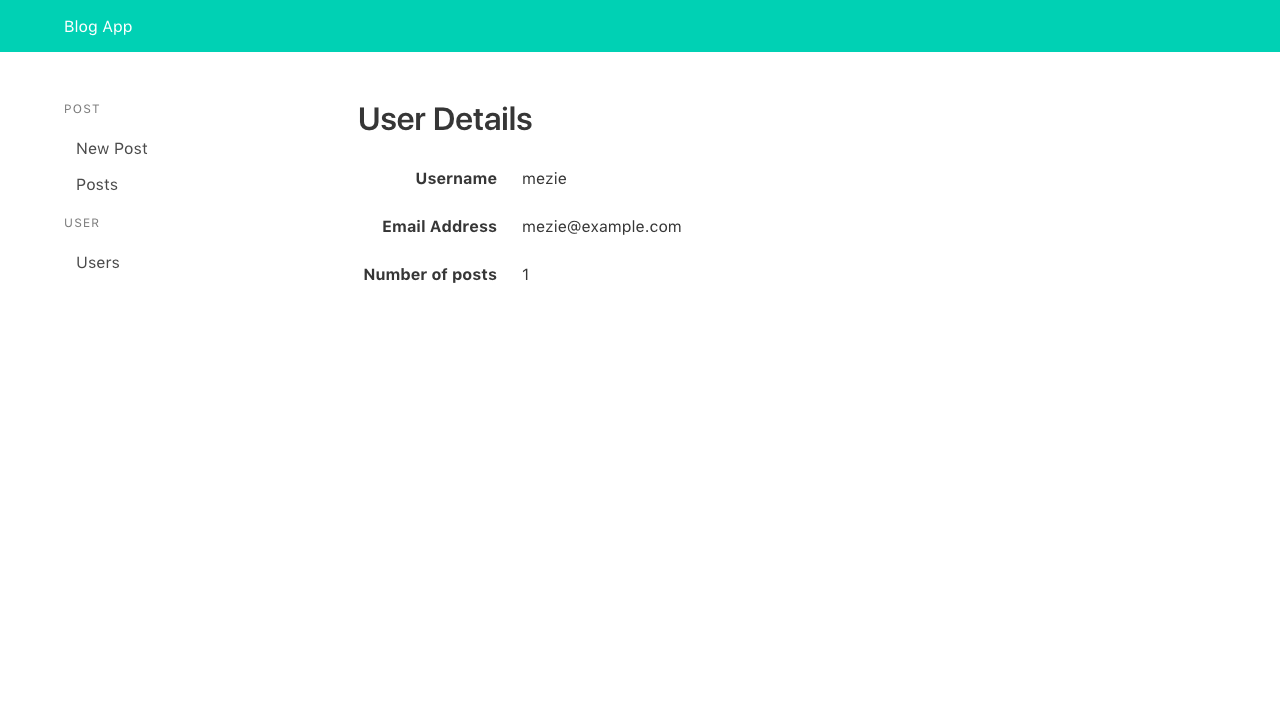
我们现在应该能够查看一个特定的用户细节:
第12步:授权用户
只有经过验证的用户才能添加新帖子,因此,我们需要一种方法来通过一个授权标题与用户代码,以及请求添加一个新帖子,这将意味着用户实际上可以添加新帖子。
 1[label src/main.js]
 2// ...
 3
 4import { setContext } from 'apollo-link-context'
 5
 6// ...
 7
 8const authLink = setContext((_, { headers }) => {
 9  // get the authentication token from localstorage if it exists
10  const token = localStorage.getItem('blog-app-token')
11
12  // return the headers to the context so httpLink can read them
13  return {
14    headers: {
15      ...headers,
16      authorization: token ? `Bearer ${token}` : null
17    }
18  }
19})
20
21// ...
22
23// update apollo client as below
24const apolloClient = new ApolloClient({
25  link: authLink.concat(httpLink),
26  cache: new InMemoryCache()
27})
首先,我们导入apollo-link-context。然后我们使用它来创建一个authLink,从本地存储中获取用户代币,然后返回包含授权标题的标题。
现在,将发送授权标题,并向我们的 GraphQL 服务器发送所有请求。
步骤 13 — 创建新帖子页面
帖子是任何博客的核心。用户应该能够添加新帖子。再次,我们将首先创建 GraphQL 突变来添加新帖子到我们的博客。
 1[label src/graphql.js]
 2export const ADD_POST_MUTATION = gql`
 3  mutation AddPostMutation($title: String!, $content: String!) {
 4    addPost(
 5      title: $title,
 6      content: $content
 7    ) {
 8      id
 9      slug
10      title
11      content
12      user {
13        id
14        username
15        email
16      }
17    }
18  }
19`
这种突变取代了我们想要添加到我们的 GraphQL 服务器的帖子的标题和内容。
接下来,在Admin文件夹中创建一个AddPost组件,并粘贴下面的代码:
 1[label src/components/Admin/AddPost.vue]
 2<template>
 3  <section class="section">
 4    <div class="container">
 5      <div class="columns">
 6        <div class="column is-3">
 7          <Menu/>
 8        </div>
 9        <div class="column is-9">
10          <h2 class="title">Add Post</h2>
11
12          <form method="post" @submit.prevent="addPost">
13            <div class="field">
14              <label class="label">Title</label>
15
16              <p class="control">
17                <input
18                  class="input"
19                  v-model="title"
20                  placeholder="Post title"
21                />
22              </p>
23            </div>
24
25            <div class="field">
26              <label class="label">Content</label>
27
28              <p class="control">
29                <textarea
30                  class="textarea"
31                  rows="10"
32                  v-model="content"
33                  placeholder="Post content"
34                  ></textarea>
35              </p>
36            </div>
37
38            <p class="control">
39              <button class="button is-primary">Add Post</button>
40            </p>
41          </form>
42        </div>
43      </div>
44    </div>
45  </section>
46</template>
47
48<script>
49import Menu from '@/components/Admin/Menu'
50import { ADD_POST_MUTATION, ALL_POSTS_QUERY } from '@/graphql'
51
52export default {
53  name: 'AddPost',
54  components: {
55    Menu
56  },
57  data () {
58    return {
59      title: '',
60      content: ''
61    }
62  },
63  methods: {
64    addPost () {
65      this.$apollo
66        .mutate({
67          mutation: ADD_POST_MUTATION,
68          variables: {
69            title: this.title,
70            content: this.content
71          },
72          update: (store, { data: { addPost } }) => {
73            // read data from cache for this query
74            const data = store.readQuery({ query: ALL_POSTS_QUERY })
75
76            // add new post from the mutation to existing posts
77            data.allPosts.push(addPost)
78
79            // write data back to the cache
80            store.writeQuery({ query: ALL_POSTS_QUERY, data })
81          }
82        })
83        .then(response => {
84          // redirect to all posts
85          this.$router.replace('/admin/posts')
86        })
87    }
88  }
89}
90</script>
该组件使用ADD_POST_MUTATION传递必要的变量。由于Apollo客户端缓存(在我们的案例中记忆中)它查询,我们需要一种方法来更新缓存,每次我们执行突变操作。 请注意,有一个更新函数,我们通过将新添加的邮件添加到缓存中来更新商店。 首先,我们从匹配我们的查询的缓存中获取数据(‘ALL_POSTS_QUERY’),然后我们将新邮件添加到‘allPosts’数组。 最后,我们将新数据写回缓存。 一旦邮件被成功添加,我们将重定向到邮件列表(我们将很快创建)。
添加添加邮件路线
打开src/router/index.js,并添加下面的代码:
 1[label src/router/index.js]
 2// ...
 3
 4import AddPost from '@/components/Admin/AddPost'
 5
 6// ...
 7
 8export default new Router({
 9  routes: [
10    // ...
11
12    // add these inside the `routes` array
13    {
14      path: '/admin/posts/new',
15      name: 'AddPost',
16      component: AddPost
17    }
18  ]
19})
用户现在可以添加新的帖子:

第14步 - 显示所有帖子
首先,我们将通过将下面的代码添加到 `src/graphql.js 来创建 GraphQL 查询:
 1[label src/graphql.js]
 2export const ALL_POSTS_QUERY = gql`
 3  query AllPostsQuery {
 4    allPosts {
 5      id
 6      title
 7      slug
 8      user {
 9        username
10      }
11    }
12  }
13`
此 GraphQL 查询从我们的 GraphQL 服务器中获取所有帖子。
接下来,在Admin文件夹中创建一个帖子组件,并粘贴下面的代码:
 1[label src/components/Admin/Posts.vue]
 2<template>
 3  <section class="section">
 4    <div class="container">
 5      <div class="columns">
 6        <div class="column is-3">
 7          <Menu/>
 8        </div>
 9        <div class="column is-9">
10          <h2 class="title">Posts</h2>
11
12          <table class="table is-striped is-narrow is-hoverable is-fullwidth">
13            <thead>
14              <tr>
15                <th>Title</th>
16                <th>User</th>
17                <th></th>
18              </tr>
19            </thead>
20            <tbody>
21              <tr
22                v-for="post in allPosts"
23                :key="post.id"
24              >
25                <td>{{ post.title }}</td>
26                <td>{{ post.user.username }}</td>
27              </tr>
28            </tbody>
29          </table>
30        </div>
31      </div>
32    </div>
33  </section>
34</template>
35
36<script>
37import Menu from '@/components/Admin/Menu'
38import { ALL_POSTS_QUERY } from '@/graphql'
39
40export default {
41  name: 'Posts',
42  components: {
43    Menu
44  },
45  data () {
46    return {
47      allPosts: []
48    }
49  },
50  apollo: {
51    // fetch all posts
52    allPosts: {
53      query: ALL_POSTS_QUERY
54    }
55  }
56}
57</script>
我们使用以前创建的菜单组件,然后我们定义了我们从我们的GraphQL服务器获取数据后将被填充的数据。在apollo对象中,我们添加了我们的GraphQL查询以获取所有用户。这使用了我们上面创建的ALL_USERS_QUERY。重要的是要注意,我们的数据的名称(allUsers在这种情况下)必须是我们GraphQL查询中使用的相同的名称(allUsers在这种情况下)。
添加邮件路线
打开src/router/index.js,并添加下面的代码:
 1[label src/router/index.js]
 2// ...
 3
 4import Posts from '@/components/Admin/Posts'
 5
 6// ...
 7
 8export default new Router({
 9  routes: [
10    // ...
11
12    // add these inside the `routes` array
13    {
14      path: '/admin/posts',
15      name: 'Posts',
16      component: Posts
17    }
18  ]
19})
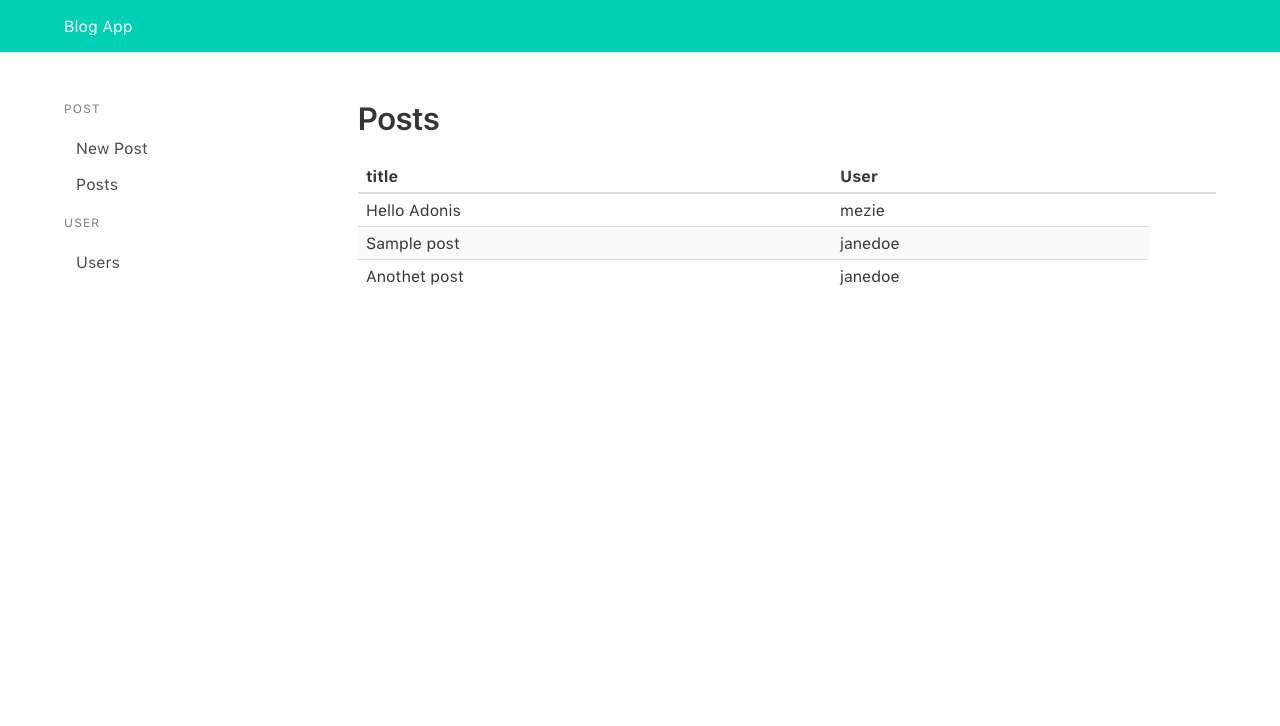
现在,当我们访问‘/admin/posts’路径时,我们应该看到如下图所示的帖子列表:
第15步:创建博客主页
博客主页将显示所有创建的帖子列表,就像显示帖子部分一样。事实上,主页将使用相同的GraphQL来显示帖子。只有主页的标记将有所不同。
 1[label src/components/Home.vue]
 2<template>
 3  <section class="section">
 4    <div class="columns">
 5      <div class="column is-6 is-offset-3">
 6        <h1 class="title">Latest Posts</h1>
 7
 8        <h3
 9          v-for="post in allPosts"
10          :key="post.id"
11          class="title is-5"
12        >
13          <router-link :to="post.slug">
14            {{ post.title }}
15          </router-link>
16        </h3>
17      </div>
18    </div>
19  </section>
20</template>
21
22<script>
23import { ALL_POSTS_QUERY } from '@/graphql'
24
25export default {
26  name: 'Home',
27  data () {
28    return {
29      allPosts: []
30    }
31  },
32  apollo: {
33    // fetch all posts
34    allPosts: {
35      query: ALL_POSTS_QUERY
36    }
37  }
38}
39</script>
正如我们可以看到的,JavaScript部分与帖子组件相同,只是不同的标记,我们循环通过帖子排列并显示每个帖子的标题,链接到他们的。
添加家庭路线
打开src/router/index.js,并添加下面的代码:
 1[label src/router/index.js]
 2// ...
 3
 4import Home from '@/components/Home'
 5
 6// ...
 7
 8export default new Router({
 9  routes: [
10    // ...
11
12    // add these inside the `routes` array
13    {
14      path: '/',
15      name: 'Home',
16      component: Home
17    }
18  ]
19})
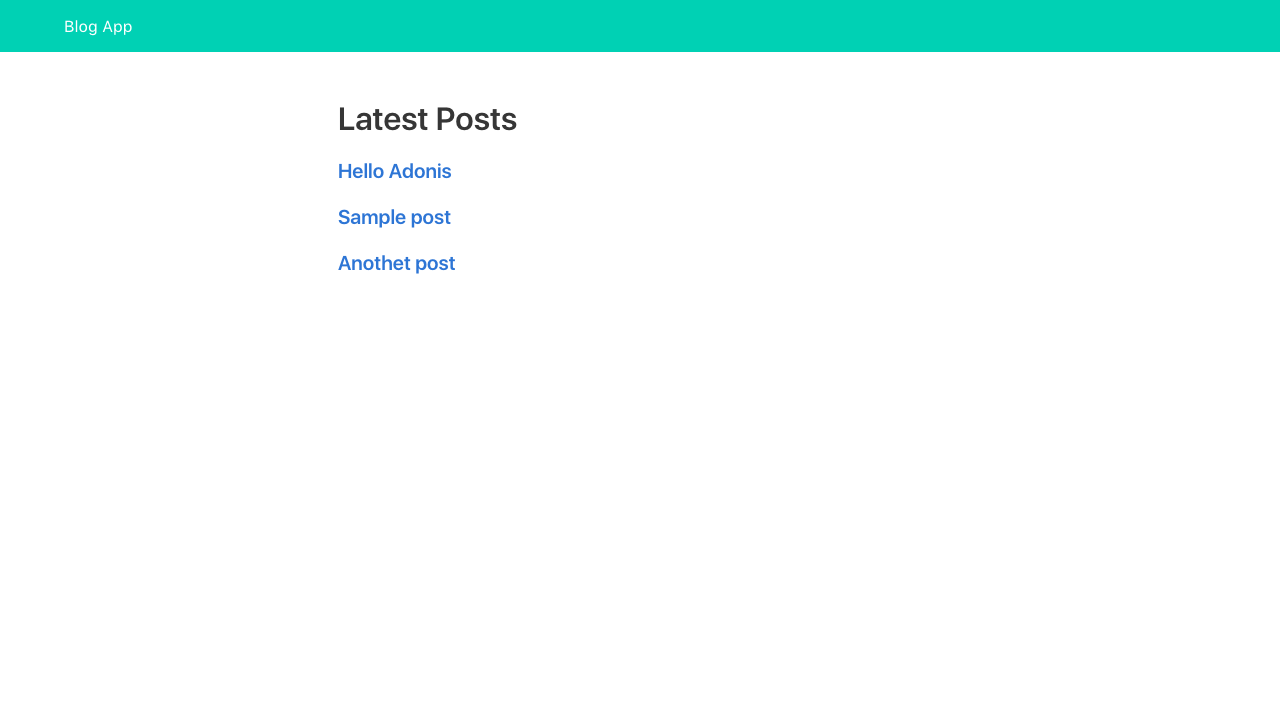
参观/路线,我们应该看到我们的博客主页如下图像:
第16步:创建单一帖子页
最后要添加的是查看特定帖子的能力. 添加下面的代码到 src/graphql.js:
 1[label src/graphql.js]
 2export const POST_QUERY = gql`
 3  query PostQuery($slug: String!) {
 4    post(slug: $slug) {
 5      id
 6      title
 7      slug
 8      content
 9      user {
10        id
11        username
12        email
13      }
14    }
15  }
16`
这个查询将一个帖子收集到其尾,它需要该帖子的尾来收集作为一个论点。
接下来,在src/components中创建一个SinglePost组件,并添加以下代码:
 1[label src/components/SinglePost.vue]
 2<template>
 3  <section class="section">
 4    <div class="columns">
 5      <div class="column is-6 is-offset-3">
 6        <router-link class="button is-link is-small" to="/">Back Home</router-link>
 7
 8        <h1 class="title">
 9          {{ post.title }}
10        </h1>
11
12        <div class="content">
13          {{ post.content }}
14        </div>
15      </div>
16    </div>
17  </section>
18</template>
19
20<script>
21import { POST_QUERY } from '@/graphql'
22
23export default {
24  name: 'SinglePost',
25  data () {
26    return {
27      post: '',
28      slug: this.$route.params.slug
29    }
30  },
31  apollo: {
32    // fetch post by slug
33    post: {
34      query: POST_QUERY,
35      variables () {
36        return {
37          slug: this.slug
38        }
39      }
40    }
41  }
42}
43</script>
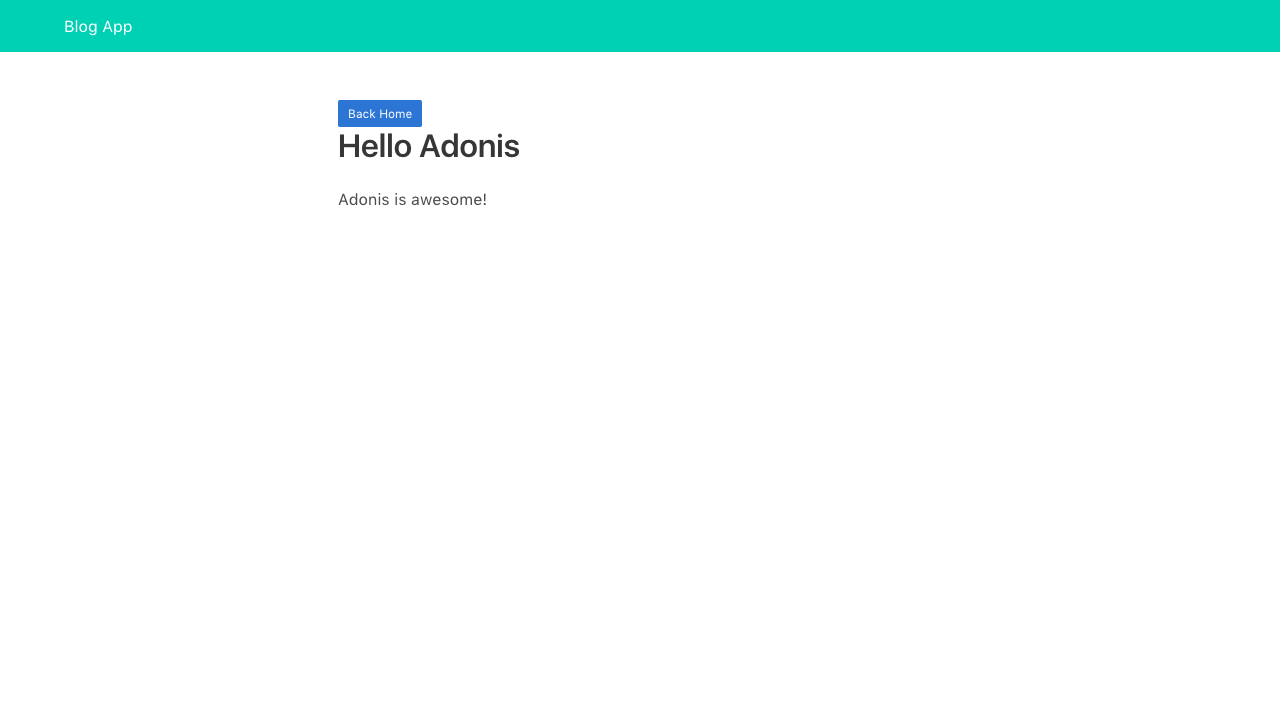
我们显示帖子标题及其内容以及返回主页的链接. JavaScript 部分遵循用于显示用户细节的实现。
添加查看邮件路线
打开src/router/index.js,并添加下面的代码:
 1[label src/router/index.js]
 2// ...
 3
 4import SinglePost from '@/components/SinglePost'
 5
 6// ...
 7
 8export default new Router({
 9  routes: [
10    // ...
11
12    // add these inside the `routes` array
13    {
14      path: '/:slug',
15      name: 'SinglePost',
16      component: SinglePost,
17      props: true
18    }
19  ]
20})
<$>[注] 注: 该路线应该是路线阵列中的最后一条路线。
我们现在可以看到一个单一的帖子:
结论
在本教程中,我们看到如何使用 GraphQL、Apollo 客户端和 VueJS 构建博客应用程序,我们还看到如何将我们的前端应用程序连接到 GraphQL 服务器。
此教程的完整代码在GitHub上可用(https://github.com/do-community/graphql-blog-app)。