_ 作者选择了 /dev/color以作为 Write for DOnations计划的一部分接收捐款。
介绍
当一个用户编码和部署一个网站时,他们往往希望一个在线受众能够找到和阅读他们创建的网站。 Search引擎优化 (SEO)是让这个在线受众发现网站的做法. 优化搜索需要修改您的 Gatsby 应用程序, 使其在搜索引擎的结果中出现, 如 [Google] (https://www.google.com), [Bing] (https://www.bing.com/), [DuckDuckGo] (https://duckduckgo.com/). 这往往通过微调最终会出现在您网站HTML中的元数据来完成.
在此教程中, 您将配置 Gatsby 的 [SEO 组件] (https://www.gatsbyjs.com/tutorial/seo-and-social-sharing-cards-tutorial/ ) , 该组件将随 SEO 工具从框出 。 您将使用 [Gatsby React Helmet] (https://www.gatsbyjs.com/plugins/gatsby-plugin-react-helmet/ ) 向您的网站添加元标记 。 Meta标签很重要,因为它们会提供搜索引擎关于您网站的信息. 通常Google对您网站的了解越好,它就越能准确地索引您的网页. 您还将为 [twitter] (https://twitter.com/) 和 [Open Graph (https://ogp.me/) 元标记创建社交媒体卡 [Facebook (https://www.facebook.com/). 超过十亿人使用某种形式的社交媒体.
前提条件
- [Node.js] (https://nodejs.org)14.16.0版本安装在您的计算机上. 要在macOS或Ubuntu 20.04上安装,请遵循如何在macOS上安装节点js并创建本地开发环境或[如何在Ubuntu 20.04上安装节点js]的 总和使用PPA** 部分(https://andsky.com/tech/tutorials/how-to-install-node-js-on-ubuntu-20-04)的步骤。
- [Gatsby.js] (https://www.gatsbyjs.com/)和已安装的Gatsby CLI工具. 您可以在 [如何设置您的第一个 Gatsby 网站] (https://andsky.com/tech/tutorials/how-to-set-up-your-first-gatsby-website ) 教程中找到如何安装此功能 。
- 联合国 了解JavaScript会有帮助. 您可以在 our [How To Code in JavaScript series] (https://www.digitalocean.com/community/tutorial_series/how-to-code-in-javascript) 上更多地了解JavaScript. 尽管盖茨比使用React, 但是,如果您想学习基本概念,请查看我们的[反应系列中如何编码(https://www.digitalocean.com/community/tutorial_series/how-to-code-in-react-js))。 .
第1步:创建一个空的项目
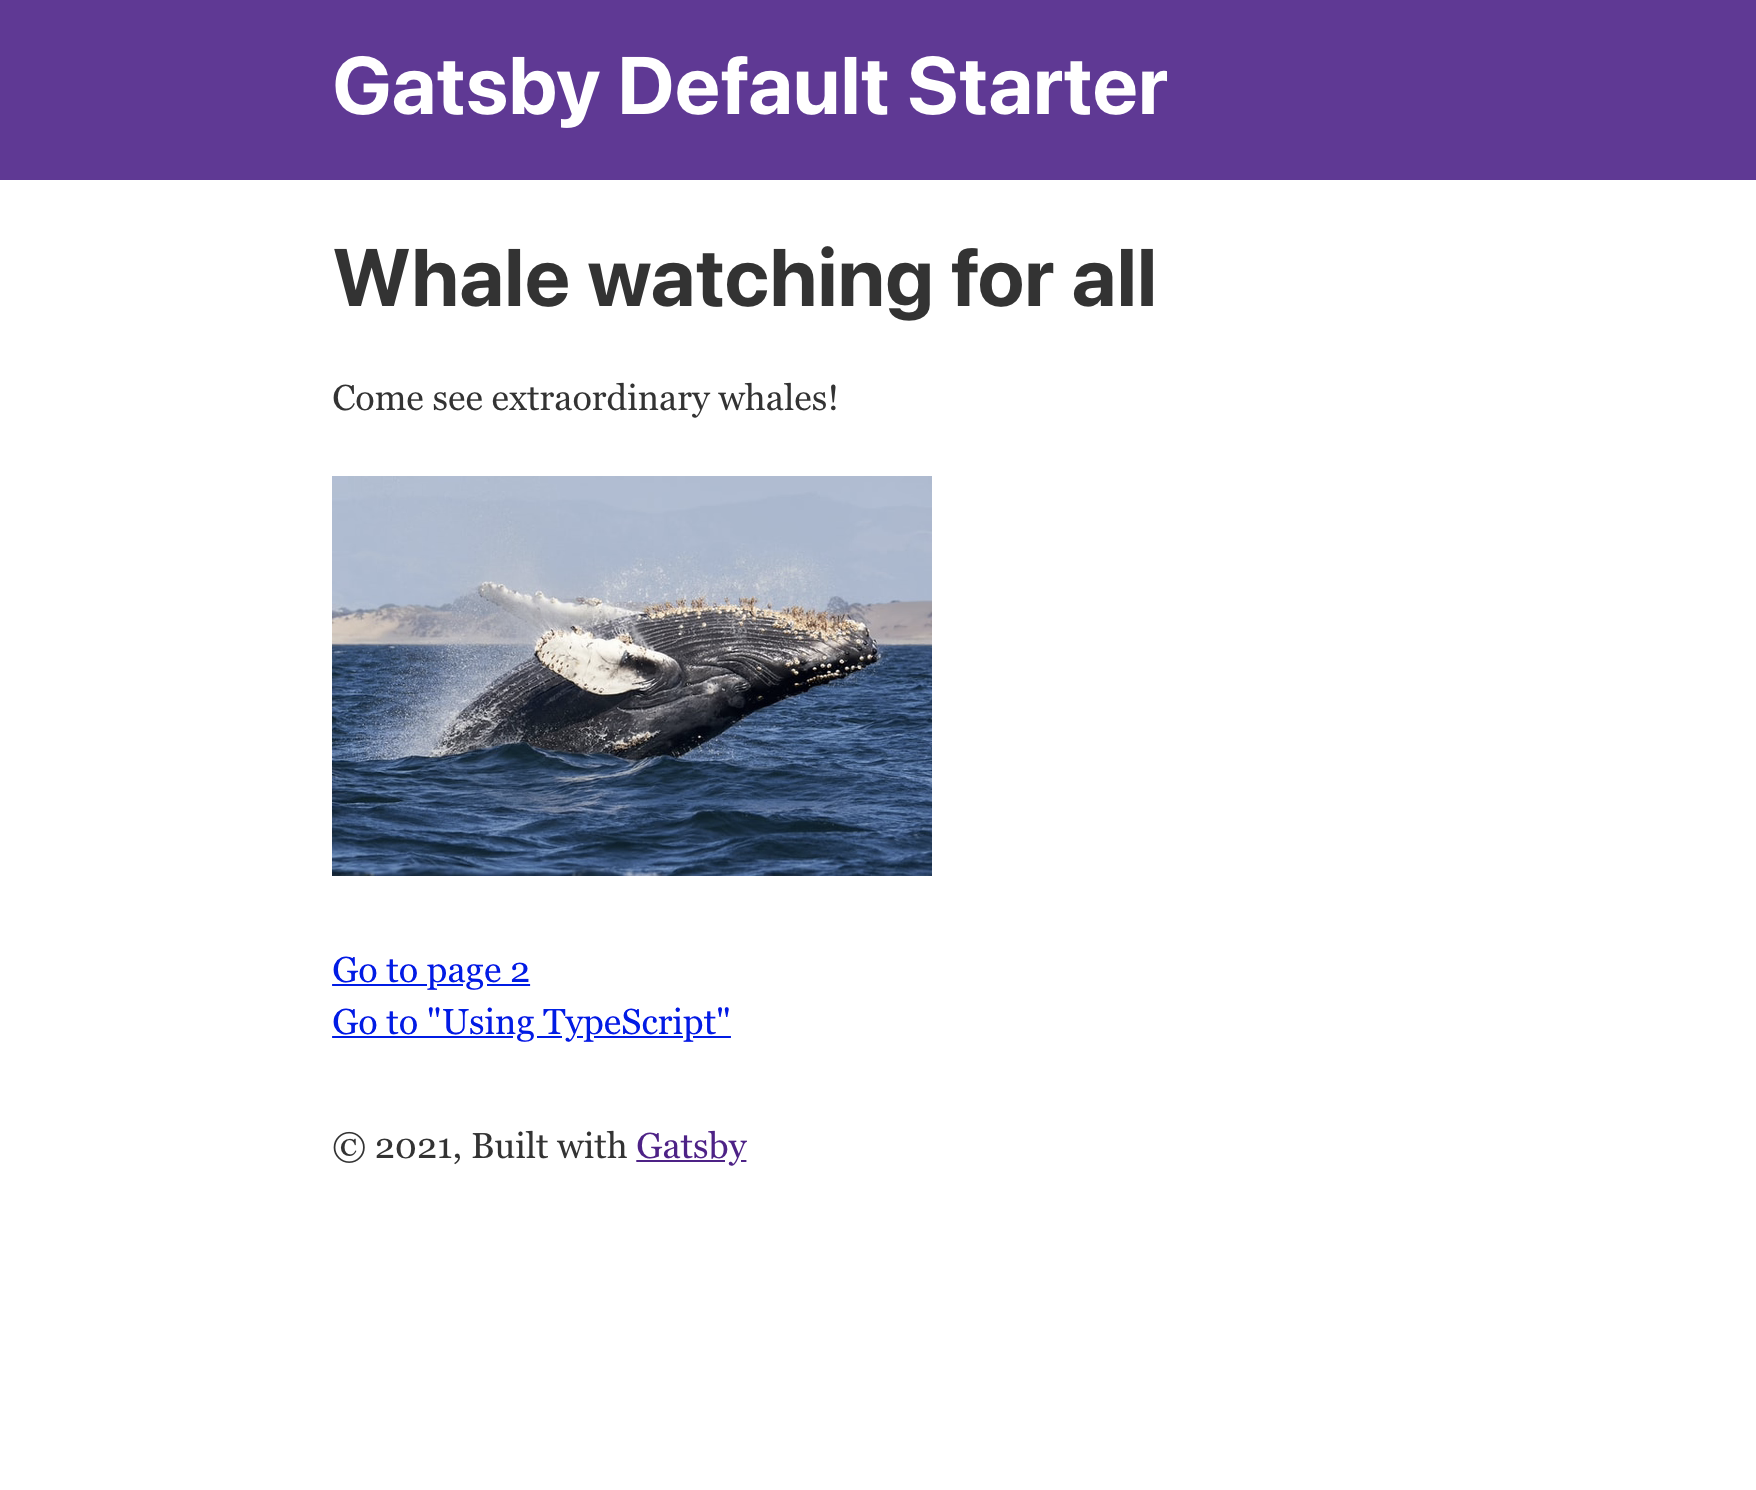
在本节中,您将创建一个基于 [Gatsby 初始默认模板]的新项目(https://github.com/gatsbyjs/gatsby-starter-blog).您将创建一个捕鲸网站,在以下步骤中,您将改进其SEO。 这将为您提供一个可靠的项目,您可以通过 meta 标签和社交媒体资产进行优化。
首先,使用CLI工具启动一个名为gatsby-seo-project的新项目:
1gatsby new gatsby-seo-project https://github.com/gatsbyjs/gatsby-starter-default
这将从Gatsby的GitHub存储库中创建一个新的网站(https://github.com/gatsbyjs/gatsby-starter-default)。
创建项目后,转到项目的src/images文件夹:
1cd gatsby-seo-project/src/images
一旦你在):
1wget 'https://unsplash.com/photos/JRsl_wfC-9A/download?force=true&w=640'
Wget是一个从互联网下载文件的GNU命令。
接下来,用ls命令列出相同的images目录中的所有图像:
1ls
您将获得以下输出:
1[secondary_label Output]
2'download?force=true&w=640' gatsby-astronaut.png gatsby-icon.png
'download?force=true&w=640'' 是一个难记的名字,所以改名为 whale-watching.png`:
1mv 'download?force=true&w=640' whale-watching.png
现在你有你的鲸鱼图像,去你的项目的根,并打开src/pages/index.js。
 1[label gatsby-seo-project/src/pages/index.js]
 2import * as React from "react"
 3import { Link } from "gatsby"
 4import { StaticImage } from "gatsby-plugin-image"
 5
 6import Layout from "../components/layout"
 7import SEO from "../components/seo"
 8
 9const IndexPage = () => (
10  <Layout>
11    <SEO title="Home" />
12    <h1>Whale watching for all</h1>
13    <p>Come see extraordinary whales!</p>
14    <StaticImage
15      src="../images/whale-watching.png"
16      width={300}
17      quality={95}
18      formats={["AUTO", "WEBP", "AVIF"]}
19      alt="A surfacing whale"
20      style={{ marginBottom: `1.45rem` }}
21    />
22    <p>
23      <Link to="/page-2/">Go to page 2</Link> <br />
24      <Link to="/using-typescript/">Go to "Using TypeScript"</Link>
25    </p>
26  </Layout>
27)
28
29export default IndexPage
要尝试代码,请使用以下命令启动本地开发服务器:
1gatsby develop
一旦服务器运行,请在您的浏览器中检查localhost:8000。
您现在已经完成了项目的设置,接下来,您将使用 React Helmet 将元标签添加到您的网站标题中。
第2步:使用React Helmet创建SEO组件
在本节中,您将学习如何在Gatsby's React Helmet 插件和一个SEO组件的帮助下控制您网站的技术SEO方面. Helmet插件为Gatsby站点头部所发现的所有元数据提供[服务器侧渲染 (https://andsky.com/tech/tutorials/react-server-side-rendering). 这一点很重要,因为如果没有服务器侧渲染,服务器引擎bots可能无法在网站被渲染之前刮出并记录元数据,因此更难为搜索网站提供索引.
当你使用 gatsby-starter-default作为你的网站的基础,它已经有你需要开始调整SEO的一切。 要做到这一点,你将与以下文件一起工作:
gatsby-config.js: Gatsby config 包含 GraphQL 将查询并放入 SEO 文件的元数据值。
您首先要打开位于您项目根部的 gatsby-config.js 文件:
1nano gatsby-config.js
在您对文件进行任何更改之前,请检查导出对象中的插件键. Gatsby 默认启动器已经安装了 Helmet 插件,如下列突出的行所示:
 1[label gatsby-seo-project/gatsby-config.js]
 2module.exports = {
 3  siteMetadata: {
 4    title: `Gatsby Default Starter`,
 5    description: `Kick off your next, great Gatsby project with this default starter. This barebones starter ships with the main Gatsby configuration files you might need.`,
 6    author: `@gatsbyjs`,
 7  },
 8  plugins: [
 9    `gatsby-plugin-react-helmet`,
10    `gatsby-plugin-image`,
11    {
12      resolve: `gatsby-source-filesystem`,
13      options: {
14        name: `images`,
15        path: `${__dirname}/src/images`,
16      },
17    },
18    `gatsby-transformer-sharp`,
19    `gatsby-plugin-sharp`,
20    {
21      resolve: `gatsby-plugin-manifest`,
22      options: {
23        name: `gatsby-starter-default`,
24        short_name: `starter`,
25        start_url: `/`,
26        background_color: `#663399`,
27        theme_color: `#663399`,
28        display: `minimal-ui`,
29        icon: `src/images/gatsby-icon.png`, // This path is relative to the root of the site.
30      },
31    },
32    `gatsby-plugin-gatsby-cloud`,
33    // this (optional) plugin enables Progressive Web App + Offline functionality
34    // To learn more, visit: https://gatsby.dev/offline
35    // `gatsby-plugin-offline`,
36  ],
37}
接下来,将你的注意力集中在) 其中包含您网站的元数据。 您将更改标题,描述和作者。 您还将添加关键字,以帮助用户搜索您的网站:
1[label gatsby-seo-project/gatsby-config.js]
2module.exports = {
3  siteMetadata: {
4    title: `Wondrous World of Whale Watching`,
5    description: `Come and enjoy an experience of a lifetime! Watch whales with us!`,
6    author: `@digitalocean`,
7    keywords: `whales, marine life, trip, recreation`,
8  },
9...
虽然选择关键字的主题超出了本教程的范围,但您可以在 Google 的搜索文档网站了解SEO的基本知识。
保存并关闭此文件。
接下来,继续打开SEO组件:
1nano src/components/seo.js
在SEO组件中发生了很多事情。 专注于)来查询siteMetadata对象。 请记住,您已将关键字添加到您的siteMetadata对象中,因此请对您的查询做出以下突出更改:
 1[label gatsby-seo-project/src/components/seo.js]
 2...
 3function SEO({ description, lang, meta, title}) {
 4  const { site } = useStaticQuery(
 5    graphql`
 6      query {
 7        site {
 8          siteMetadata {
 9            title
10            description
11            author
12            keywords
13          }
14        }
15      }
16    `
17  )
18...
在SEO函数下方,在一个关键字常数中添加引用此查询数据,以便使数据更容易工作:
1[label gatsby-seo-project/src/components/seo.js]
2...
3  const keywords = site.siteMetadata.keywords
4  const metaDescription = description || site.siteMetadata.description
5  const defaultTitle = site.siteMetadata?.title
6...
变量),返回`未定义'的无效值或无效值.
接下来,检查SEO组件返回的内容,并为关键字添加一个对象:
 1[label gatsby-seo-project/src/components/seo.js]
 2...
 3  return (
 4    <Helmet
 5      htmlAttributes={{
 6        lang,
 7      }}
 8      title={title}
 9      titleTemplate={defaultTitle ? `%s | ${defaultTitle}` : null}
10      meta={[
11        {
12          name: `description`,
13          content: metaDescription,
14        },
15        {
16          name: `keywords`,
17          content: keywords,
18        },
19        {
20          property: `og:title`,
21          content: title,
22        },
23        {
24          property: `og:description`,
25          content: metaDescription,
26        },
27        {
28          property: `og:type`,
29          content: `website`,
30        },
31        {
32          name: `twitter:card`,
33          content: `summary`,
34        },
35        {
36          name: `twitter:creator`,
37          content: site.siteMetadata?.author || ``,
38        },
39        {
40          name: `twitter:title`,
41          content: title,
42        },
43        {
44          name: `twitter:description`,
45          content: metaDescription,
46        },
47      ].concat(meta)}
48    />
49  )
50...
您正在返回一个头盔组件。头盔使用服务器端渲染数据填充 HTML 文档的头部,这使得谷歌更容易搜索和记录元数据。htmlAttributes={lang,}}指定元素内容的语言,而title是元数据中发现的标题,该标题来自siteMetadata。
在此部分之后,您将找到包含该元数据的meta对象,这里的大多数值来自网站元数据。
最后,检查SEO.defaultProps和SEO.propTypes对象:
 1[label gatsby-seo-project/src/components/seo.js]
 2...
 3SEO.defaultProps = {
 4  lang: `en`,
 5  meta: [],
 6  description: ``,
 7}
 8
 9SEO.propTypes = {
10  description: PropTypes.string,
11  lang: PropTypes.string,
12  meta: PropTypes.arrayOf(PropTypes.object),
13  title: PropTypes.string.isRequired,
14}
)。
保存你的文件与新的关键字的输入,并在您的终端启动本地服务器:
1gatsby develop
在服务器启动后,请在浏览器中输入 localhost:8000。 打开浏览器中的 HTML 视图; 为 Chrome,右键单击窗口,打开 DevTools. 选择 Elements 并打开 <head></head> 标签。 在此标签中,您将找到以下行:
1...
2<meta name="keywords" content="whales, marine life, trip, recreation" data-react-helmet="true">
3...
您现在已经成功设置了React Helmet的头部数据。
在本节中,您创建了元数据,以改善您的捕鲸网站的SEO,在下一节中,您将添加一个图像,并使该网站更容易在社交媒体上共享。
步骤3 - 添加图像以增强社交共享
在本节中,您将为两个优化社交共享网站的功能添加图像:您的 Twitter 卡和 Open Graph protocol 为 Facebook.您还将学习使用哪些工具来确保您的元数据出现在这两个社交网络平台上。
在文本编辑器中打开gatsby-config:
1nano gatsby-config.js
您将将images/whale-watching.png添加到网站Metadata:
 1[label gatsby-seo-project/gatsby-config.js]
 2module.exports = {
 3  siteMetadata: {
 4    title: `Wondrous World of Whale Watching`,
 5    description: `Come and enjoy an experience of a lifetime! Watch whales with us!`,
 6    author: `@digitalocean`,
 7    keywords: `whales, marine life, trip, recreation`,
 8    image: `src/images/whale-watching.png`
 9  },
10  plugins: [
11    `gatsby-plugin-react-helmet`,
12    `gatsby-plugin-image`,
13    {
14      resolve: `gatsby-source-filesystem`,
15      options: {
16        name: `images`,
17        path: `${__dirname}/src/images`,
18      },
19    },
20    `gatsby-transformer-sharp`,
21    `gatsby-plugin-sharp`,
22    {
23      resolve: `gatsby-plugin-manifest`,
24      options: {
25        name: `gatsby-starter-default`,
26        short_name: `starter`,
27        start_url: `/`,
28        background_color: `#663399`,
29        theme_color: `#663399`,
30        display: `minimal-ui`,
31        icon: `src/images/gatsby-icon.png`, // This path is relative to the root of the site.
32      },
33    },
34    `gatsby-plugin-gatsby-cloud`,
35    // this (optional) plugin enables Progressive Web App + Offline functionality
36    // To learn more, visit: https://gatsby.dev/offline
37    // `gatsby-plugin-offline`,
38  ],
39}
GraphQL 现在可以查询图像. 关闭并保存文件。
接下来,在文本编辑器中打开seo.js:
1nano src/components/seo.js
现在你的图像在网站元数据中,是时候将其添加到SEO组件中了。
 1[label gatsby-seo-project/src/components/seo.js]
 2...
 3function SEO({ description, lang, meta, title}) {
 4  const { site } = useStaticQuery(
 5    graphql`
 6      query {
 7        site {
 8          siteMetadata {
 9            title
10            description
11            author
12            keywords
13            image
14          }
15        }
16      }
17    `
18  )
19  const image = site.siteMetadata.image
20  const keywords = site.siteMetadata.keywords
21  const metaDescription = description || site.siteMetadata.description
22  const defaultTitle = site.siteMetadata?.title
23
24  return (
25    <Helmet
26      htmlAttributes={{
27        lang,
28      }}
29      title={title}
30      titleTemplate={defaultTitle ? `%s | ${defaultTitle}` : null}
31      meta={[
32        {
33          name: `description`,
34          content: metaDescription,
35        },
36        {
37          name: `keywords`,
38          content: keywords,
39        },
40        {
41          property: `og:title`,
42          content: title,
43        },
44        {
45          property: `og:description`,
46          content: metaDescription,
47        },
48        {
49          property: `og:type`,
50          content: `website`,
51        },
52        {
53          property: `og:image`,
54          content: image,
55        },
56        {
57          name: `twitter:card`,
58          content: `summary`,
59        },
60        {
61          name: `twitter:image`,
62          content: image,
63        },
64        {
65          name: `twitter:creator`,
66          content: site.siteMetadata?.author || ``,
67        },
68        {
69          name: `twitter:title`,
70          content: title,
71        },
72        {
73          name: `twitter:description`,
74          content: metaDescription,
75        },
76      ].concat(meta)}
77    />
78  )
79}
80
81SEO.defaultProps = {
82  lang: `en`,
83  meta: [],
84  description: ``,
85}
86
87SEO.propTypes = {
88  description: PropTypes.string,
89  image: PropTypes.string,
90  lang: PropTypes.string,
91  meta: PropTypes.arrayOf(PropTypes.object),
92  title: PropTypes.string.isRequired,
93}
94
95export default SEO
在这个代码中,你:
- 将图像添加到 GraphQL 查询中 * 创建一个
图像变量并将值设置为在siteMetadata中找到的图像 * 将og:image添加到meta对象 * 将twitter:image添加到meta对象 * 将image添加到SEO.propTypes
保存您的更改并关闭seo.js。
这个过程的最后一步是测试这些变化在Twitter和Facebook上。这不能从本地开发服务器中完成;为了测试您的网站,您必须首先部署它。有许多方法可以做到这一点,包括使用DigitalOcean的应用平台,您可以在 如何部署Gatsby应用程序到DigitalOcean应用平台的教程中阅读。
此教程将使用一个Gatsby应用程序托管在App平台作为一个例子. 你可以找到这个应用程序在https://digital-ocean-gatsby-seo-xkmfq.ondigitalocean.app/`,它包括您在本教程中对您的网站所做的SEO更改。
如果你想测试社交媒体对象是否出现在Twitter上,请点击https://cards-dev.twitter.com/validator。这个验证器由Twitter维护,并且需要一个Twitter帐户来使用。将样本部署的网站的URL放入验证器:
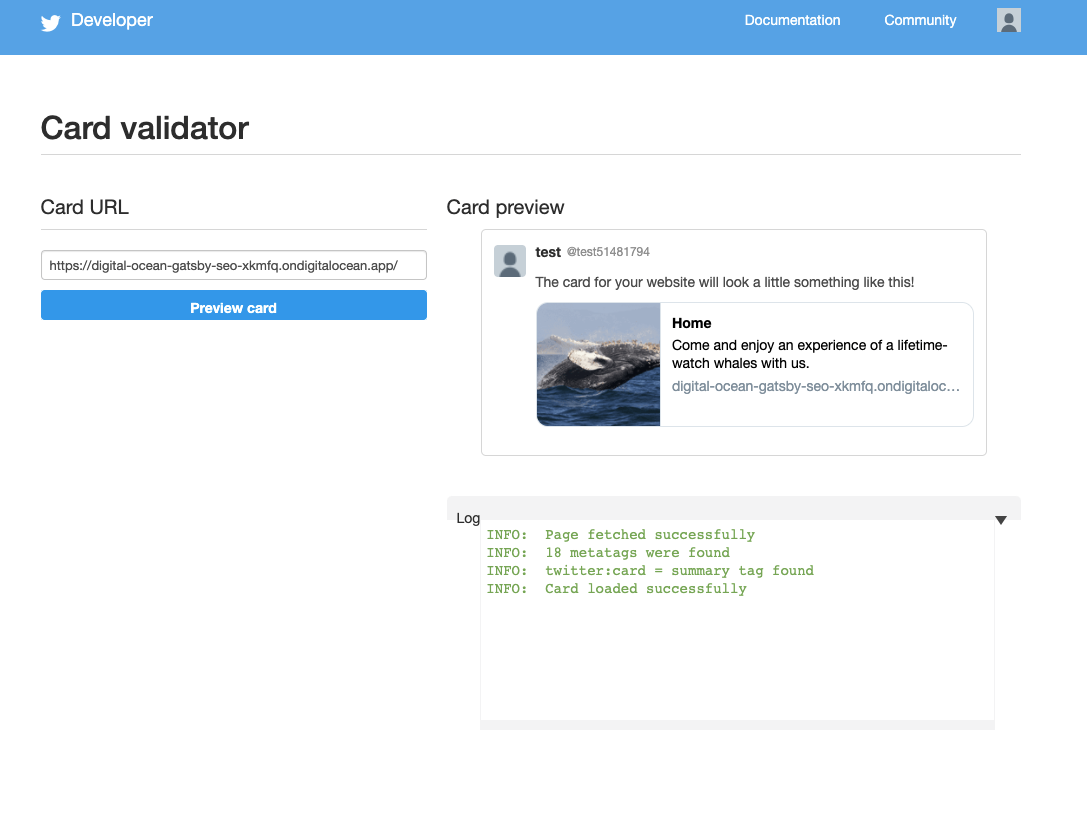
请注意,自定义图像现在将显示用户在推特有关您的网站时。
接下来,转到 Facebook 的 Open Graph 验证器:https://developers.facebook.com/tools/debug/. 这是由 Facebook 维护的,并且需要使用 Facebook 帐户。 将样本应用程序的 URL 添加到 URL 字段中。 调试器将为您提供有关哪些 og` 对象的更多细节,以及哪些对象缺少:

请注意,图像在 Link 预览 部分中出现标题和描述。
您现在已将图像添加到您的元数据、Twitter卡和Facebook Open Graph。
结论
在本教程中,您通过Gatsby的反响头盔和SEO组件来提高您的网站的SEO,您还学会了如何将图像添加到社交媒体卡片中,以使您的网站更加共享。
随着SEO的基本内容,您现在可以阅读更多关于为Gatsby的搜索优化在官方的Gatsby文档(https://www.gatsbyjs.com/docs/how-to/adding-common-features/seo/)。