简介
Internationalization是在您的应用程序中支持多种语言的过程。
这可以在角度应用程序中通过第三方库(如ngx-translate,)来实现,也可以使用内置的i18n功能。
<$>[注]
注意: ),其中)和最后一个字母()之间的字母数。在开发应用程序时,您可能还会遇到a11 y,这是可访问性的数字名称。
<$>
在本教程中,您将学习如何在ANGLE应用程序中使用内置的I18N功能。
前提条件
要完成本教程,您需要:
- 本地安装Node.js,可以按照如何安装Node.js并创建本地开发环境操作。
- 熟悉设置Angular项目和使用Angular组件可能会有所帮助。
本教程通过了Node v14.13.1、npmv6.14.8、angularv10.1.6和@angular/localizev10.1.6验证。
Step 1 -设置项目
您可以使用@ANGLE/CLI创建一个新的角度投影。
在您的终端窗口中,使用以下命令:
1npx @angular/cli new angular-internationalization-example --style=css --routing=false --skip-tests
这将配置一个新的角度项目,将样式设置为),不布线,并跳过测试。
导航到新创建的项目目录:
1cd angular-internationalization-example
要创建翻译项目的基础,请在代码编辑器中打开app.Component.html,并将代码替换为以下行:
1[label src/app/app.component.html]
2<section>
3  <article>
4    <h1>Under Construction!</h1>
5    <p>This page is under construction.</p>
6  </article>
7</section>
此代码将显示`Under Construction!和此页面正在建设中``消息。
接下来,打开app.Component.css,并将代码替换为以下几行:
 1[label sec/app/app.component.css]
 2section {
 3  background: #8e2de2; /* fallback for old browsers */
 4  background: -webkit-linear-gradient(to right, #4a00e0, #8e2de2); /* Chrome 10-25, Safari 5.1-6 */
 5  background: linear-gradient(to right, #4a00e0, #8e2de2);
 6  display: flex;
 7  justify-content: center;
 8  align-items: center;
 9  height: 100vh;
10}
11
12article {
13  border: 1px solid white;
14  box-shadow: 1px 1px 100px 10px rgba(0, 0, 0, 0.8);
15  color: white;
16  padding: 40px;
17  text-align: center;
18}
这段代码使用了flexbox、viewport高度值、线性渐变背景和框阴影来将`Under Construction!``屏幕上的信息。
然后,打开styles.css并将代码替换为以下行:
1[label src/styles.css]
2html,
3body {
4  padding: 0;
5  margin: 0;
6}
这将删除浏览器用户样式在默认情况下倾向于放置的任何填充和边距。通过使用这些样式,您可以在具有不同默认设置的所有浏览器之间创建一致的基线。
在终端窗口中,启动您的应用程序:
1npm start
在Web浏览器中访问本地主机:4200:
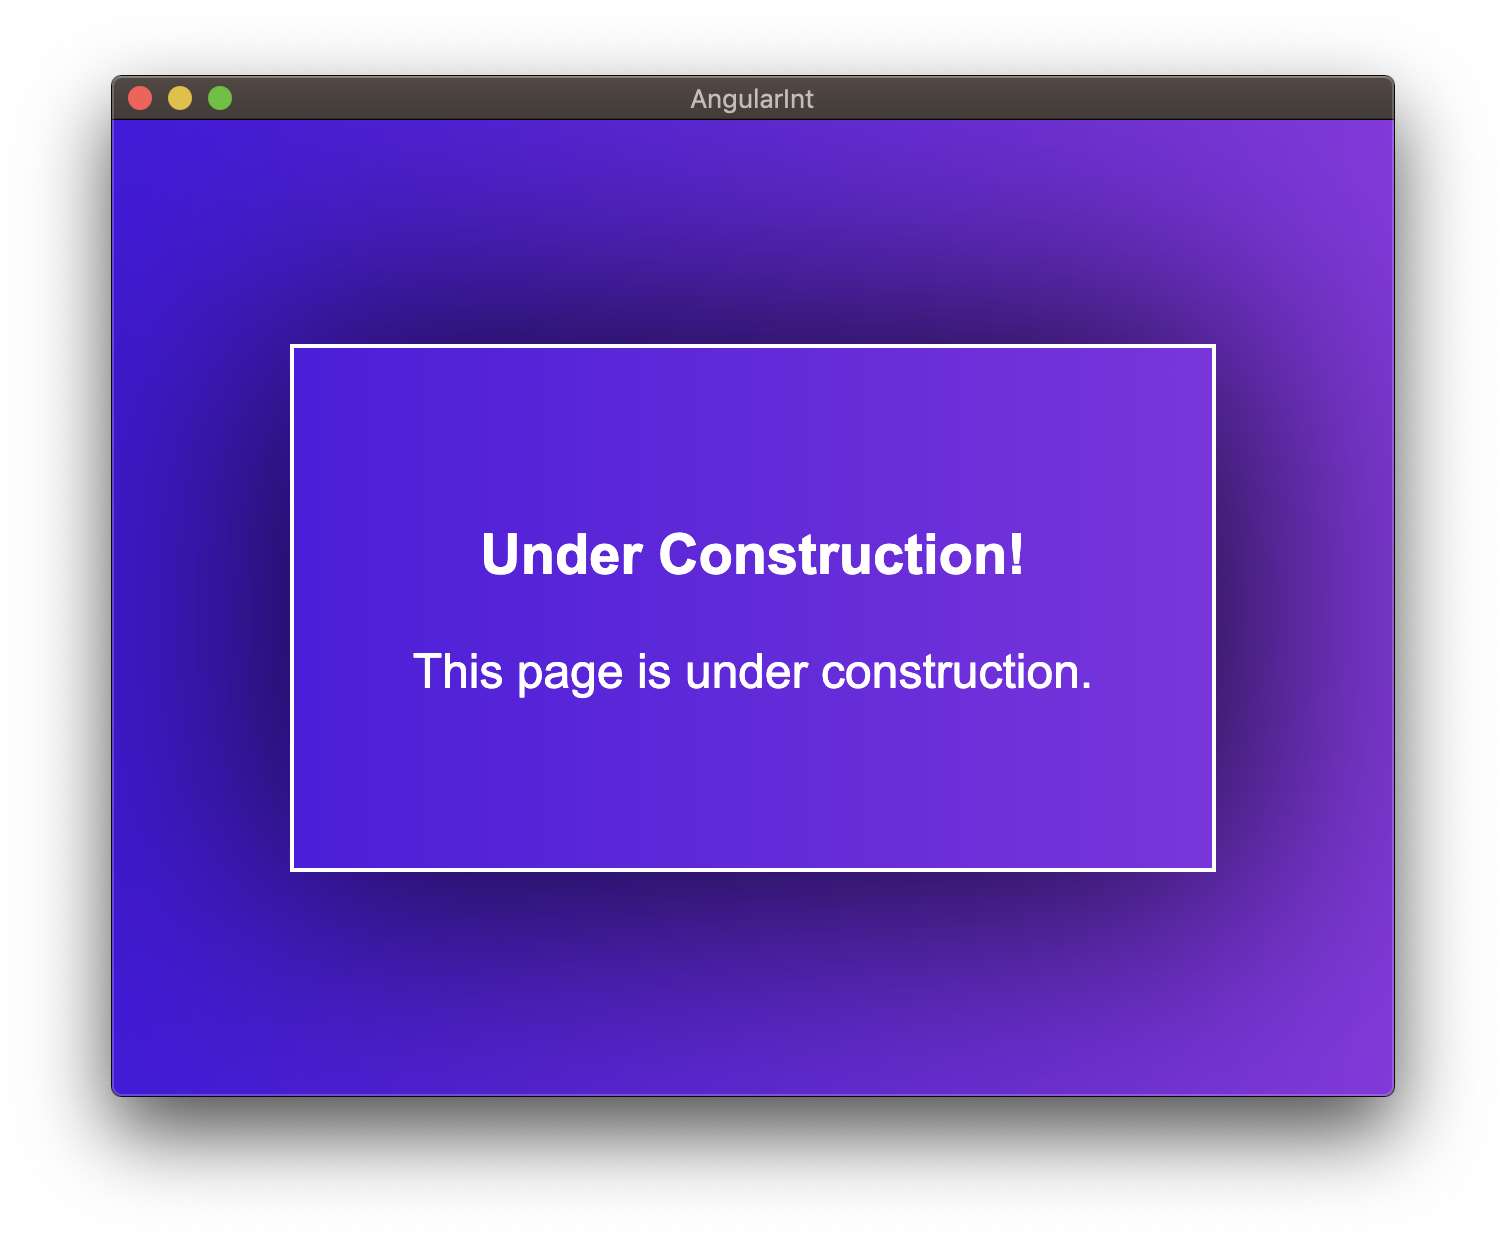 的应用程序当前状态的屏幕截图
一旦您能够验证应用程序是否按预期运行,您就可以开始提取要翻译的消息。
第二步-使用xi18n解压Messages.xlf
让我们从标记您希望在应用程序中翻译的文本开始。在本教程中,您将使用Google翻译将应用程序翻译成法语(fr)和德语(de)。
将i18n指令添加到您要翻译的所有文本:
1[label src/app/app.component.html]
2<section>
3  <article>
4    <h1 i18n>Under Construction!</h1>
5    <p i18n>This page is under construction.</p>
6  </article>
7</section>
然后,您需要在Package.json中创建一个NPM脚本,该脚本使用角度CLI将标记的项从app.Component.html解压到一个Messages.xlf文件中:
 1[label package.json]
 2{
 3  // ...
 4  "scripts": {
 5    "ng": "ng",
 6    "start": "ng serve",
 7    "build": "ng build",
 8    "test": "ng test",
 9    "lint": "ng lint",
10    "e2e": "ng e2e",
11    "i18n:extract": "ng xi18n"
12  },
13  // ...
14}
添加此代码后,在终端窗口中运行新脚本:
1npm run i18n:extract
然后,打开Messages.xlf,您将看到类似以下内容:
 1[label messages.xlf]
 2<?xml version="1.0" encoding="UTF-8" ?>
 3<xliff version="1.2" xmlns="urn:oasis:names:tc:xliff:document:1.2">
 4  <file source-language="en-US" datatype="plaintext" original="ng2.template">
 5    <body>
 6      <trans-unit id="48a16ab522feaff81571155668deb1a4304291f4" datatype="html">
 7        <source>Under Construction!</source>
 8        <context-group purpose="location">
 9          <context context-type="sourcefile">src/app/app.component.html</context>
10          <context context-type="linenumber">3</context>
11        </context-group>
12      </trans-unit>
13      <trans-unit id="84c778d7a95cb5dc26c9cc9feb5b7abb4d295792" datatype="html">
14        <source>This page is under construction.</source>
15        <context-group purpose="location">
16          <context context-type="sourcefile">src/app/app.component.html</context>
17          <context context-type="linenumber">4</context>
18        </context-group>
19      </trans-unit>
20    </body>
21  </file>
22</xliff>
对于需要翻译的每一项(即有i18n指令),都会创建一个ans-unit。
您还可以使用此结构提供有关翻译的更多信息。如果您要让第三方翻译每条消息,并希望提供更多信息,则此功能非常有用。
在app.component.html中,使用a _description_更新i18 n项:
1[label src/app/app.component.html]
2<article>
3  <h1 i18n="Title for the under construction card">Under Construction!</h1>
4  <p i18n="A description for the under construction card.">This page is under construction.</p>
5</article>
您可以通过管道字符(|)进一步添加上下文。这给出了一个条目的含义,并且每个具有相同含义的条目将具有相同的翻译:
1[label src/app/app.component.html]
2<article>
3  <h1 i18n="Card Header|Title for the under construction card">Under Construction!</h1>
4  <p i18n="Card Descritpion|A description for the under construction card.">This page is under construction.</p>
5</article>
您也可以在生成翻译时使用两个at符号字符(@@)为每个i18n项赋予一个_id_,以强制持久化:
1[label src/app/app.component.html]
2<article>
3  <h1 i18n="Card Header|Title for the under construction card@@constructionHeader">Under Construction!</h1>
4  <p i18n="Card Descritpion|A description for the under construction card.@@constructionDescription">This page is under construction.</p>
5</article>
让我们再次构建翻译:
1npm run int:extract
这些项目现在将使用_id_、_meaning_和_Description_进行更新:
 1[label messages.xlf]
 2<?xml version="1.0" encoding="UTF-8" ?>
 3<xliff version="1.2" xmlns="urn:oasis:names:tc:xliff:document:1.2">
 4  <file source-language="en-US" datatype="plaintext" original="ng2.template">
 5    <body>
 6      <trans-unit id="constructionHeader" datatype="html">
 7        <source>Under Construction!</source>
 8        <context-group purpose="location">
 9          <context context-type="sourcefile">src/app/app.component.html</context>
10          <context context-type="linenumber">3</context>
11        </context-group>
12        <note priority="1" from="description">Title for the under construction card</note>
13        <note priority="1" from="meaning">Card Header</note>
14      </trans-unit>
15      <trans-unit id="constructionDescription" datatype="html">
16        <source>This page is under construction.</source>
17        <context-group purpose="location">
18          <context context-type="sourcefile">src/app/app.component.html</context>
19          <context context-type="linenumber">4</context>
20        </context-group>
21        <note priority="1" from="description">A description for the under construction card.</note>
22        <note priority="1" from="meaning">Card Descritpion</note>
23      </trans-unit>
24    </body>
25  </file>
26</xliff>
一旦你有了一个包含多个‘trans-unit’、描述、含义和id的‘Messages.xlf’文件,你就可以开始创建法语和德语翻译了。
第三步-创建法语和德语翻译
默认情况下,ANGLE认为所有内容都是)。您必须添加其他区域设置并更新配置以支持它们。
这些区域设置由区域设置标识符(ID)引用。例如,).建立的规则派生的
为了避免使项目目录变得杂乱,将翻译文件存储在新目录中可能是有益的。您可以为您的i18n:fett脚本提供一个输出-路径选项,将它们放在一个locales目录中:
 1[label package.json]
 2{
 3  // ...
 4  "scripts": {
 5    "ng": "ng",
 6    "start": "ng serve",
 7    "build": "ng build",
 8    "test": "ng test",
 9    "lint": "ng lint",
10    "e2e": "ng e2e",
11    "i18n:extract": "ng xi18n --output-path src/locale"
12  },
13  // ...
14}
删除已有的Messages.xlf文件:
1rm messages.xlf
并重新运行i18n:fett命令;
1npm run i18n:extract
一旦您确认脚本更改按预期运行,并且locales目录中有一个Messages.xlf文件,您就可以开始添加用于翻译的`Target‘了。
法语
首先,将Messages.xlf复制为Messages.fr.xlf:
1cp src/locale/messages.xlf src/locale/messages.fr.xlf
然后,为每一项添加一个Target:
 1[label src/locale/messages.fr.xlf]
 2<?xml version="1.0" encoding="UTF-8" ?>
 3<xliff version="1.2" xmlns="urn:oasis:names:tc:xliff:document:1.2">
 4  <file source-language="en-US" datatype="plaintext" original="ng2.template">
 5    <body>
 6      <trans-unit id="constructionHeader" datatype="html">
 7        <source>Under Construction!</source>
 8        <target>En construction</target>
 9        <context-group purpose="location">
10          <context context-type="sourcefile">src/app/app.component.html</context>
11          <context context-type="linenumber">3</context>
12        </context-group>
13        <note priority="1" from="description">Title for the under construction card</note>
14        <note priority="1" from="meaning">Card Header</note>
15      </trans-unit>
16      <trans-unit id="constructionDescription" datatype="html">
17        <source>This page is under construction.</source>
18        <target>Cette page est en construction</target>
19        <context-group purpose="location">
20          <context context-type="sourcefile">src/app/app.component.html</context>
21          <context context-type="linenumber">4</context>
22        </context-group>
23        <note priority="1" from="description">A description for the under construction card.</note>
24        <note priority="1" from="meaning">Card Descritpion</note>
25      </trans-unit>
26    </body>
27  </file>
28</xliff>
现在,每一个‘trans-unit都有一个英语的’Source消息和一个法语的‘Target’消息。
德语
接下来,将Messages.xlf复制为Messages.de.xlf:
1cp src/locale/messages.xlf src/locale/messages.de.xlf
然后,为每个项目添加一个目标:
 1[label src/locale/messages.de.xlf]
 2<?xml version="1.0" encoding="UTF-8" ?>
 3<xliff version="1.2" xmlns="urn:oasis:names:tc:xliff:document:1.2">
 4  <file source-language="en-US" datatype="plaintext" original="ng2.template">
 5    <body>
 6      <trans-unit id="constructionHeader" datatype="html">
 7        <source>Under Construction!</source>
 8        <target>Im Bau</target>
 9        <context-group purpose="location">
10          <context context-type="sourcefile">src/app/app.component.html</context>
11          <context context-type="linenumber">3</context>
12        </context-group>
13        <note priority="1" from="description">Title for the under construction card</note>
14        <note priority="1" from="meaning">Card Header</note>
15      </trans-unit>
16      <trans-unit id="constructionDescription" datatype="html">
17        <source>This page is under construction.</source>
18        <target>Diese Seite befindet sich im Aufbau</target>
19        <context-group purpose="location">
20          <context context-type="sourcefile">src/app/app.component.html</context>
21          <context context-type="linenumber">4</context>
22        </context-group>
23        <note priority="1" from="description">A description for the under construction card.</note>
24        <note priority="1" from="meaning">Card Descritpion</note>
25      </trans-unit>
26    </body>
27  </file>
28</xliff>
现在,每一个trans-unit都有一个英语的source消息和一个德语的target消息。
第四步-创建法语和德语版本
您有基于locale翻译的应用程序版本。
您可以使用角度CLI为您想要支持的每个语言环境生成特定的构建。
首先,您需要安装@Angel/Localize:
1./node_modules/@angular/cli/bin/ng add @angular/localize
在代码编辑器中打开angular.json,添加fr和de地区:
 1[label angular.json]
 2{
 3  "projects": {
 4    "angular-internationalization-example": {
 5      // ...
 6      "i18n": {
 7        "sourceLocale": "en-US",
 8        "locales": {
 9          "fr": {
10            "translation": "src/locale/messages.fr.xlf",
11            "baseHref": ""
12          },
13          "de": {
14            "translation": "src/locale/messages.de.xlf",
15            "baseHref": ""
16          }
17        }
18      },
19      "architect": {
20        // ...
21      }
22    }},
23  // ...
24}
并在Build下创建fr和de的配置设置:
 1[label angular.json]
 2{
 3  "projects": {
 4    "angular-internationalization-example": {
 5      // ...
 6      "architect": {
 7        "build": {
 8          // ...
 9          "configurations": {
10            "production": {
11              // ...
12            },
13            "fr": {
14              "localize": ["fr"],
15              "outputPath": "dist/under-construction-fr/",
16              "i18nMissingTranslation": "error"
17            },
18            "de": {
19              "localize": ["de"],
20              "outputPath": "dist/under-construction-de/",
21              "i18nMissingTranslation": "error"
22            }
23          }
24        },
25        // ...
26      }
27    }},
28  // ...
29}
<$>[备注]
注意: 之前,本教程对i18nFile、i18nFormat和```i18nLocale``使用了单独的值。自那以后,这些方法已被弃用,而`本地化‘是首选方法。
<$>
您也可以更新serve下的配置设置:
 1[label angular.json]
 2{
 3  "projects": {
 4    "angular-internationalization-example": {
 5      // ...
 6      "architect": {
 7        "serve": {
 8          // ...
 9          "configurations": {
10            "production": {
11              "browserTarget": "angular-internationalization-example:build:production"
12            },
13            "fr": {
14              "browserTarget": "angular-internationalization-example:build:fr"
15            },
16            "de": {
17              "browserTarget": "angular-internationalization-example:build:de"
18            }
19          }
20        },
21        // ...
22      }
23    }},
24  // ...
25}
现在,您可以在Package.json中创建更多脚本,其中包括构建和服务新区域设置的功能:
 1[label package.json]
 2{
 3  "scripts": {
 4    "ng": "ng",
 5    "start": "ng serve",
 6    "start:fr": "ng serve --configuration=fr",
 7    "start:de": "ng serve --configuration=de",
 8    "build": "ng build",
 9    "build:fr": "ng build --configuration=fr",
10    "build:de": "ng build --configuration=de",
11    "test": "ng test",
12    "lint": "ng lint",
13    "e2e": "ng e2e",
14    "i18n:extract": "ng xi18n --output-path src/locale"
15  }
16}
您可以通过在终端运行以下命令来启动我们的所有项目:
1npm start
在另一个终端窗口中,启动法语版本:
1npm run start:fr -- --port=4201
在另一个终端窗口中,启动德国版本:
1npm run start:de -- --port=4202
这将在默认端口上运行英语应用程序,在端口4201上运行法语应用程序,在端口4202上运行德语应用程序:
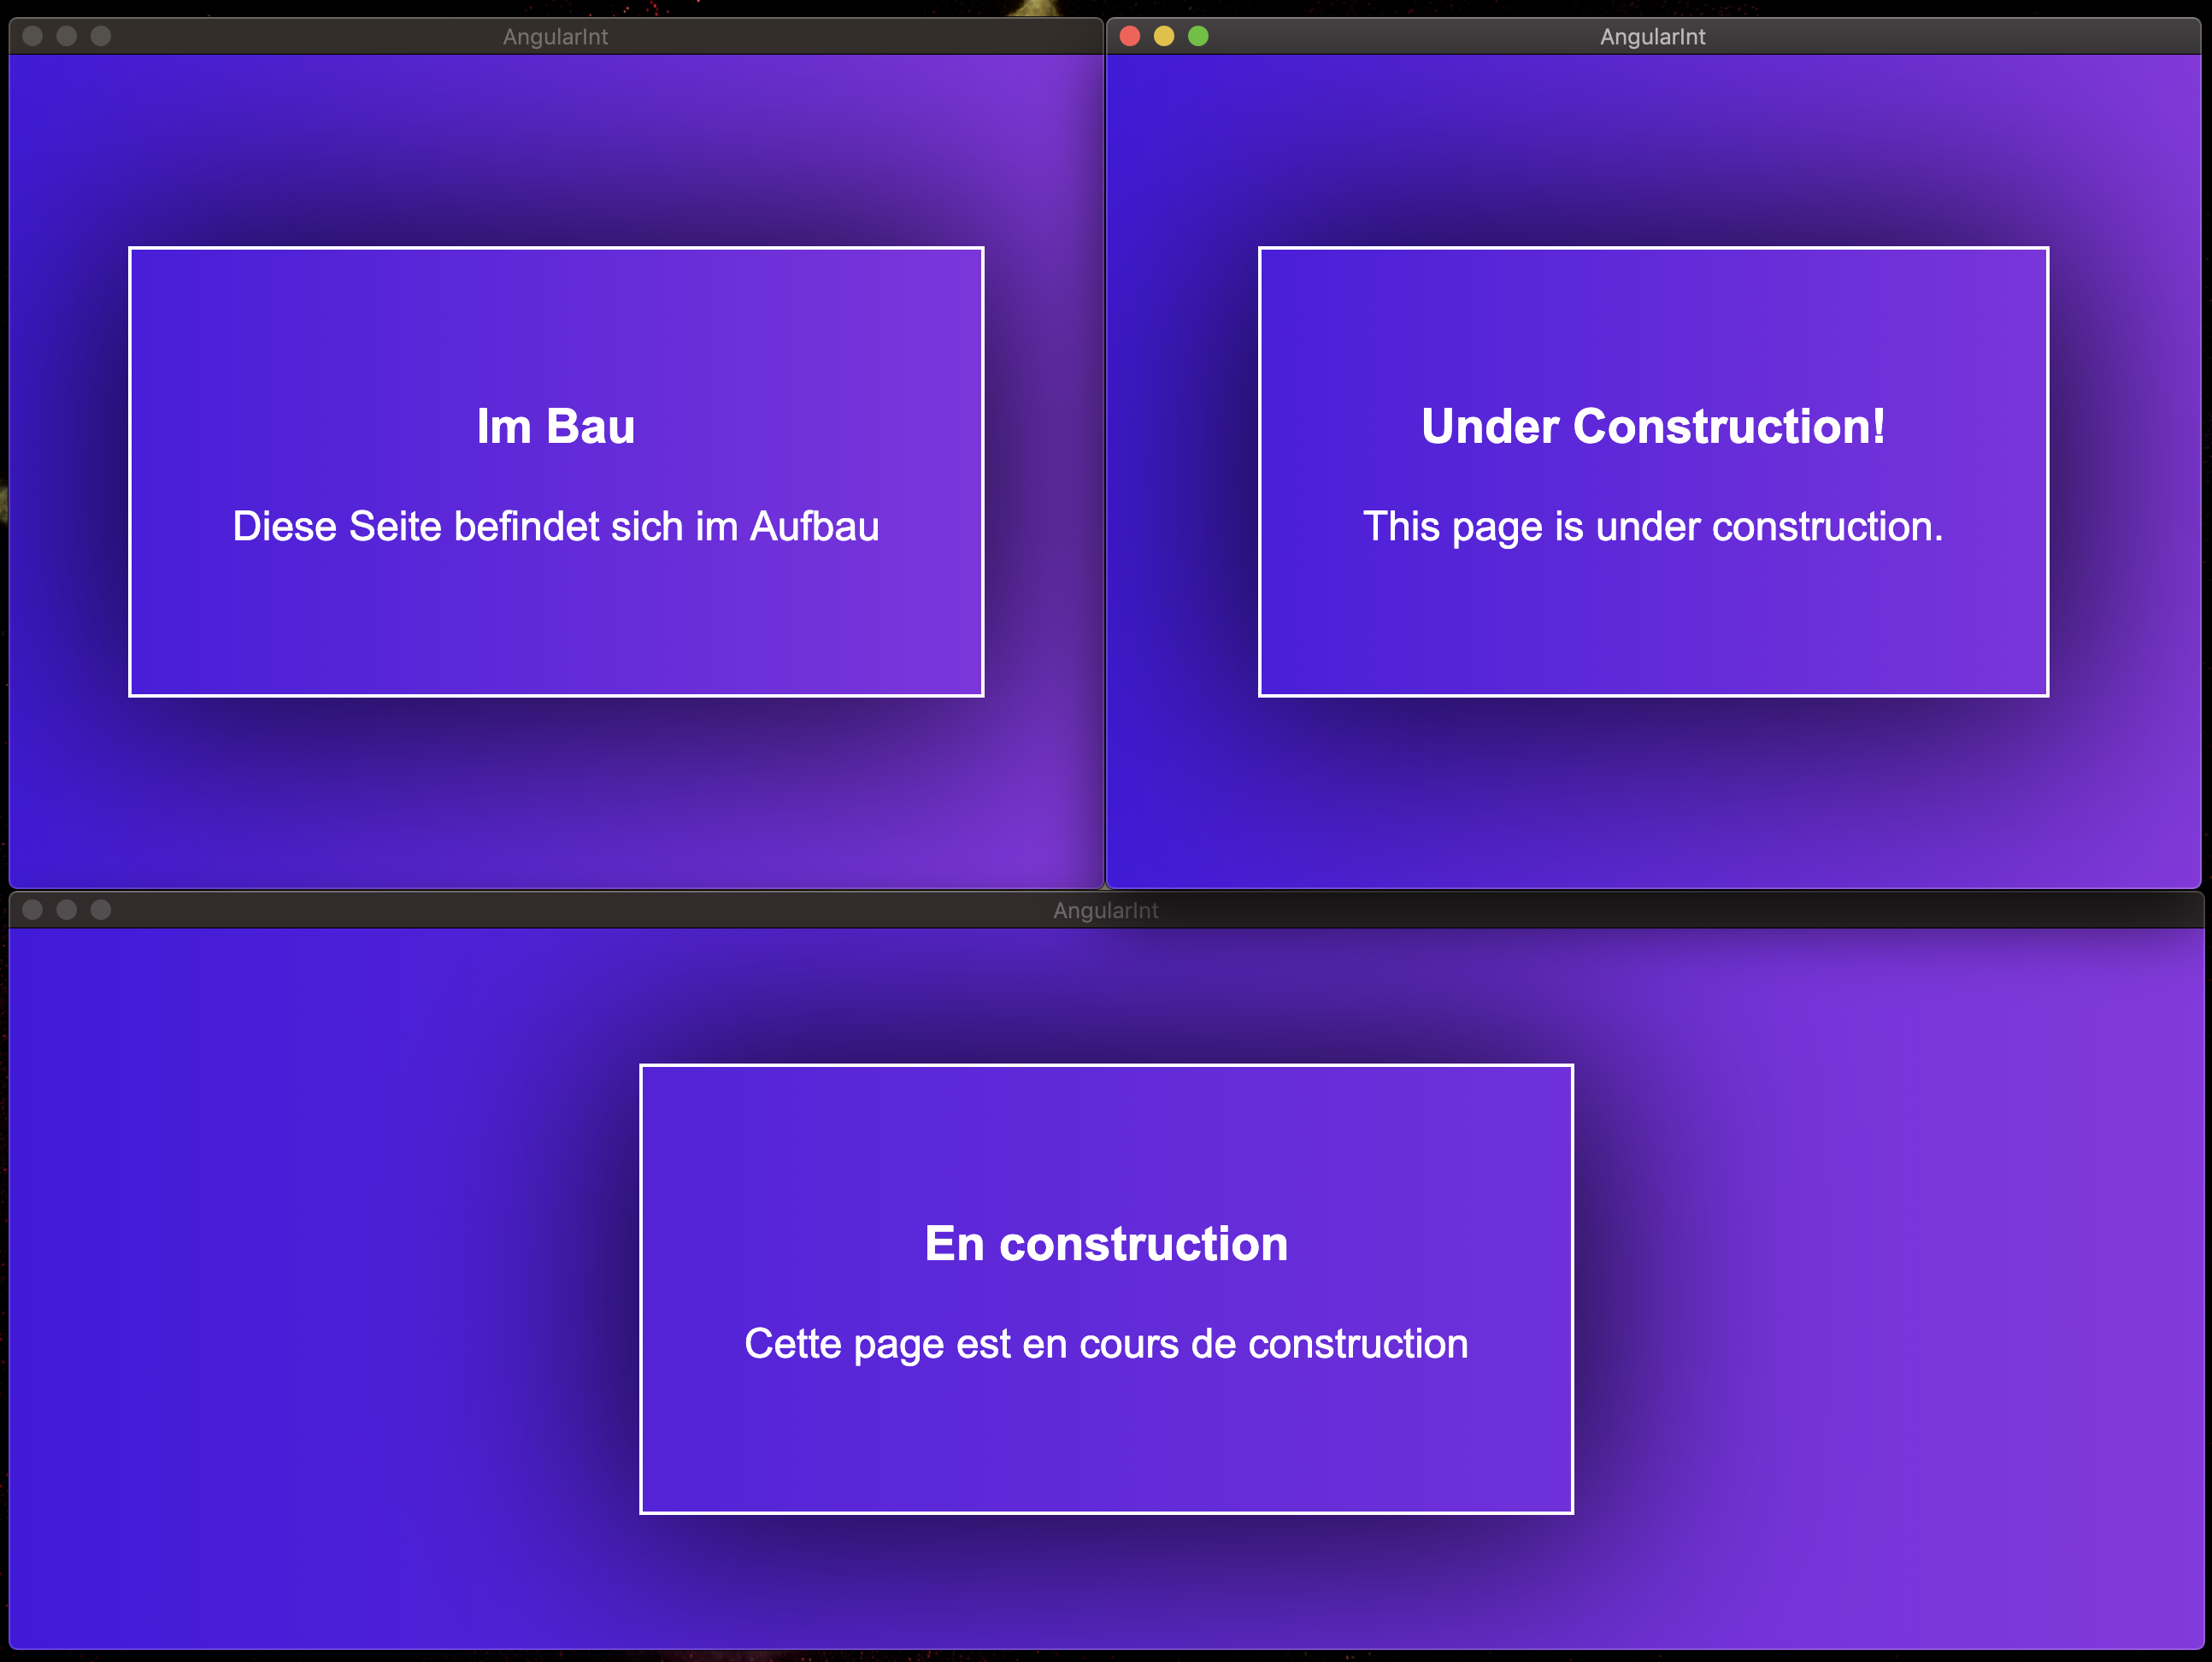 截图
截图
您已经构建了应用程序的翻译版本。
结论
在本教程中,您使用了ANGLE可用的内置i18n工具来生成法语和德语的翻译版本。
要阅读有关使用内置I18N工具的更多信息,请参考官方documentation.
如果你想了解更多关于Angular的知识,请查看我们的Angular主题页面获取练习和编程项目。