Angular允许我们构建可以部署到移动,Web和桌面的高性能Web应用程序。Firebase Hosting是一个流行的服务,易于使用CLI工具。在本文中,我们将使用Travis CI来自动化此部署。
新增角度应用
使用ANGLE CLI]创建新的角度项目以建立公用基:
 1# Install the Angular CLI
 2$ npm i @angular/cli -g
 3
 4# Create a new Angular project with the name of your choosing && change directory
 5$ ng new AngularFirebaseCI
 6
 7> N
 8> SCSS
 9
10$ cd AngularFirebaseCI
11
12# Open this up in VS Code and Serve
13$ code . && ng serve
现在,我们可以创建一个基本的角度项目。转到app.Component.html并创建以下模板:
1<section>
2  <article>
3    <h1>Angular, Travis CI & Firebase Hosting</h1>
4    <p>🔥🔥🔥</p>
5  </article>
6</section>
我们还可以在app.Component.scss中添加一些CSS样式,使其更具魔力:
 1section {
 2  display: flex;
 3  justify-content: center;
 4  align-items: center;
 5  height: 100vh;
 6  background: #8a2387;
 7  background: -webkit-linear-gradient(to right, #f27121, #e94057, #8a2387);
 8  background: linear-gradient(
 9    to right,
10    #f27121,
11    #e94057,
12    #8a2387
13  );
14}
15
16article {
17  text-align: center;
18  color: white;
19  padding: 40px;
20  box-shadow: 1px 1px 200px rgba(0, 0, 0, 0.8);
21}
最后,在全局styles.scss中,我们默认html和body样式:
1html,
2body {
3  padding: 0px;
4  margin: 0px;
5}
Firebase工具CLI
我们可以通过在终端运行以下命令来全局安装Firebase-Tools命令行工具:
1$ npm install -g firebase-tools
安装后,通过运行以下命令登录到CLI:
1$ firebase login
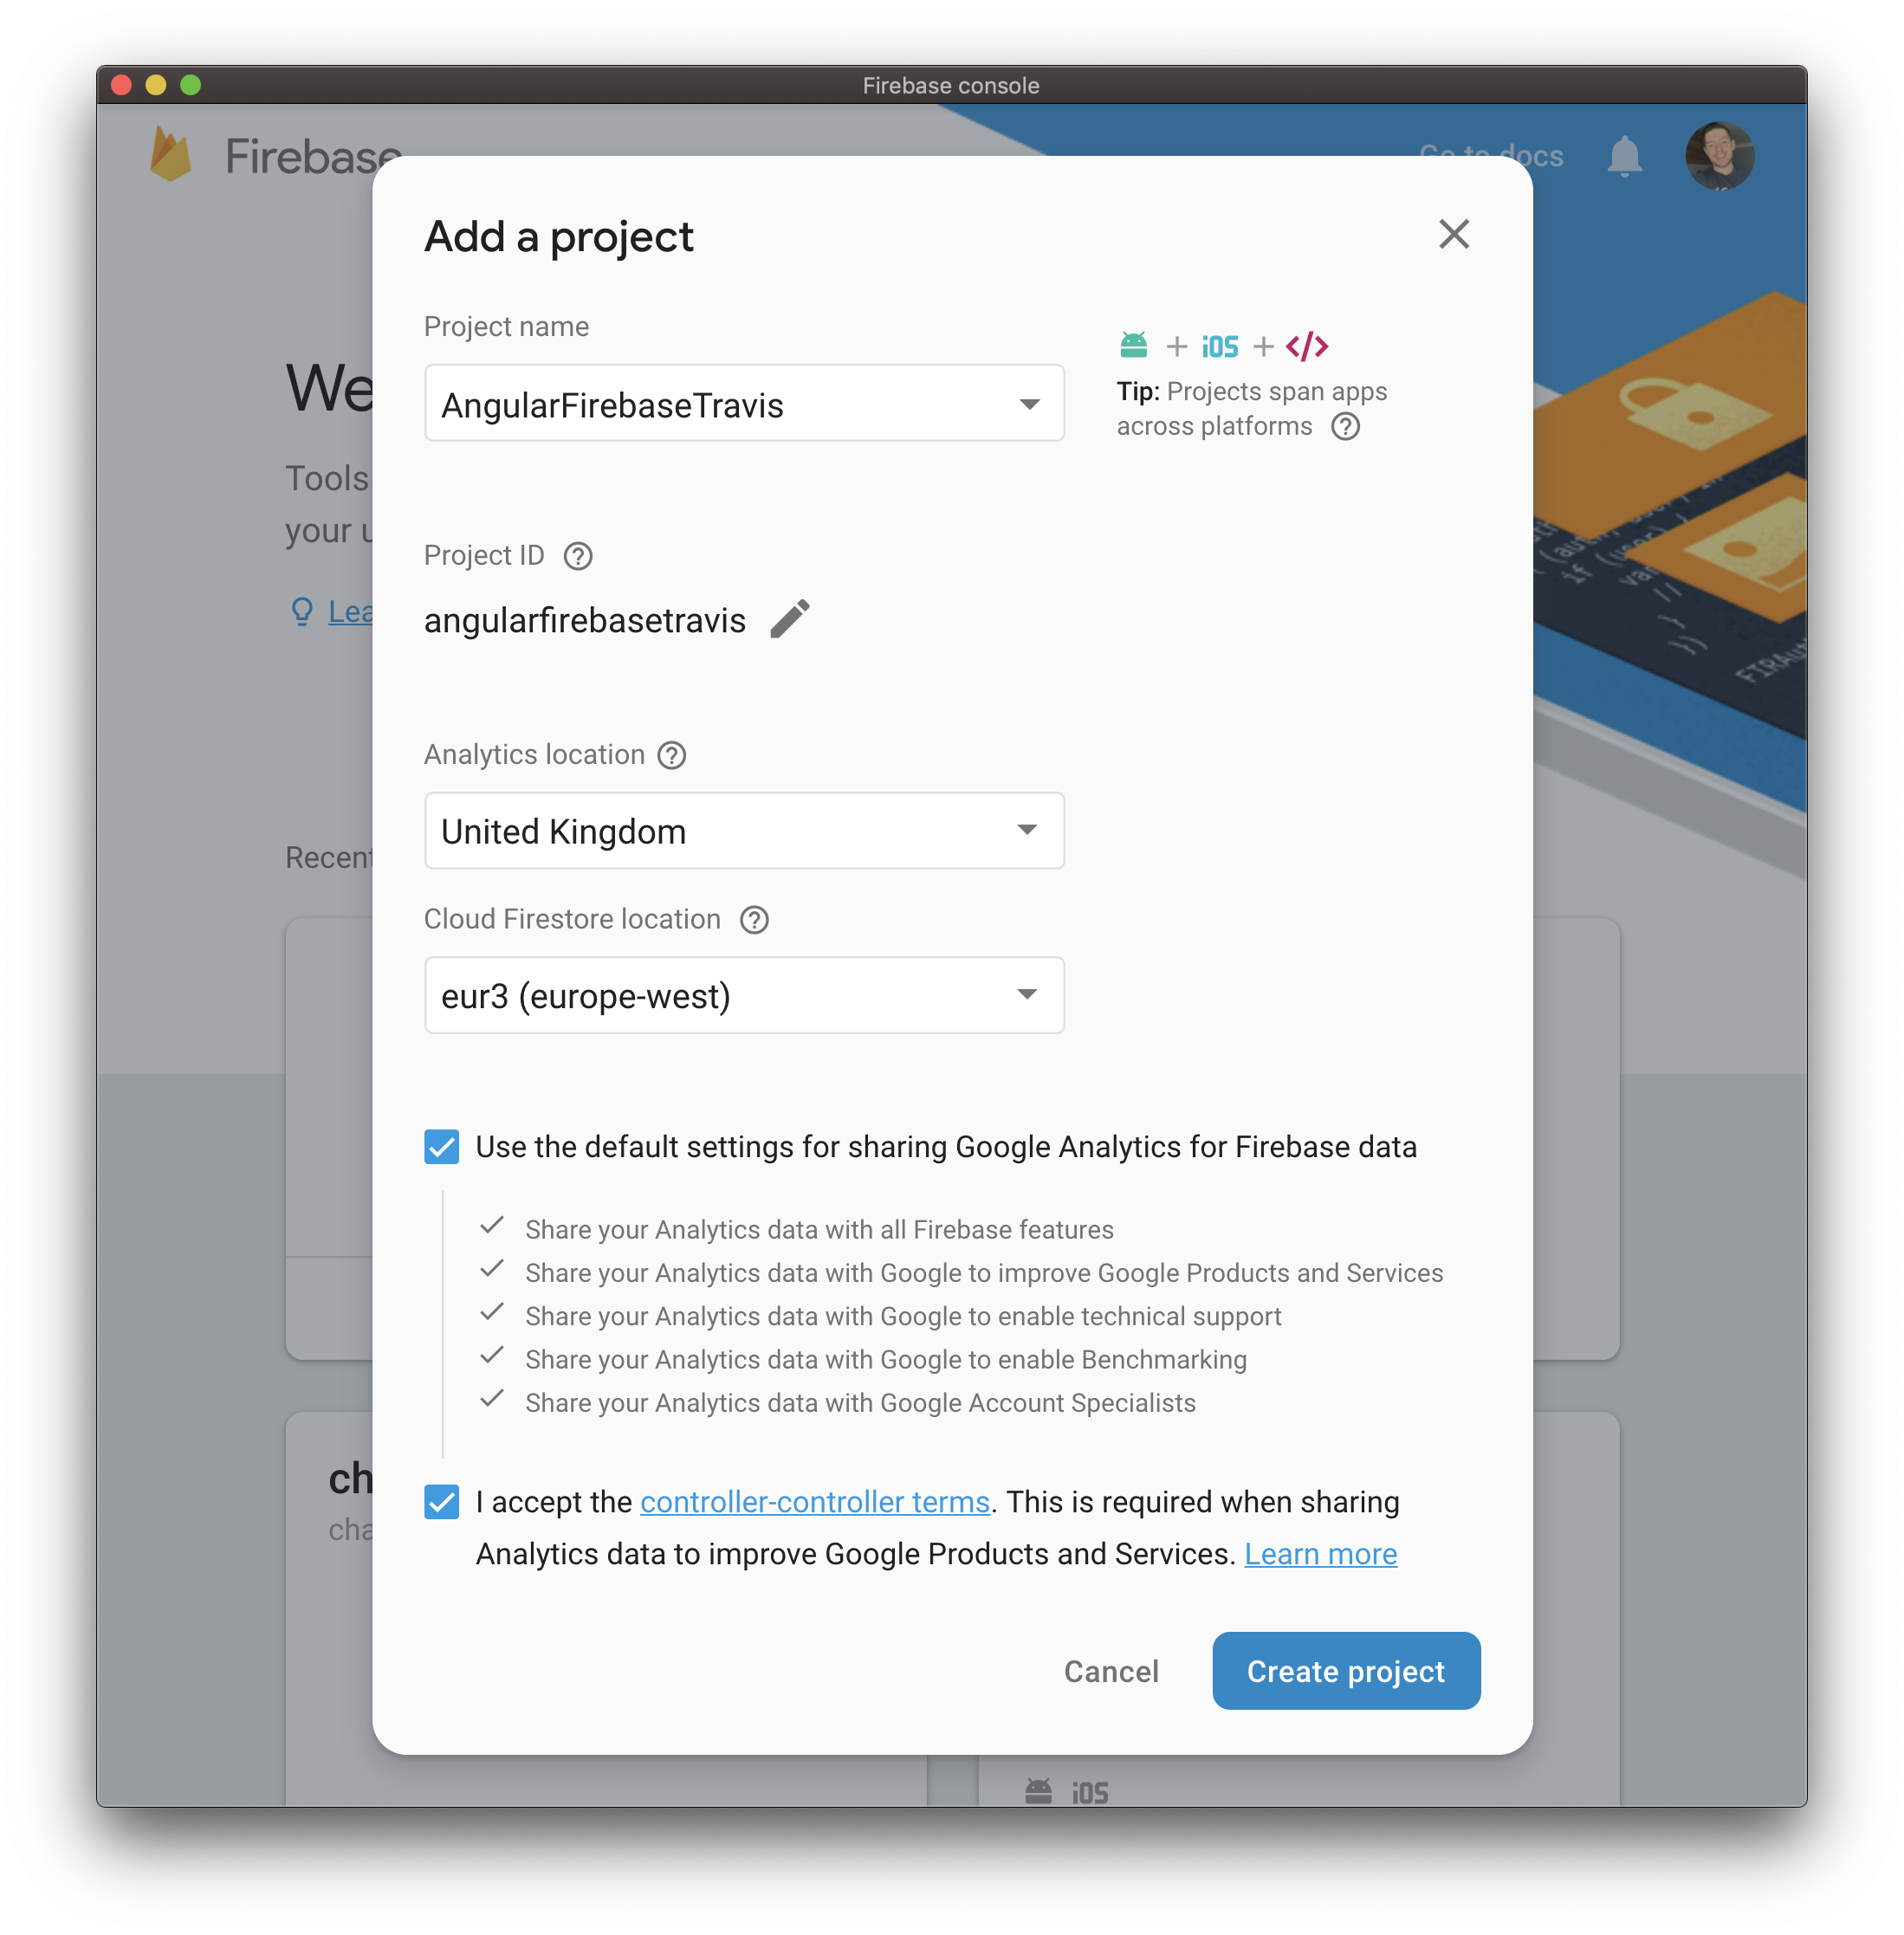
现在我们已经通过了身份验证,我们可以在项目中初始化Firebase了。
 1$ firebase init
 2
 3> Hosting
 4
 5? Select a default Firebase project for this directory
 6your-firebase-id
 7
 8? What do you want to use as your public directory?
 9dist/
10
11? Configure as a single-page app (rewrite all urls to /index.html)?
12Yes
甜。我们现在已经准备好将我们的应用程序部署到Firebase!让我们使用ANGLE CLI为生产构建它:
1$ ng build --prod
这将生成一个dist文件夹,其中包含我们所有的文件。将其部署到firebase:
1$ firebase deploy
如果你收到一条类似下面的消息,一切都很顺利:
1✔  Deploy complete!
2
3Project Console: https://console.firebase.google.com/project/your-app/overview
4Hosting URL: https://your-app.firebaseapp.com
Travis CI Automation
每次都必须手动执行此操作,这并不是很好。当然,这只是两个命令,但如果我们有多个团队成员怎么办?另外,我不想考虑部署问题,我想编写更多代码!
首先,打开https://travis-ci.com/,用你的gihub账户登录。允许Travis访问您的所有存储库。
这将向我们显示我们可以自动化的存储库列表,但我们的存储库不在那里……因为它根本不存在!
新存储库
在https://github.com/new上创建新的giHub存储库
[新建Go存储库](https.bar__bar
然后,我们可以使用以下命令将其推送到GitHub:
1git remote add origin https://github.com/YourUser/YourRepoName.git
2git push -u origin master
部署
我们快到了我们现在需要创建一个包含自动化部署步骤的.travis.yml文件:
 1language: node_js
 2node_js:
 3  - "11.0"
 4branches:
 5  only:
 6    - master
 7before_script:
 8  - npm install -g @angular/cli
 9script:
10  - npm install
11  - npm run build
12deploy:
13  skip_cleanup: true
14  provider: firebase
15  token:
16    secure: ""
Travis CI自动化步骤内置在‘yml’中,并提供了一套易于理解的说明。
看起来有些不对劲。令牌为空。这是因为我们需要使用Firebase命令行接口来生成:
1$ firebase login:ci
您应该会得到一个长令牌,它可以用来代替上面的空令牌。
使用以下内容将此.travis.yml文件向上推送到GitHub:
1$ git add .
2$ git commit -m "Added Travis CI automation!"
3$ git push
现在,前往https://travis-ci.com查看构建版本!
 1=== Deploying to 'app-5c310'...
 2i deploying hosting
 3i hosting[app-5c310]: beginning deploy...
 4i hosting[app-5c310]: found 14 files in dist/AngularFirebaseCI
 5i hosting: uploading new files [0/14] (0%)
 6i hosting: uploading new files [12/14] (85%)
 7✔  hosting[app-5c310]: file upload complete
 8i hosting[app-5c310]: finalizing version...
 9✔  hosting[app-5c310]: version finalized
10i hosting[app-5c310]: releasing new version...
11✔  hosting[app-5c310]: release complete
12✔  Deploy complete!
总结
在本文中,我们介绍了如何使用Angular创建应用程序并将其部署到Firebase Hosting。
然后,我们研究了如何使用Travis CI自动执行此过程。只要`master‘分支更新,这个构建过程就会运行并发布到Firebase主机上。